
Rice Krispie peanut bars are a delicious no-bake treat made with peanut butter, golden syrup, Rice Krispies and chopped peanuts, topped with a layer of smooth milk chocolate. This no-bake traybake is perfect for afternoon tea, lunch boxes, or simply as a quick snack whenever you're craving something sweet!
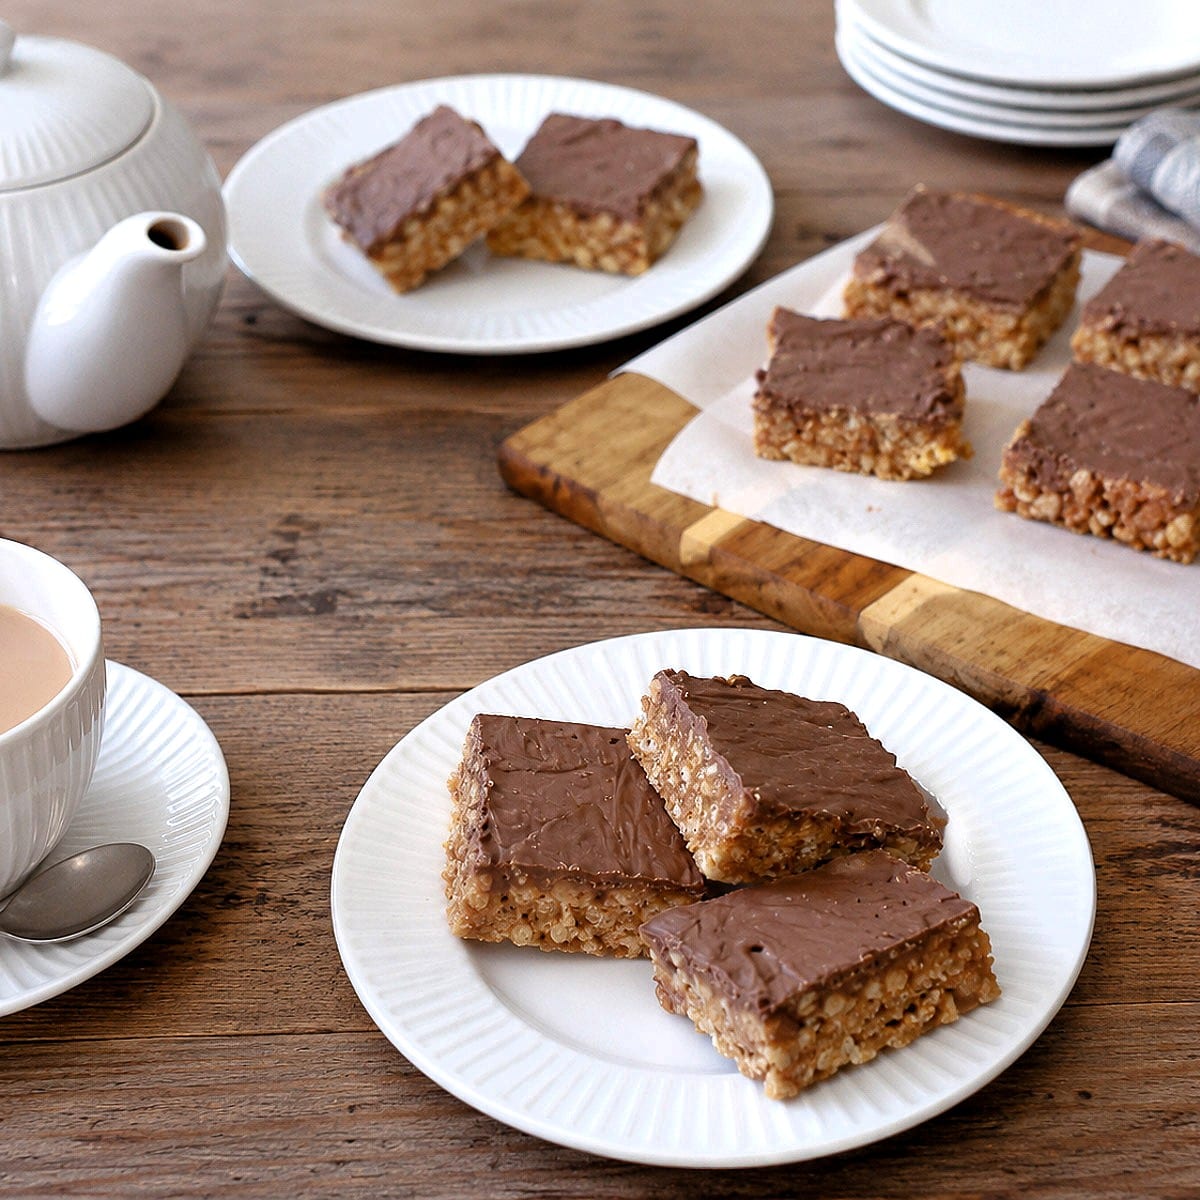
These crispy rice cereal bars have always been a firm family favourite, ever since the children were small. What I loved about them was that they only took minutes to make, they were perfect for packing into lunch boxes, and if I cut them into slices rather than squares, I could get 24 bars from one easy batch. And when you've got three youngsters with voracious appetites, that can only be a good thing!
Not only that, but they taste great too. In fact, these homemade chocolate cereal bars remind me of the Kellogg's Crunchy Nut bars we used to buy years ago, but which seem to have disappeared from the shelves now. If you remember those bars, you'll love this homemade version. It has the same combination of crispy cereal, crunchy nuts and a generous layer of milk chocolate, but the addition of golden syrup and peanut butter makes it just a little softer and more satisfyingly chewy.
Best of all, there's no baking involved. Simply melt, press into a tin, top with chocolate and leave to set. It really couldn't be easier, and you'll have a batch of chocolate peanut butter bars in no time!
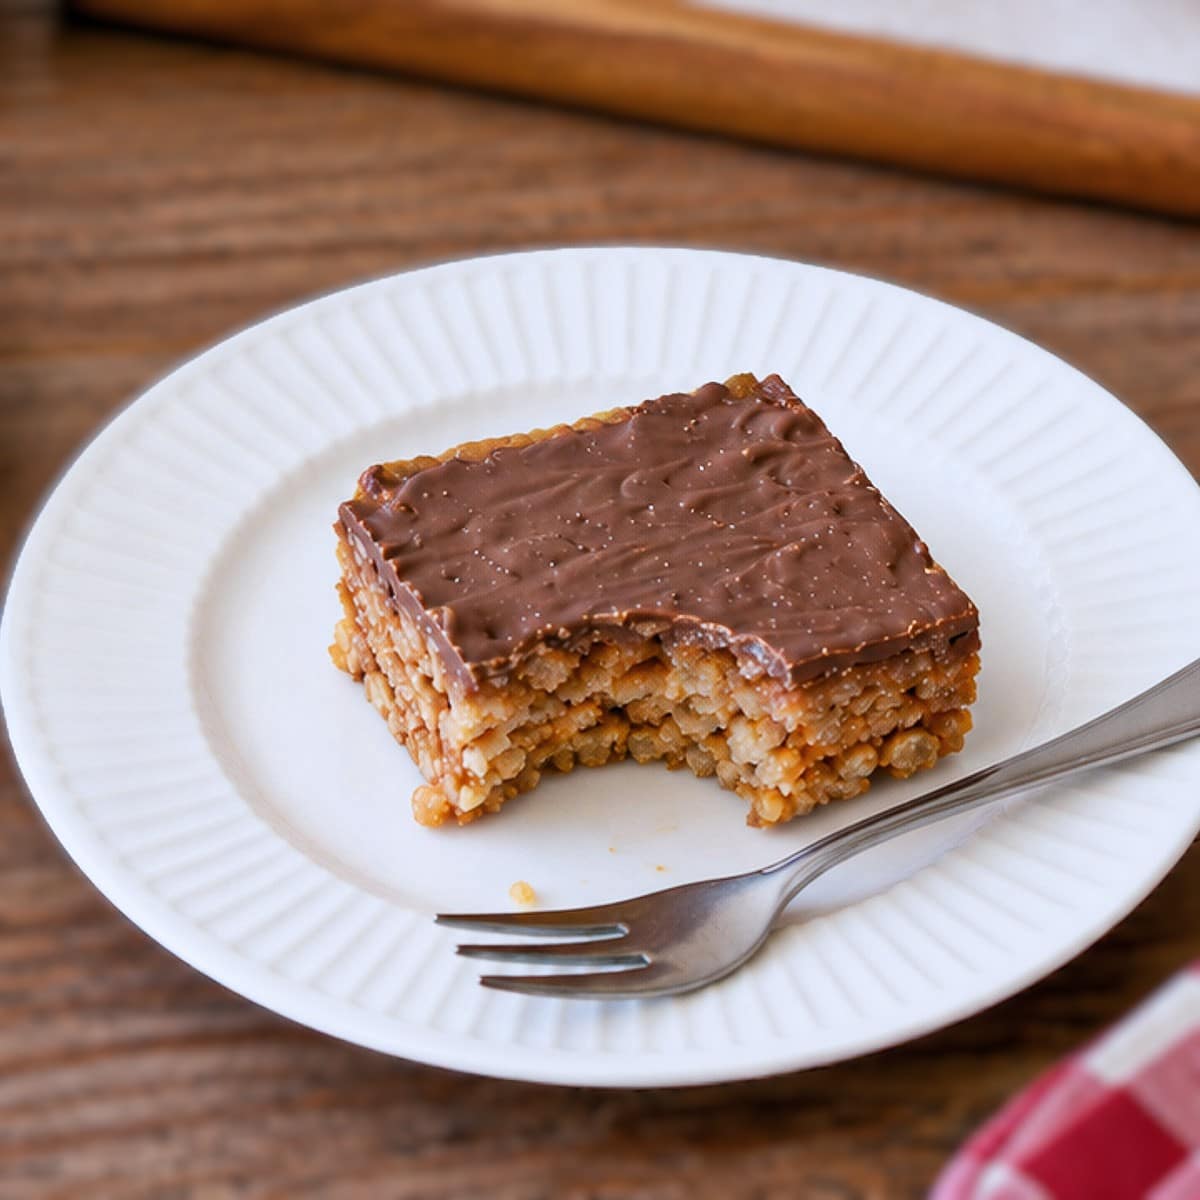
Table of Contents
Ingredients for Rice Krispie peanut bars
Please note this recipe contains nuts and peanut butter!
**This is just an overview to explain why I used a particular ingredient. The complete list of ingredients and the exact measurements are on the printable recipe card at the end of this post.**
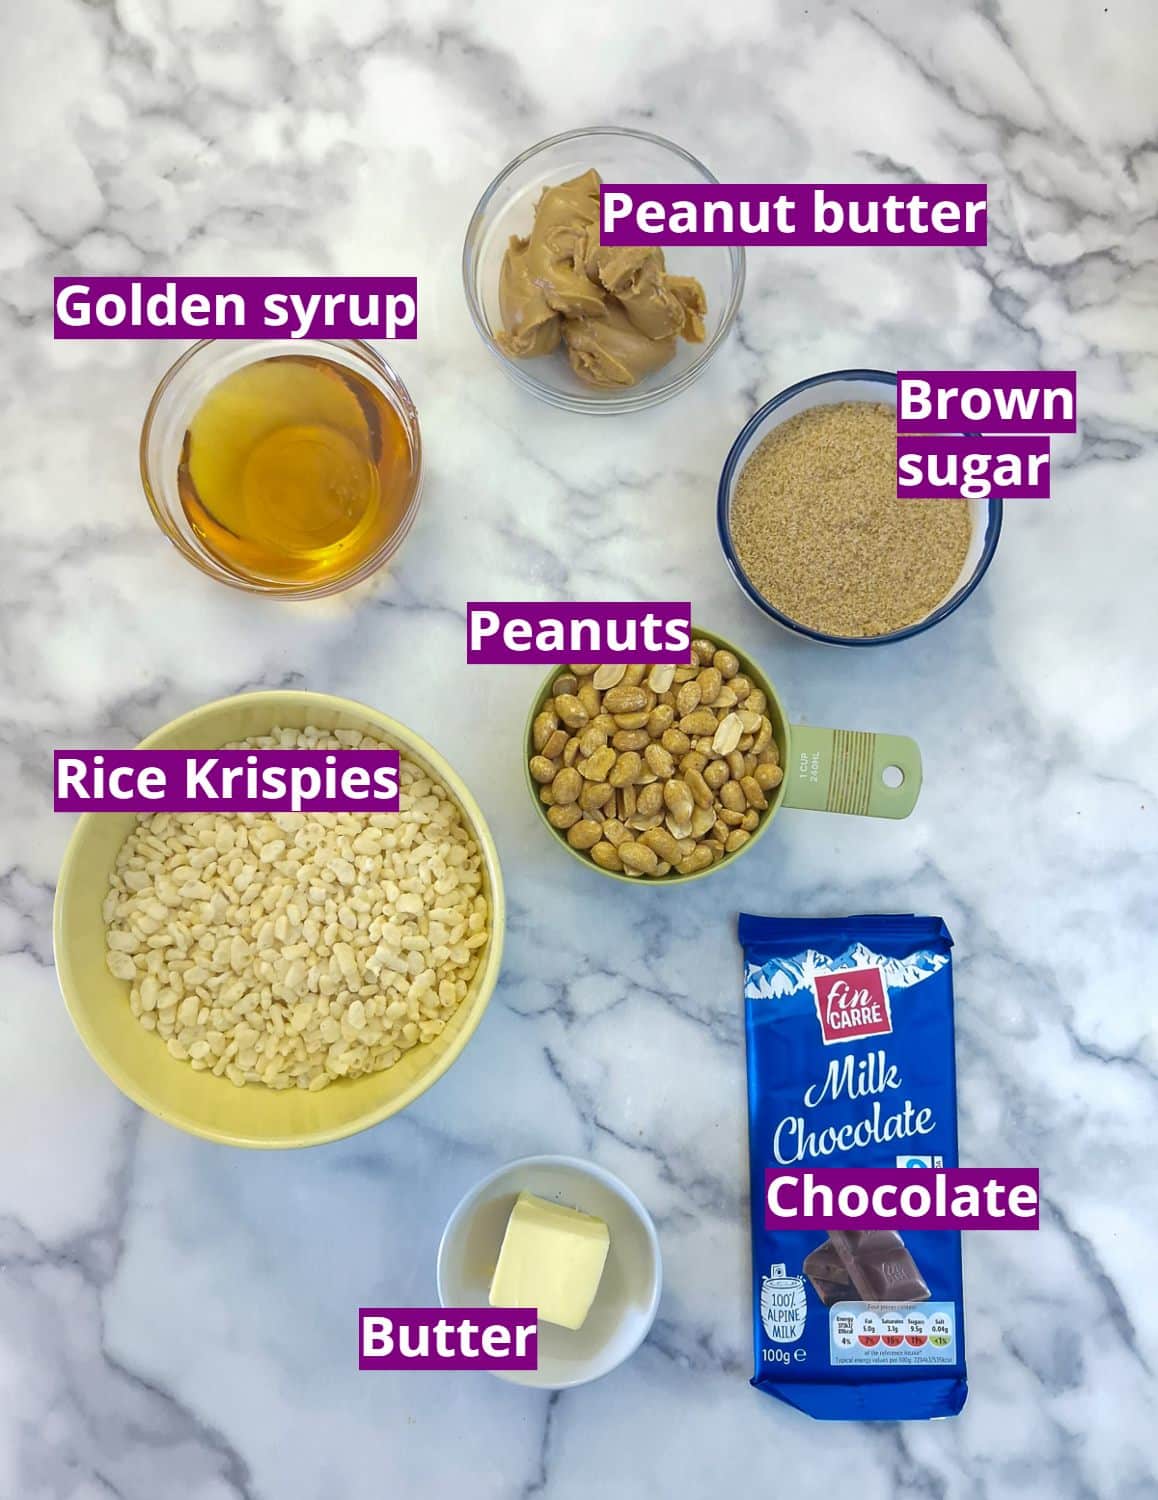
- Peanut butter. I used smooth peanut butter because that's what I had in the cupboard. You could also use crunchy peanut butter; you'll be adding some chopped peanuts, so you won't tell the difference.
- Golden syrup. For sweetness and a chewy texture.
- Brown sugar. I used light brown demerara sugar, but dark brown sugar would work just as well. The brown sugar not only adds extra sweetness, but it also gives a slight caramel taste to the cereal bars.
- Rice Krispies. You can use the original Kellogg's Rice Krispies, or use a supermarket own-brand.
- Peanuts. Be sure to get unsalted roasted peanuts. I like to chop them finely before adding them to the slice.
- Butter. Not too much, just an ounce - it helps thin out the peanut butter so the slice is less dense.
- Chocolate. I used a cheap bar of milk chocolate from Lidl, which I think has a nice chocolatey taste. The chocolate doesn't have to be anything special - if you'd eat it, it will be fine for spreading on top of the slice.
How to make crispy rice cereal bars
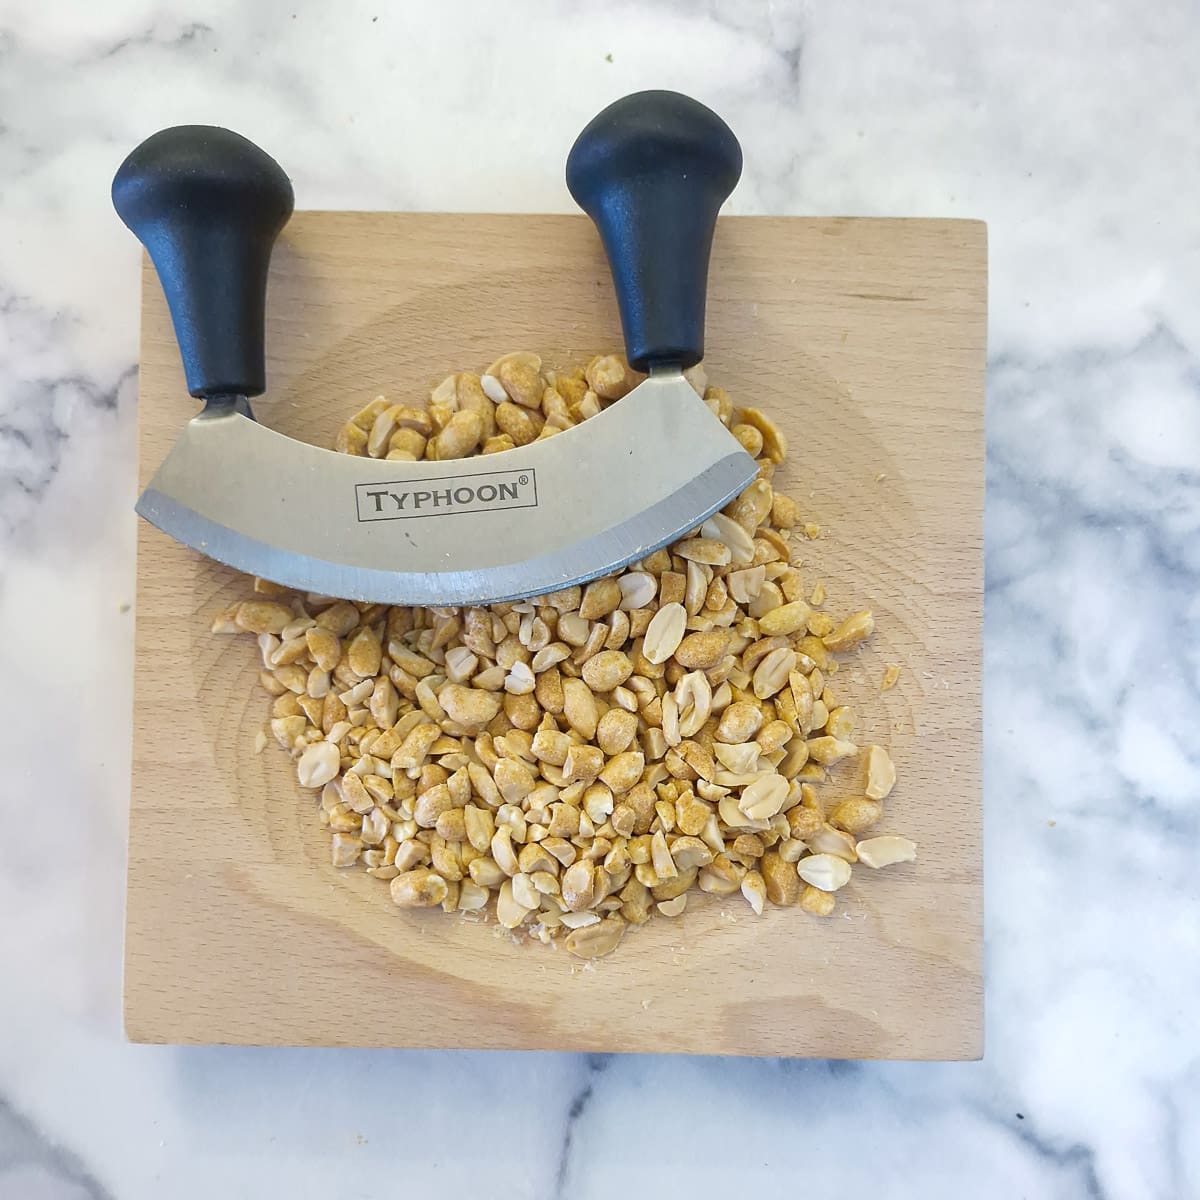
Step 1: Chop the peanuts coarsely. I use a mezzaluna <affiliate link (it's meant for chopping herbs, but it works beautifully on nuts too). Set the peanuts aside.
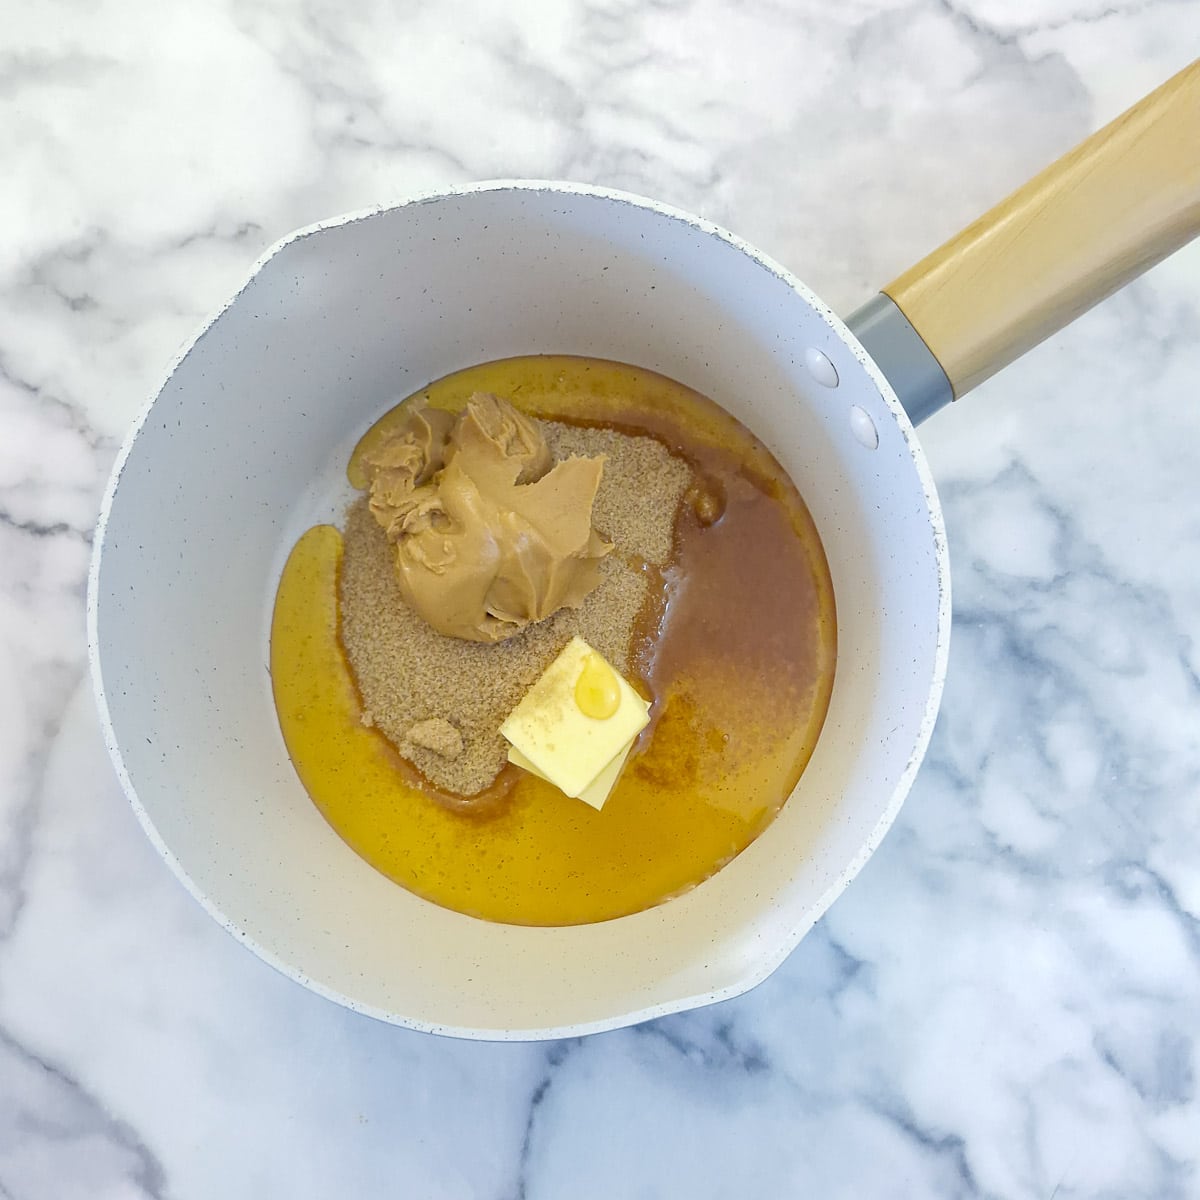
Step 2: Place the golden syrup, brown sugar, peanut butter and butter into a saucepan and stir over a low heat until the sugar has dissolved. Remove from the heat as soon as the sugar has dissolved. Do not allow the mixture to boil.
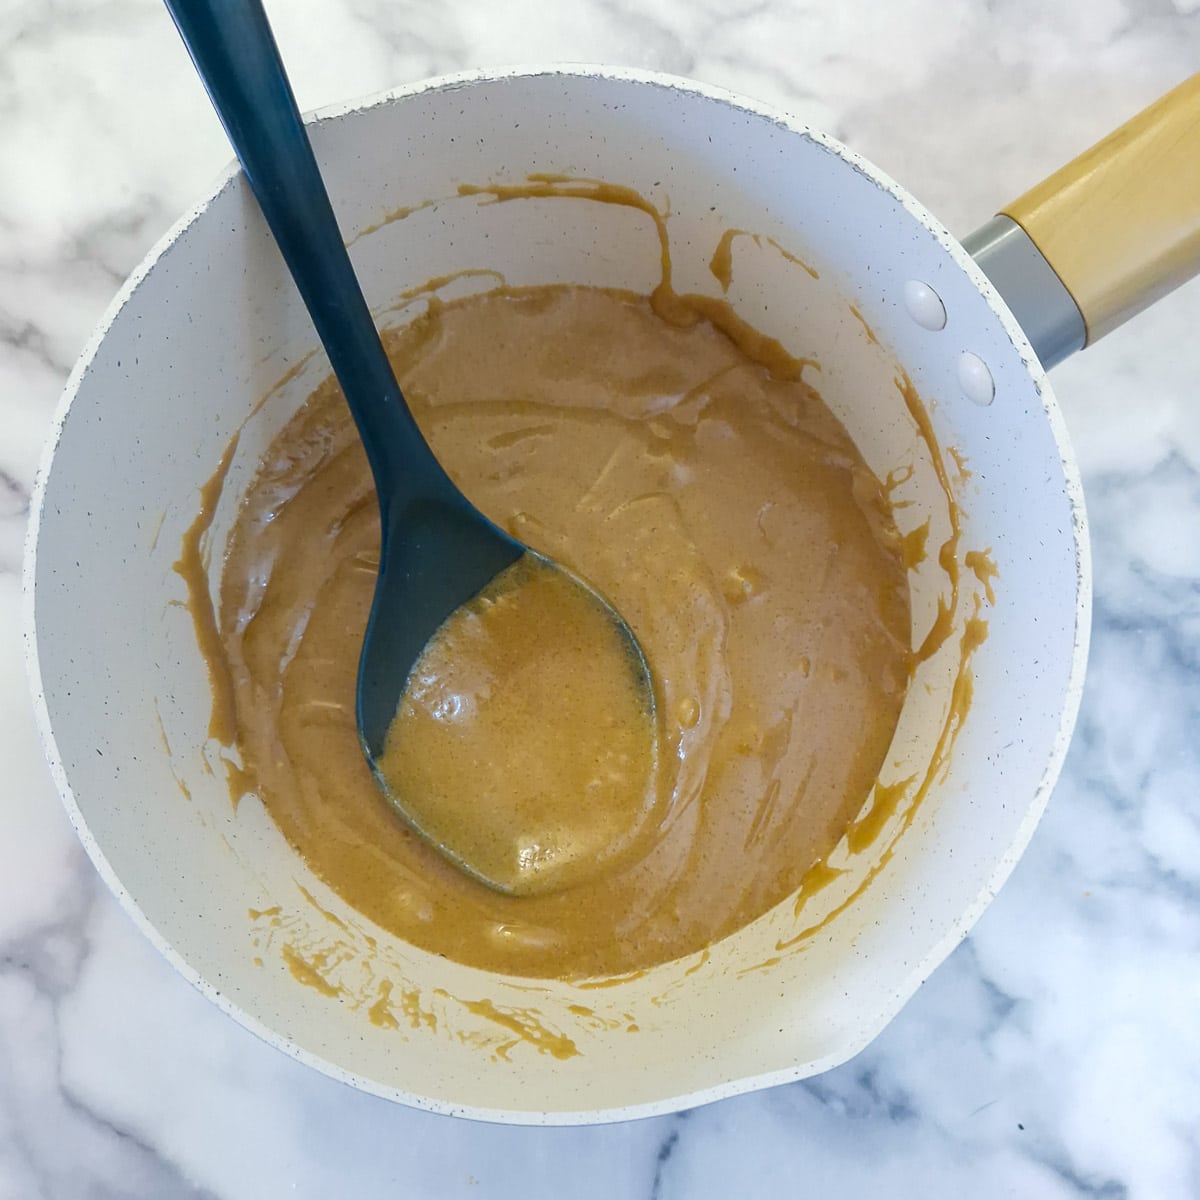
Step 3: Stir well to ensure all the ingredients are well combined.
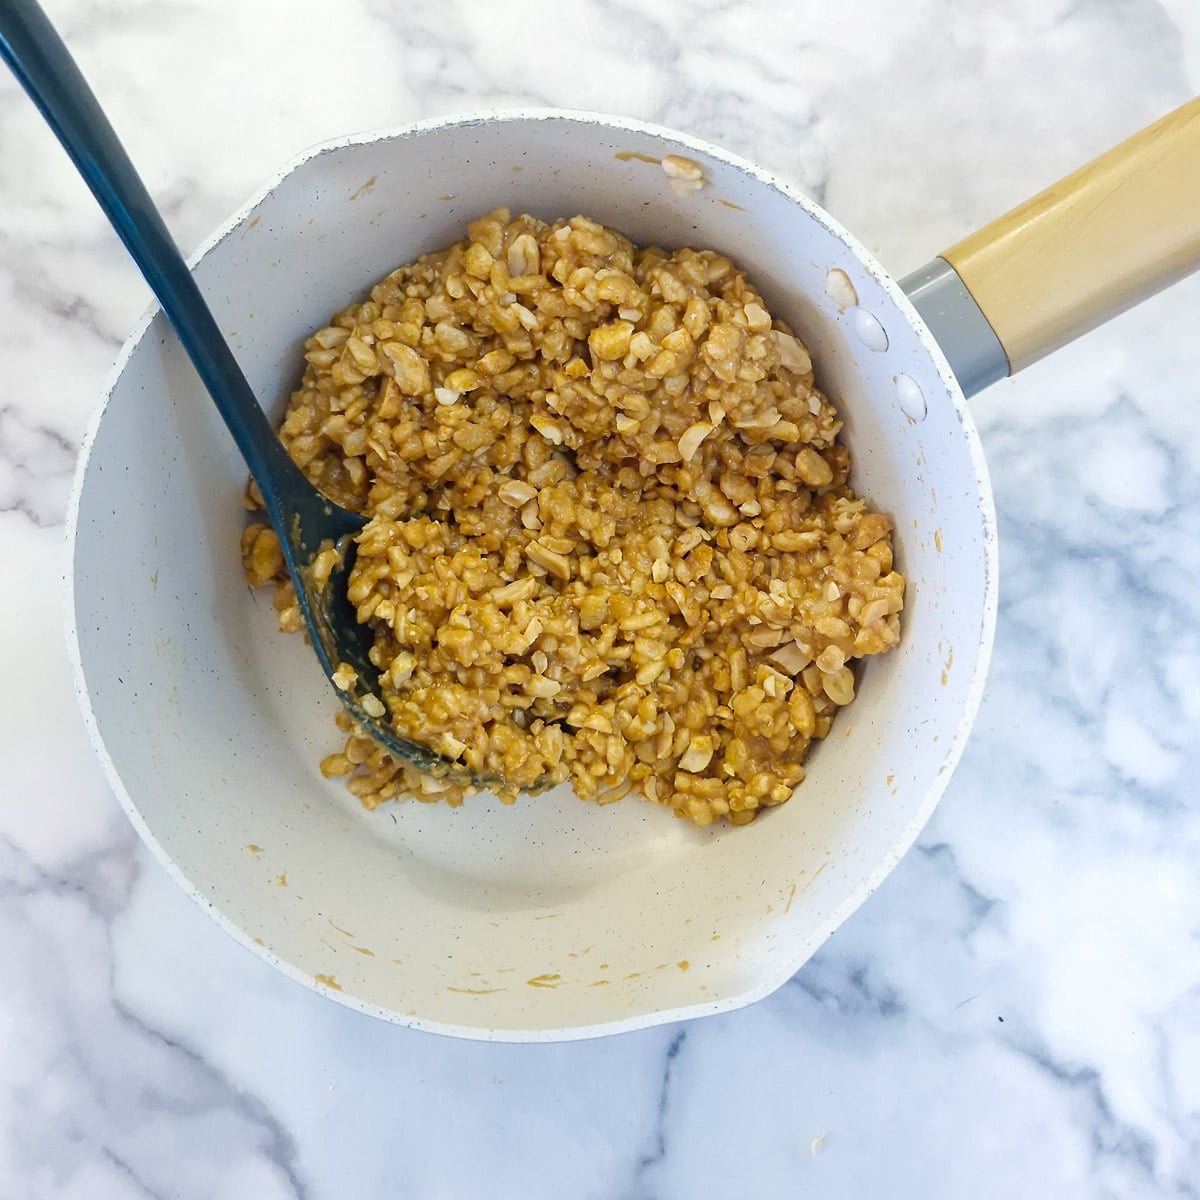
Step 4: Add the chopped peanuts and the rice krispies and stir well.
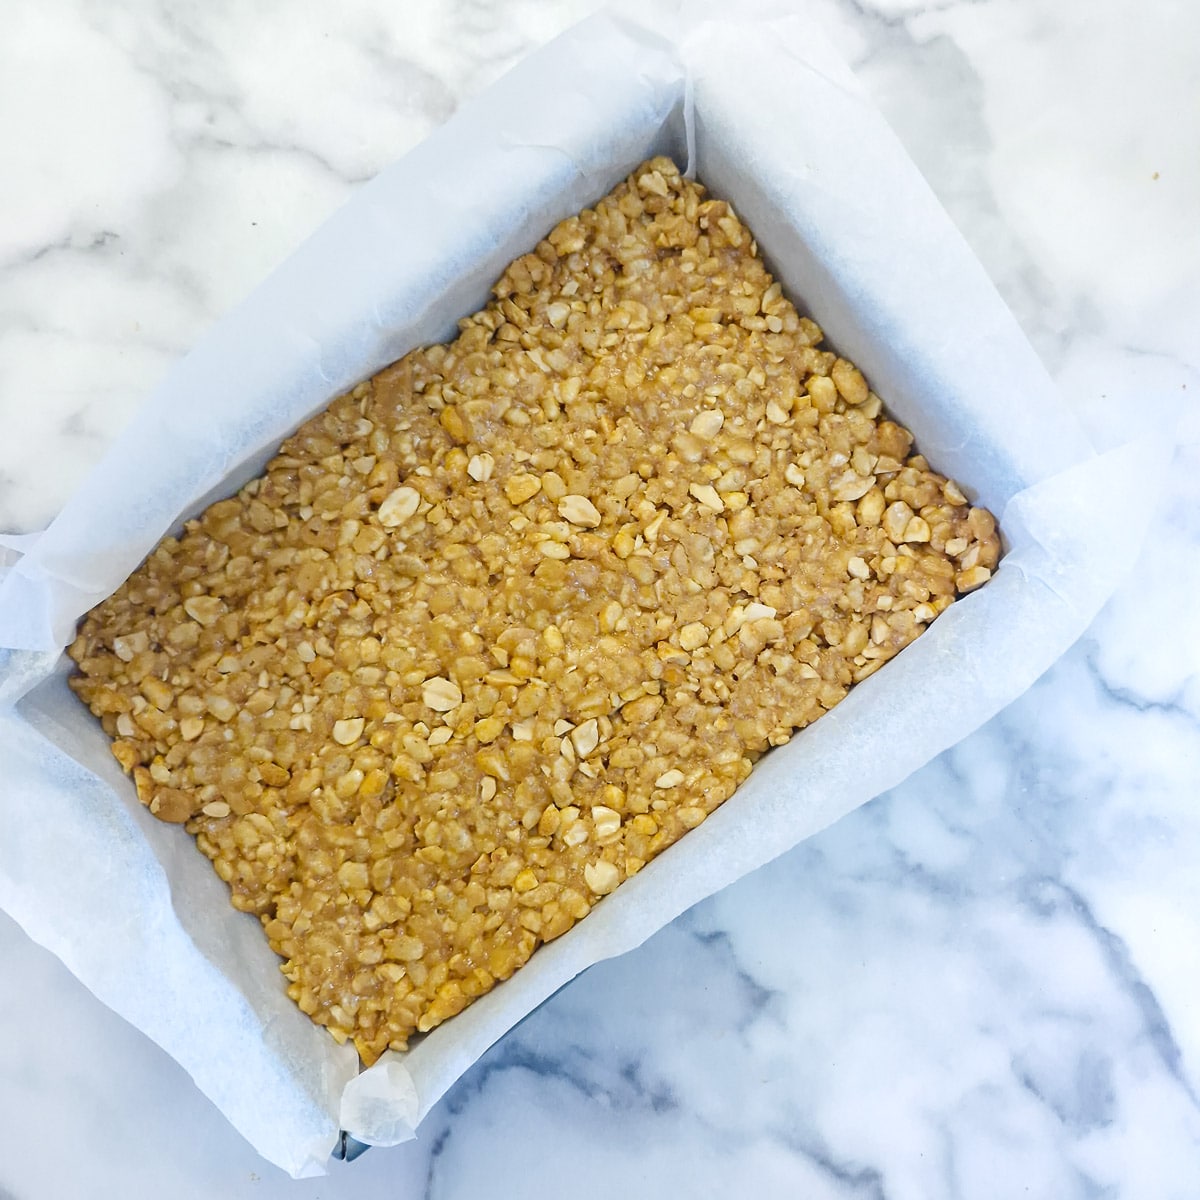
Step 5: Press the warm mixture into a 7" x 9" x 1" (18 x 23 x 2.5 cm) tray which has been lined with baking parchment. Use the back of a spoon to press the mixture down firmly.
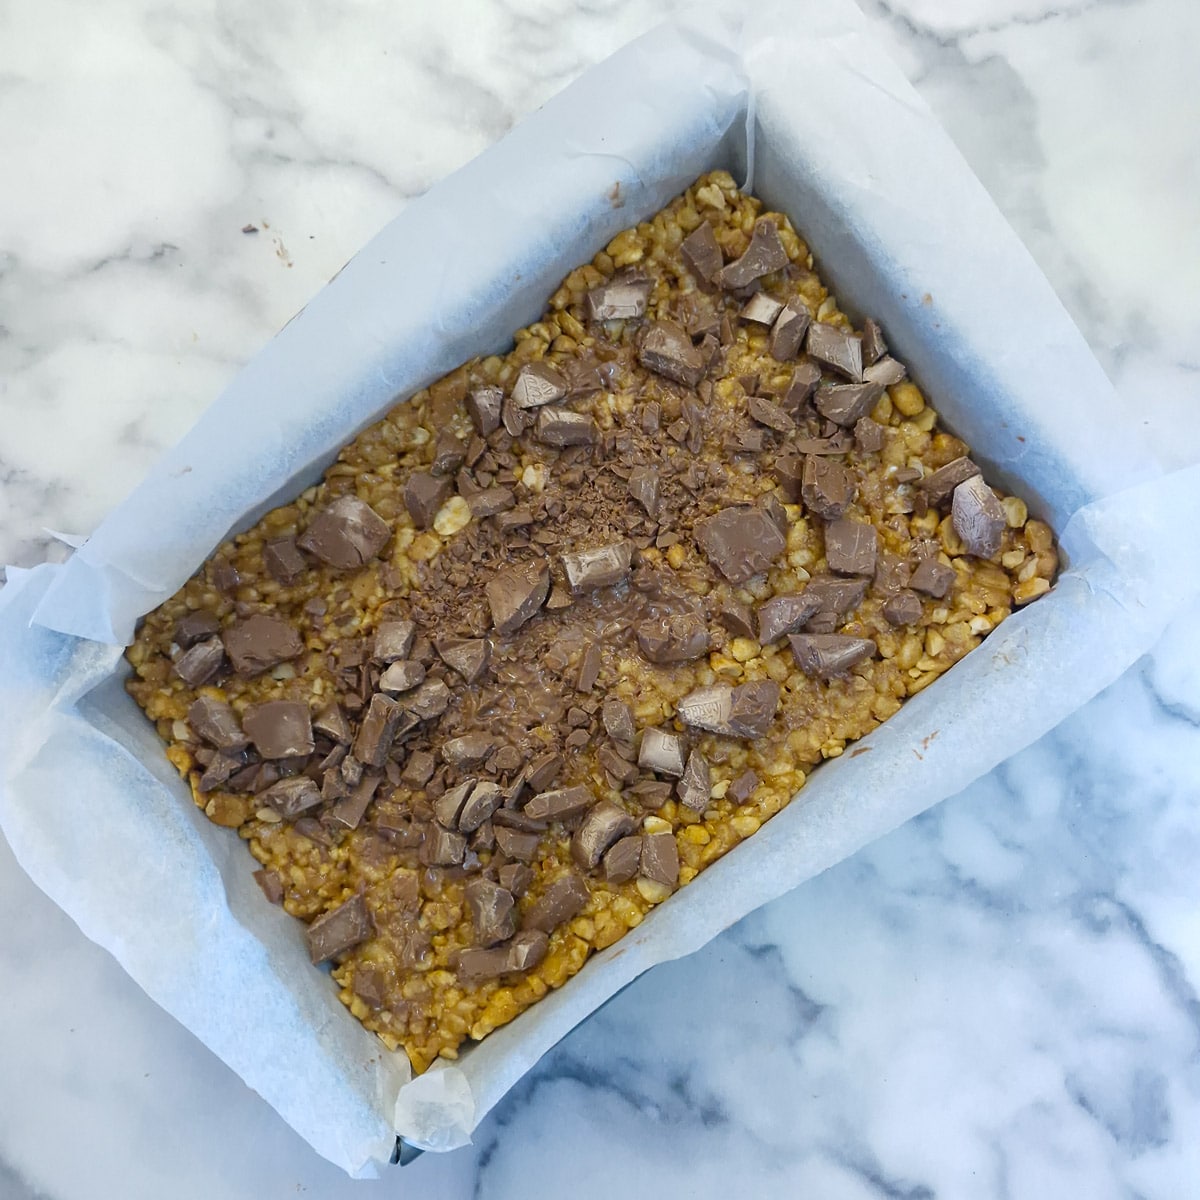
Step 6: Chop the bar of chocolate into small pieces and scatter it over the warm mixture. Allow it to stand for a minute or two. The heat from the peanut mixture should melt the chocolate.
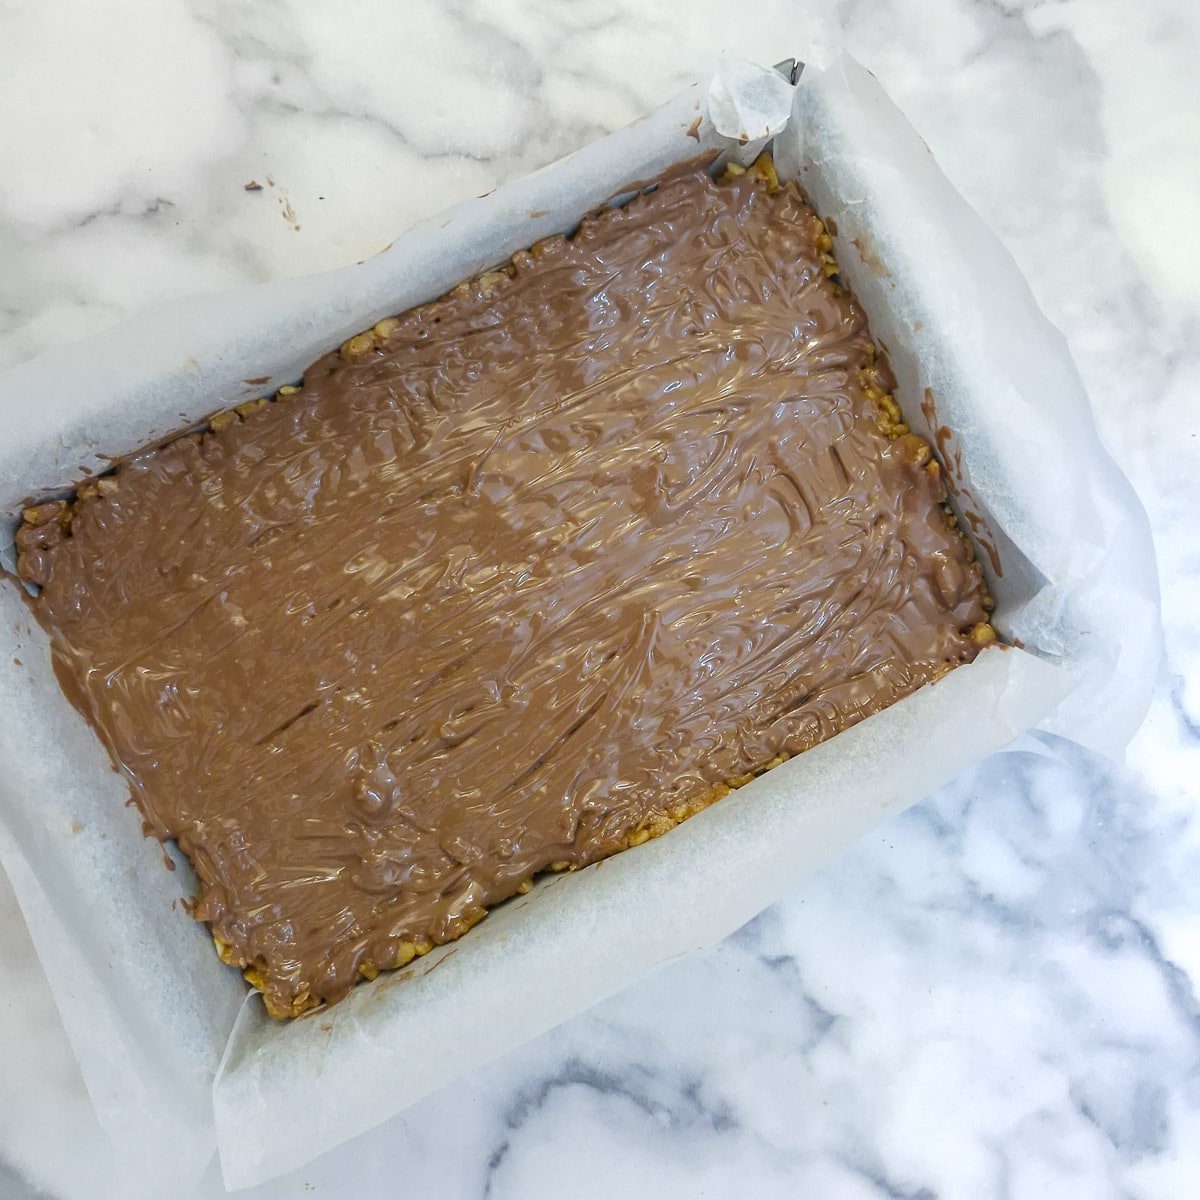
Step 7: Use a flat knife or a spatula to spread the chocolate evenly over the top.
Allow to cool, then place into the refrigerator until the chocolate has set. Remove the slice from the tray, peel off the baking parchment and cut the rice crispy slice into bars.
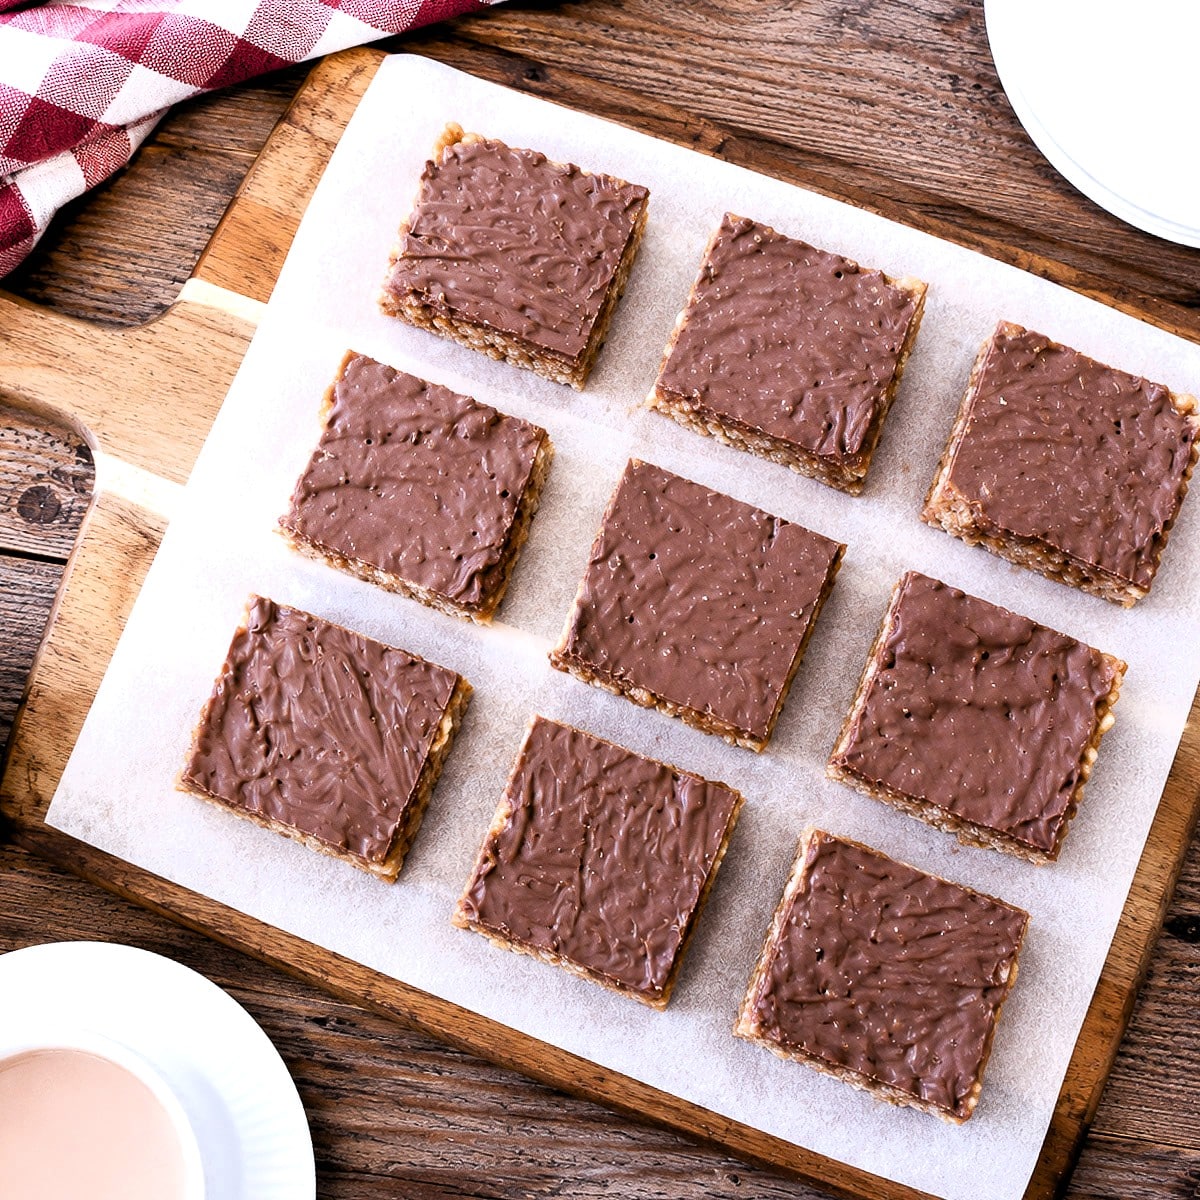
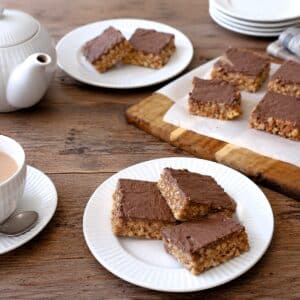
I cut mine into 12 squares (yes, I know there are only 9 in the image; we ate some!). The squares are quite large, so you might want to cut each one in half again and make bars rather than squares. They are quite rich too, so a smaller slice might be more practical.
Tips for a successful outcome
Here are my top tips to ensure your Rice Krispy peanut bars always turn out perfectly:
- Chop the nuts coarsely. If you don't have a mezzaluna (see FAQ below), you could use a food processor or even a sharp knife on a chopping board. Take care when using a food processor so as not to overblend the nuts.
- Do not boil the sugar and peanut butter mixture. If you allow the mixture to boil, it could turn into toffee and become hard when it sets. You should heat it just long enough for the sugar to melt.
- Scatter the chopped chocolate over while the mixture is still warm. The residual heat from the peanut butter mixture should be sufficient to melt the chocolate. If the mixture has cooled down too much, simply place the tray (with the chocolate on top) into a moderate oven (150C / 300F) for a minute or two to help the chocolate melt.
Storage
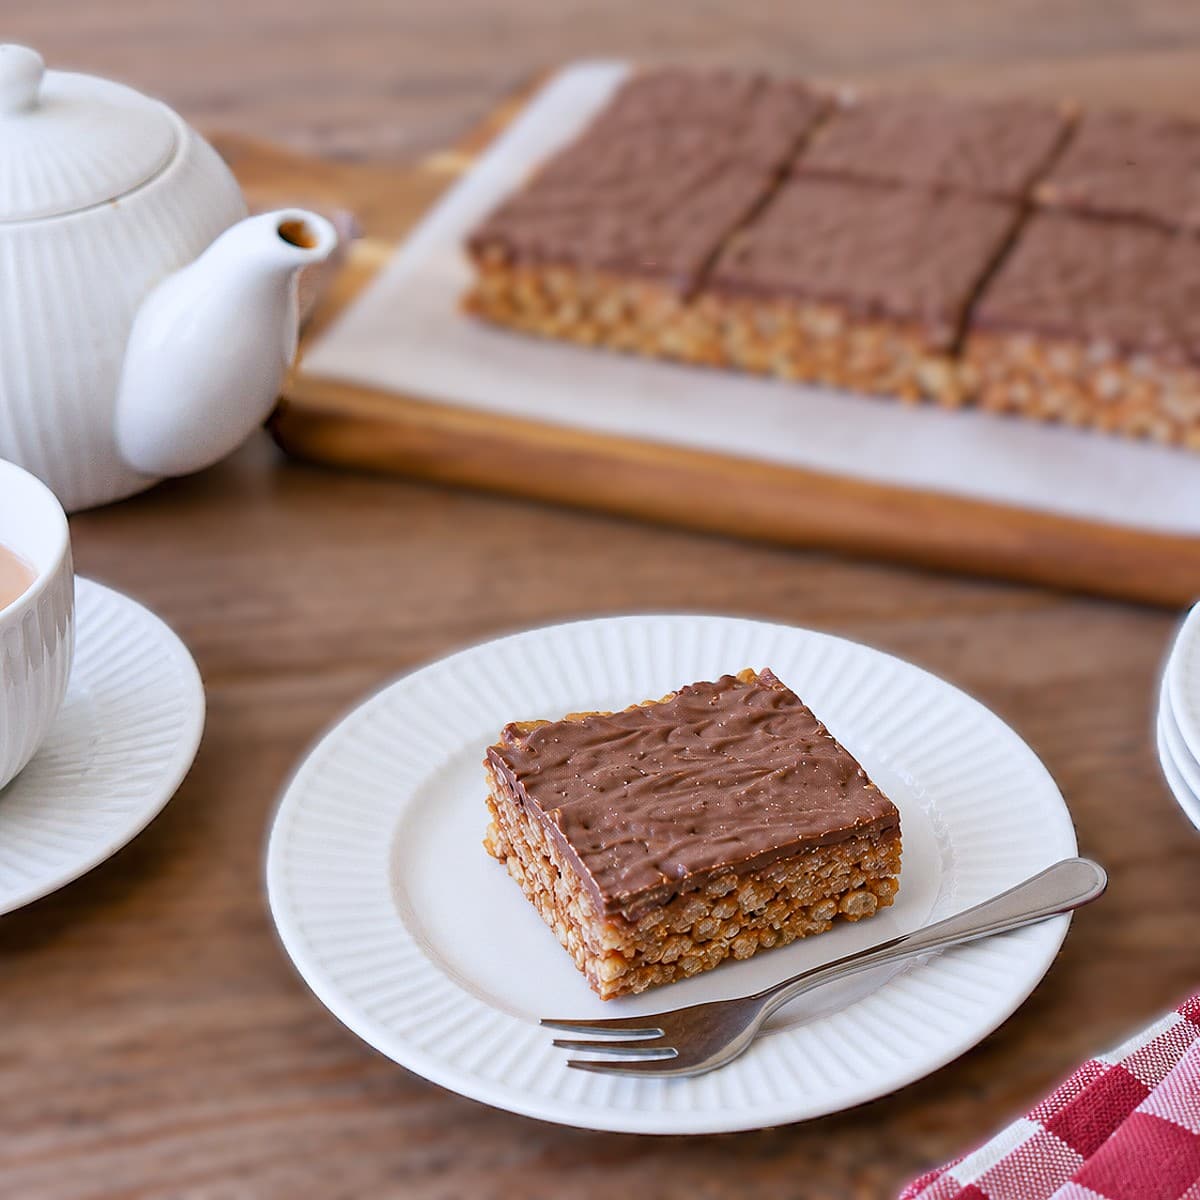
In winter, you can store the chocolate cereal bars in an airtight box in a cool place in the pantry. In summer, I like to store them in the refrigerator; otherwise, the chocolate melts and makes them a little messy to eat.
FAQ
A mezzaluna is a half-moon-shaped blade with a handle at each end. It is often used with a wooden chopping bowl or recessed board, and is traditionally used for chopping herbs. I also use mine for chopping nuts, garlic, chocolate and dried fruit. It works particularly well for nuts because, unlike chopping them with a knife, a mezzaluna doesn't send them flying all over the kitchen counter!
Yes, substitute the Rice Krispies for CocoPops for a chocolate-flavoured version. You could also use cornflakes for extra crunch.
The syrup mixture only needs heating until the sugar has dissolved. Overheating can cause the mixture to turn into toffee, which will harden as it sets.
Make sure you press the peanut/cereal mixture firmly into the tin, and once the chocolate has been spread on top, chill until completely set.
Yes. Milk chocolate gives the classic flavour; dark chocolate is less sweet, while white chocolate is sweeter.
Yes, although you wouldn't get the same texture. The bars will still hold together because of the golden syrup/peanut butter combination, but they will be much softer. I would recommend adding an extra cup of cereal if you intend to leave out the peanuts.
NOTE - for anyone with a nut allergy - leaving out the peanuts will not make this recipe nut-free as it is made with peanut butter!
Save for later
If you would like to try these Rice Krispie cereal bars, why not save the recipe to one of your Pinterest boards so you can find it easily? Just click the image below.
Alternatively, you can save the recipe by clicking on the floating heart icon on the right-hand side of the screen.
Related recipes
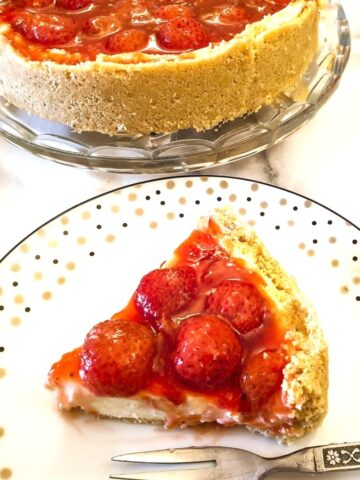
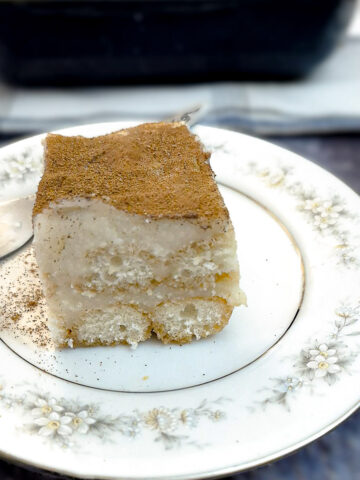
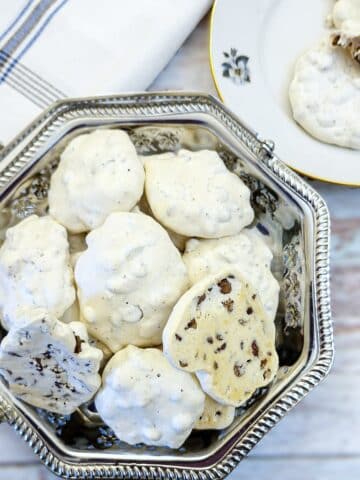
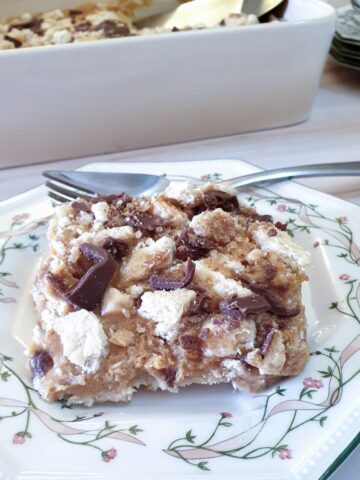
Visit my cakes, biscuits and dessert recipes page for other easy bakes. Here are a few no-bake treats you might enjoy:
The recipe
Rice Krispie peanut bars
(Click the stars to rate this recipe)
Equipment
- Mezzaluna
- Saucepan medium-sized
- Spatula for stirring
- Baking tray 7" x 9" x 1" deep (18 x 23 cm x 2.5 cm)
- Baking parchment
Ask a Question
If you have a question about this recipe that has not been answered, please use the box below to ask it.
Use this with care. This is an AI-generated result and may contain errors or inaccuracies. I cannot be held responsible for the information returned.
Ingredients
- ½ cup / 90 grams peanut butter smooth or crunchy
- ½ cup / 120 grams golden syrup
- ½ cup / 100 grams brown sugar dark or demerara
- 2 cups `/ 60 grams Rice Krispies or other popped rice cereal
- ½ cup0 / 70 grams roasted unsalted peanuts chopped
- 1 ounce / 30 grams butter
- 3½ ounces / 100 grams milk chocolate substitute with dark or white
Instructions
- Chop the peanuts coarsely.½ cup0 / 70 grams roasted unsalted peanuts
- Place the golden syrup, brown sugar, peanut butter and butter into a saucepan and stir over a low heat until the sugar has dissolved. Remove from the heat as soon as the sugar has dissolved. Do not allow the mixture to boil.½ cup / 90 grams peanut butter, ½ cup / 120 grams golden syrup, ½ cup / 100 grams brown sugar, 1 ounce / 30 grams butter
- Stir well to ensure all the ingredients are well combined..
- Add the chopped peanuts and the rice krispies and stir well.2 cups `/ 60 grams Rice Krispies
- Press the warm mixture into a 7" x 9" x 1" (18 x 23 x 2.5 cm) tray which has been lined with baking parchment. Use the back of a spoon to press the mixture down firmly.
- Chop the bar of chocolate into small pieces and scatter it over the warm mixture. Allow it to stand for a minute or two. The heat from the peanut mixture should melt the chocolate.3½ ounces / 100 grams milk chocolate
- Use a flat knife or a spatula to spread the chocolate evenly over the top.
Notes
- Chop the nuts coarsely. If you don't have a mezzaluna (see FAQ below), you could use a food processor or even a sharp knife on a chopping board. Take care when using a food processor so as not to overblend the nuts.
- Do not boil the sugar and peanut butter mixture. If you allow the mixture to boil, it could turn into toffee and become hard when it sets. You should heat it just long enough for the sugar to melt.
- Scatter the chopped chocolate over while the mixture is still warm. The residual heat from the peanut butter mixture should be sufficient to melt the chocolate. If the mixture has cooled down too much, simply place the tray (with the chocolate on top) into a moderate oven (150C / 300F) for a minute or two to help the chocolate melt.
Nutrition
I am not a nutritionist. The nutrition information has been calculated using an on-line calculator, and is intended for information and guidance purposes only. If the nutrition information is important to you, you should consider calculating it yourself, using your preferred tool.
If you made this recipe and enjoyed it, I'd love it if you could give me a star rating in the comments below. And if you'd like to get in touch, you can email me at veronica@foodleclub.com. I'd love to hear from you. And don't forget to subscribe to my mailing list so you can grab yourself a copy of my FREE COOKBOOK!
If you'd like to continue browsing, just click on this link to all my recipes.


Did you make this recipe? Let me know!