If you're short on time but crave a sweet treat, try this no-bake honeycomb caramel tart. It requires only four ingredients and takes just 15 minutes to assemble, so you can have it chilling in the fridge almost before you finish saying "Let's have honeycomb caramel tart for dessert tonight."
Jump to:
Crunchie fridge tart
Ever since the success of my peppermint crisp fridge tart which has been one my most popular recipes since I first posted it almost 3 years ago, I've been meaning to make a new version of this delicious dessert using Crunchies instead of peppermint chocolate.
Well, I've finally done it, and even if I say it myself, I think this Crunchie version tastes even better! It is sweet, sticky and totally moreish. Because let's face it, that's what desserts are all about!
If you've got a spare 15 minutes and 4 simple ingredients (caramel condensed milk, double cream, biscuits and Crunchie bars) you can have this honeycomb tart in the refrigerator in no time. You will have to wait for an hour or two before you can eat it though, as it has to set. This is actually the hardest part of the entire recipe.
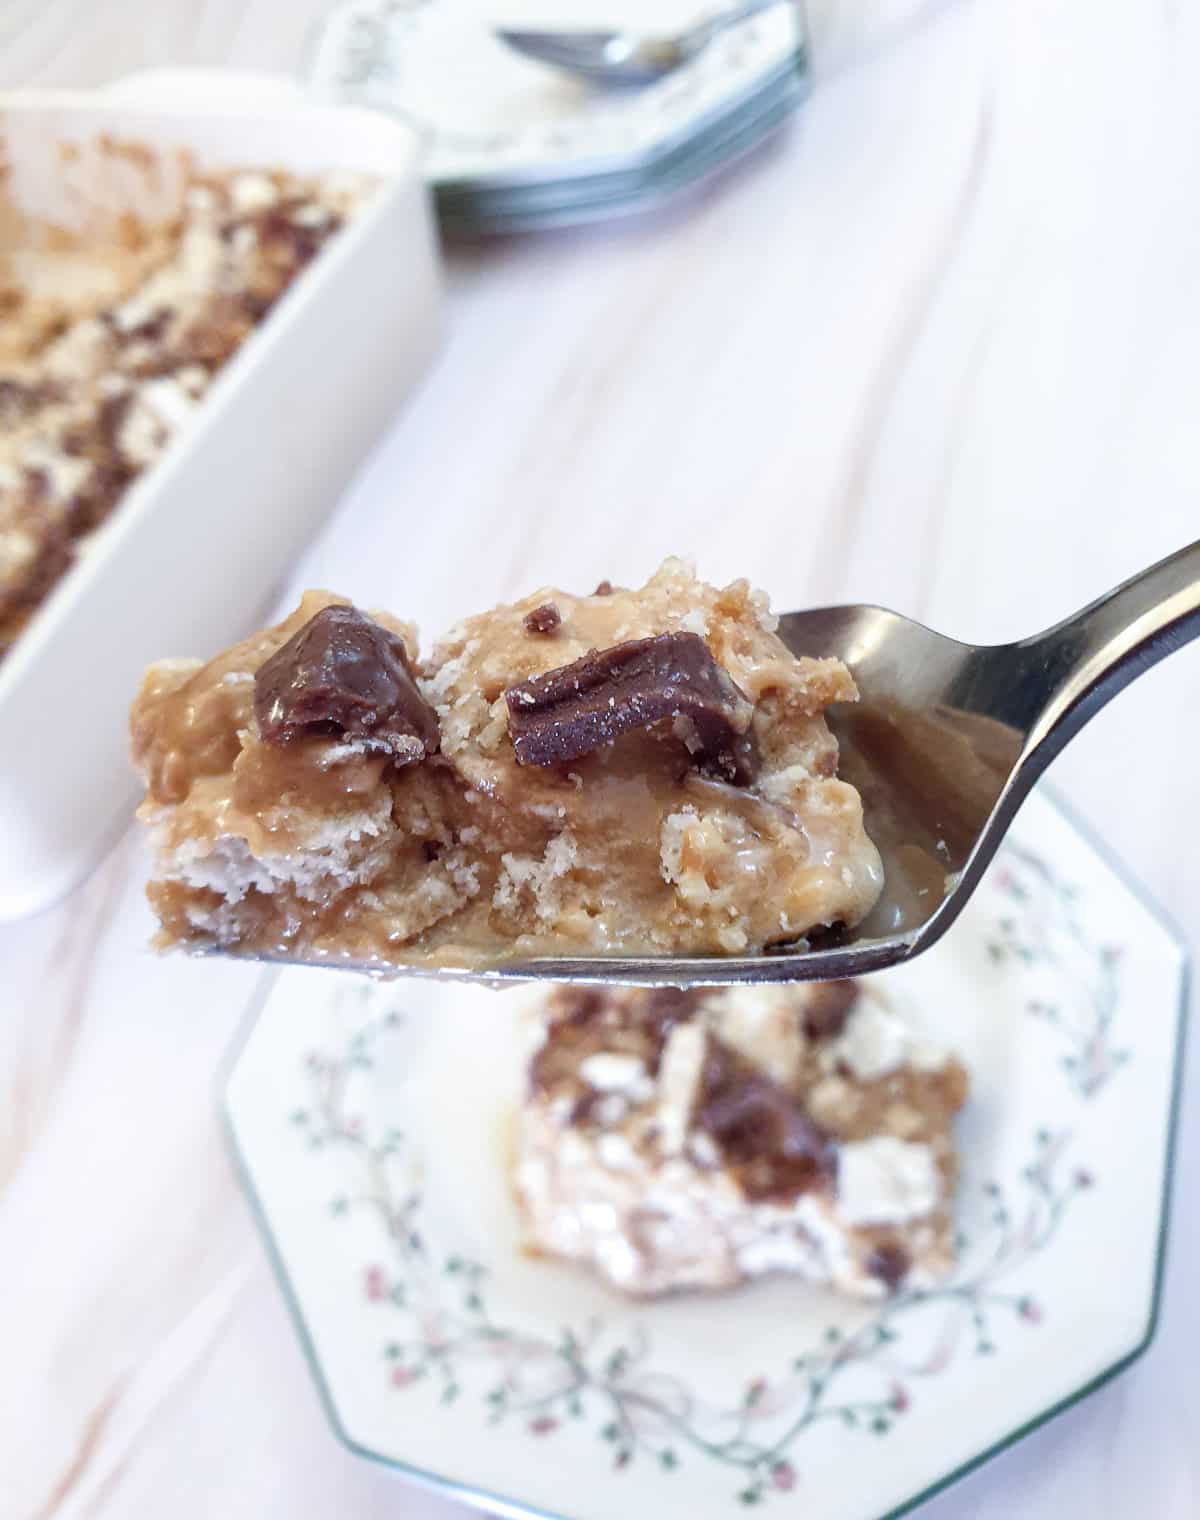
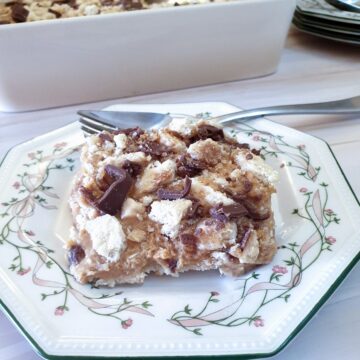
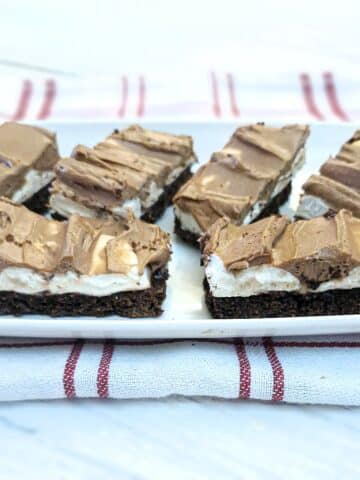
I love how the honeycomb from the Crunchies melts into the caramel filling, leaving just the outer chocolate coating behind.
I've used Nice biscuits, which give a coconut flavour to the dessert, but there are lots of different biscuits you could use:
- Lotus Biscoff - for a richer caramel taste
- Rich Tea / Marie biscuits - these will cut down on the sweetness (so you could have a larger helping) 🙂
- Chocolate digestives or even chocolate chip cookies - to add extra chocolate bits
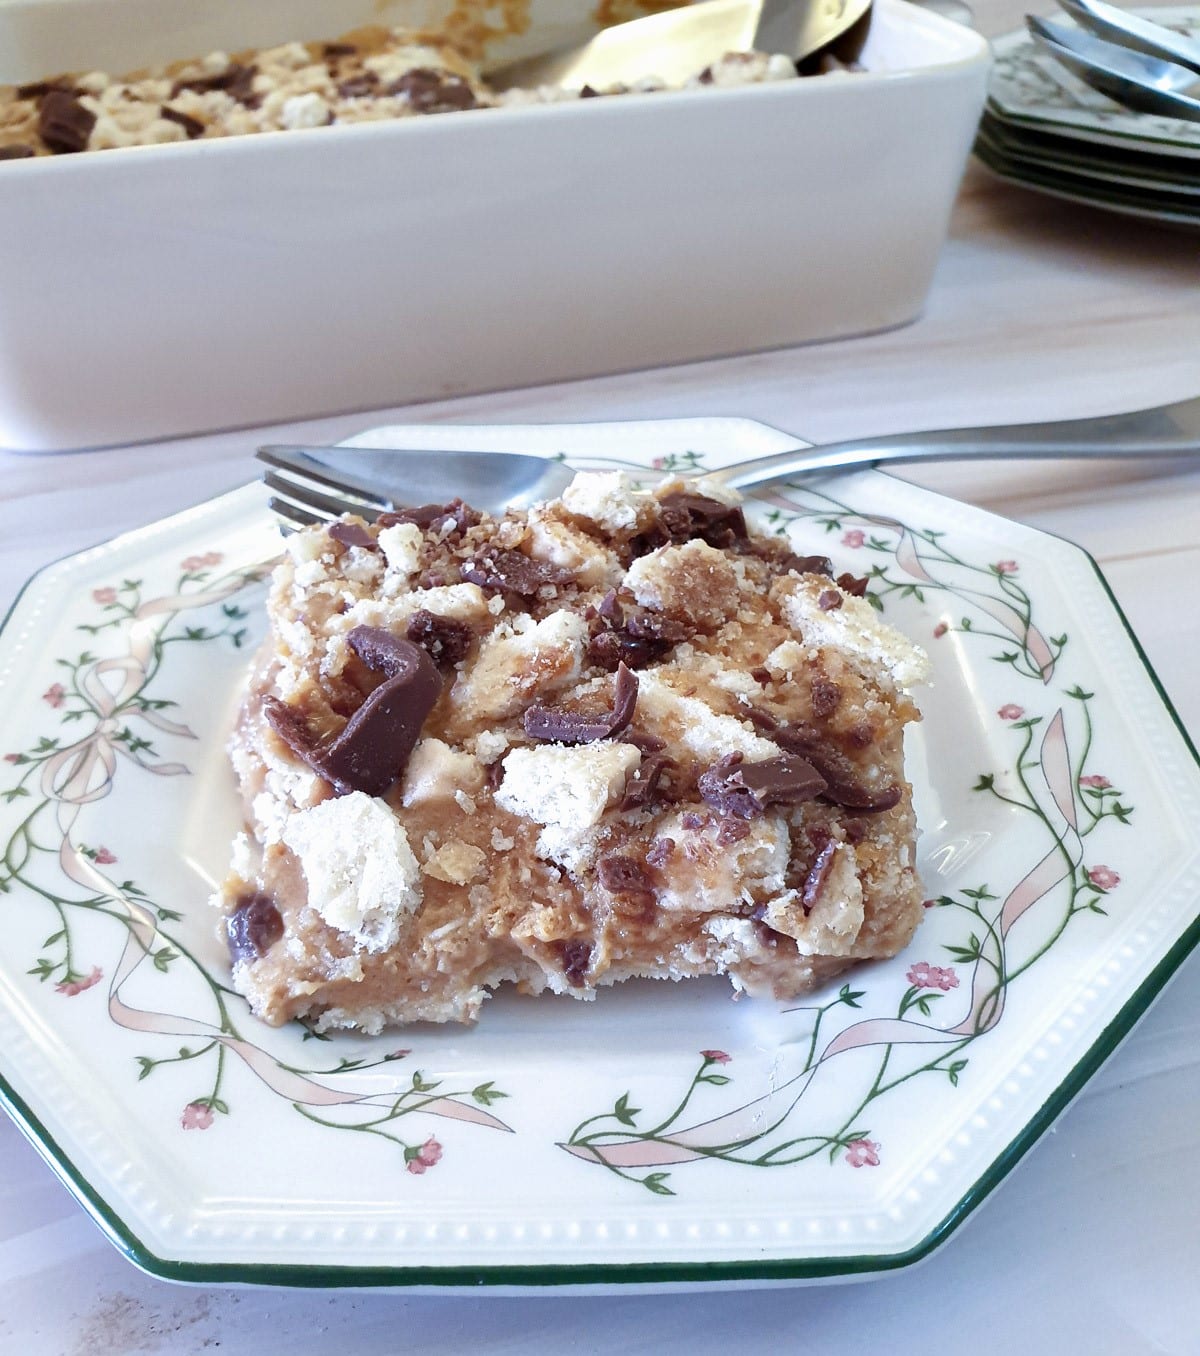
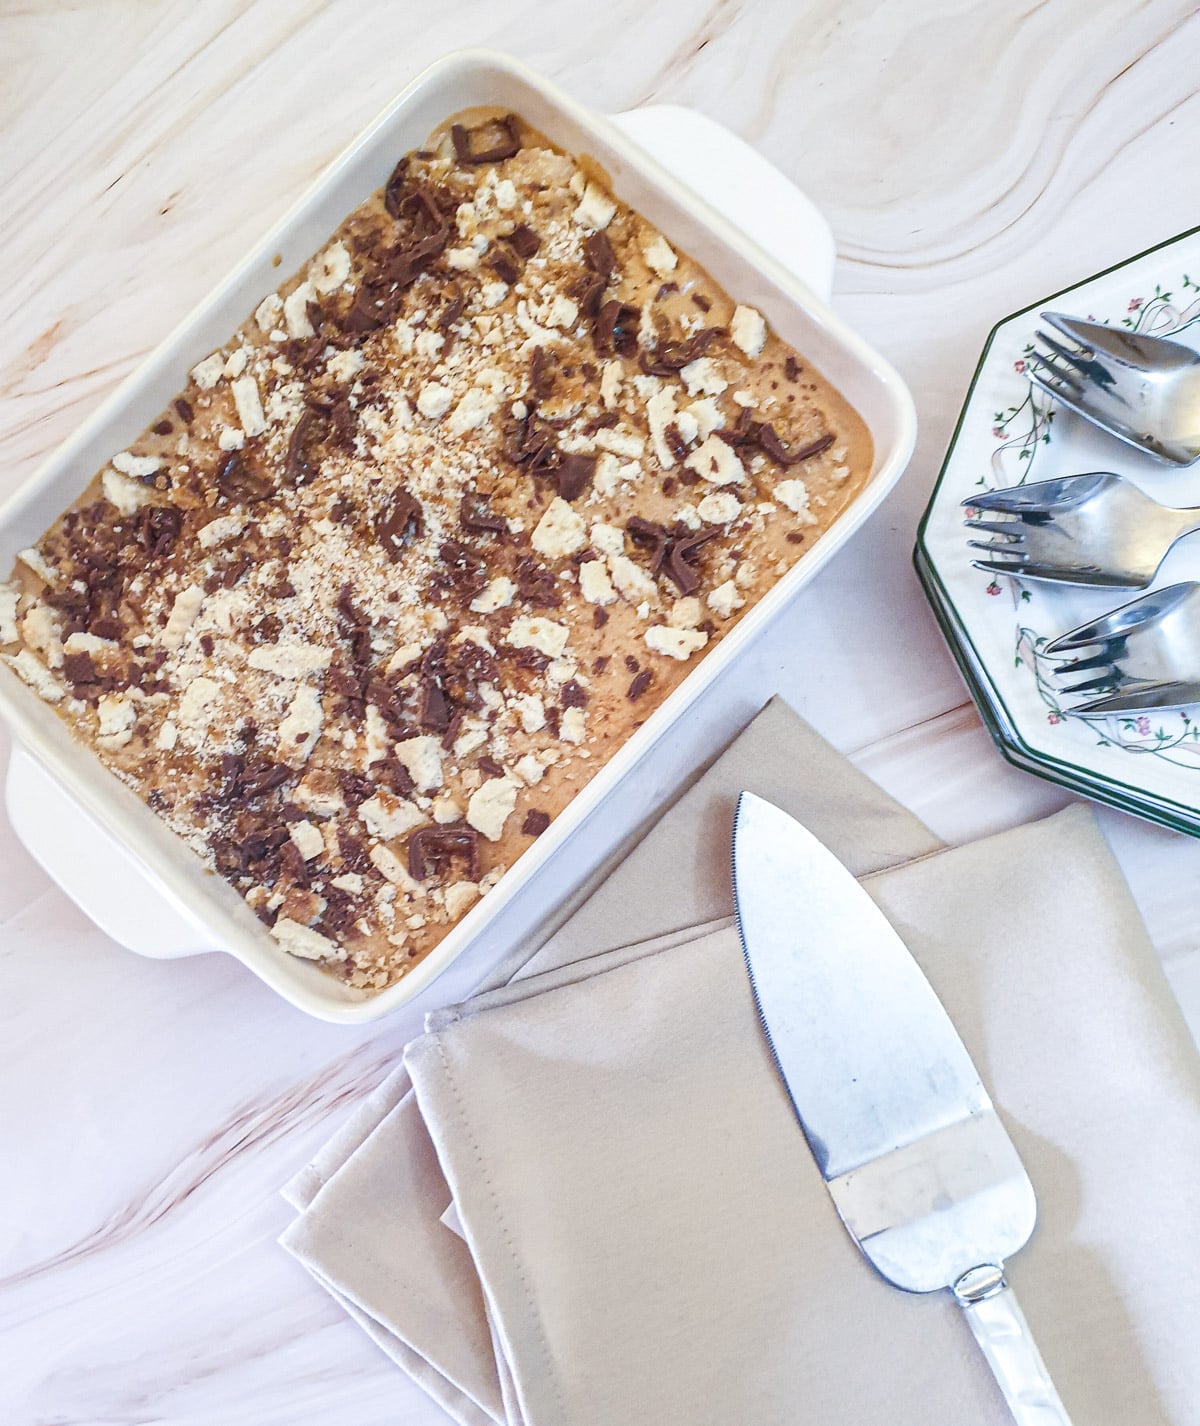
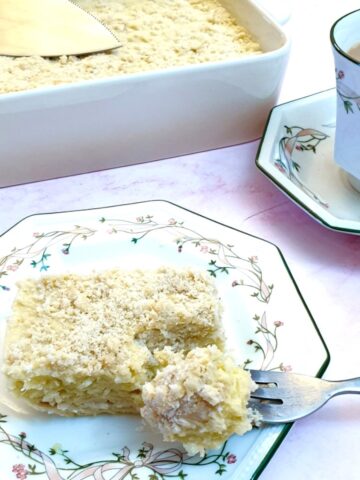
And this is what you end up with -
Can you just imagine closing your eyes and savouring the rich caramel, chocolatey taste?
Let me show you how to make it while you stop drooling.
What you will need
Equipment
To assemble the tart you will need a 9-inch x 7-inch (or 22cm x 18cm) dish (or similar).
For beating the cream you will need a small mixing bowl and an electric hand mixer. You could also beat the cream with a balloon whisk, but it will take a bit more effort.
You will also need a sharp knife and a chopping board for cutting up the Crunchies.
Ingredients
This dessert will be sufficient for at least 8 people, but you can store leftovers in the fridge for up to 3 days if you have a smaller family.
**You can get the complete list of ingredients and full instructions for making this honeycomb caramel tart on the printable recipe card at the end of this post**
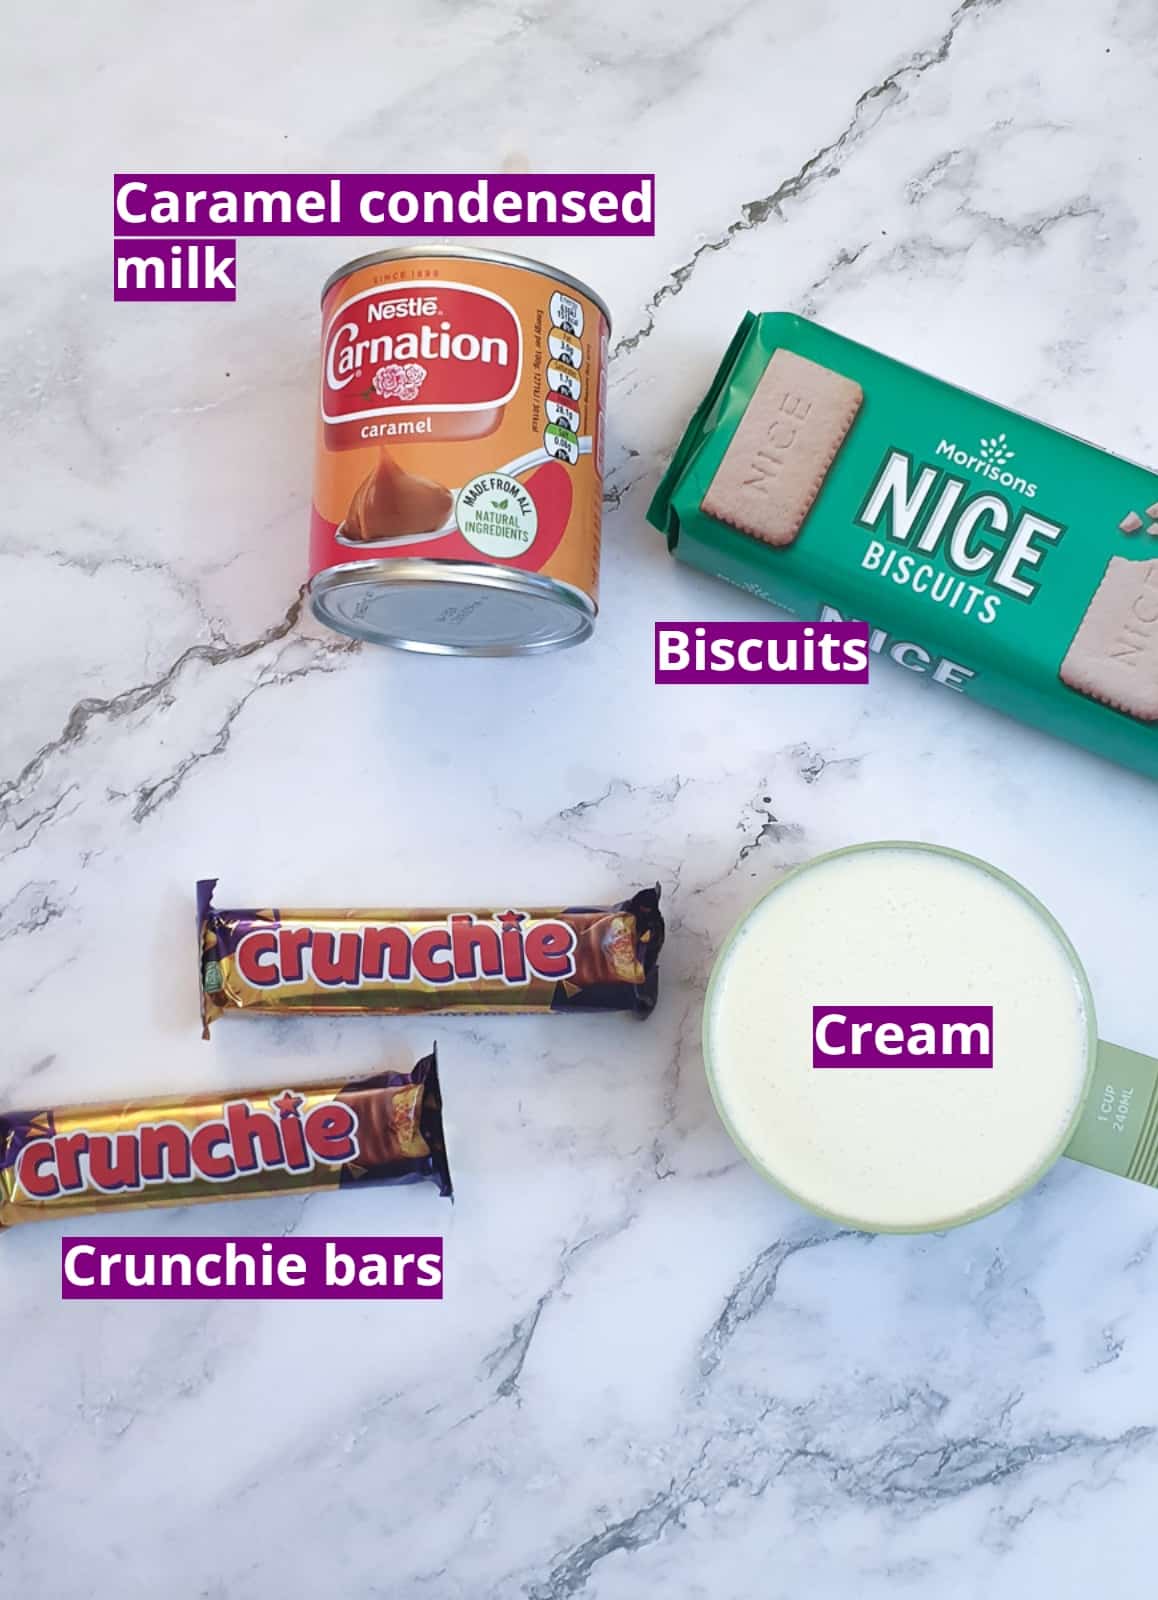
Caramel condensed milk - you can buy condensed milk ready caramelised in the supermarket or make your own by simmering a can of normal condensed milk in a saucepan of water for about 3 hours. If you do make your own, ensure that the can remains completely submerged in water for the entire cooking process. Let the can cool before opening.
Biscuits (or cookies) - I used Nice biscuits - you can use whatever biscuits you prefer - I've made some suggestions above.
Cream - this is double or heavy whipping cream. Don't use single cream, the cream has to be whipped until it thickens - single cream will not thicken no matter how long you whip it.
Crunchies - I used 2 x 40-gram bars. For a richer dessert, you could use an extra Crunchie.
What to do
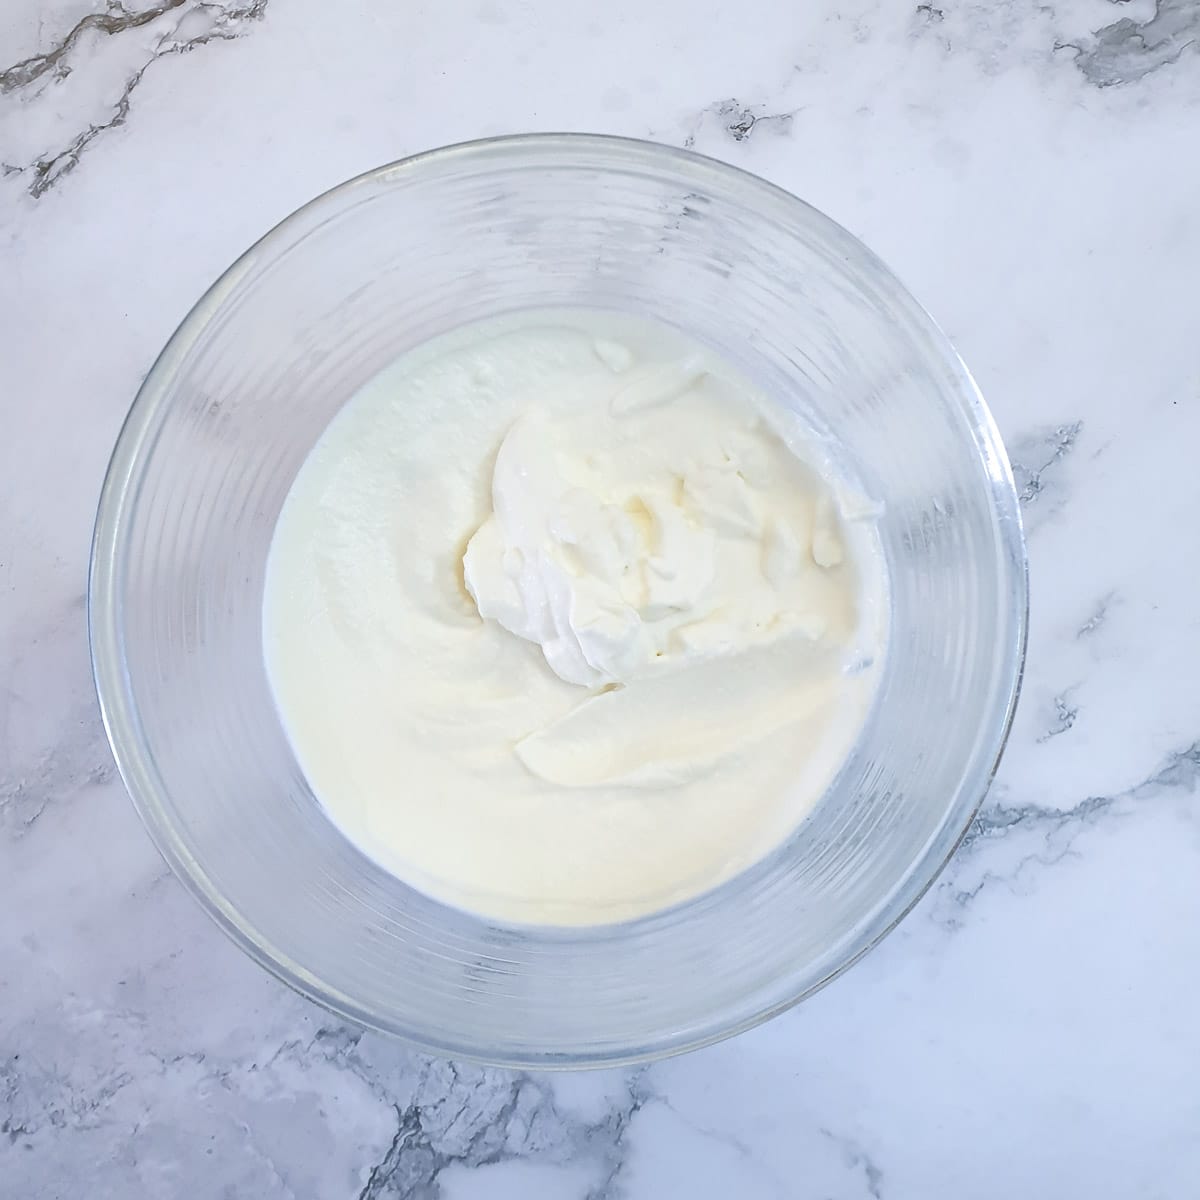
Tip the cream into a mixing bowl and beat it with an electric hand mixer or balloon whisk until it forms stiff peaks. Don't overbeat or you will end up making butter.
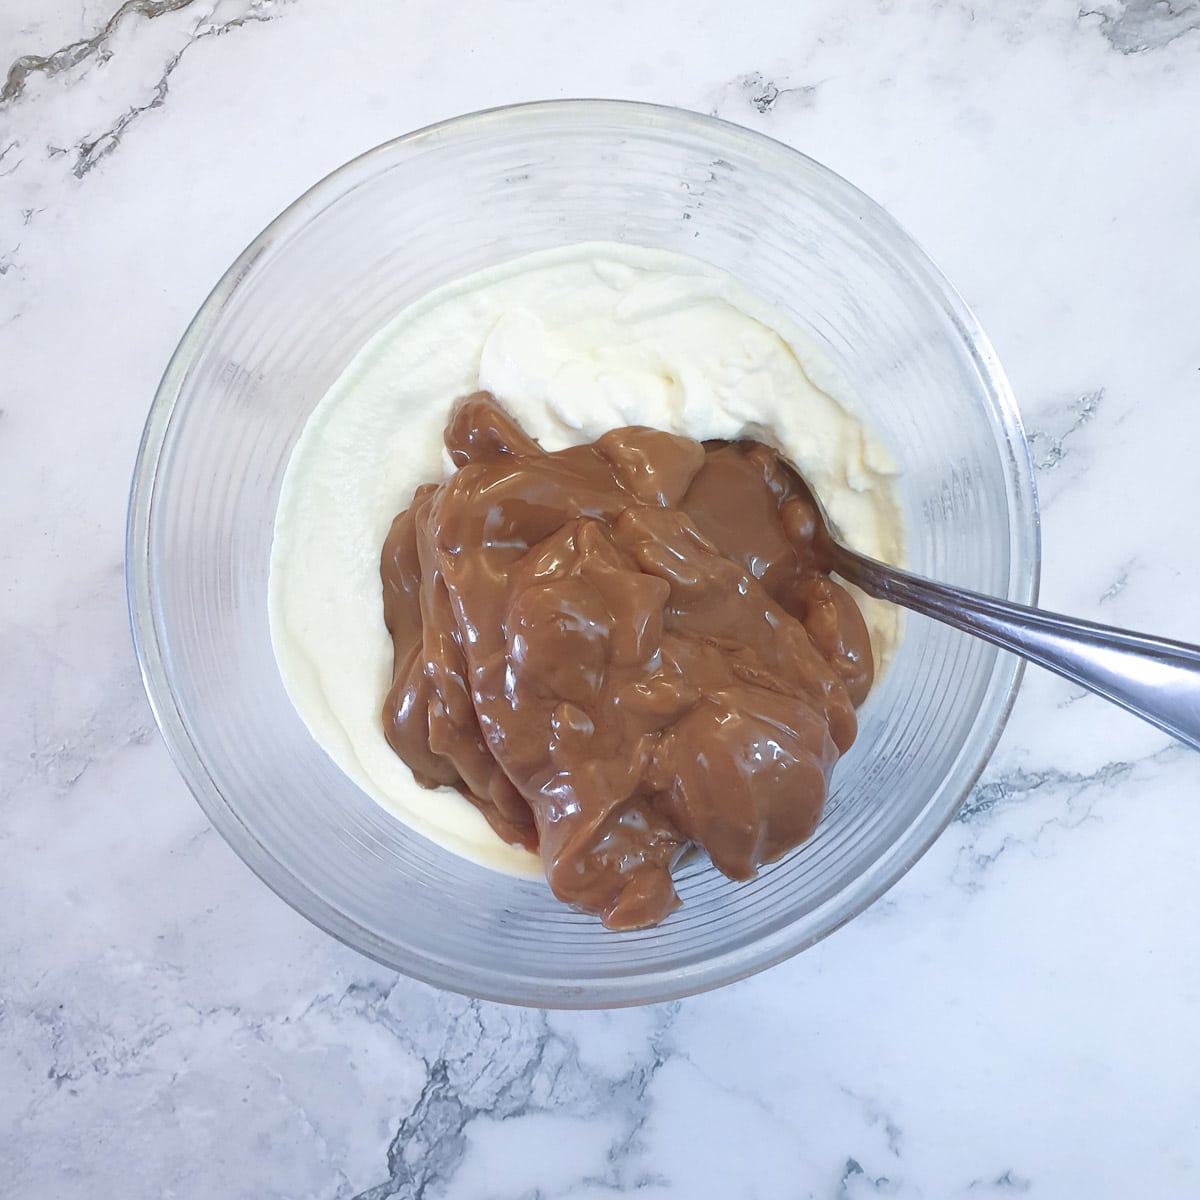
Tip in the tin of caramel condensed milk.
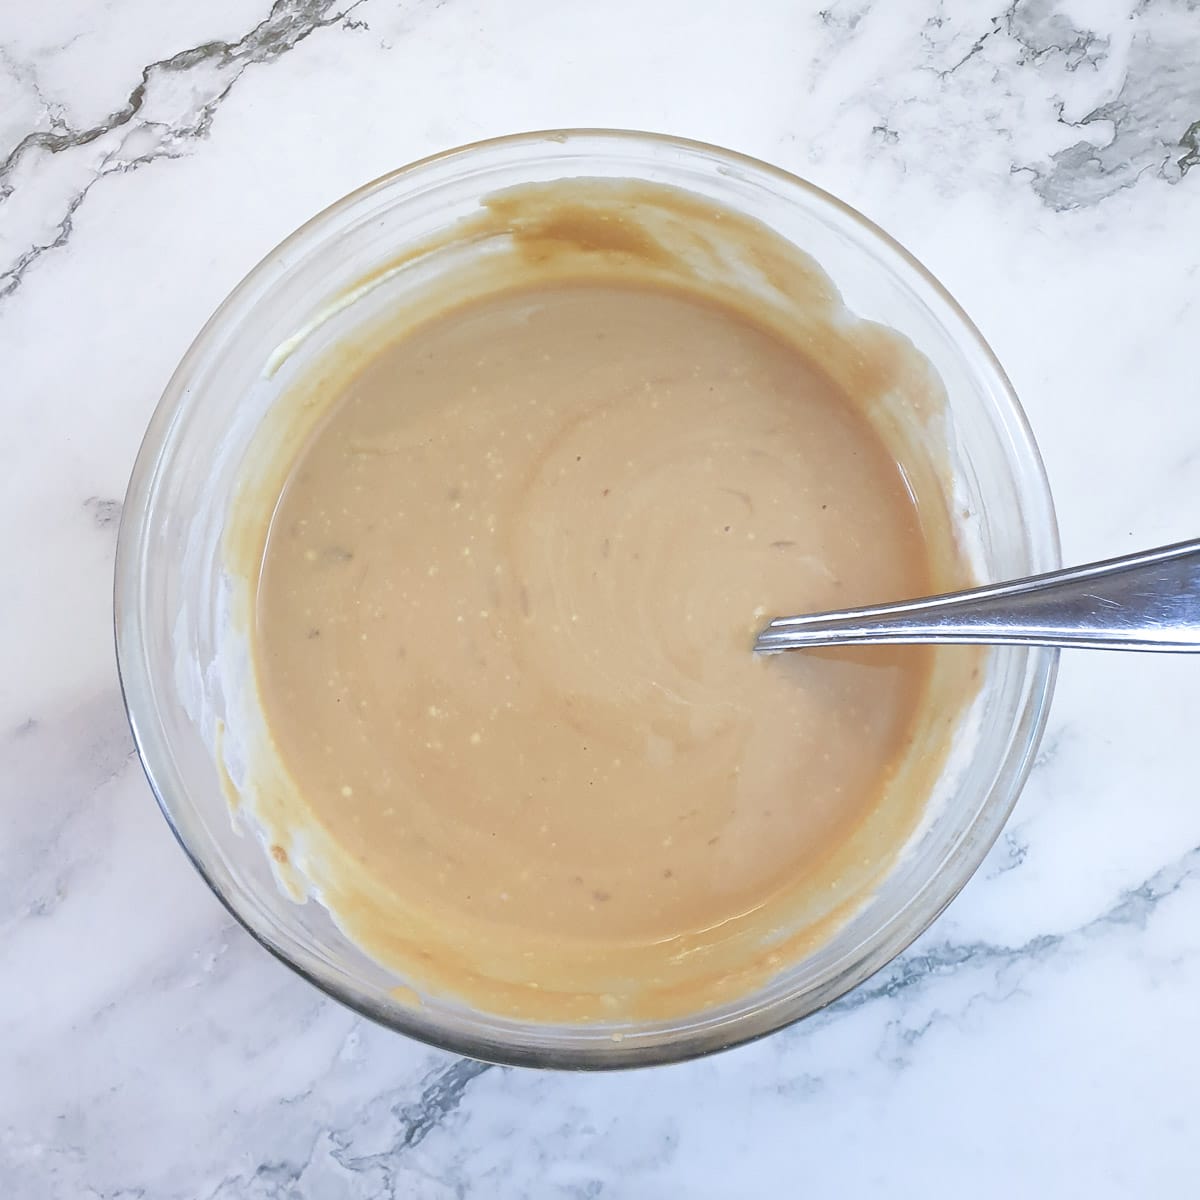
Stir the caramel condensed milk gently into the cream until well combined.
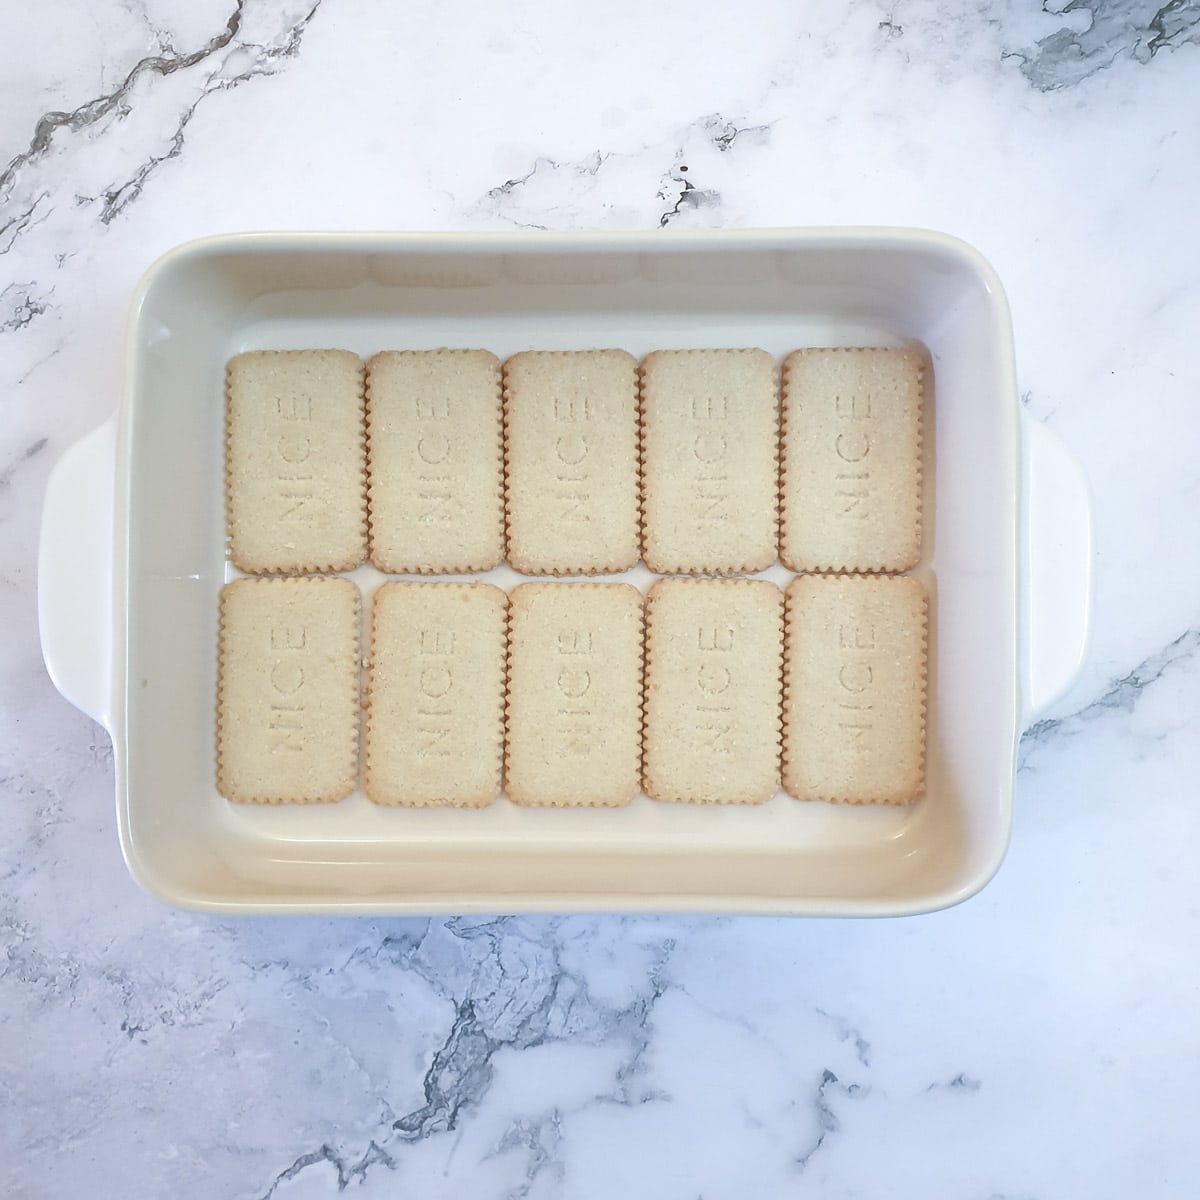
Lay a layer of biscuits on the bottom of your dish.
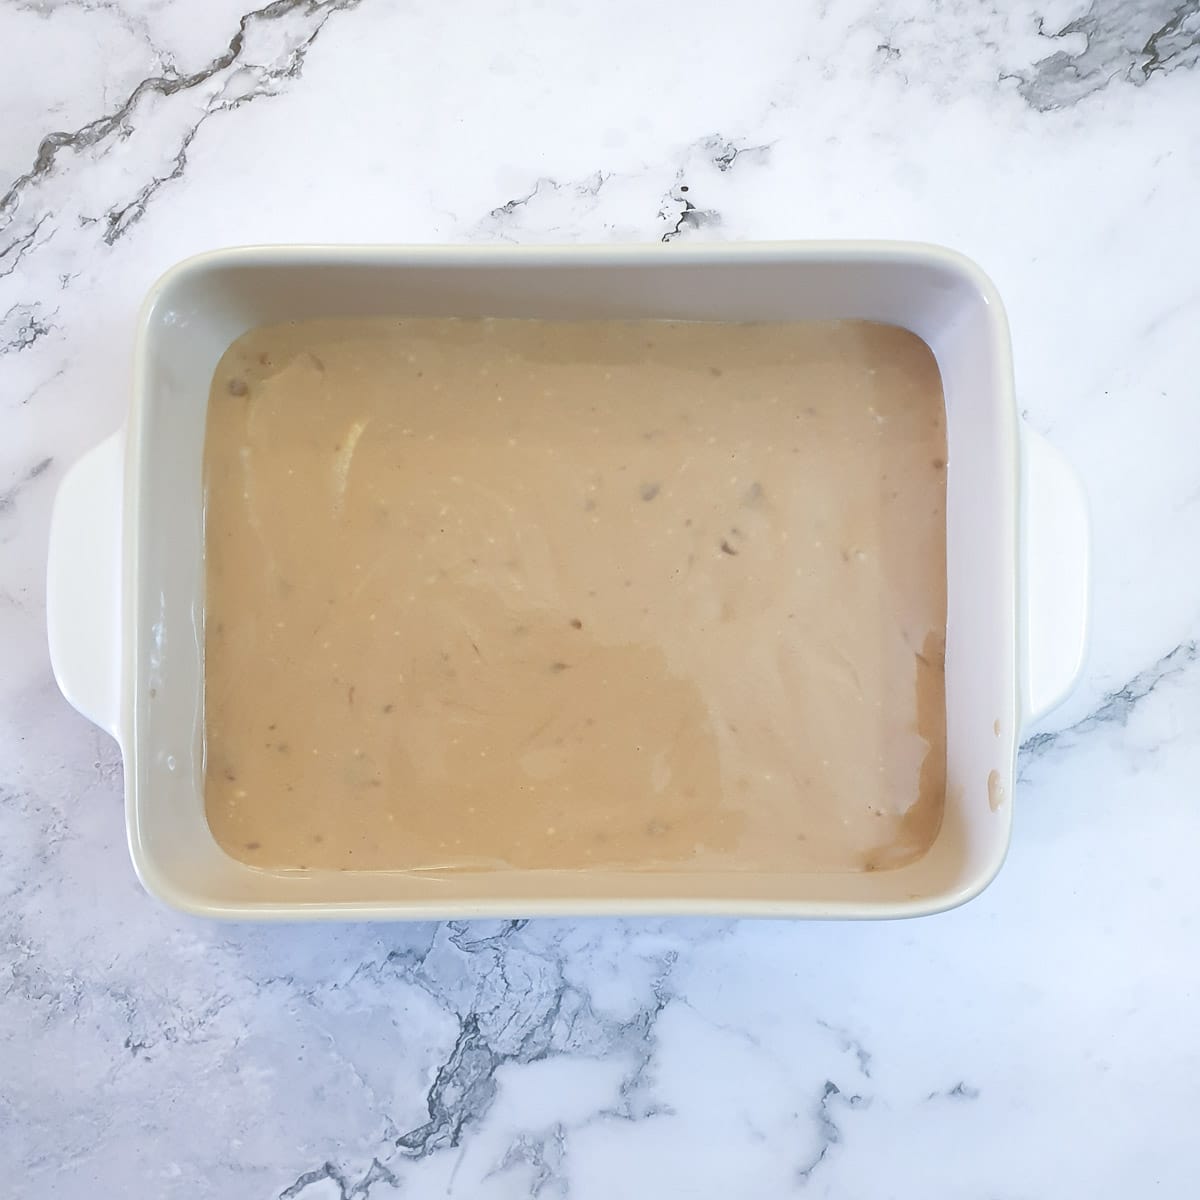
Cover the biscuits with half of the condensed milk/cream mixture.
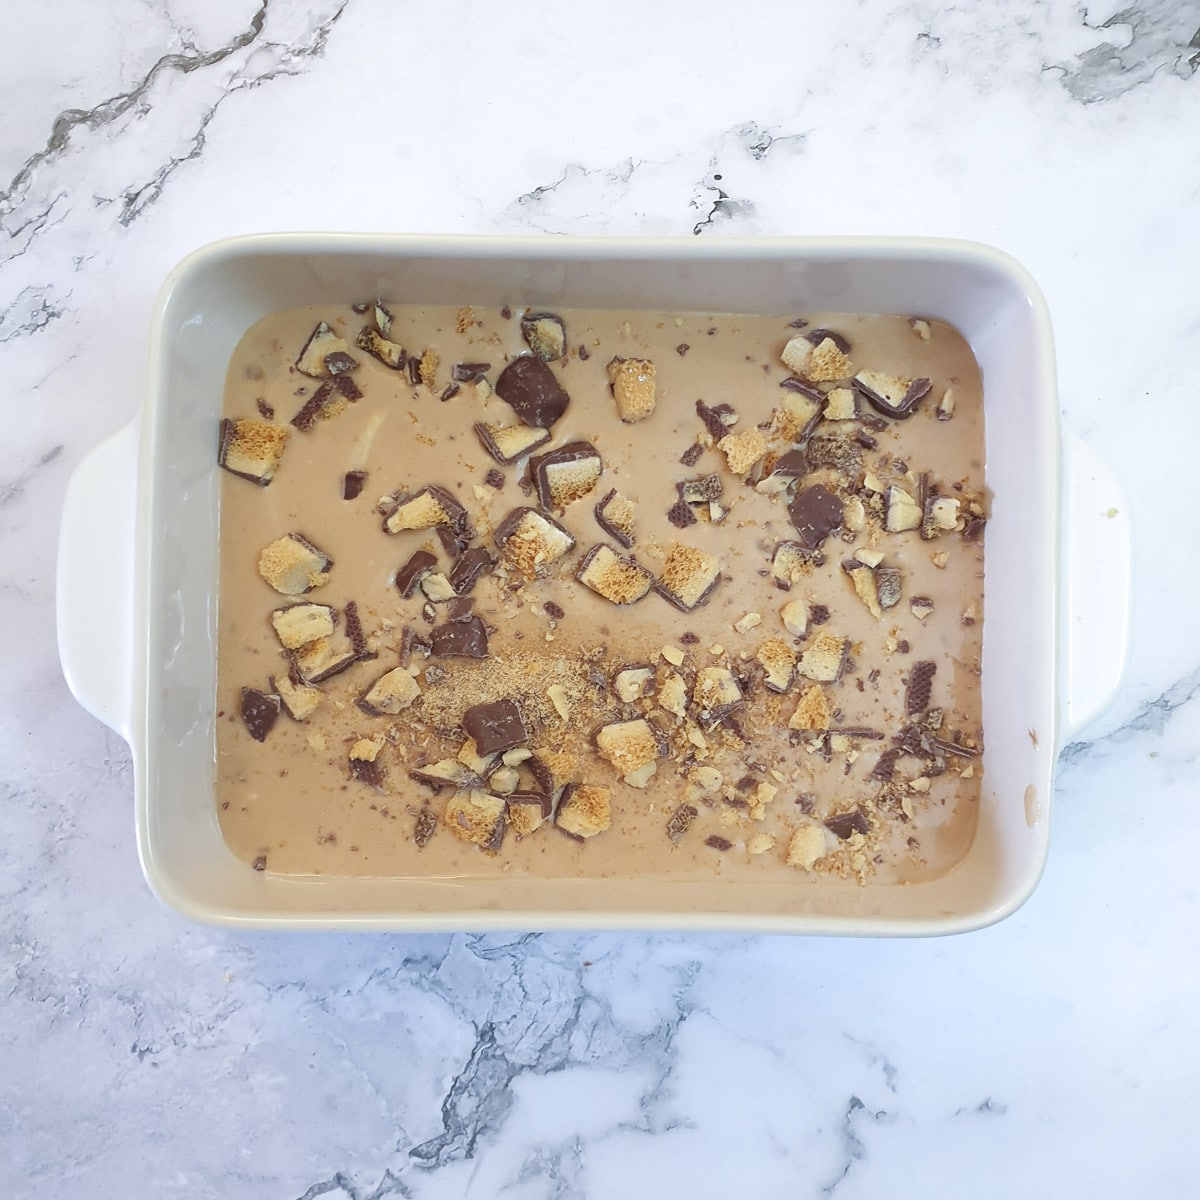
Using a sharp knife, cut one of the crunchie bars into small pieces and scatter them over the condensed milk mixture.
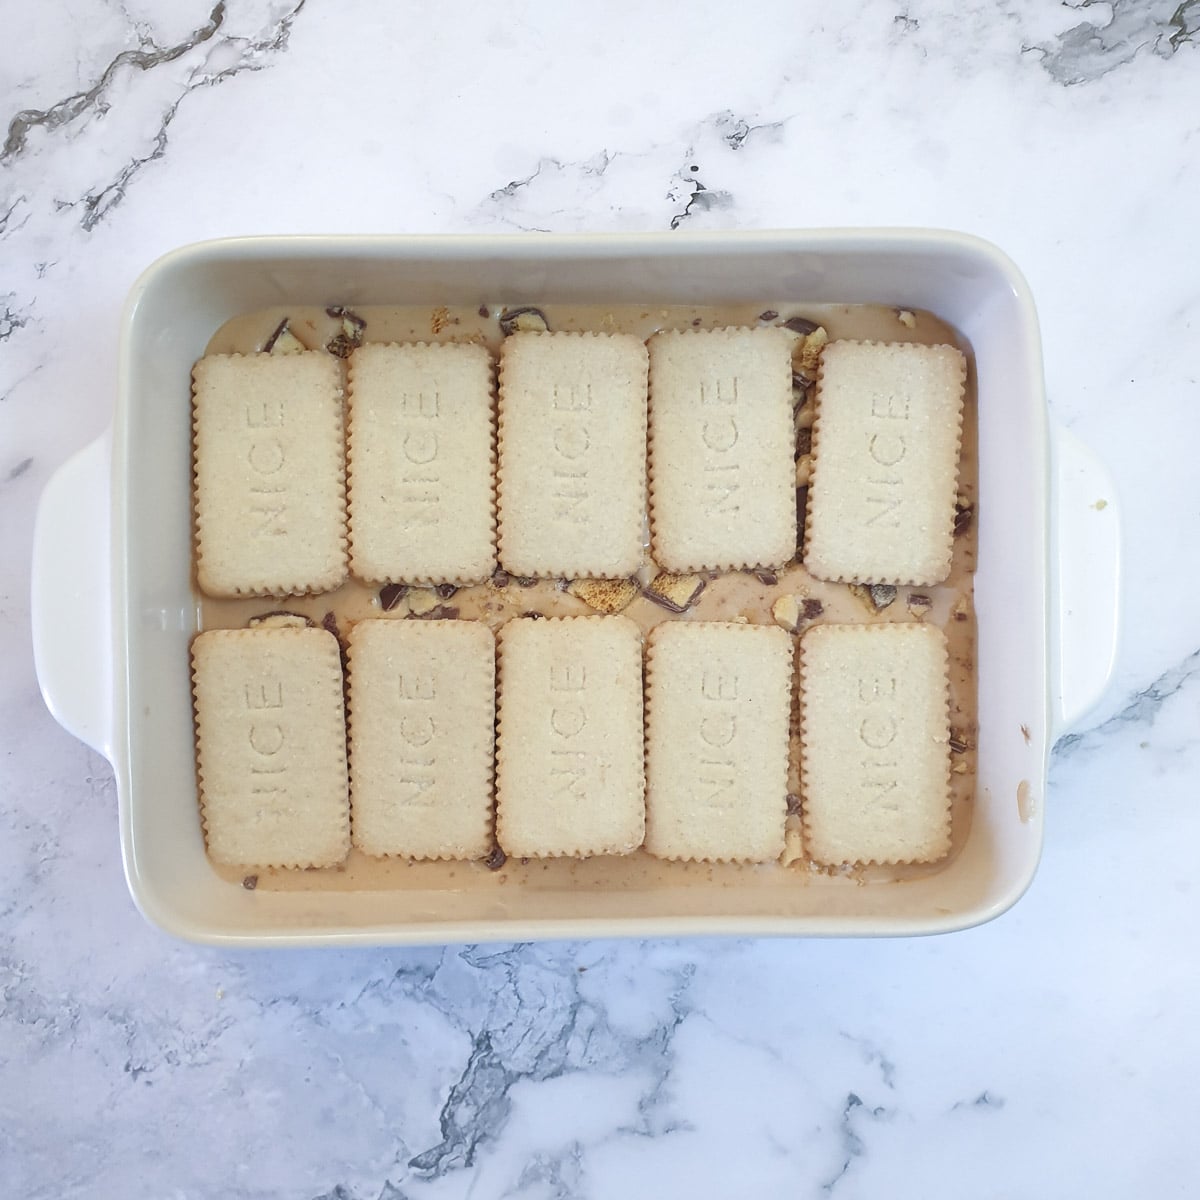
Add another layer of biscuits.
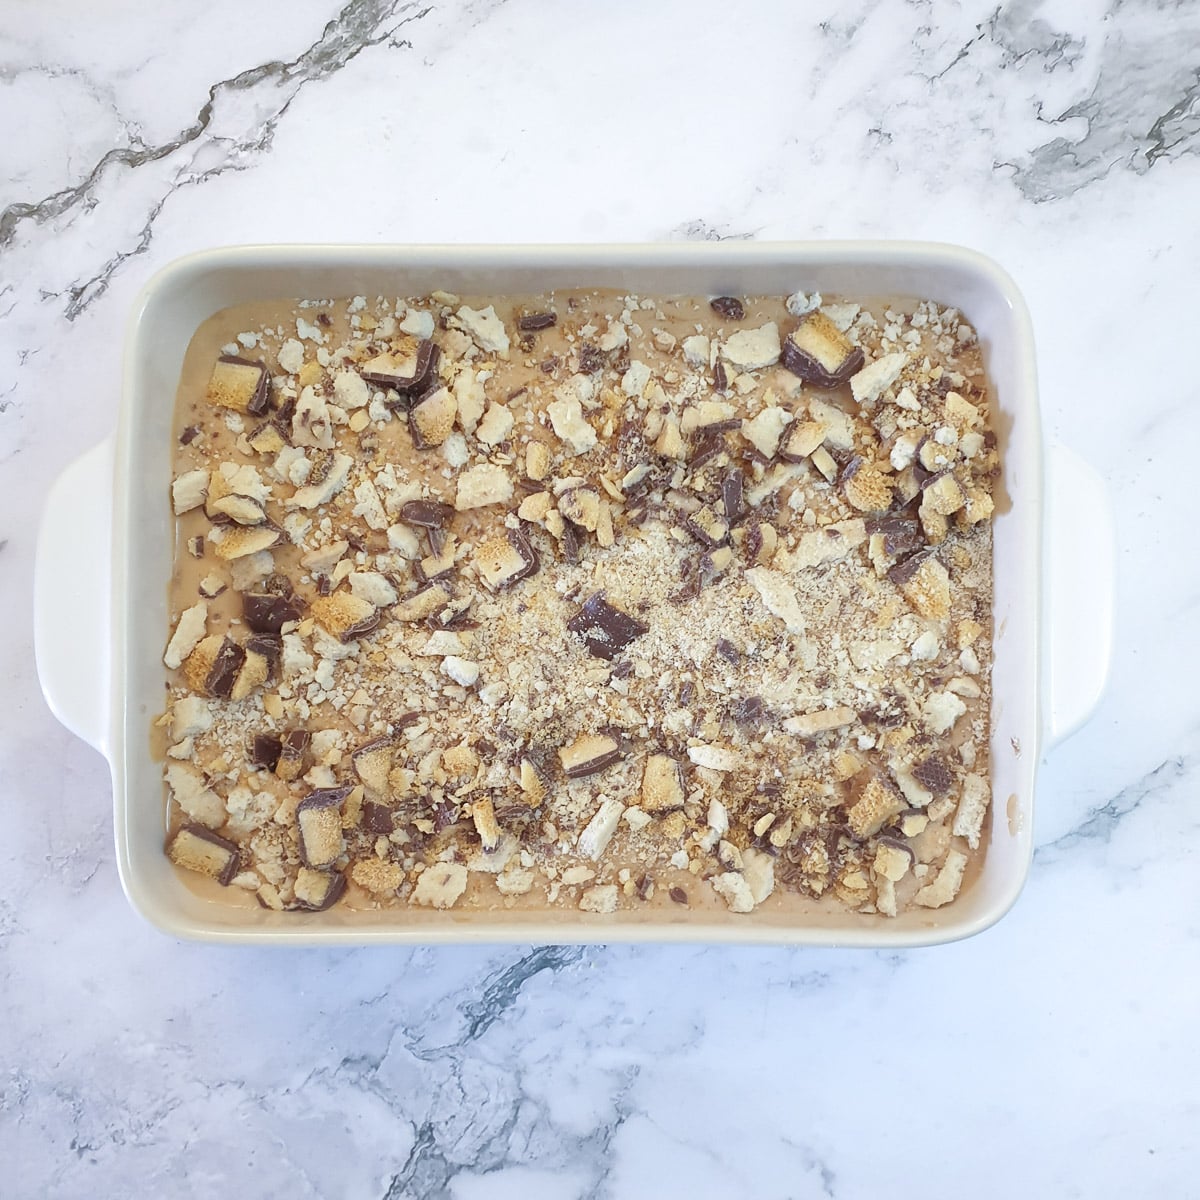
Top with the remaining condensed milk/cream mixture. Crush any remaining biscuits, combine them with the second chopped Crunchie bar and scatter over the top.
Cover the tart with a layer of plastic wrap and place it into the refrigerator for at least 2 hours to set. The biscuits will absorb some of the condensed milk/cream mixture which will help to thicken the tart.
If you'd like to be notified of new recipes, why not subscribe to my newsletter? To say thank you, you will receive a free recipe e-book containing some of my most popular cakes and desserts.
Honeycomb caramel tart FAQ
Sorry no - this tart is not suitable for freezing.
This tart can be made up to 3 days in advance and stored (covered) in the refrigerator.
I made 2 layers, but nothing is stopping you from adding an extra layer. Using the given ingredients (plus an extra packet of biscuits and an extra Crunchie) you could make three layers from this recipe. Just use one-third of the condensed milk/cream mixture for the layers rather than half. The texture of the tart will be thicker as the biscuits will soak up more of the condensed milk/cream.
Save for later
If you would like to make this honeycomb caramel tart why not save the recipe to one of your Pinterest boards so you can find it easily? Just click on the image below.
Alternatively, you can save the recipe by clicking on the floating heart icon on the right-hand side of the screen.
Related recipes
If you enjoyed this honeycomb caramel tart perhaps you'd like some of these other recipes too:

You can find all of these plus other delicious dessert recipes on my cakes, biscuits and dessert recipes page.
📋The recipe
No-bake Honeycomb caramel tart
(Click the stars to rate this recipe)
Equipment
- 9" x 7" dish
- Electric hand mixer or
- Balloon whisk
- Sharp Knife
- Chopping Board
Ask a Question
If you have a question about this recipe that has not been answered, please use the box below to ask it.
Use this with care. This is an AI-generated result and may contain errors or inaccuracies. I cannot be held responsible for the information returned.
Ingredients
- 13 ounces / 397 gram can caramel condensed milk
- 7 ounces / 200 gram packet Nice biscuits
- 1 cup / 240 ml double, heavy or whipping cream
- 2 Crunchie bars (40 grams /1.5 ounces each)
Instructions
- Tip the cream into a mixing bowl and beat it with an electric hand mixer or balloon whisk until it forms stiff peaks. Don't overbeat or you will end up making butter.1 cup / 240 ml double, heavy or whipping cream
- Tip in the tin of caramel condensed milk.13 ounces / 397 gram can caramel condensed milk
- Stir the caramel condensed milk gently into the cream until well combined.
- Lay a layer of biscuits on the bottom of your dish.7 ounces / 200 gram packet Nice biscuits
- Cover the biscuits with half of the condensed milk/cream mixture.
- Using a sharp knife, cut one of the crunchie bars into small pieces and scatter them over the condensed milk mixture.2 Crunchie bars (40 grams /1.5 ounces each)
- Add another layer of biscuits.
- Top with the remaining condensed milk/cream mixture. Crush any remaining biscuits, combine them with the second chopped Crunchie bar and scatter over the top.
- Cover the tart with a layer of plastic wrap and place it into the refrigerator for at least 2 hours to set.
Notes
- Lotus Biscoff - for a richer caramel taste
- Rich Tea / Marie biscuits - these will cut down on the sweetness (so you could have a larger helping) 🙂
- Chocolate digestives or even chocolate chip cookies - to add extra chocolate bits
Nutrition
I am not a nutritionist. The nutrition information has been calculated using an on-line calculator, and is intended for information and guidance purposes only. If the nutrition information is important to you, you should consider calculating it yourself, using your preferred tool.
If you made this recipe and enjoyed it, I'd love it if you could give me a star rating in the comments below. And if you'd like to get in touch, you can email me at [email protected]. I'd love to hear from you. And don't forget to subscribe to my mailing list so you can grab yourself a copy of my FREE COOKBOOK!
If you'd like to continue browsing, just click on this link to all my recipes.
Beate Brunn says
Hi VJ
Thank you so much for this super delish recipe. I had friends come over and decided to make this for dessert. Well, they took the remaining pud back home with them and we all came to the same decision....."bestestest" dessert of 2023 !!!!
In fact, they will be here tomorrow again - they couldn't really be bothered about the dinner - as long as the same pud would be on the menu
So, thanks again VJ !!!
VJ says
So glad you enjoyed it! It's one of my favourites too.