Portuguese custard tarts, also known as "pastéis de nata," are a traditional pastry originating in Portugal. They are small, individual tarts made with a flaky pastry crust and filled with a rich, creamy custard made from eggs, sugar, and cream. The tarts are often dusted with cinnamon and powdered sugar before serving.

Jump to:
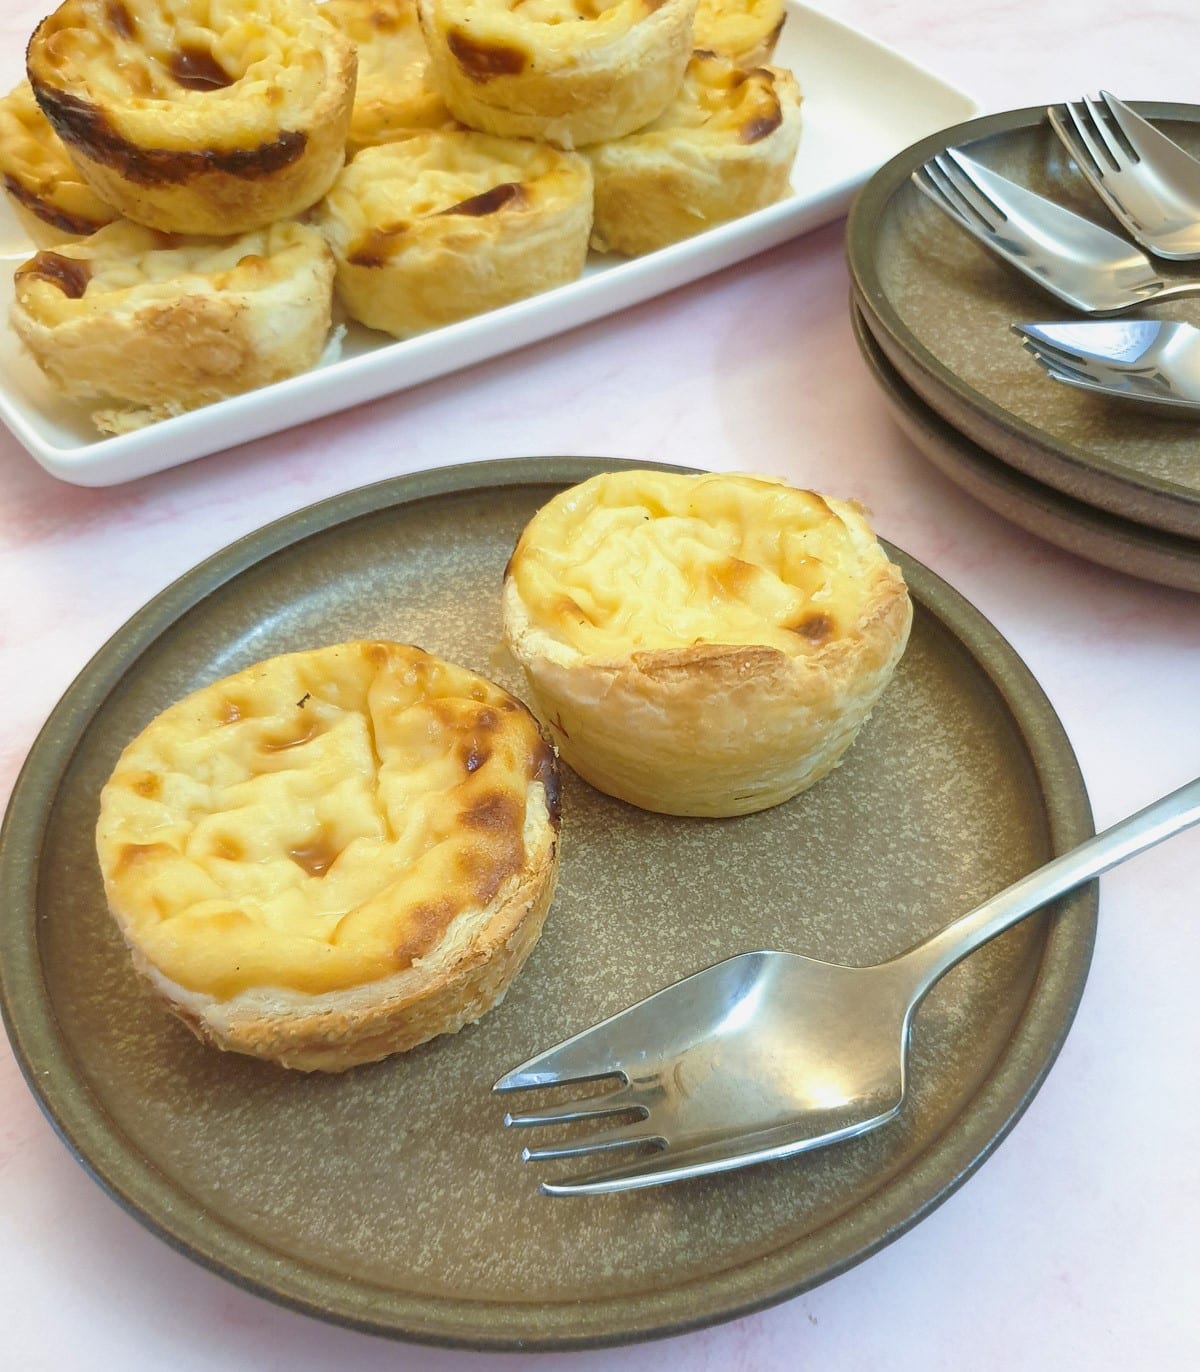
Pasteis de nata
I've wanted to make these delicious Portuguese custard tarts ever since I first tasted them many years ago in South Africa, but for some reason, I never got around to doing it.
This year, that's all changed! My new year's resolution is to find all the recipes that are on my 'oh I wish I could make that' list, and actually make them.
Of course, I like to put my own spin on recipes and make them as easy as possible for others to replicate. My shortcut with this recipe is to use store-bought puff pastry. This pastry has almost the same laminations that you will find in a 'proper' Portuguese custard tart, but with minimal effort.
I also swapped out the cream for milk, which makes the tarts less rich (so you can eat two rather than one without feeling guilty).
So if you are looking for an absolutely authentic recipe, I'm afraid you are going to be disappointed. On the other hand, if you are looking for a quick and easy recipe that is almost as good as the real deal, then you are in the right place.
And I have to say, these little custard tarts do not disappoint. The custard is packed with flavour, thanks to the help of a cinnamon stick and a vanilla pod, and the pastry is melt-in-the-mouth light and crispy.
These Portuguese custard tarts make a delicious addition to your afternoon tea, and they are perfect for popping into a lunchbox for a mid-morning sugar boost.
Are you drooling yet? Let me show you how to make them.
What you will need
Equipment
For baking the pasteis de nata you will need a 12-hole muffin tin or deep fairy cake tin.
To make the custard you will need a saucepan, and for mixing the eggs and flour you will need a small mixing bowl.
If you have a small pouring jug, this will make it easy to fill the pastry cases with the custard.
Ingredients
This recipe will make 12 custard tarts.
**You can get the complete list of ingredients and full instructions for making pasteis de nata on the printable recipe card at the end of this post**
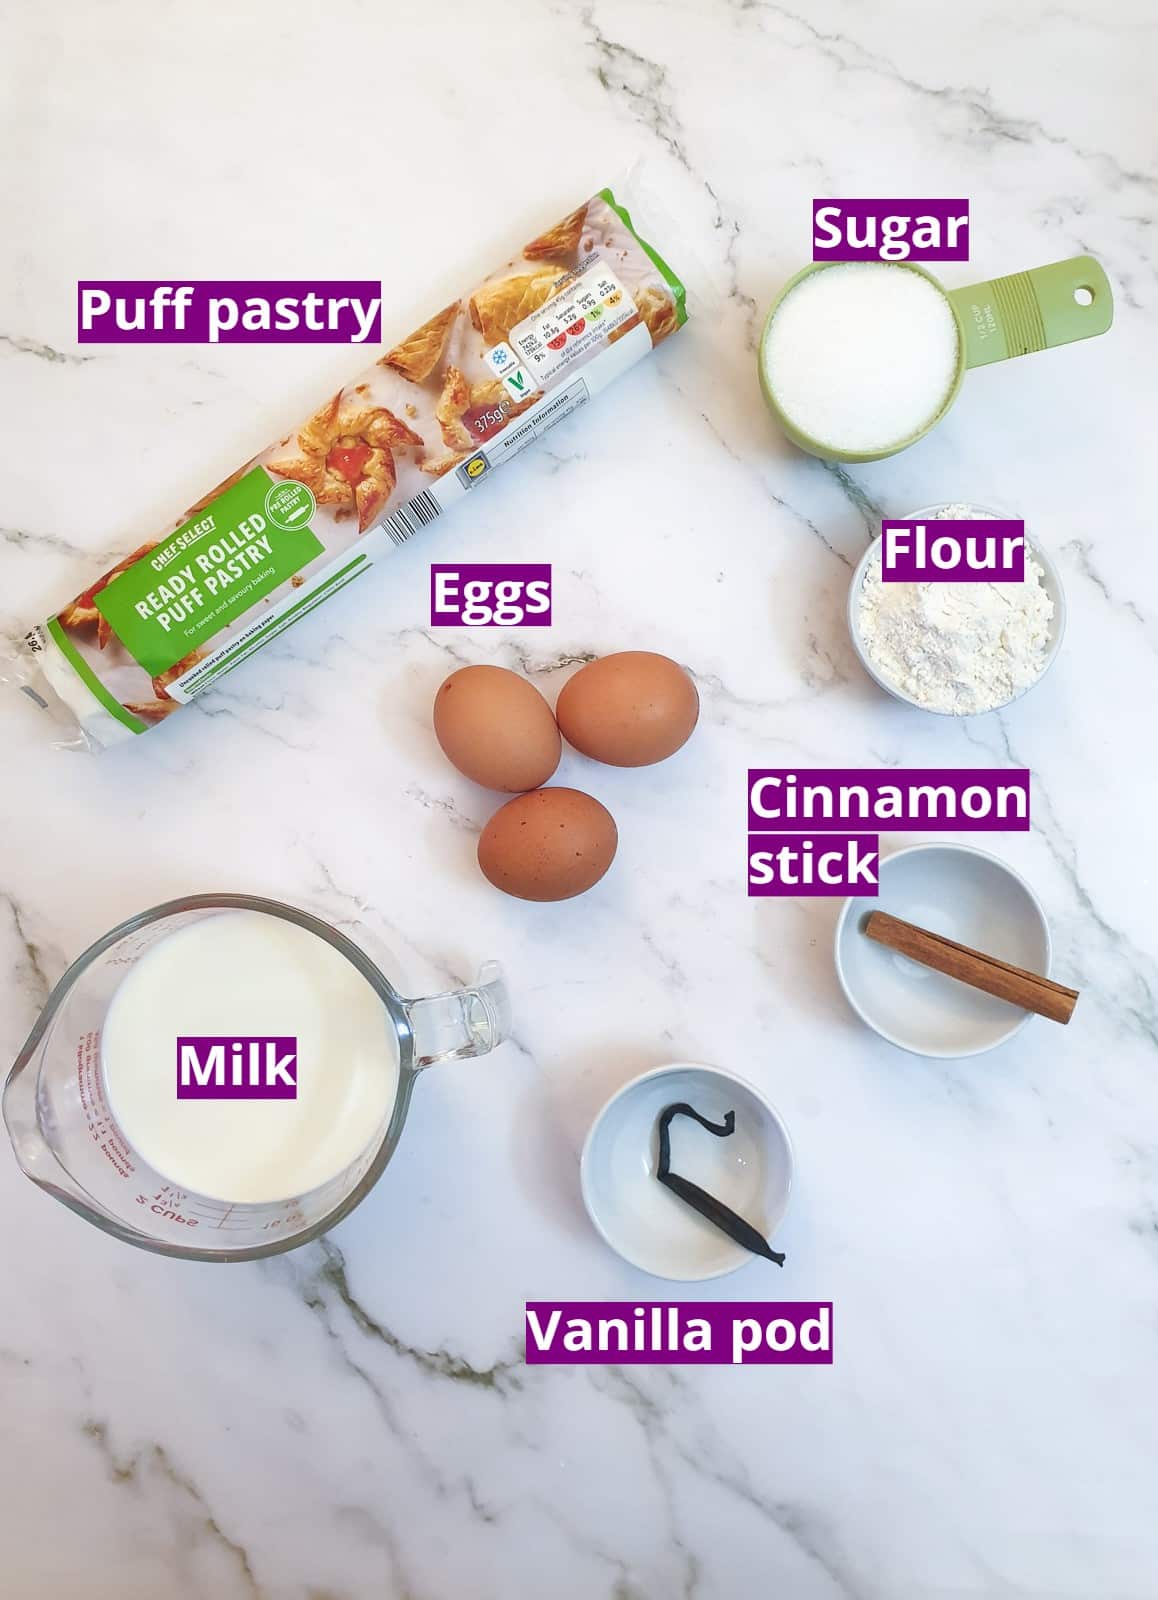
Puff pastry - this is store-bought puff pastry. I like to buy it in a roll, but you can use a slab and roll it out yourself.
Sugar - you can use granulated sugar or caster sugar.
Eggs - for this recipe you will need 3 large egg yolks. You can freeze the leftover egg whites or use them in other recipes like these coconut meringue jam tarts.
Flour - you will need about 4 tablespoons or a quarter of a cup. I used plain flour, but you could use self-raising flour if that's all you have. This is used for thickening the custard.
Milk - either full-fat or semi-skimmed is fine.
Cinnamon stick - the cinnamon stick is heated with the milk so that the cinnamon flavour can infuse into the milk. Substitute with ground cinnamon if you don't have a stick.
Vanilla pod - the vanilla pod is heated with milk to get the delicious vanilla flavour. If you don't have a vanilla pod then you can substitute it with vanilla essence or vanilla extract.
What to do
Here's a quick overview:
- Line muffin tins with puff pastry
- Make the custard
- Assemble and bake
Line muffin tins with puff pastry
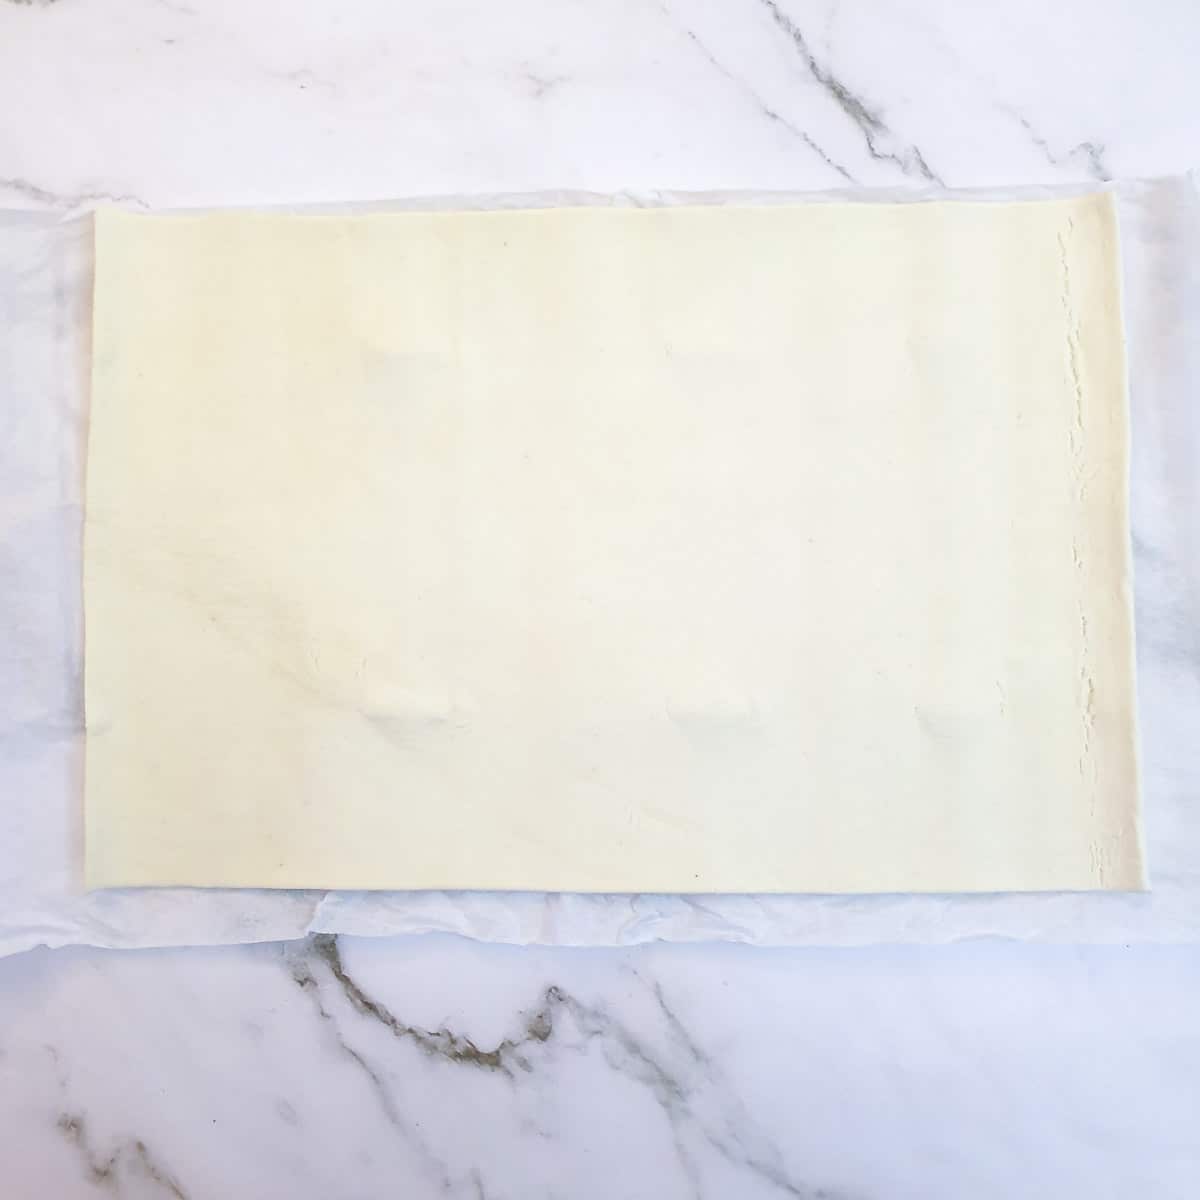
Unroll the puff pastry onto the paper it was rolled in. If you have a block of pastry rather than pre-rolled, you will have to roll it out to approximately 14 inches x 10 inches (36 cm x 26 cm).

Starting at one of the long edges, roll the pastry into a tight cylinder and cut it into 12 equal slices.
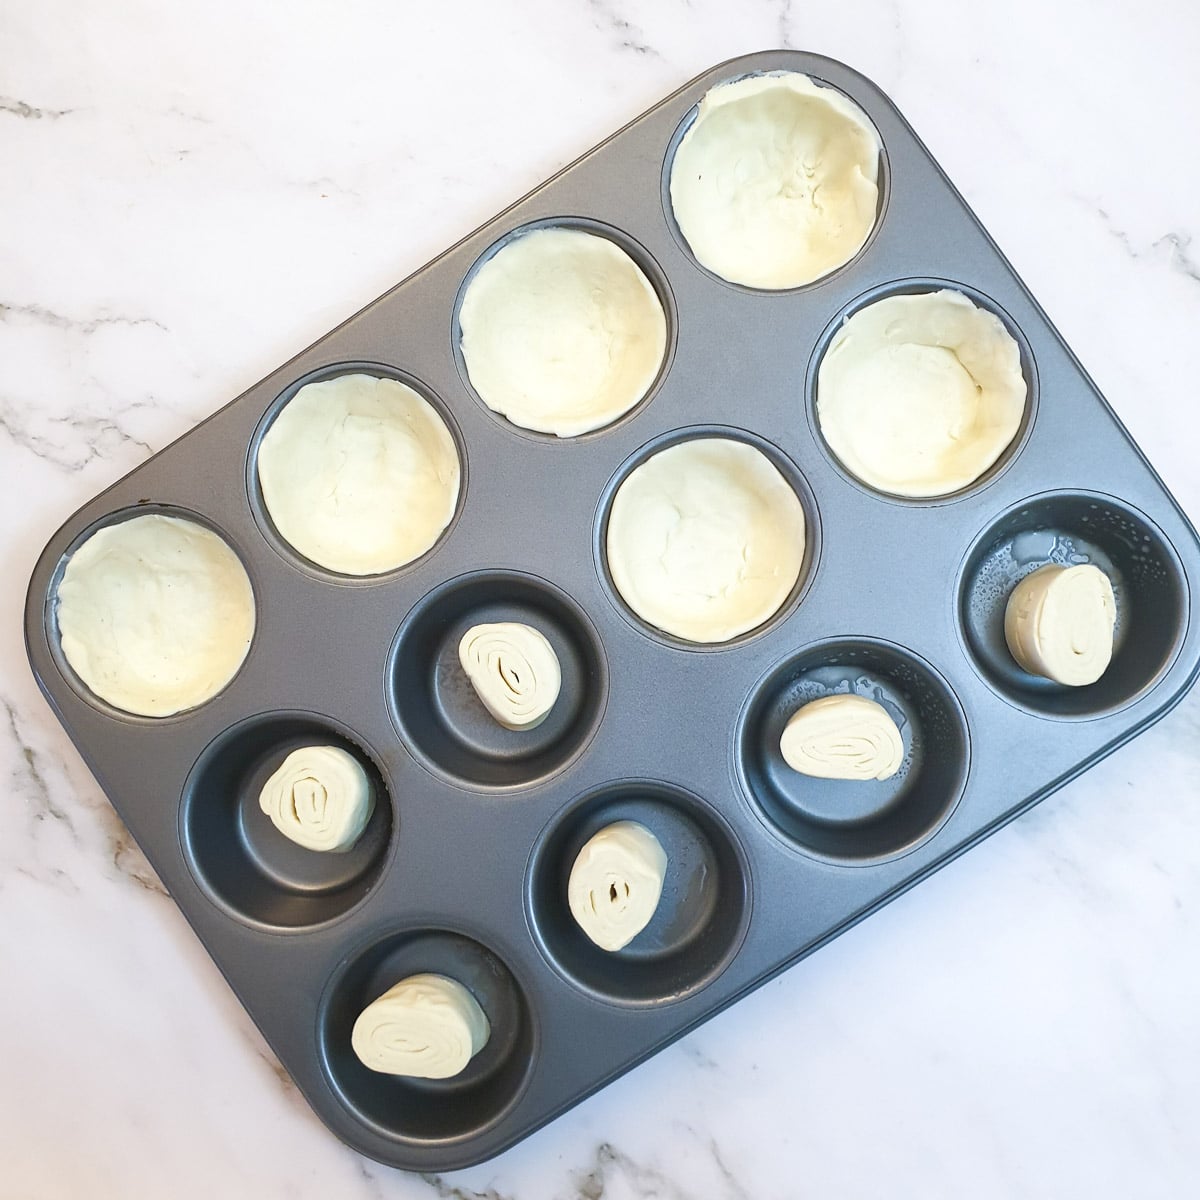
Place each slice (cut side facing up) in each hole of a lightly greased 12-hole muffin tin.
Using your thumbs, press the pastry down to cover the bottom of each hole, and then ease the pastry up the sides as evenly and as thinly as possible.
Cover the tray with plastic wrap and place it in the refrigerator while you make the custard.
Make the custard
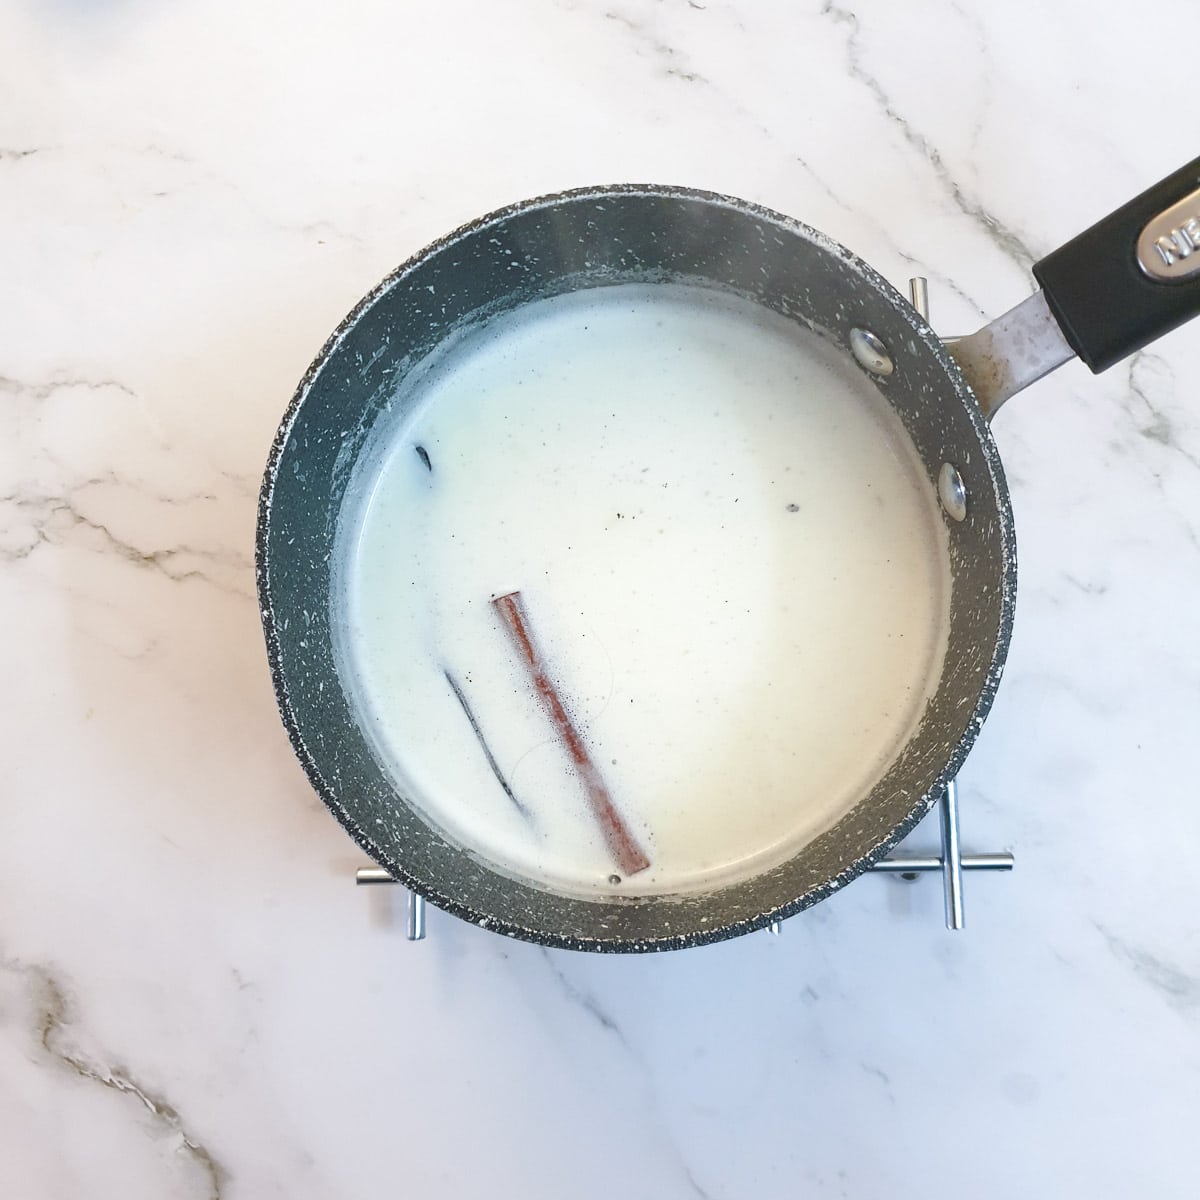
Pour all the milk, except for one-quarter of a cup, into a saucepan and add the sugar, cinnamon stick and vanilla pod.
Heat the milk until it comes to the boil and then remove it from the heat and leave it to cool slightly.
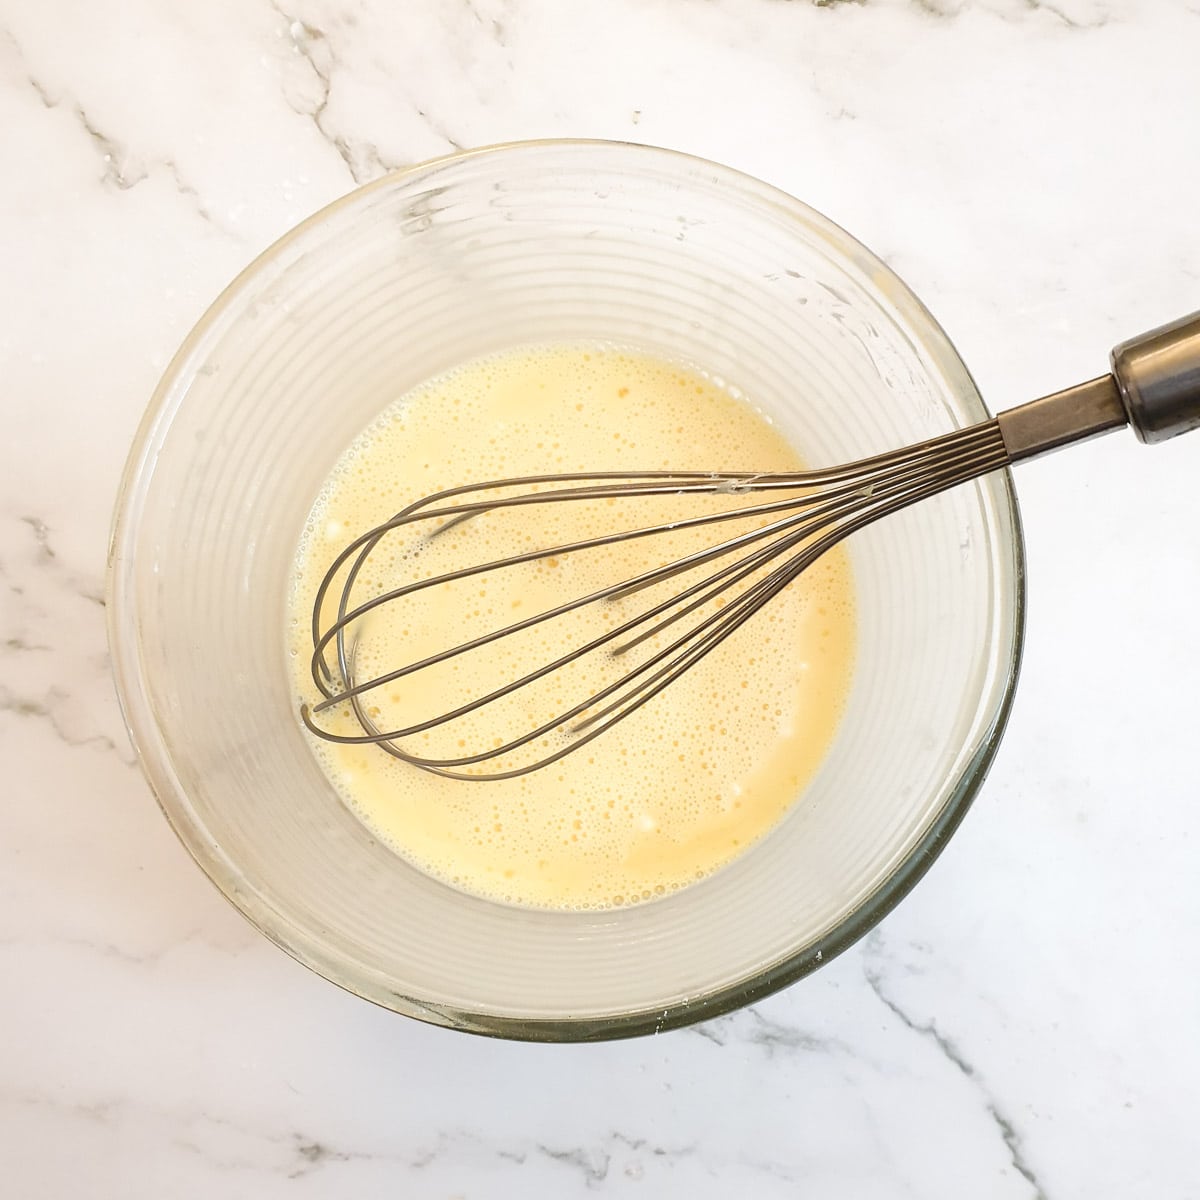
While the milk is boiling, whisk the egg yolks, flour and remaining milk in a mixing bowl, taking care to remove all lumps.
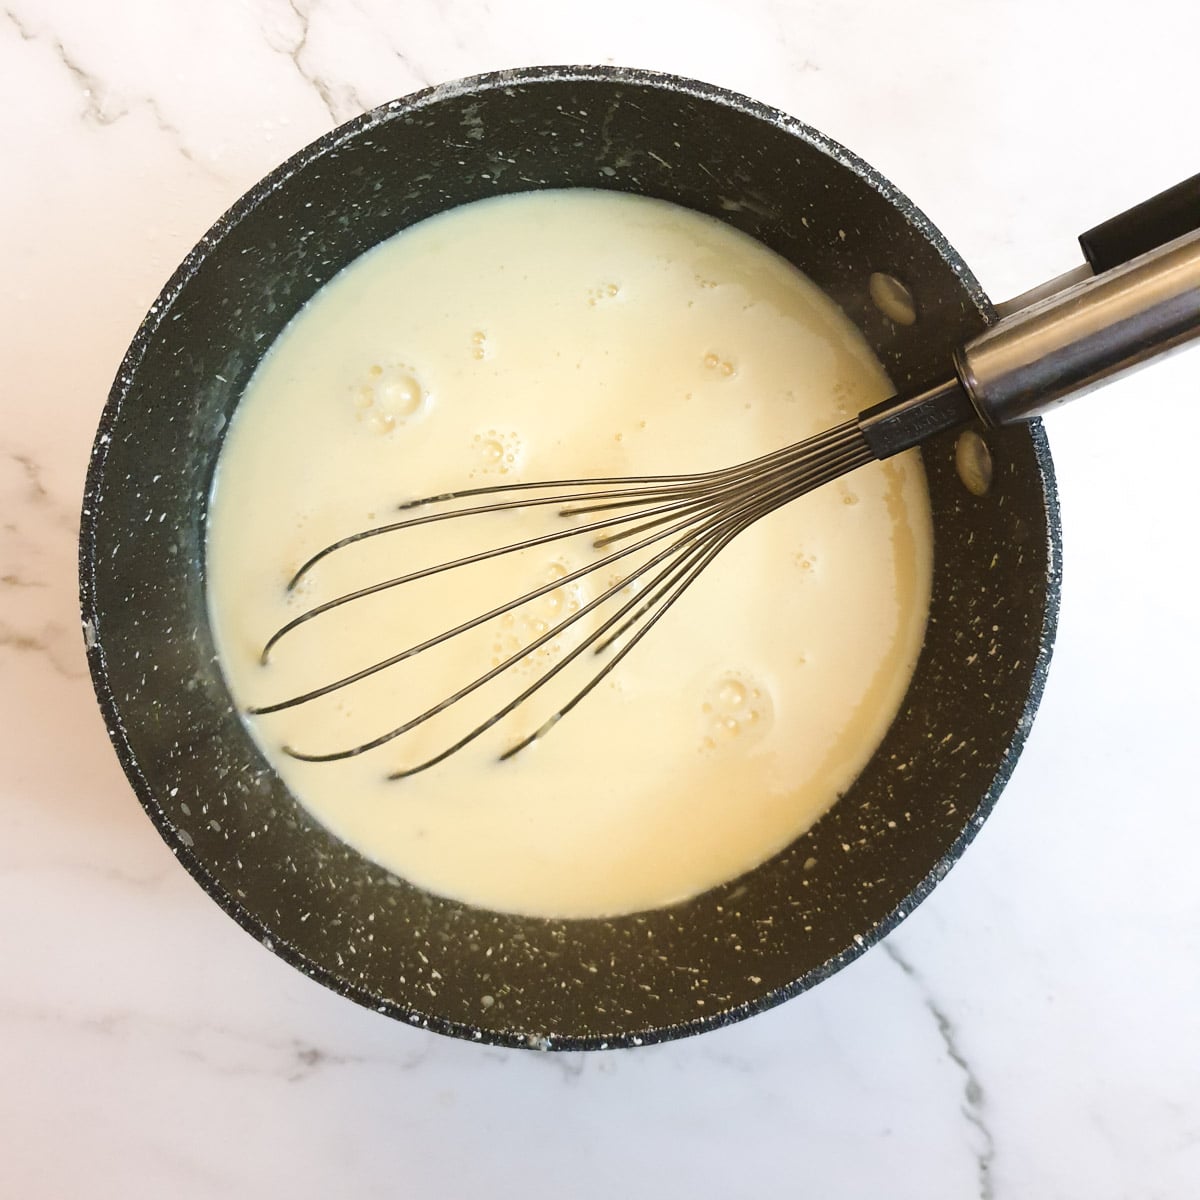
Remove the cinnamon and vanilla pod from the milk and pour approximately one-quarter cup of the hot milk into the flour and egg mixture.
Whisk it well and then pour the flour and egg mixture back into the hot milk in the saucepan.
Do not cook this mixture further. The custard will thicken as it bakes in the oven.
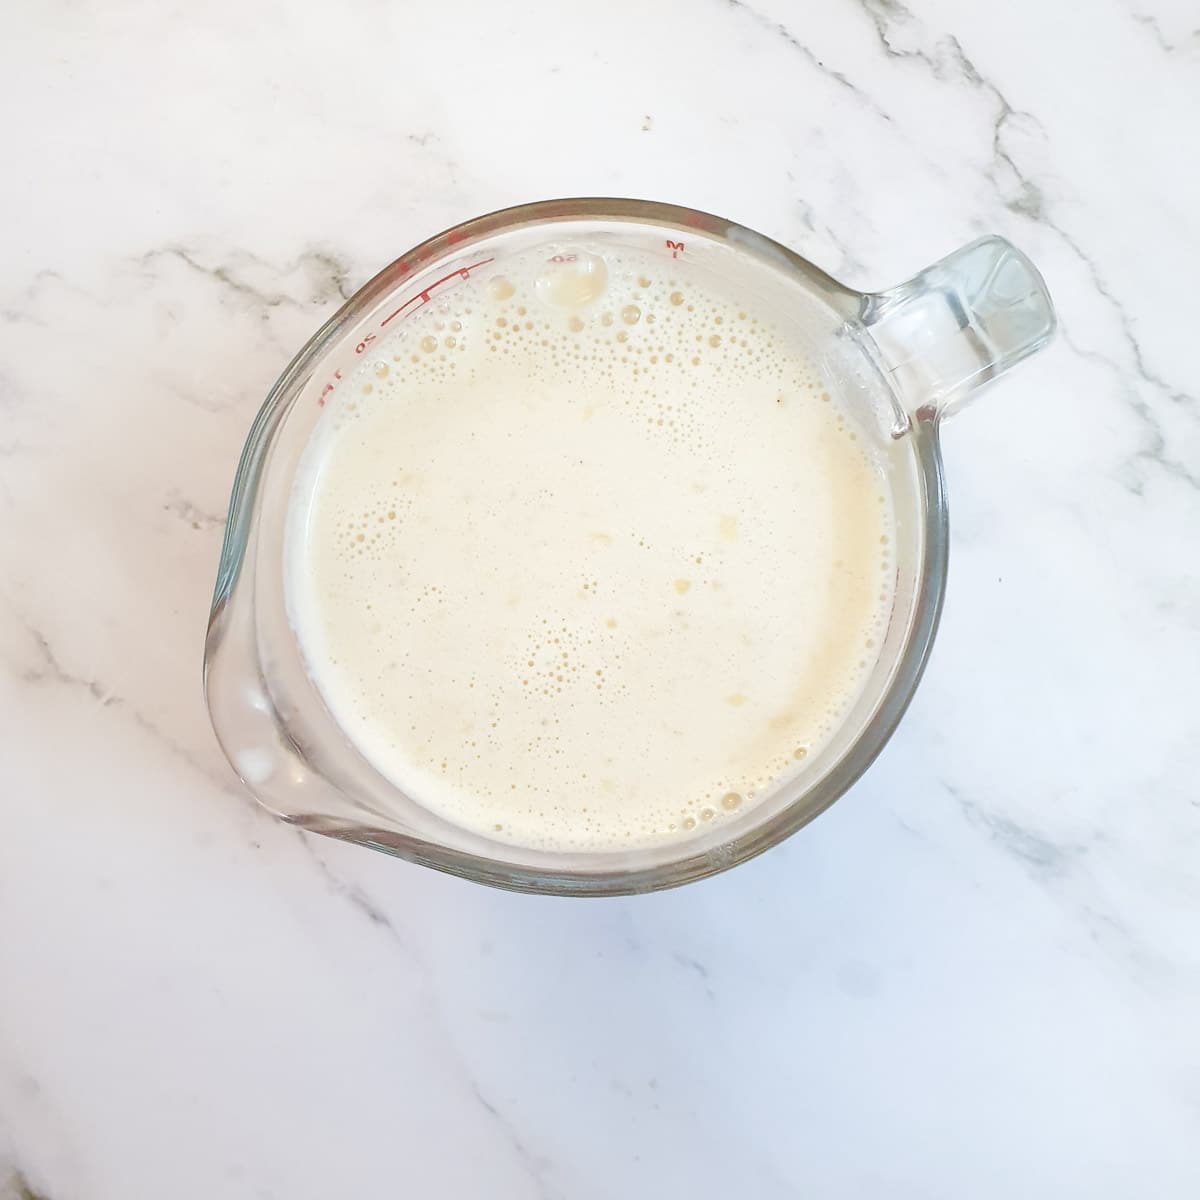
Pour the eggs and milk mixture into a pouring jug. This will make it easy to fill the pastry cases.
Assemble and bake

Carefully pour the custard into the pastry cases, taking care not to fill them completely. You can fill them to just below the edge of the pastry.
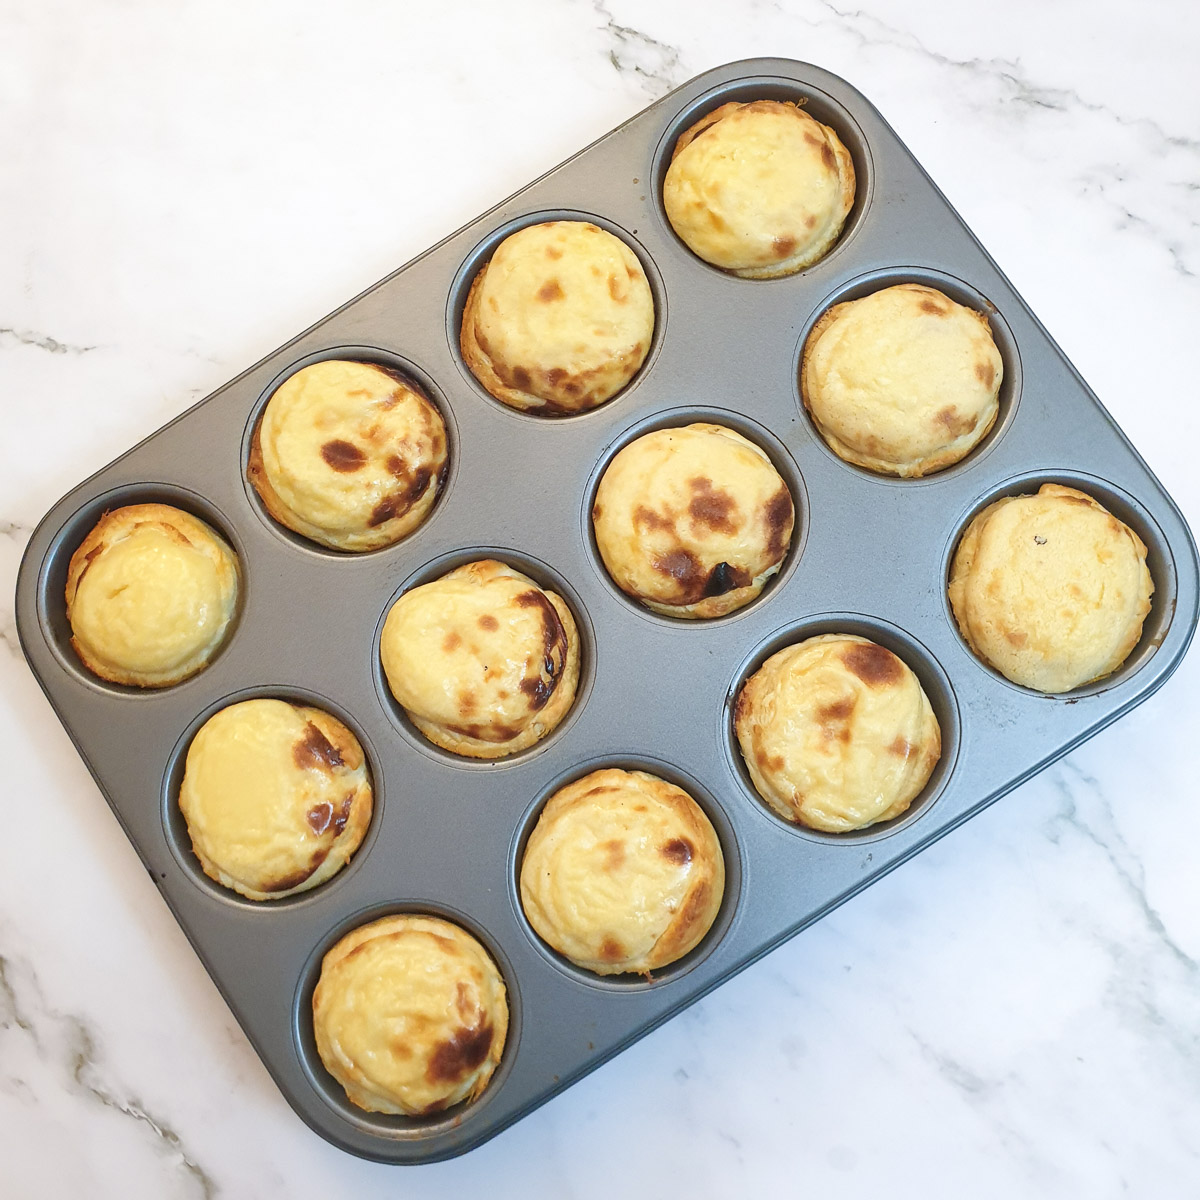
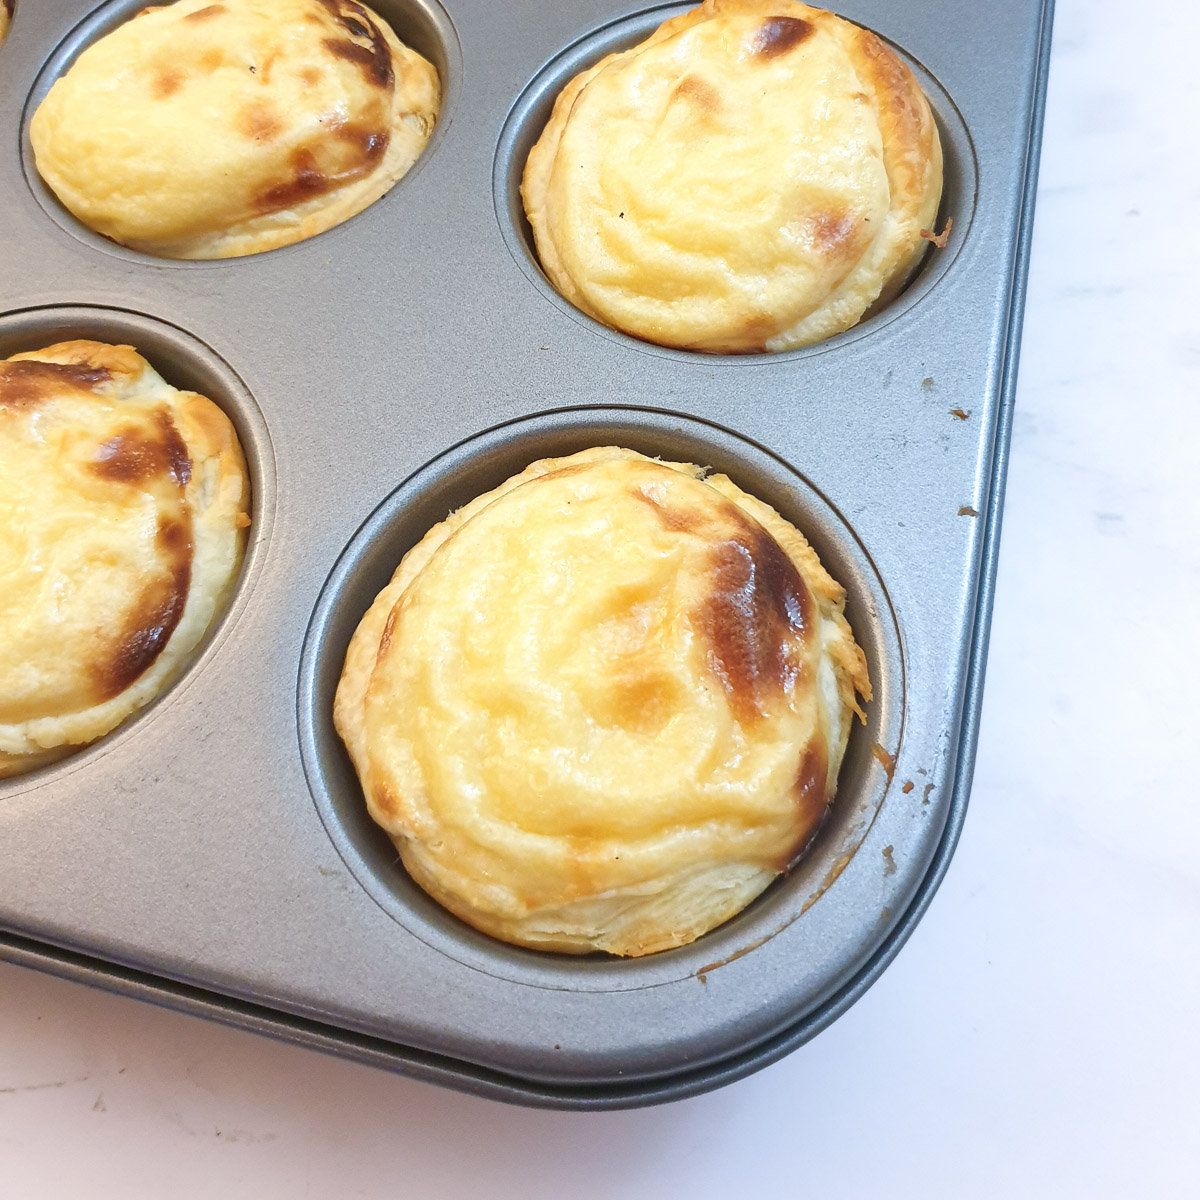
Bake the tarts in a preheated oven (220C / 430F) for 13 to 15 minutes, until the pastry is cooked and the tarts are starting to get the distinctive brown patches on top.
The custard in the tarts will puff up as the tarts bake.
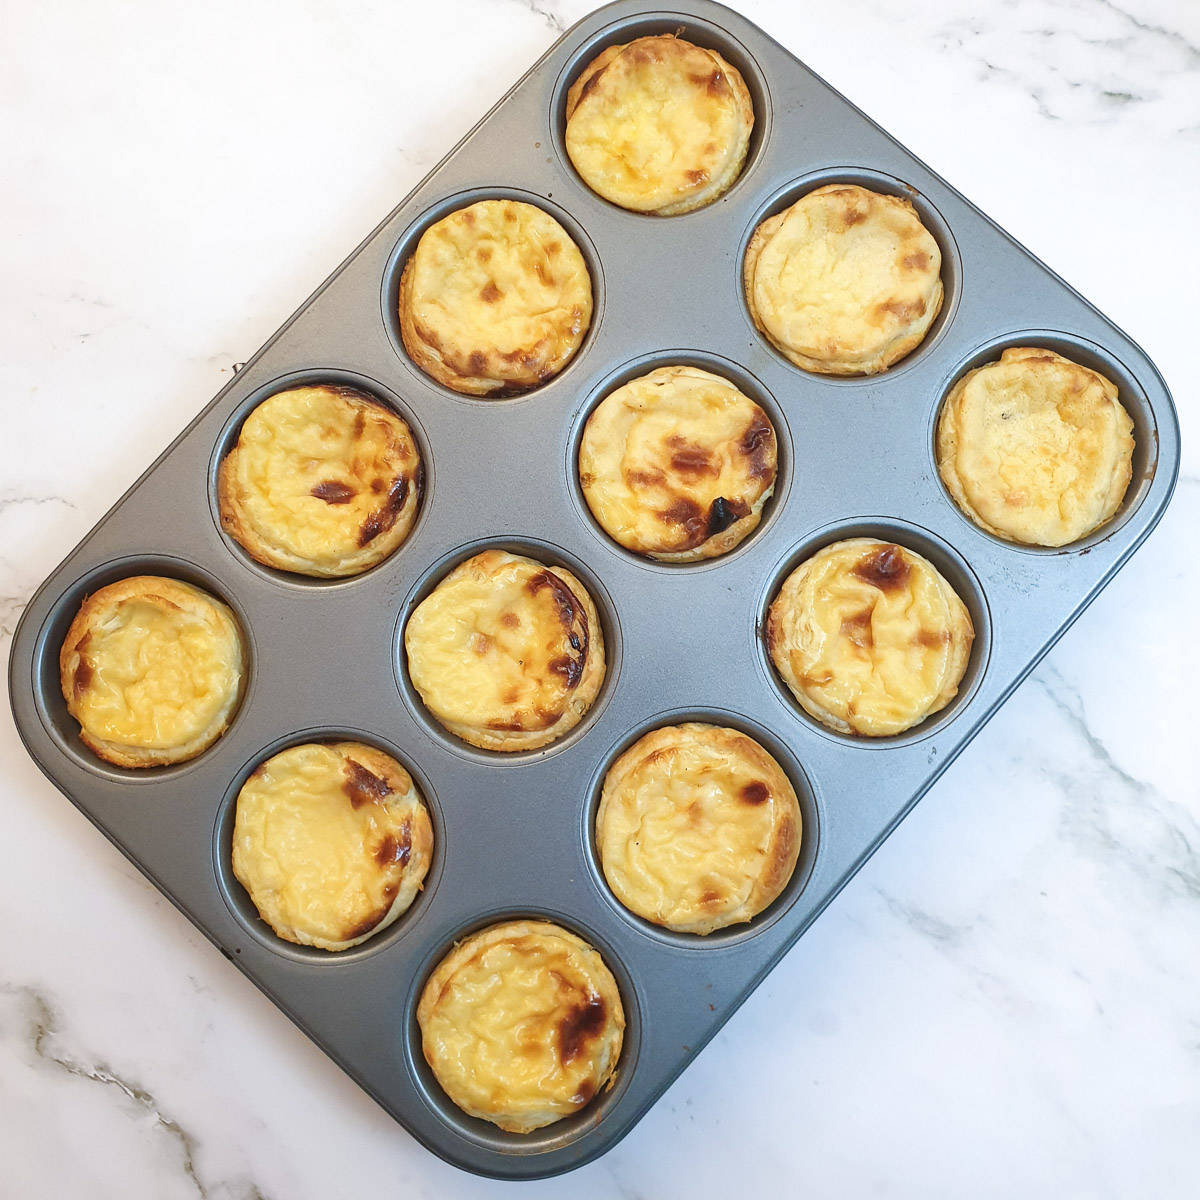
However, as the tarts start cooling down, the custard will crinkle on top and sink slightly.
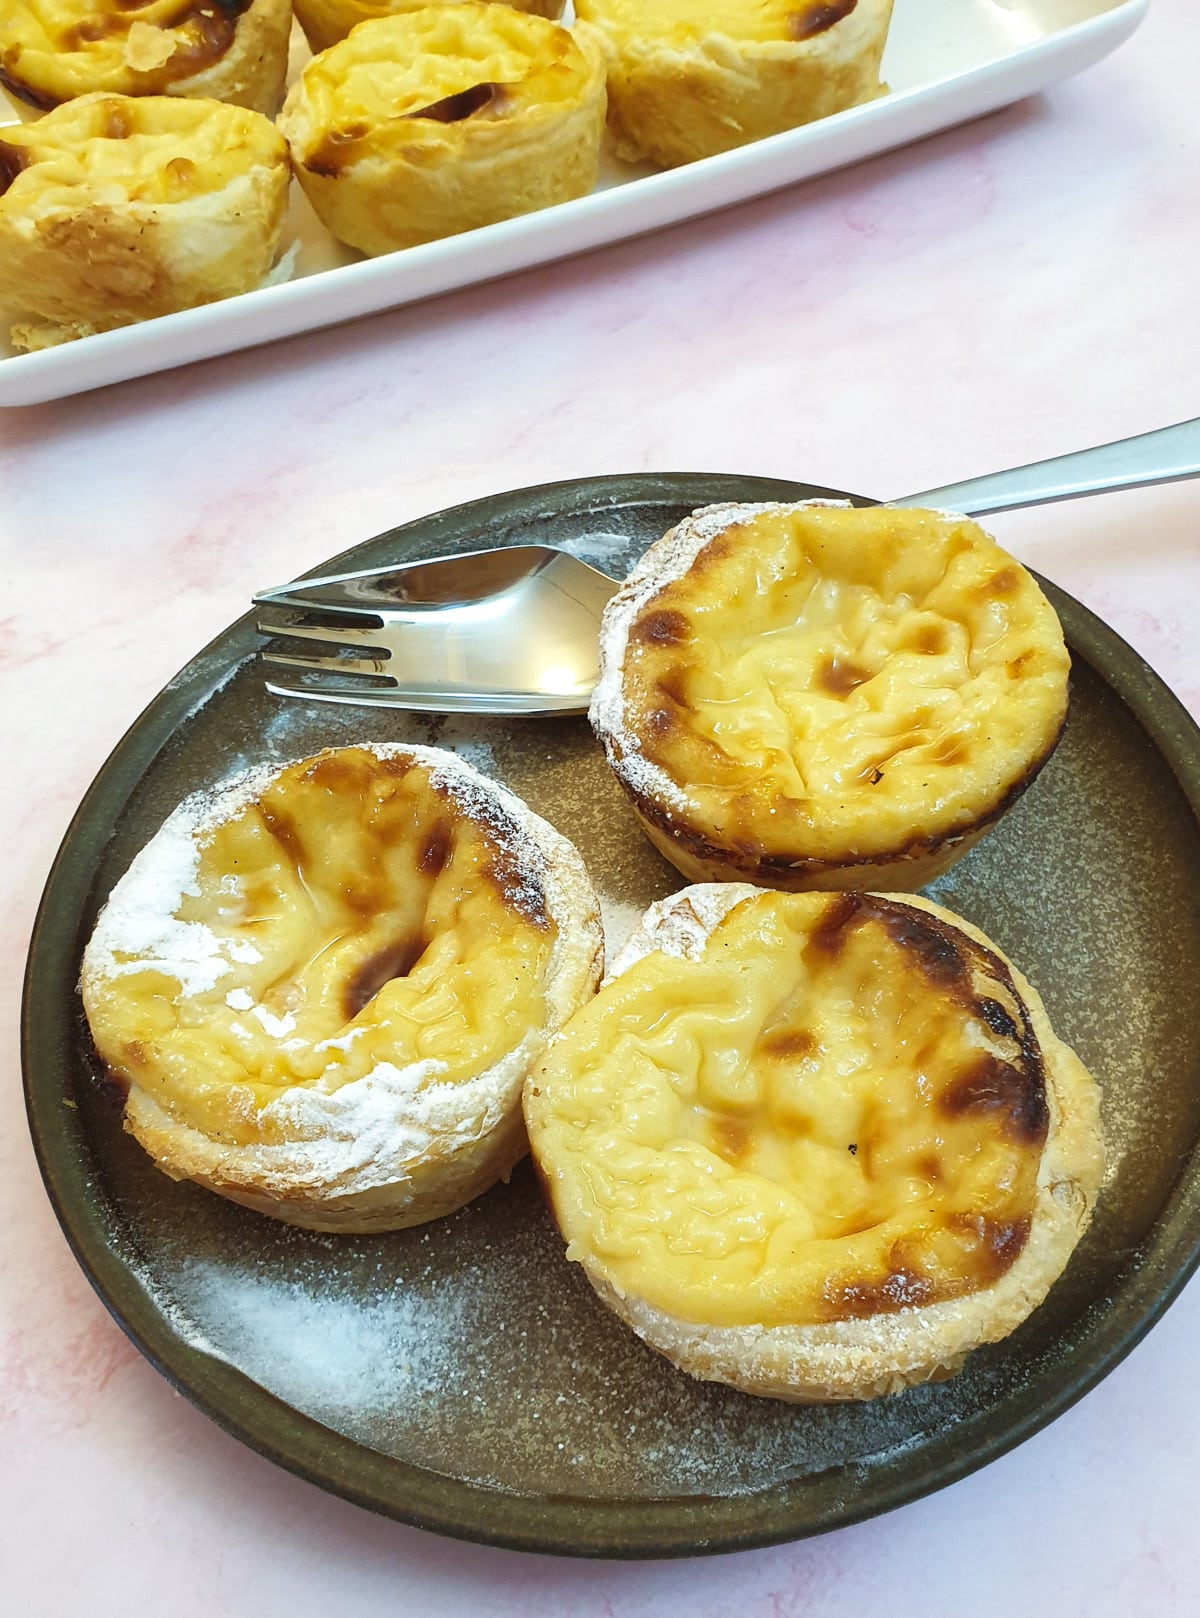
Allow the tarts to cool (if you can wait that long) and enjoy them either warm or let them come to room temperature before eating.
If preferred, you can sprinkle the custard tarts lightly with either icing sugar or ground cinnamon before serving.
If you'd like to be notified of new recipes, why not subscribe to my newsletter? To say thank you, you will receive a free recipe e-book containing some of my most popular cakes and desserts.
Portuguese custard tarts FAQ
Rolling the pastry into a cylinder before cutting it into slices and pressing it into the muffin tin helps to create extra layers of lamination in the puff pastry.
Additionally, lining the muffin tins as thinly as possible allows the tarts to be cooked quickly at high temperatures, which helps to create the characteristic puff of the crust and the distinctive scorch marks on the custard.
I've turned one of these tarts upside down so you can see what I'm talking about.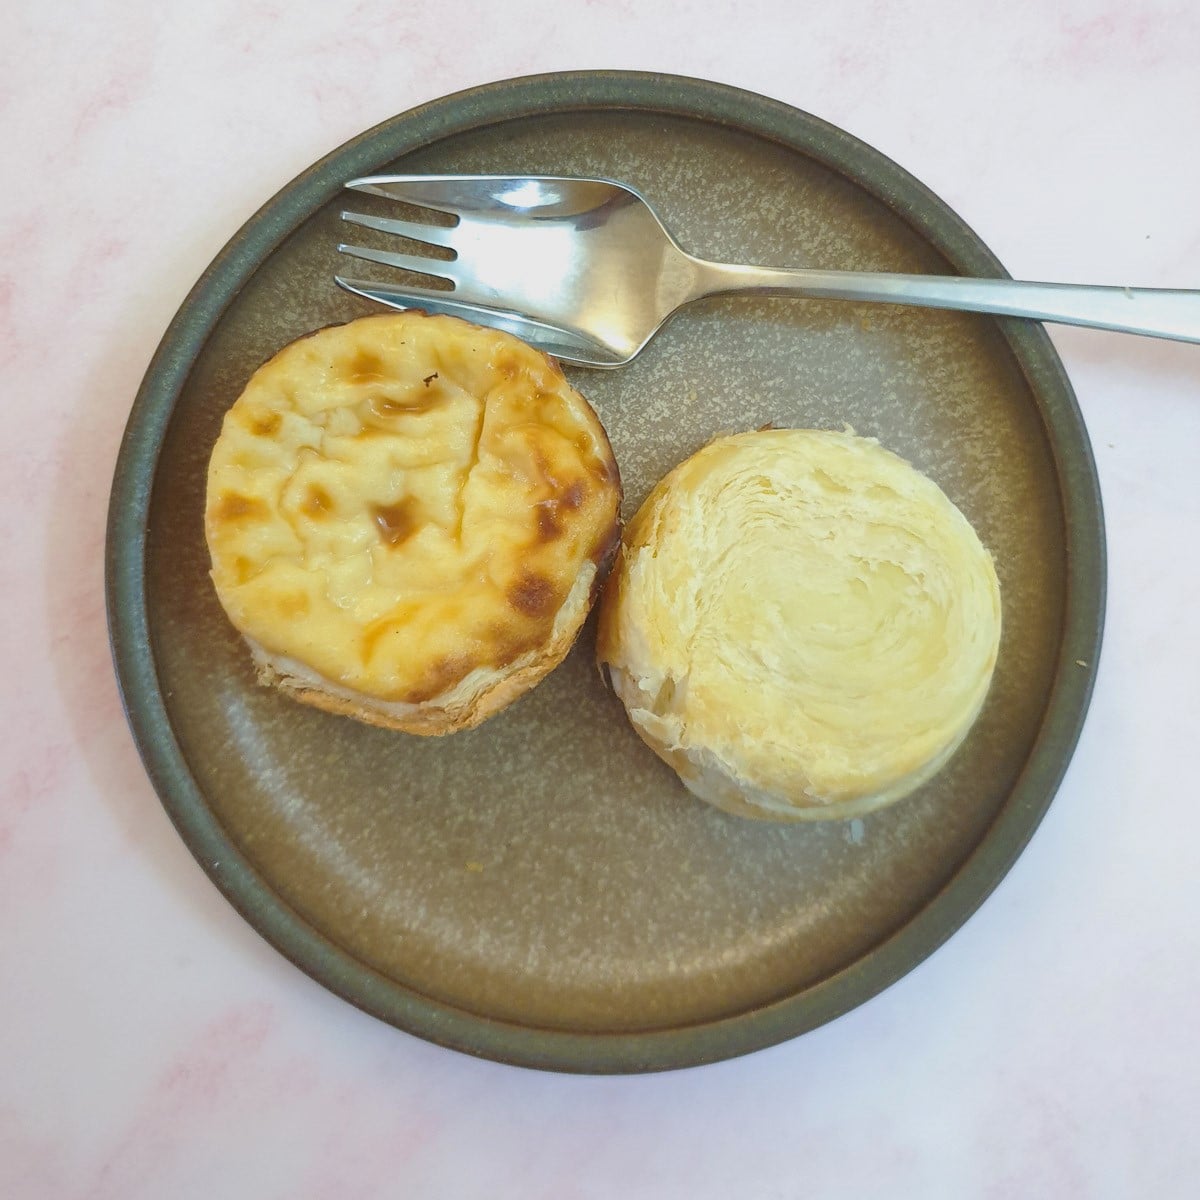
Yes, you can freeze these Portuguese custard tarts.
Allow the tarts to cool completely after baking, then, wrap them tightly in plastic wrap or aluminium foil and place them in an airtight container or a freezer bag. They can be stored in the freezer for up to 2 months.
When you're ready to enjoy them, you can remove the tarts from the freezer and let them thaw at room temperature for about 30 minutes. They can also be reheated in the oven at 350F (175C) for about 5-10 minutes or until they are heated through.
It's worth noting that freezing and reheating can affect the texture of the crust and the custard, so they may not be as flaky or as creamy as when they were freshly made.
Portuguese custard tarts are best enjoyed the day they are made, but they can be stored in the refrigerator for up to 3 days. The crust may become harder less flaky and the custard may lose some of its texture, but the tarts will still be safe to eat. I would recommend storing the tarts in an airtight container or covered with plastic wrap to keep them as fresh as possible.
Pasteis de nata literally translates to 'custard tarts'. You may also see them referred to in the singular as 'pastel de nata'.

Save for later
If you would like to make these Portuguese custard tarts yourself, why not save the recipe to one of your Pinterest boards so you can find it easily? Just click on the image below.
Alternatively, you can save the recipe by clicking on the floating heart icon on the right-hand side of the screen.
Related recipes
Visit my cakes, biscuits and dessert recipes page for these and other delicious tea-time treats.


📋The recipe

Portuguese custard tarts (pasteis de nata)
(Click the stars to rate this recipe)
Equipment
- 12-hole muffin tin
- Saucepan
- Mixing bowl
- Measuring jug
Ask a Question
If you have a question about this recipe that has not been answered, please use the box below to ask it.
Use this with care. This is an AI-generated result and may contain errors or inaccuracies. I cannot be held responsible for the information returned.
Ingredients
- 14 ounces / 375 grams puff pastry (1 roll) store-bought
- ½ cup / 100 grams sugar caster sugar or granulated
- 3 large egg yolks
- 4 tablespoons / 35 grams plain all-purpose flour
- 1½ cups / 360 ml milk
- ¼ cup /60 ml milk
- 1 cinnamon stick
- 1 vanilla pod
Instructions
Pastry cases
- Unroll the puff pastry onto the paper it was rolled in. If you have a block of pastry rather than pre-rolled, you will have to roll it out to approximately 14 inches x 10 inches (36 cm x 26 cm).14 ounces / 375 grams puff pastry (1 roll)
- Starting at one of the long edges, roll the pastry into a tight cylinder and cut it into 12 equal slices.
- Place each slice (cut side facing up) in each hole of a lightly greased 12-hole muffin tin.Using your thumbs, press the pastry down to cover the bottom of each hole, and then ease the pastry up the sides as evenly and as thinly as possible.
- Cover the tray with plastic wrap and place it in the refrigerator while you make the custard.
Custard
- Pour 1½ cups of milk into a saucepan and add the sugar, cinnamon stick and vanilla pod.1½ cups / 360 ml milk, 1 cinnamon stick, 1 vanilla pod, ½ cup / 100 grams sugar
- Heat gently, stirring to dissolve the sugar, until the milk comes to a boil. Remove the milk from the heat and allow it to cool slightly.
- While the milk is boiling, whisk the egg yolks, flour and remaining milk in a mixing bowl, taking care to remove all lumps.3 large egg yolks, 4 tablespoons / 35 grams plain all-purpose flour, ¼ cup /60 ml milk
- Remove the cinnamon and vanilla pod from the milk and pour approximately one-quarter cup of the hot milk into the flour and egg mixture. Whisk it well and then pour the flour and egg mixture back into the hot milk in the saucepan.
- Do not cook this mixture further. The custard will thicken as it bakes in the oven.Pour the eggs and milk mixture into a pouring jug. This will make it easy to fill the pastry cases.
Assemble and bake
- Preheat the oven to 220C / 430F
- Carefully pour the custard into the pastry cases, taking care not to fill them completely. You can fill them to just below the edge of the pastry.
- Bake the tarts in the preheated oven for 13 to 15 minutes, until the pastry is cooked and the tarts are starting to get the distinctive brown scorch marks on top.
- Eat the custard tarts either warm or at room temperature. If desired, sprinkle with icing sugar or ground cinnamon before serving.
Nutrition
I am not a nutritionist. The nutrition information has been calculated using an on-line calculator, and is intended for information and guidance purposes only. If the nutrition information is important to you, you should consider calculating it yourself, using your preferred tool.
If you made this recipe and enjoyed it, I'd love it if you could give me a star rating in the comments below. And if you'd like to get in touch, you can email me at [email protected]. I'd love to hear from you. And don't forget to subscribe to my mailing list so you can grab yourself a copy of my FREE COOKBOOK!
If you'd like to continue browsing, just click on this link to all my recipes.


Did you make this recipe? Let me know!