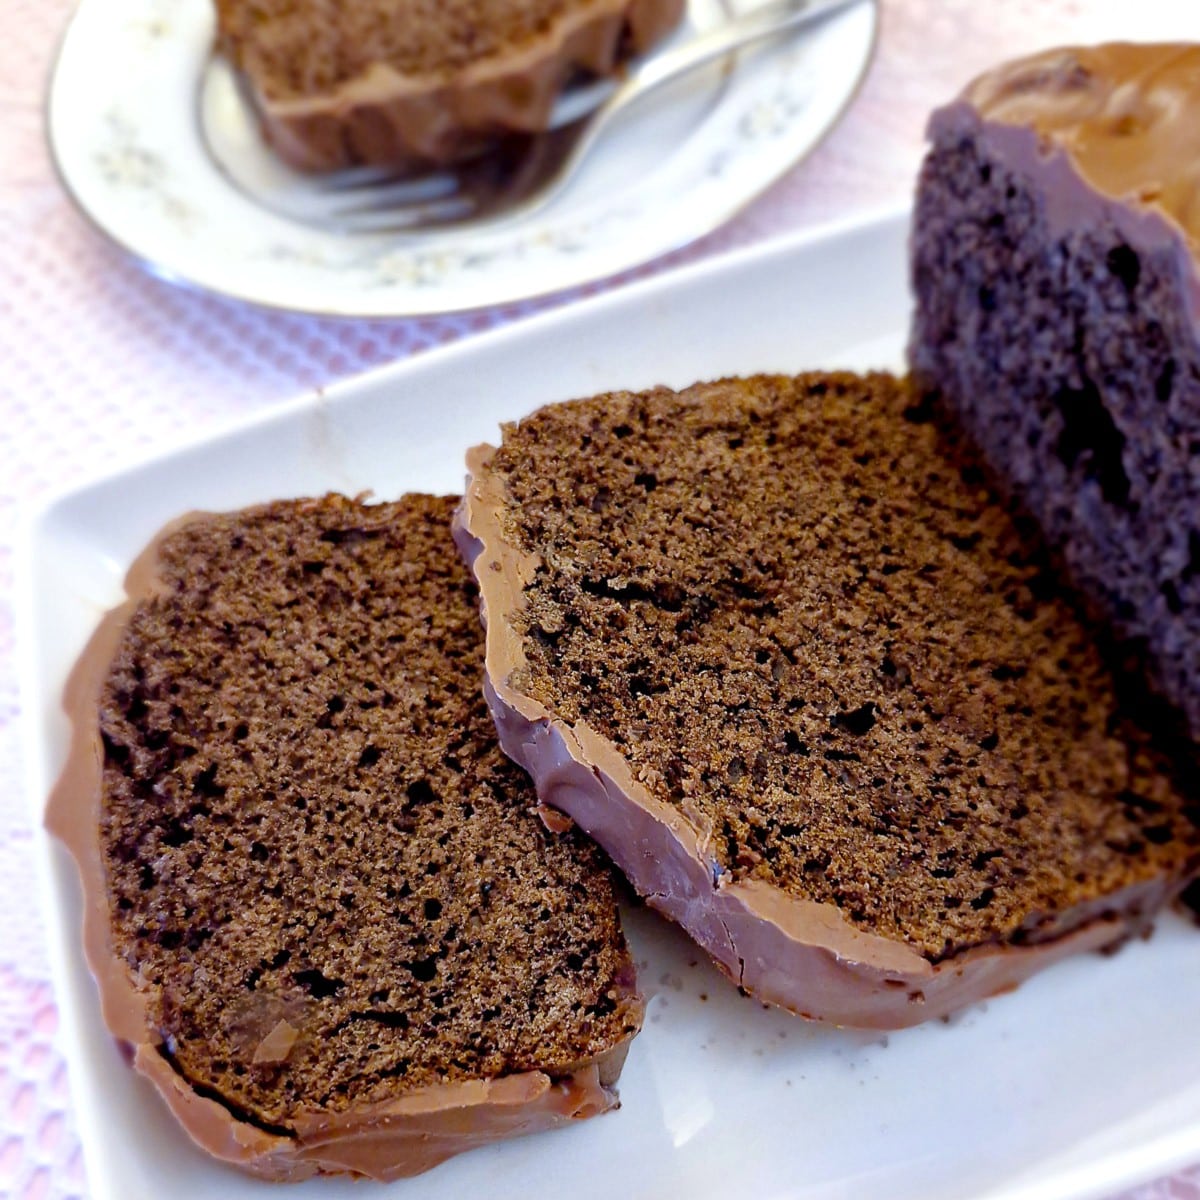
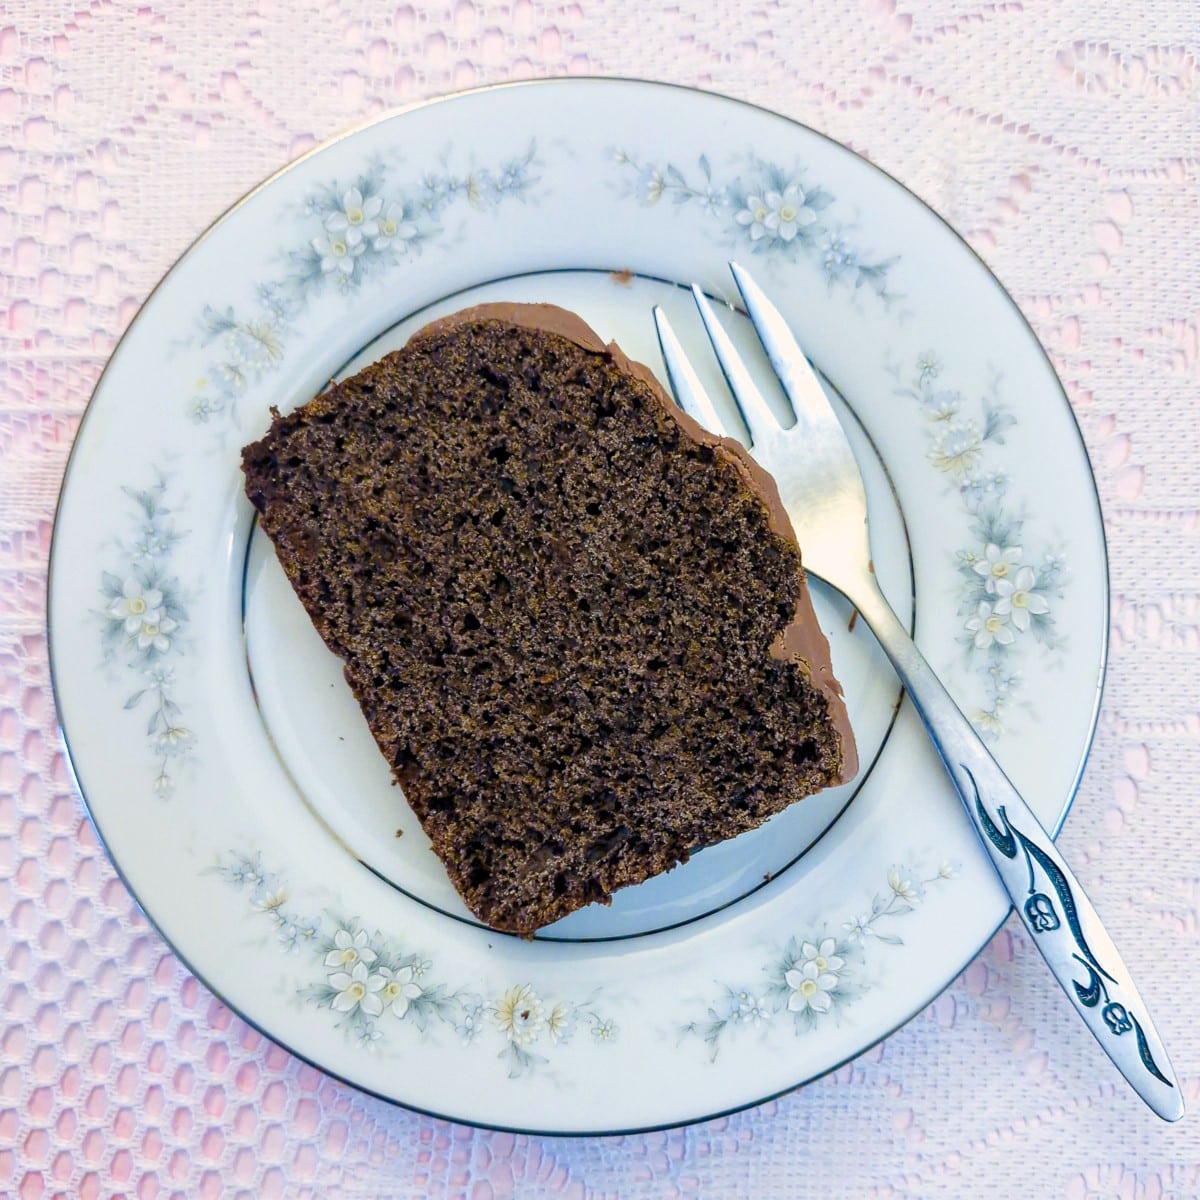
Did you know you can make a chocolate ice cream loaf cake using just 2 ingredients - chocolate ice cream and self-raising flour? It bakes into a lovely dense cake, with a texture similar to an English scone, and it rises beautifully every time. For a little extra indulgence, I like to drizzle a bar of melted Cadbury's Dairy Milk chocolate over the top, to add a rich, glossy finish.
This chocolate ice cream loaf cake is based on a similar recipe I saw (and tried) on Facebook for strawberry ice cream bread, using strawberry ice cream rather than chocolate. I tried it and found it a little dry for my taste, and thought that it could be improved by using chocolate ice cream and covering the cake in melted chocolate.
The idea for the melted chocolate coating came from my late Mum, who used to make a lovely walnut loaf cake and cover it with melted chocolate. (Note to self - make that recipe and post it!) She used to keep it in the refrigerator so the chocolate stayed hard and crispy. But I digress.....
Chocolate ice cream gives the cake a lovely, rich, chocolatey flavour, which is not too sweet. The key to a perfect outcome is using proper chocolate ice cream, not sorbet to make this ice cream cake. Proper ice cream contains fat, eggs and milk, which are the same ingredients you would find in a traditional cake. Cheaper sorbets are mostly made with milk and stabilisers and won't give the same result.
The second secret is using self-raising flour so that you don't need to add a raising agent. You could, of course, use plain or all purpose flour, but you would need to add a teaspoon of baking powder for each cup of plain flour.
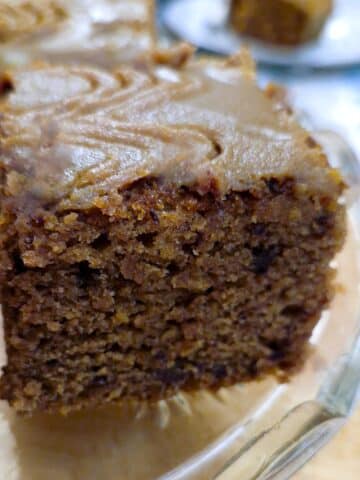
The texture of the cake is similar to a scone, quite dense and crumbly, but packed with flavour. The chocolate topping complements the cake perfectly, stopping it from being too dry, and giving the cake a delicious twist which makes it really special.
Would I make this 2-ingredient chocolate cake again? Absolutely! This easy ice cream loaf cake is a super simple cake that takes minutes to mix and is perfect for those times you want a slice of cake but don't want all the fuss and faff that goes into making a traditional cake.
Jump to:
Recipe information
Prep time: 5 minutes
Baking time:
Yield: 8 to 10 slices
Ingredients
**You can find the exact ingredient quantities for making this chocolate ice cream loaf cake on the printable recipe card at the end of this post.**
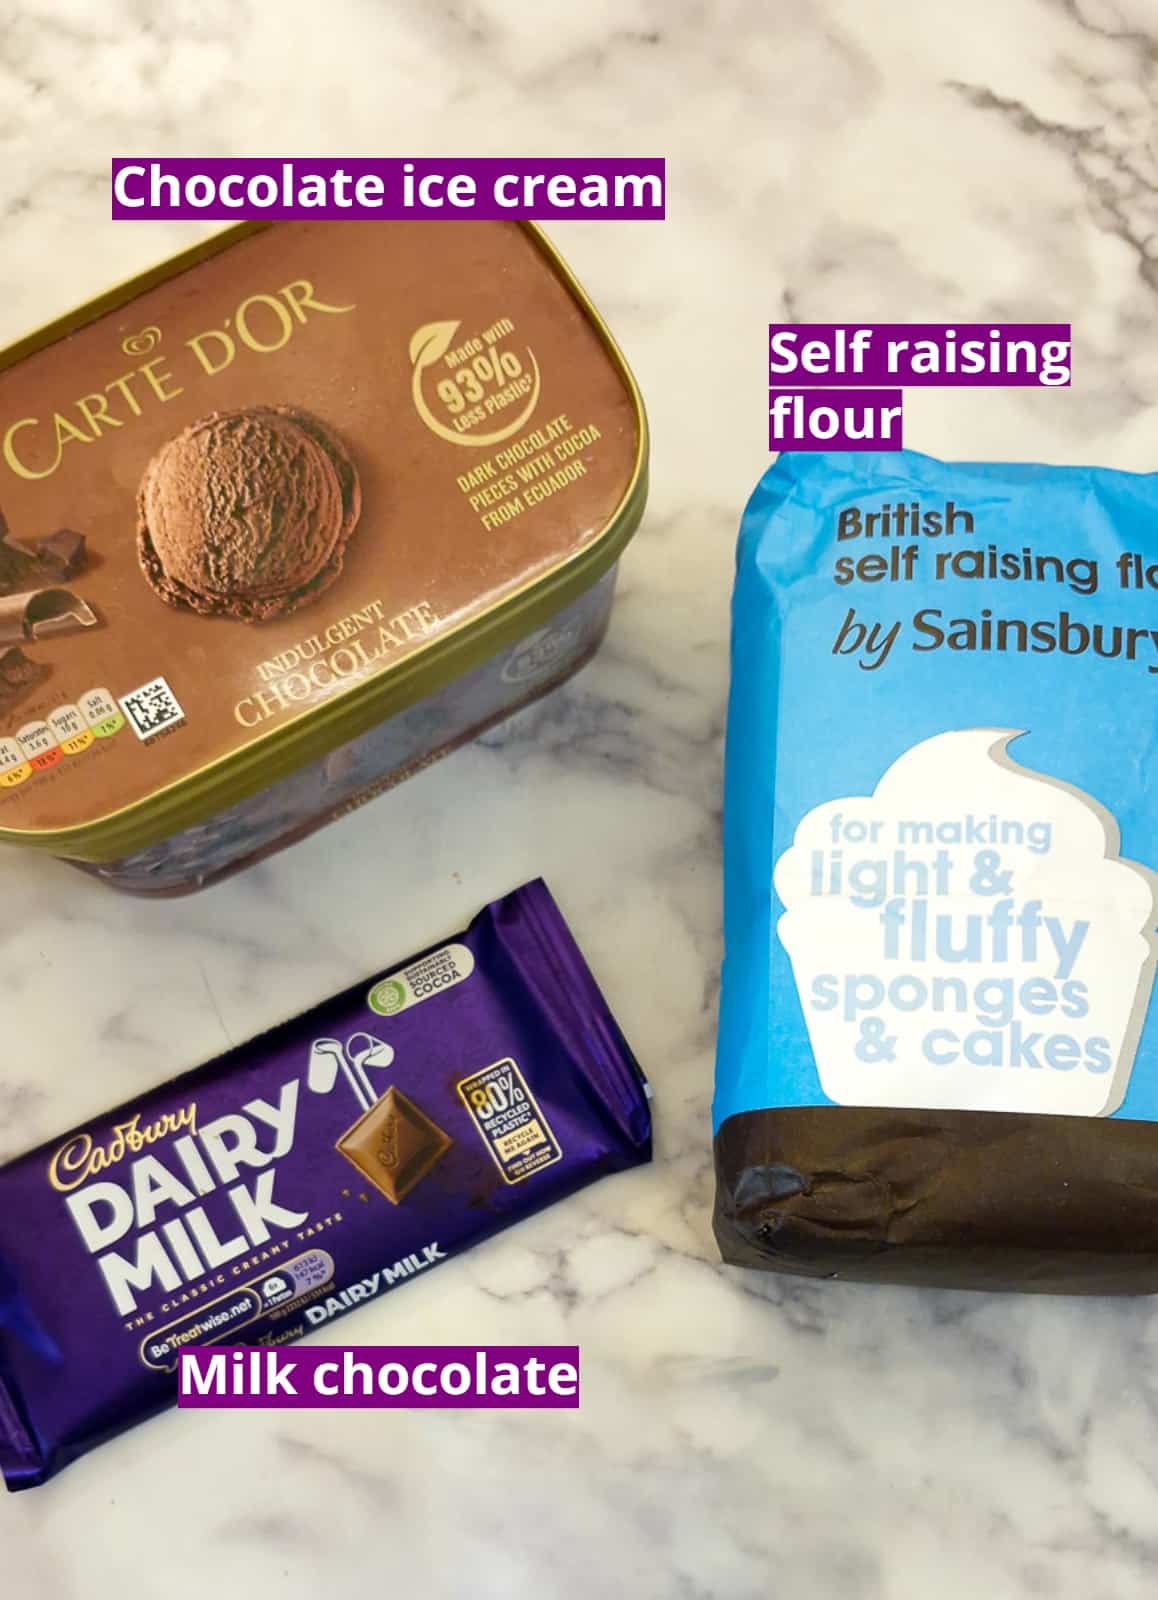
- Chocolate ice cream - as I mentioned earlier, you need good-quality ice cream, not sorbet. The fat content in the ice cream is important to produce a good texture in the cake. If you don't want to use chocolate ice cream, I've given lots of suggestions under 'Variations' below for alternatives.
- Self-raising flour - this provides the rise in the cake. If you don't have self-raising flour, you can substitute it with plain or all-purpose flour and add one teaspoon of baking powder for each cup of flour.
- Dairy milk chocolate - this is the third (but optional) ingredient. If you don't want to go to the trouble of melting chocolate and pouring it over the cake, you could leave it out. The cake will be delicious without any topping. You could also add a handful of chocolate chips to the batter and sprinkle some of them on top of the cake before baking.
Instructions
Let me show you how to make a cake with ice cream!
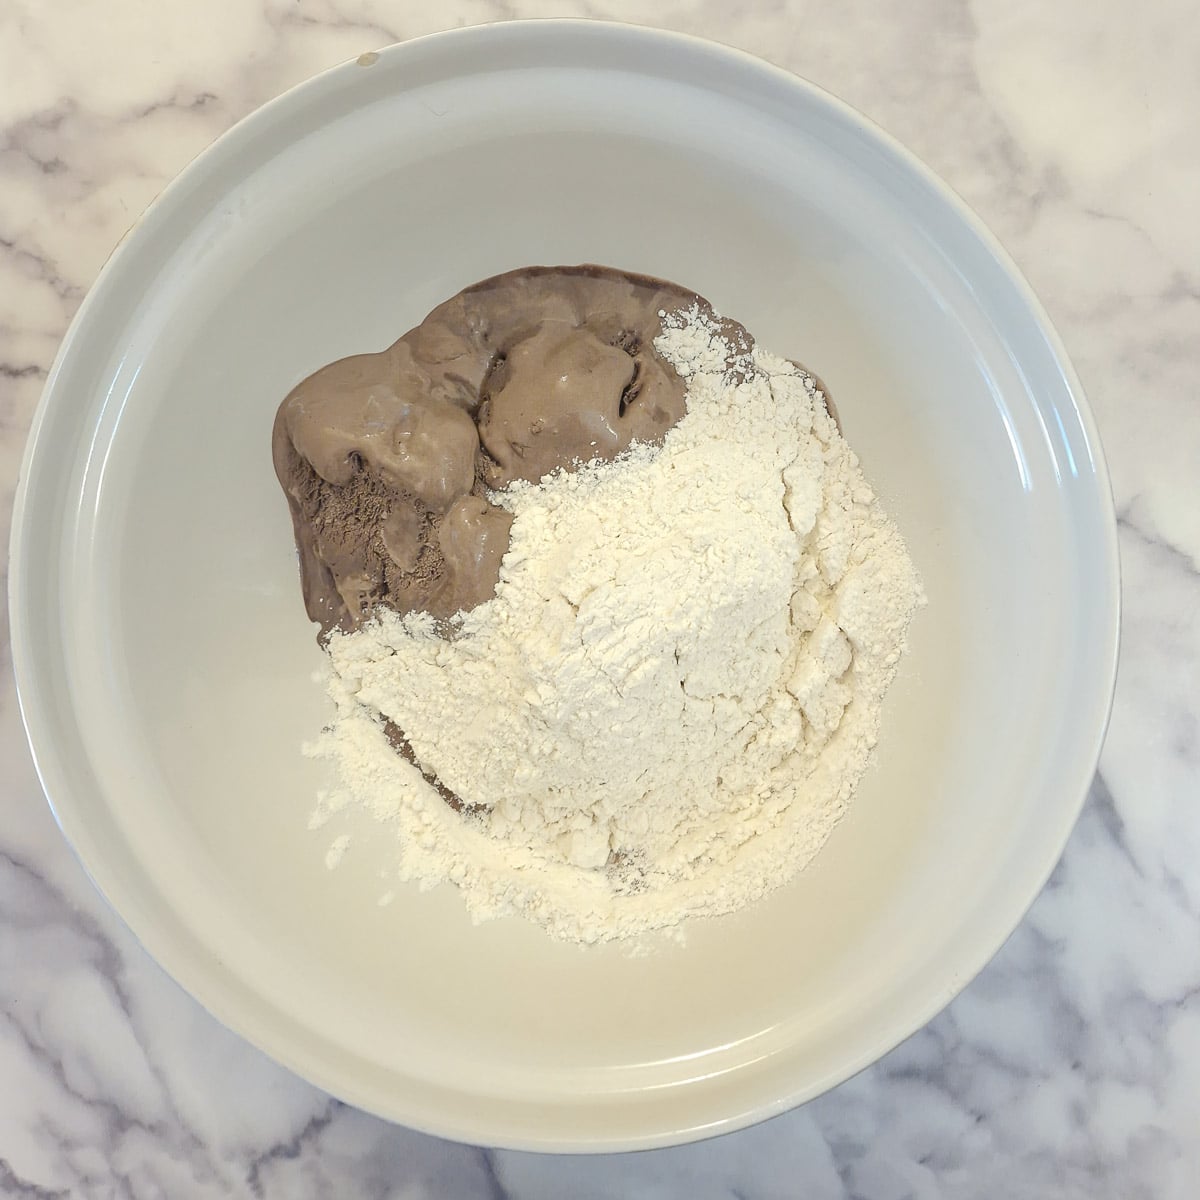
Step 1: Allow the ice cream to soften sufficiently to allow you to mix it easily into the flour, then place it in a mixing bowl with the flour.
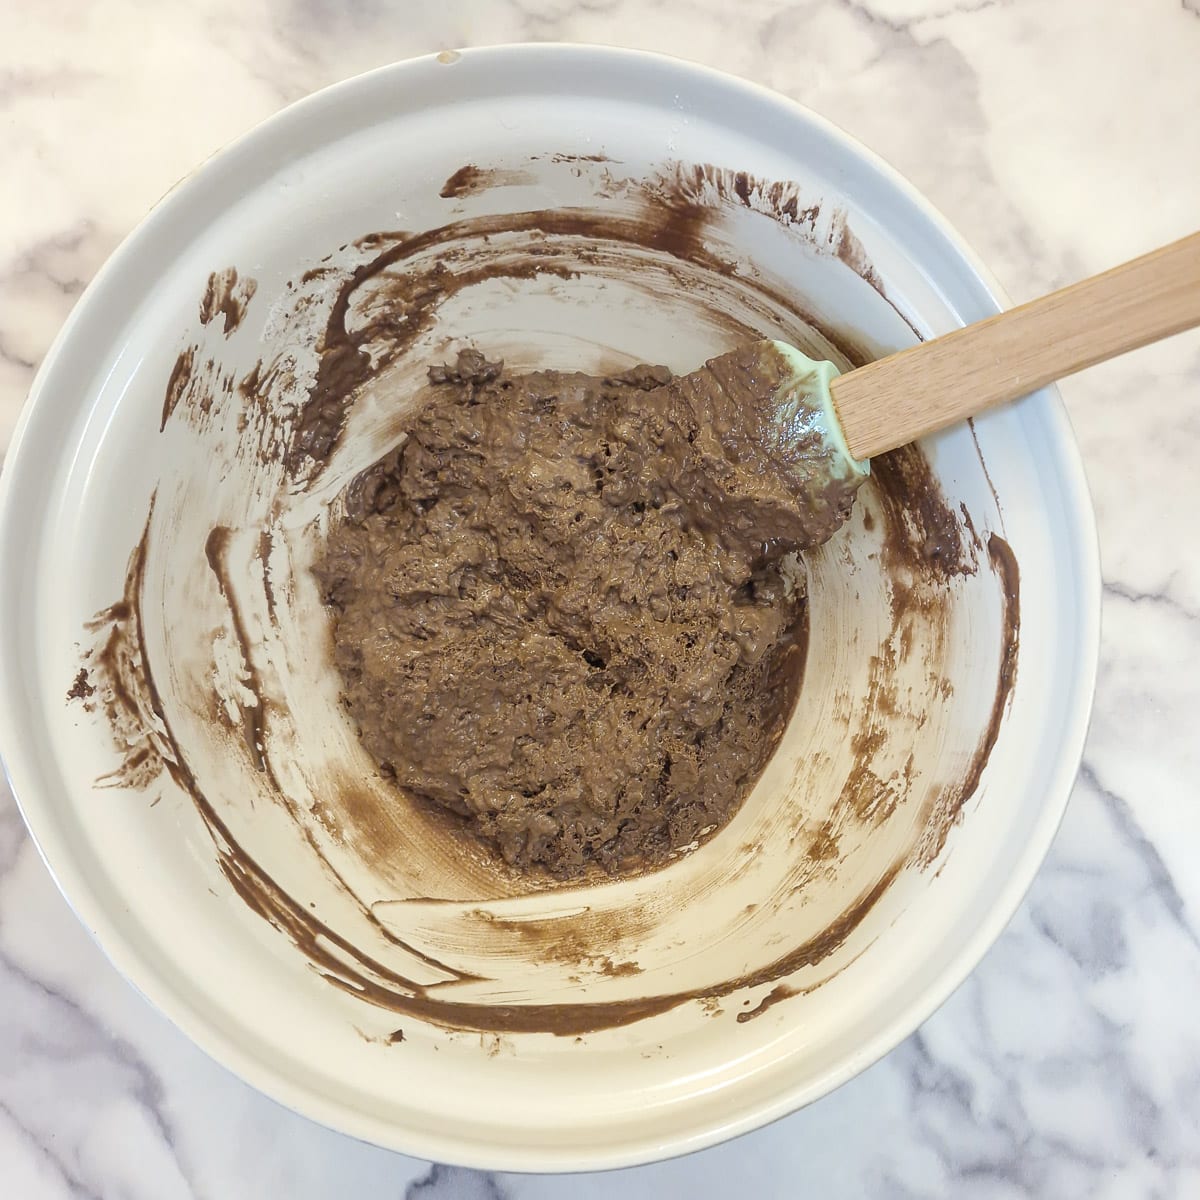
Step 2: Mix with a spatula until there is no flour visible. The result should be a thick batter similar to a cake batter.
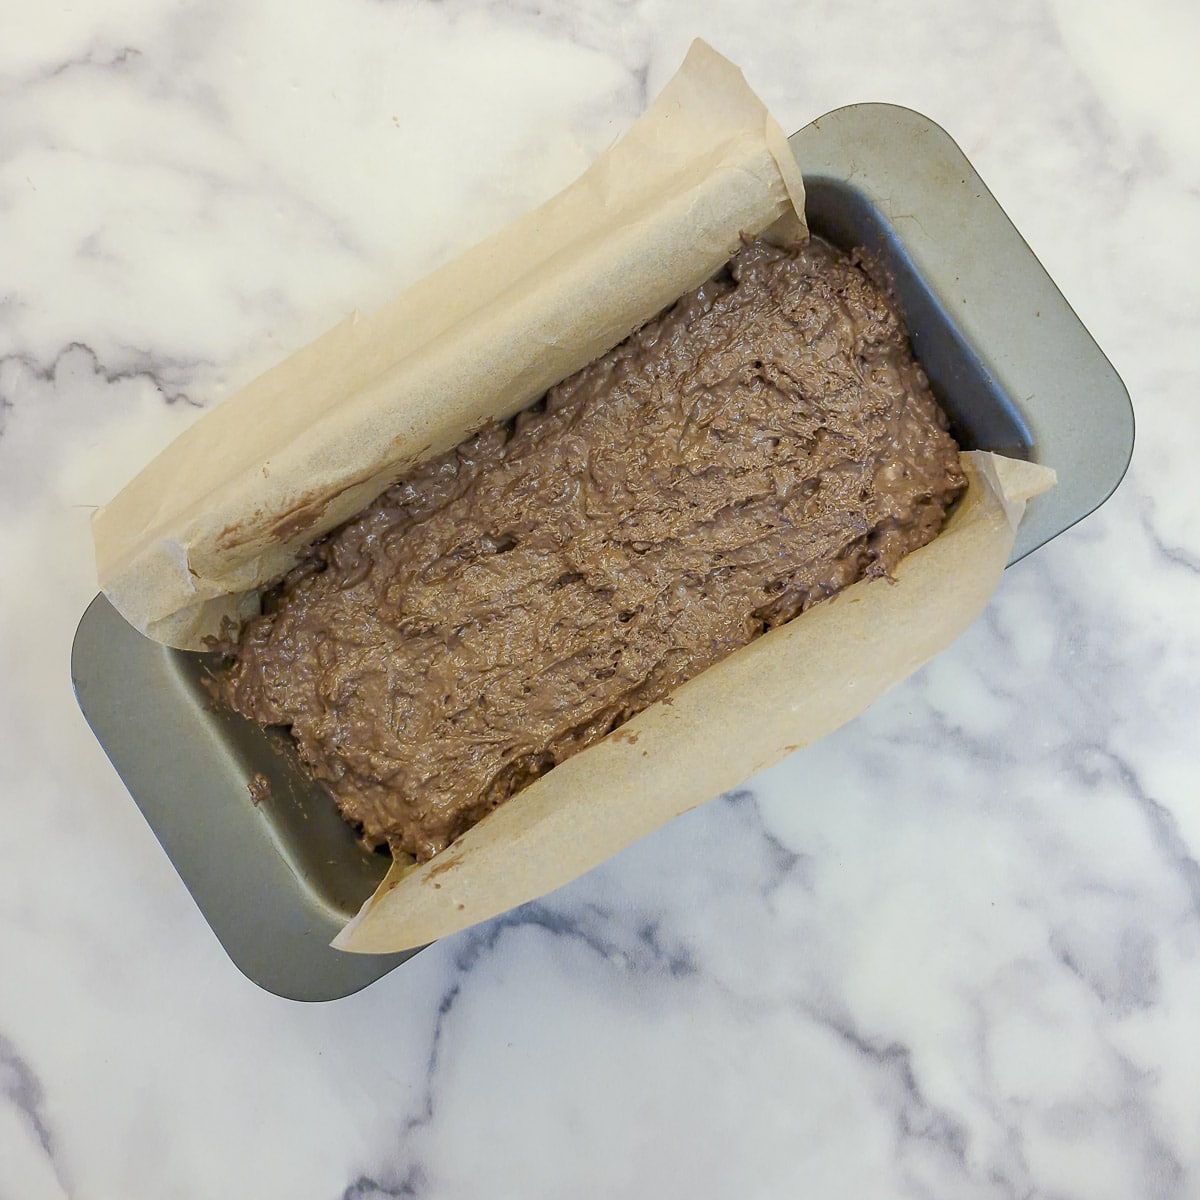
Step 3: Transfer the batter to a 4" x 8" cake tin, which has been lined with baking parchment. If you don't have baking parchment, grease the pan with a little butter.
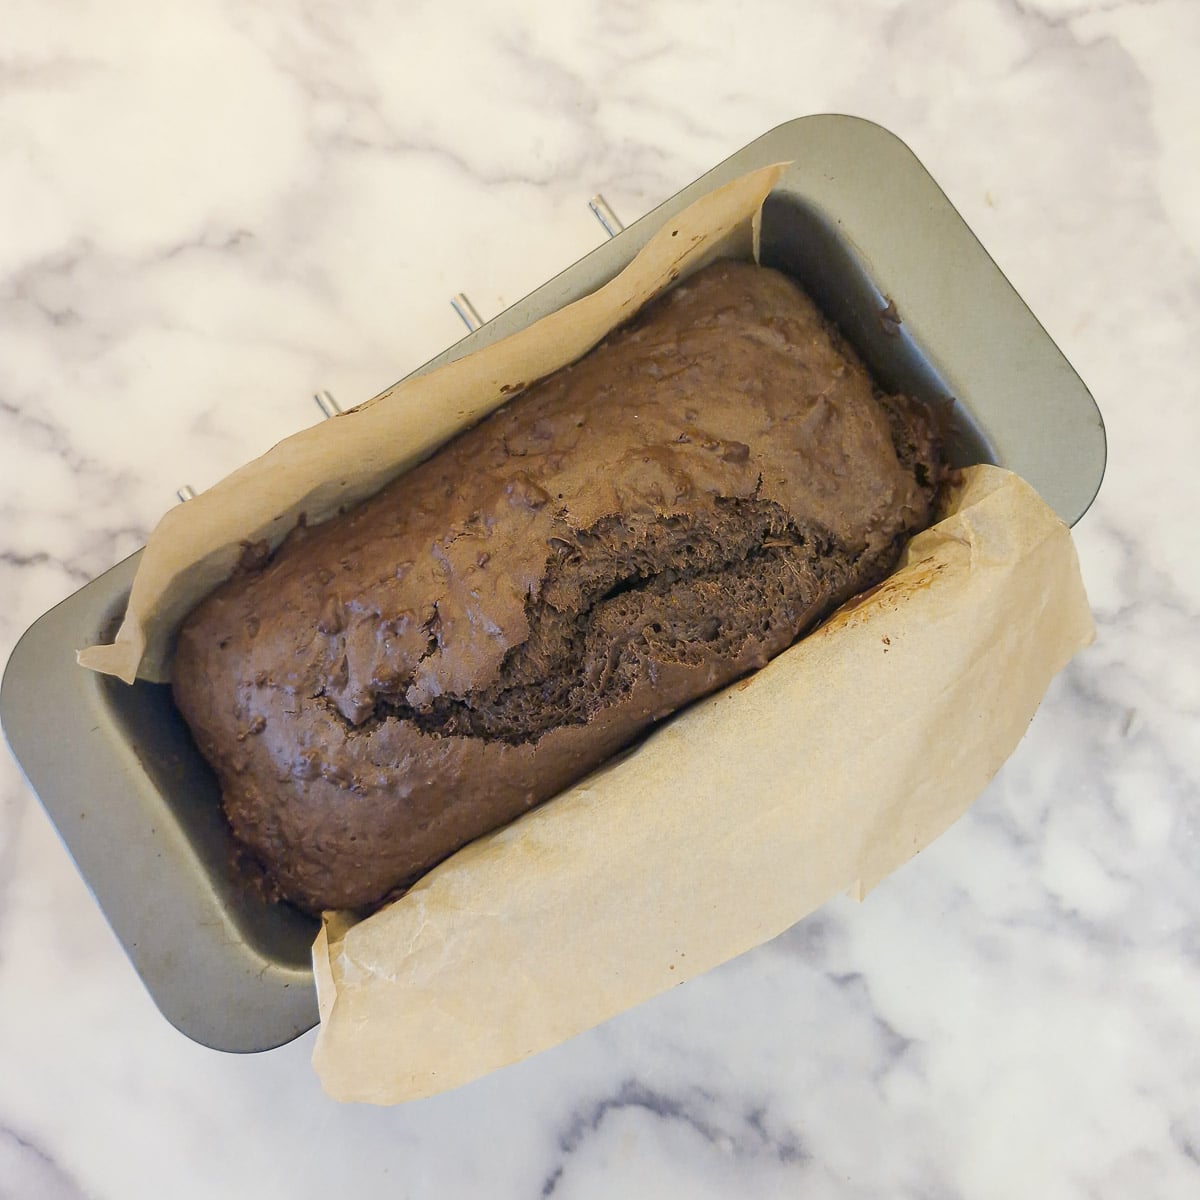
Step 4: Bake the cake in a preheated oven (170C / 340F) for 40 to 45 minutes. Check after 40 minutes by sticking a toothpick into the thickest part of the cake. If it comes out clean the cake is cooked; if not, continue to bake for a further 5 minutes.
If you look at the photo in step 4, you will see that the cake rose up too quickly and cracked on top. To prevent this, you might like to try turning the oven down by 5 to 10 degrees and see if this helps prevent it.
It's not a huge issue, though - the melted chocolate covers a multitude of sins, and once covered with chocolate, you don't even notice the crack in the cake.
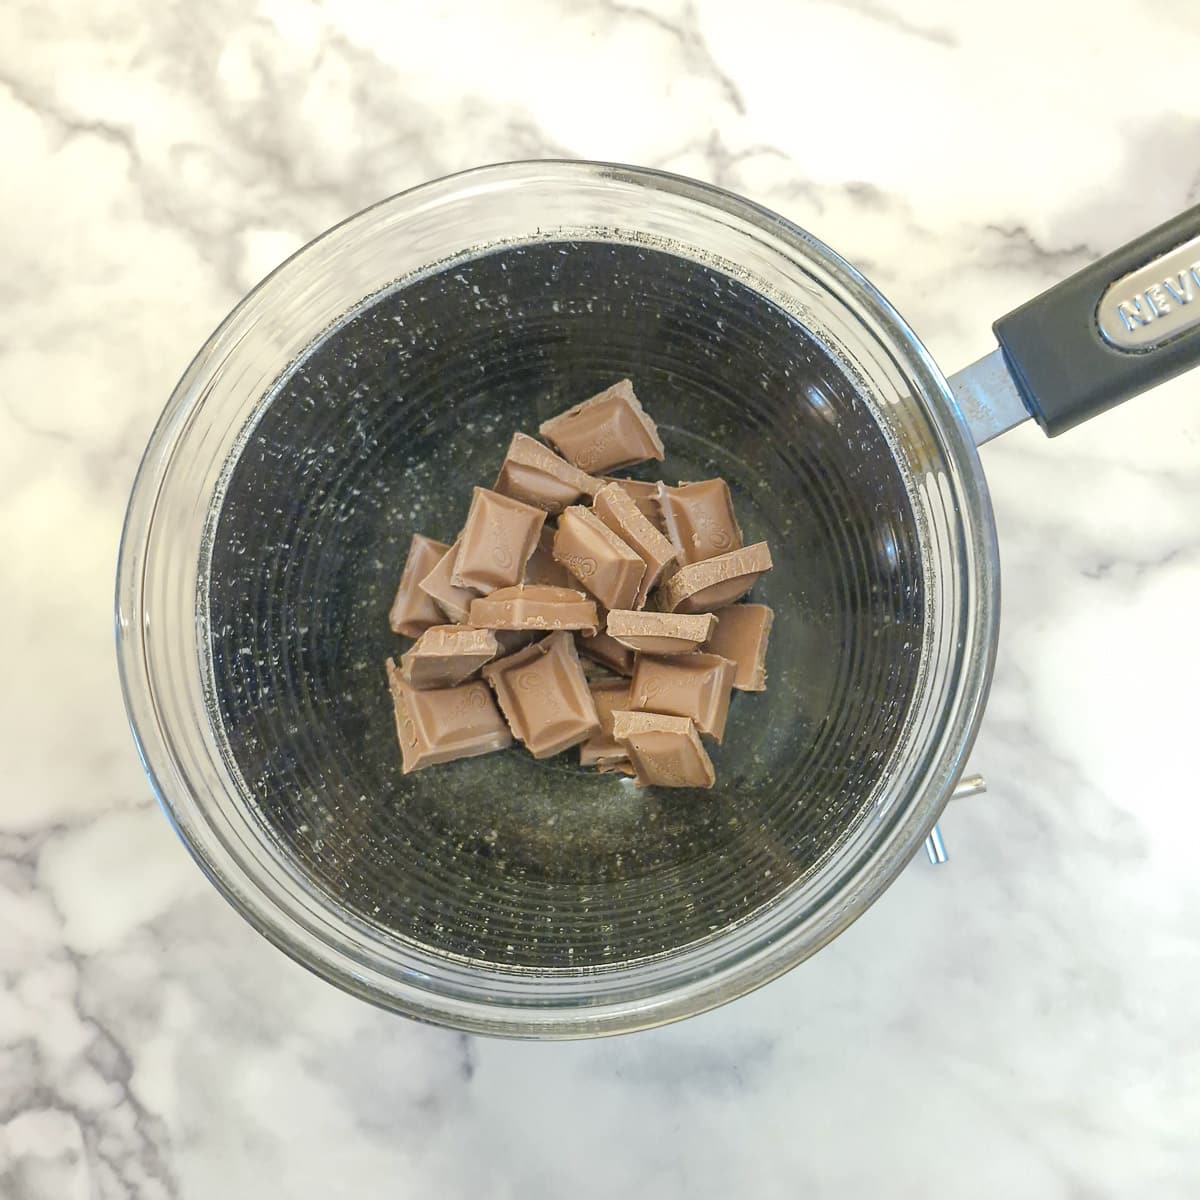
Step 5: To melt the chocolate, break it into small pieces and put it in a bowl over a saucepan with about an inch of water in the bottom.
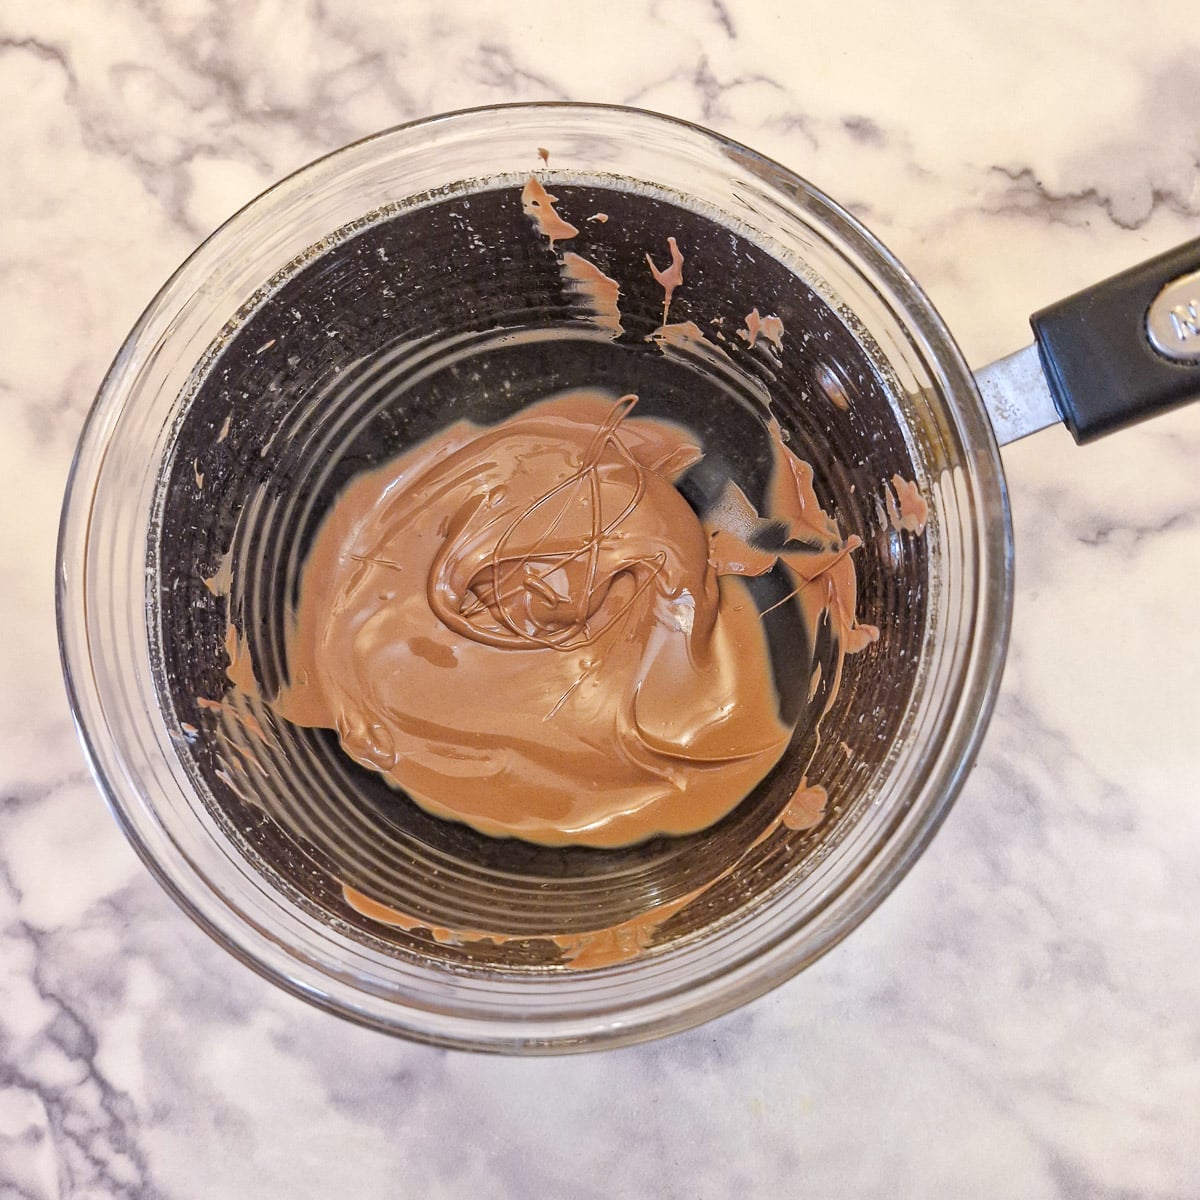
Step 6: Heat the water, and allow it to simmer while you stir the chocolate. It will take 2 to 3 minutes for the chocolate to melt.
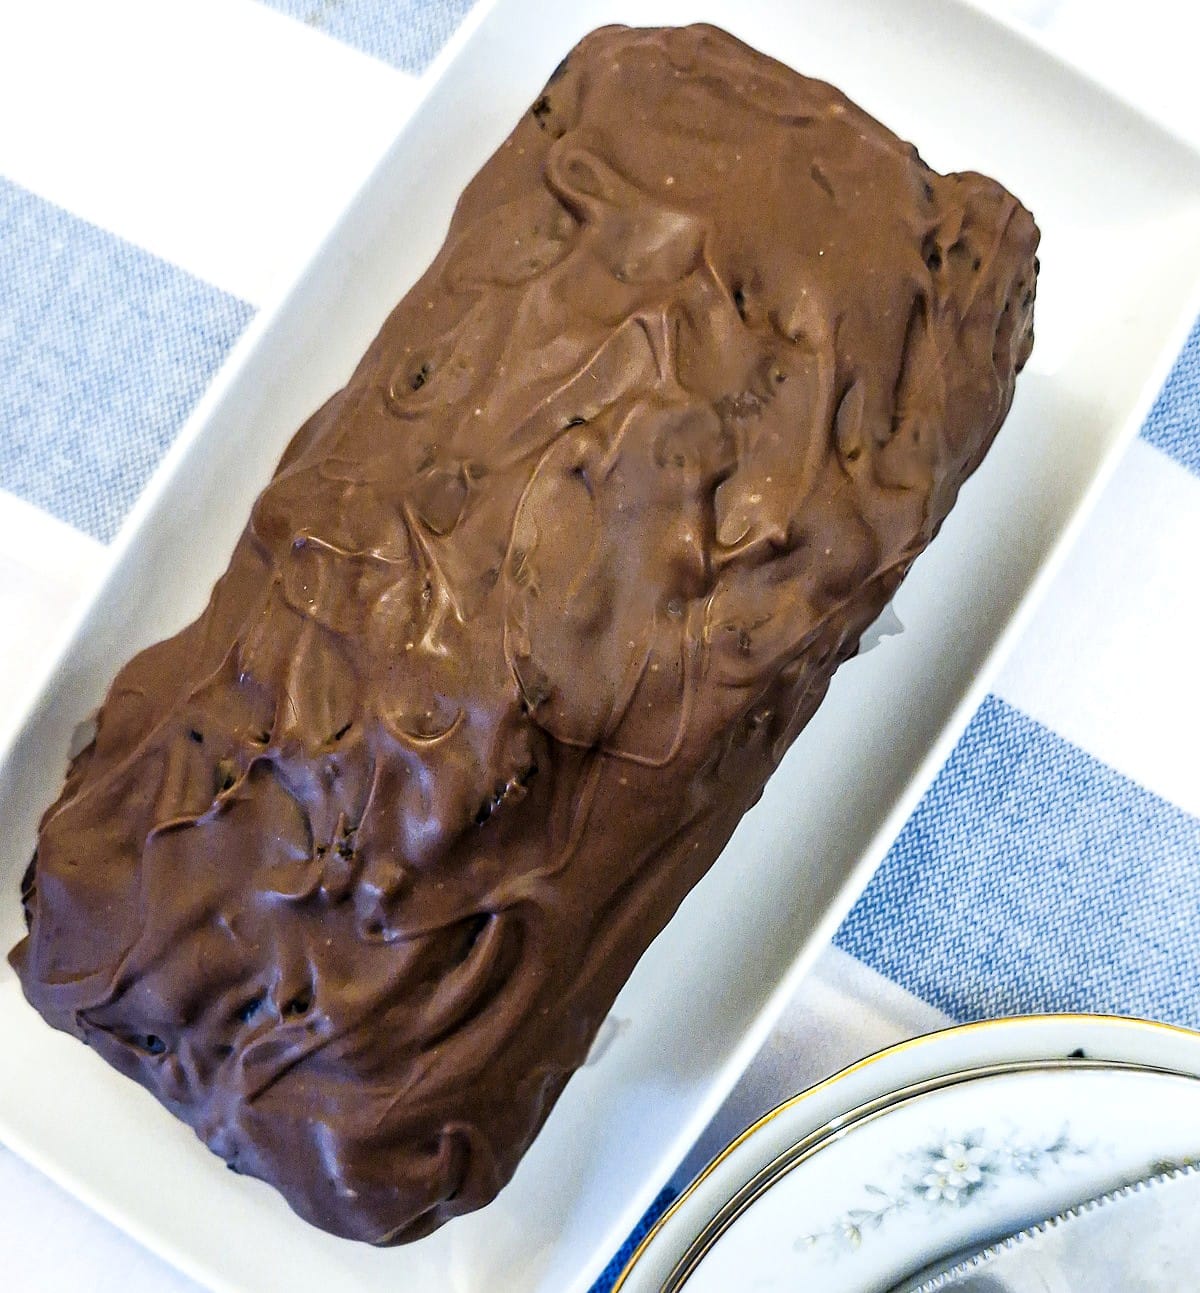
Remove the cake from the pan and discard the baking parchment.
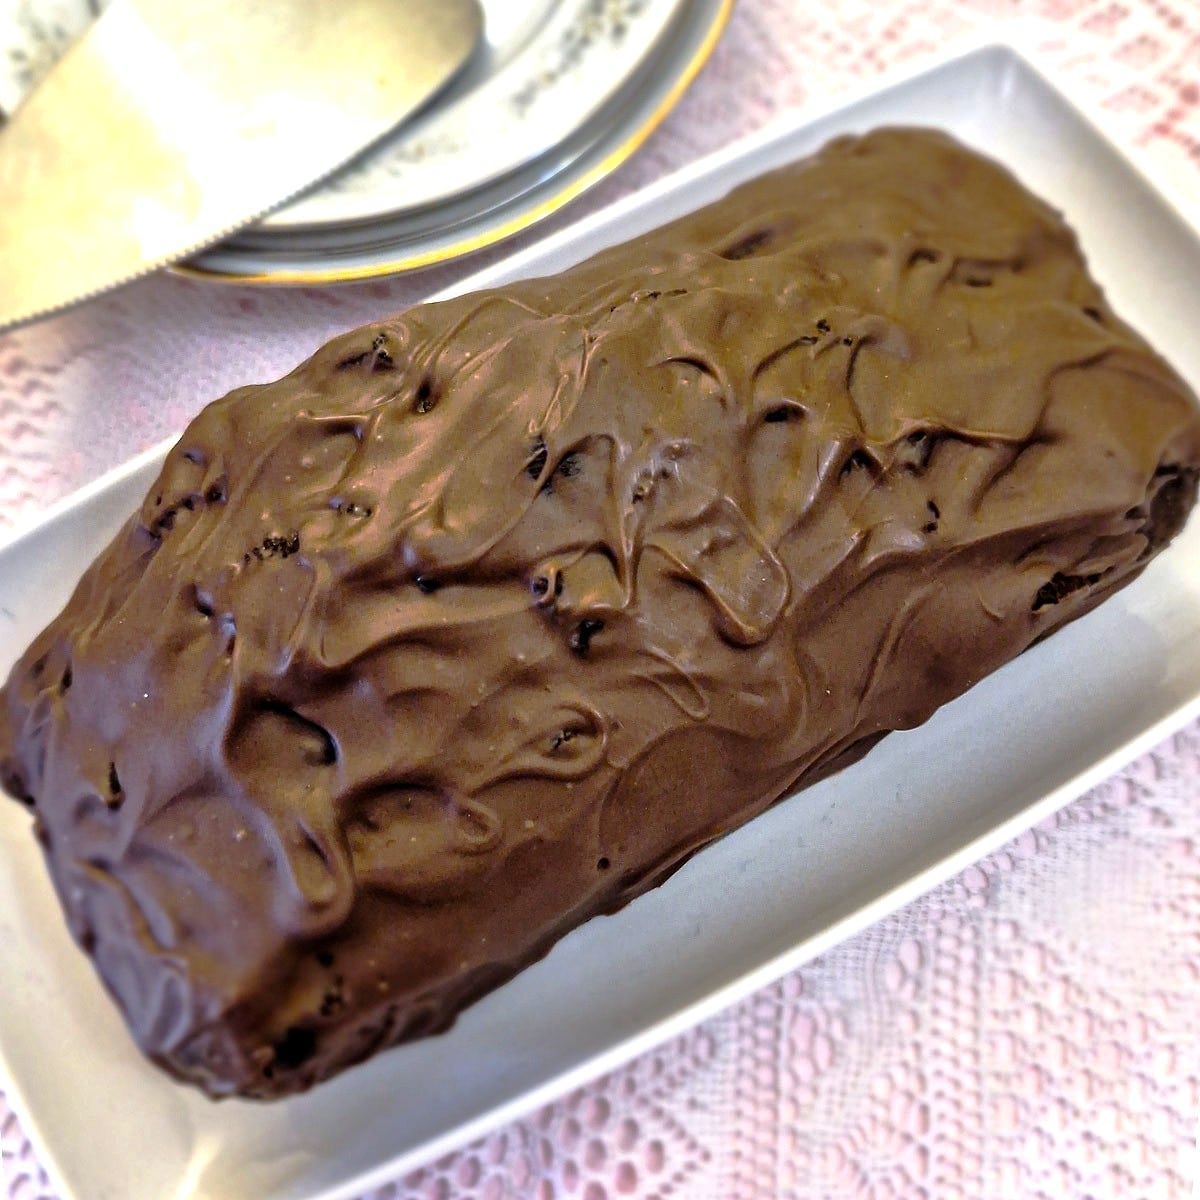
Place the cake on a serving platter and drizzle the melted chocolate over the top of the cake. Let the chocolate run down the sides and use a flat-bladed knife to smooth the chocolate over the sides. Use the same knife to swirl the chocolate on top of the cake.
Allow the chocolate to harden before slicing and serving.
Tips for a successful outcome
Here are my top tips to ensure that your 2-ingredient chocolate ice cream loaf cake always turns out perfectly:
- The ice cream should be soft and lump-free. You can soften the ice cream by placing it in the microwave for a few seconds.
- When mixing the ice cream and flour, mix only enough to combine the flour fully with the ice cream. Mixing too much will activate the gluten in the flour, resulting in a denser texture.
- I've allowed for 2 cups of melted ice cream in this recipe. If the texture of the batter is too thick, add a little more melted ice cream until you get a thick, cake-like batter.
- Baking parchment allows you to easily remove the cake from the pan. Leaving a little parchment extending above the sides of the pan helps you lift the cake out.
- When melting the chocolate, take care not to allow any water to get into the bowl of chocolate, or this may cause the chocolate to seize and become lumpy. If this happens, you will have to throw the chocolate away and start again.
- You could also melt the chocolate in the microwave in 30-second bursts, stirring after each 30 seconds. The chocolate should take around 2 minutes to melt in this way.
Variations
Here are some ways in which you could vary the recipe:
- Vanilla and raspberry - Use vanilla ice cream and gently fold a cup of fresh or frozen raspberries into the batter before baking. The fruit adds a delicious contrast and a splash of colour. Drizzle the finished cake with melted white chocolate.
- Mint chocolate chip - Add a teaspoon of peppermint essence and half a cup of chocolate chips to the original recipe. Top with melted dark chocolate. This would make an amazing dessert for a dinner party, served in slices and covered with homemade vanilla custard.
- Salted caramel - Use salted caramel ice cream and add half a cup of chopped walnuts to the batter to provide crunch. Drizzle with melted caramel or caramelised condensed milk for a toffee-flavour.
- The original recipe I saw was simply made with strawberry ice cream. I would be inclined to top this with whipped cream and strawberry compote from my cream scones recipe.
Let me know in the comments if you've come up with your variations of your own.
Equipment
You don't need very much equipment at all. Here are the main items you will need.
- mixng bowl for mixing the ice cream and flour.
- baking tin approximately 4" x 8" in size.
- small glass bowl that fits on top of saucepan for melting the chocolate.
Storage
Store the chocolate cake in an air-tight container in a cool place, such as the pantry. It will stay fresh for up to 3 days.
FAQ
Yes, while chocolate works beautifully, you can experiment with any flavour of ice cream, including the fruit-flavoured variety. Just ensure it is proper ice cream made with cream, eggs and milk, for the best outcome.
Yes, stir in chocolate chips, nuts or even dried fruit before baking.
No, you can use plain or all purpose flour, but make sure to add one teaspoon of baking powder for each cup of plain flour.
This can happen if the moisture content of the cake is not sufficient. When mixing the cake, if the batter seems too thick and dry, add a splash of milk or a little more melted ice cream to loosen it. Don't add too much liquid. The texture of the batter should be thick and dense - a little thicker than a normal cake batter.
Save for later
If you would like to make this chocolate ice cream loaf cake, why not save the recipe to one of your Pinterest boards so you can find it easily? Just click the image below.
Alternatively, you can save the recipe by clicking on the floating heart icon on the right-hand side of the screen.
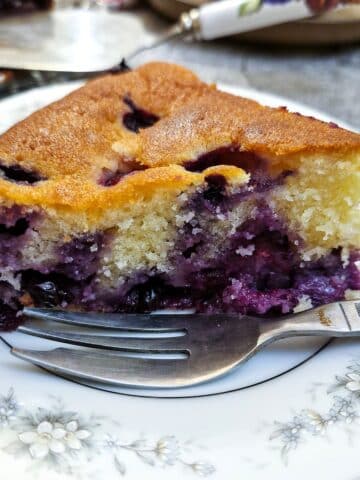
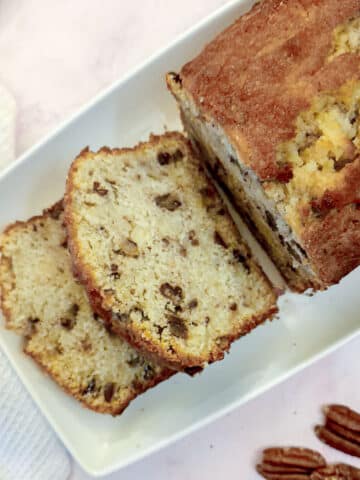
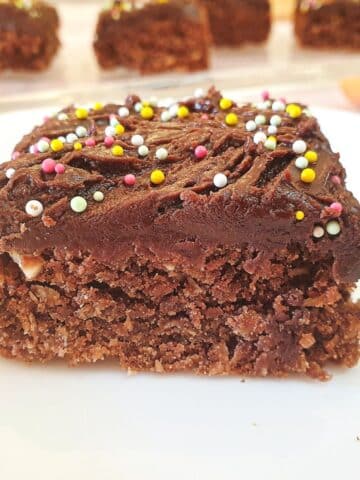
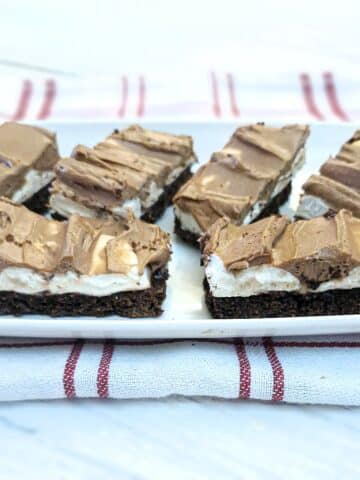
Related recipes
Visit my cake, biscuit and dessert recipes page or more tasty bakes. Here are a few you might enjoy:
📋The recipe

Chocolate ice cream loaf cake
(Click the stars to rate this recipe)
Equipment
- Mixing bowl
- Baking tin approx 4" x 8" or 10 cm x 20 cm.
- Small glass bowl
- Saucepan
Ask a Question
If you have a question about this recipe that has not been answered, please use the box below to ask it.
Use this with care. This is an AI-generated result and may contain errors or inaccuracies. I cannot be held responsible for the information returned.
Ingredients
- 2 cups ice cream melted
- 1½ cups self-raising flour
- 3.5 ounces / 100 grams Cabury's Dairy Milk chocolate
Instructions
- Preheat the oven to 170°C / 340°F
- Allow the ice cream to soften sufficiently to allow you to mix it easily into the flour, then place it in a mixing bowl with the flour.2 cups ice cream, 1½ cups self-raising flour
- Mix with a spatula until there is no flour visible. The result should be a thick batter similar to a cake batter.
- Transfer the batter to a 4" x 8" cake tin, which has been lined with baking parchment. If you don't have baking parchment, grease the pan with a little butter.
- Bake the cake in a preheated oven (170C / 340F) for 40 to 45 minutes. Check after 40 minutes by sticking a toothpick into the thickest part of the cake. If it comes out clean the cake is cooked; if not, continue to bake for a further 5 minutes.
- Remove the cake from the oven and allow it to cool.
- To melt the chocolate, break it into small pieces and put it in a bowl over a saucepan with about an inch of simmering water in the bottom.3.5 ounces / 100 grams Cabury's Dairy Milk chocolate
- Stir the chocolate over the simmering water. It will take 2 to 3 minutes for the chocolate to melt. Do not allow any water to get into the chocolate.
- Remove the baking parchment from the cake and discard.
- Place the cake on a serving platter and drizzle the melted chocolate over the top of the cake. Let the chocolate run down the sides and use a flat-bladed knife to smooth the chocolate over the sides. Use the same knife to swirl the chocolate on top of the cake.
- Place the cake in a cool place in the pantry and allow the chocolate to harden before slicing and serving.
Notes
- The ice cream should be soft and lump-free. You can soften the ice cream by placing it in the microwave for a few seconds.
- When mixing the ice cream and flour, mix only enough to combine the flour fully with the ice cream. Mixing too much will activate the gluten in the flour, resulting in a denser texture.
- I've allowed for 2 cups of melted ice cream in this recipe. If the texture of the batter is too thick, add a little more melted ice cream until you get a thick, cake-like batter.
- Baking parchment allows you to easily remove the cake from the pan. Leaving a little parchment extending above the sides of the pan helps you lift the cake out.
- When melting the chocolate, take care not to allow any water to get into the bowl of chocolate, or this may cause the chocolate to seize and become lumpy. If this happens, you will have to throw the chocolate away and start again.
- You could also melt the chocolate in the microwave in 30-second bursts, stirring after each 30 seconds. The chocolate should take around 2 minutes to melt in this way.
Nutrition
I am not a nutritionist. The nutrition information has been calculated using an on-line calculator, and is intended for information and guidance purposes only. If the nutrition information is important to you, you should consider calculating it yourself, using your preferred tool.
If you made this recipe and enjoyed it, I'd love it if you could give me a star rating in the comments below. And if you'd like to get in touch, you can email me at [email protected]. I'd love to hear from you. And don't forget to subscribe to my mailing list so you can grab yourself a copy of my FREE COOKBOOK!
If you'd like to continue browsing, just click on this link to all my recipes.

Peter says
I tried this with strawberry icecream and it was delicious! I know, it sounds like it shouldn't work, but it does.
VJ says
Good to know you enjoyed the strawberry version! It's amazing how well this recipe turns out!