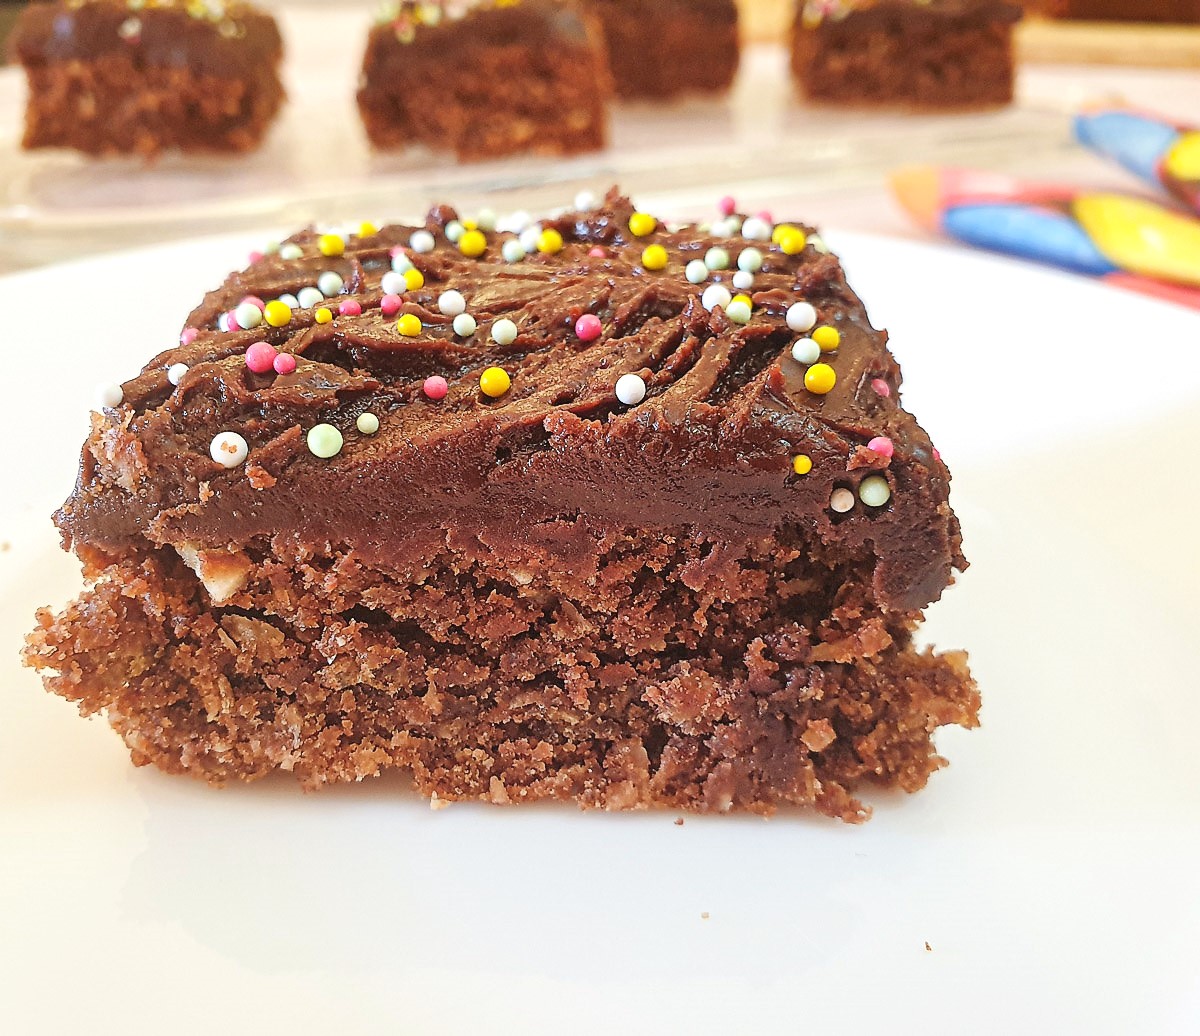
Chocolate Weetabix crumble slice is a sweet bake with a difference. The main ingredient is Weetabix breakfast cereal, which gives the cake a dense, rather crumbly texture that is kept moist by the addition of golden syrup.
Jump to:
Chocolate Weetabix slice
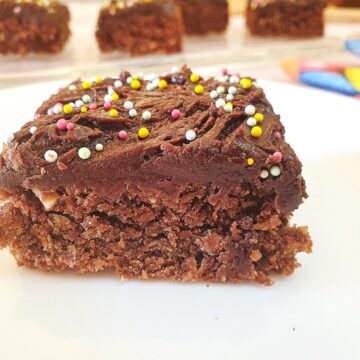
Chocolate Weetabix slice is a quick and easy bake made with crushed Weetabix cereal, coconut, cocoa, flour, butter, and golden syrup. As you can see from the above picture, the texture is quite crumbly, and much denser than a cake, and it is utterly 'moreish'.
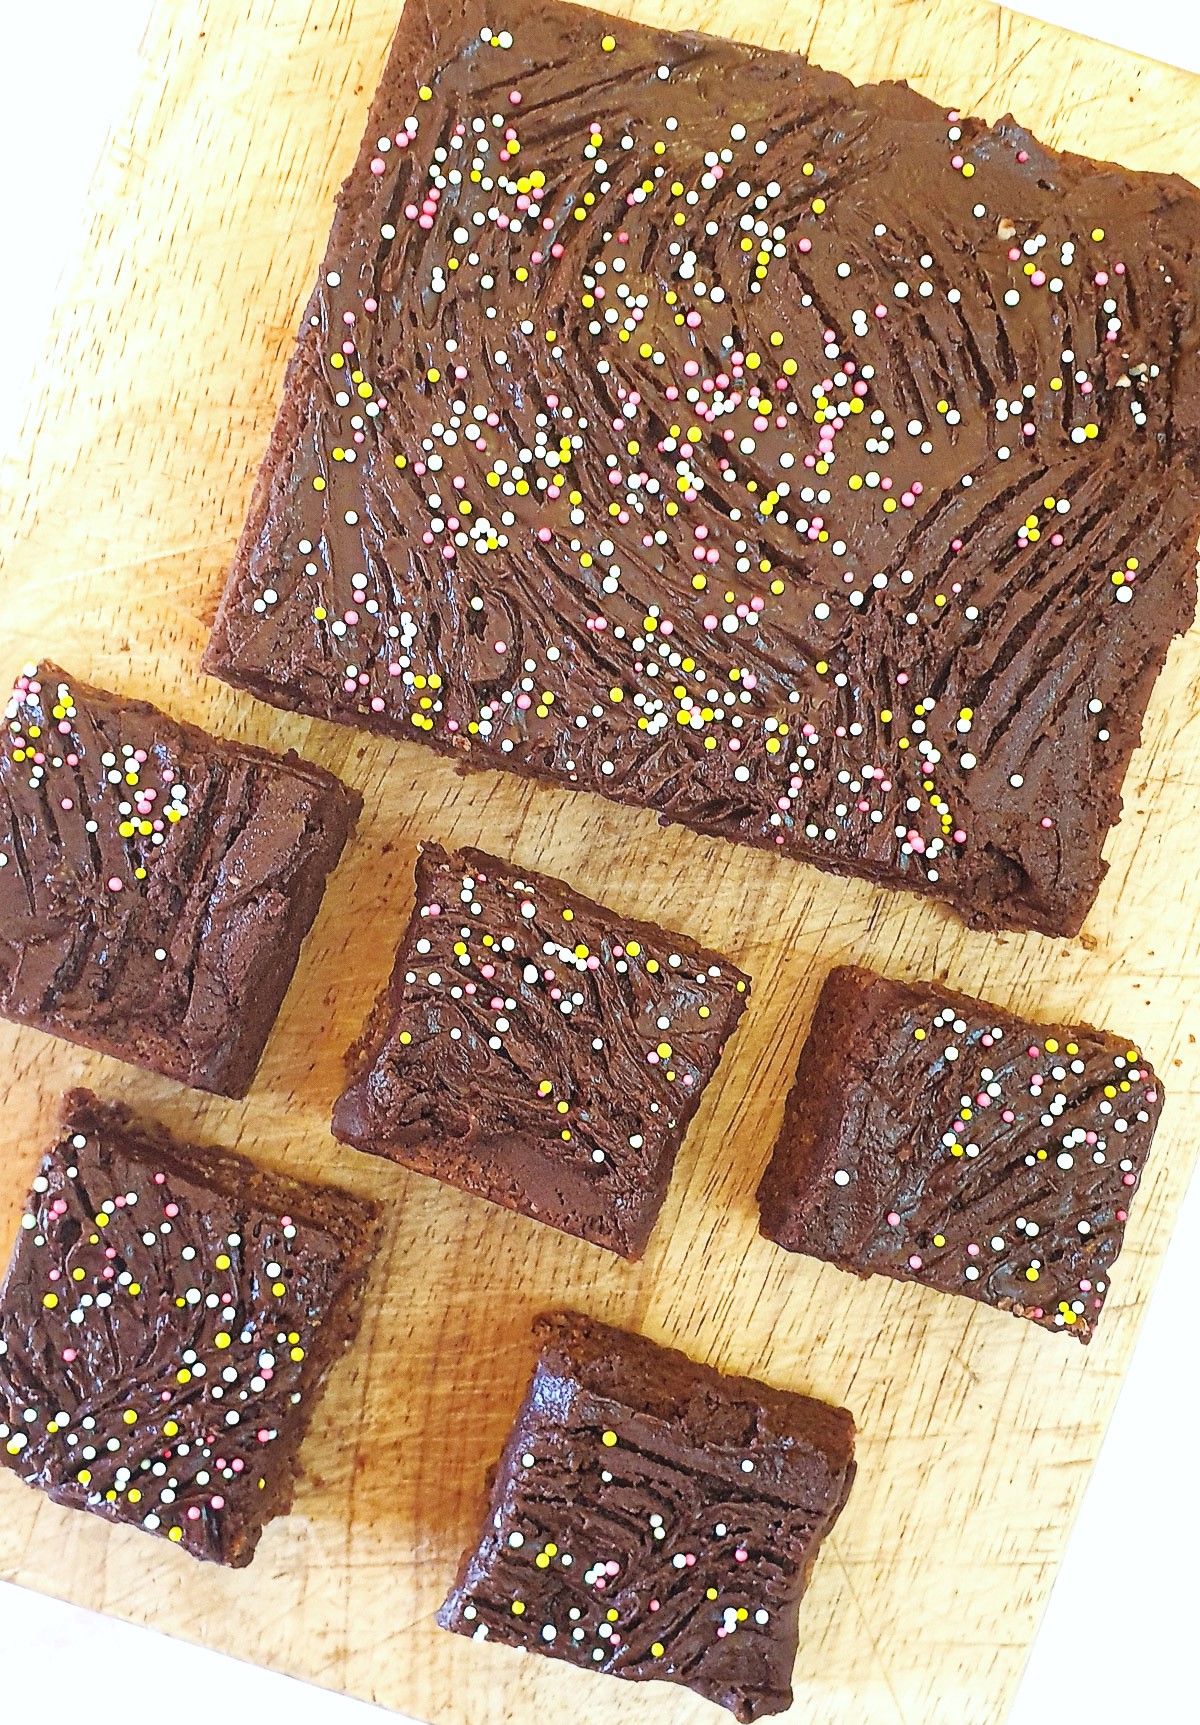
I've topped my Weetabix slice with chocolate icing, but it would be just as good covered with melted chocolate.
This quick-bake chocolate Weetabix slice is a true dump-and-mix recipe, making it the ideal recipe for beginners and youngsters to tackle. It's also perfect for popping into lunchboxes or eating as a mid-morning or tea-time snack.
My version requires the Weetabix slice to be baked in the oven, but I've come across other recipes that include dried fruit and nuts and don't require any baking at all. If that's what you are looking for you may like to try this no-bake chocolate weetbix slice.
If you enjoyed this cake, I'm sure you'll love this traybake sticky toffee pudding cake which is smothered in the most delicious toffee ganache!
What you will need
Equipment
You will need 2 mixing bowls (one for the Weetabix slice and another for making the icing). You will also need a baking tray which you might like to line with baking parchment to prevent the cake from sticking. I used a 10" x 8" (26cm x 20cm) oblong baking tray, but you could also use a 9" (23cm) square one instead.
The final piece of equipment is a small saucepan for melting the butter. You could also use a small microwave-safe bowl and melt the butter in the microwave.
Ingredients
This recipe will make one 9" square chocolate slice.
**You can get the complete list of ingredients and full instructions for making this chocolate Weetabix crumble slice on the printable recipe card at the end of this post**
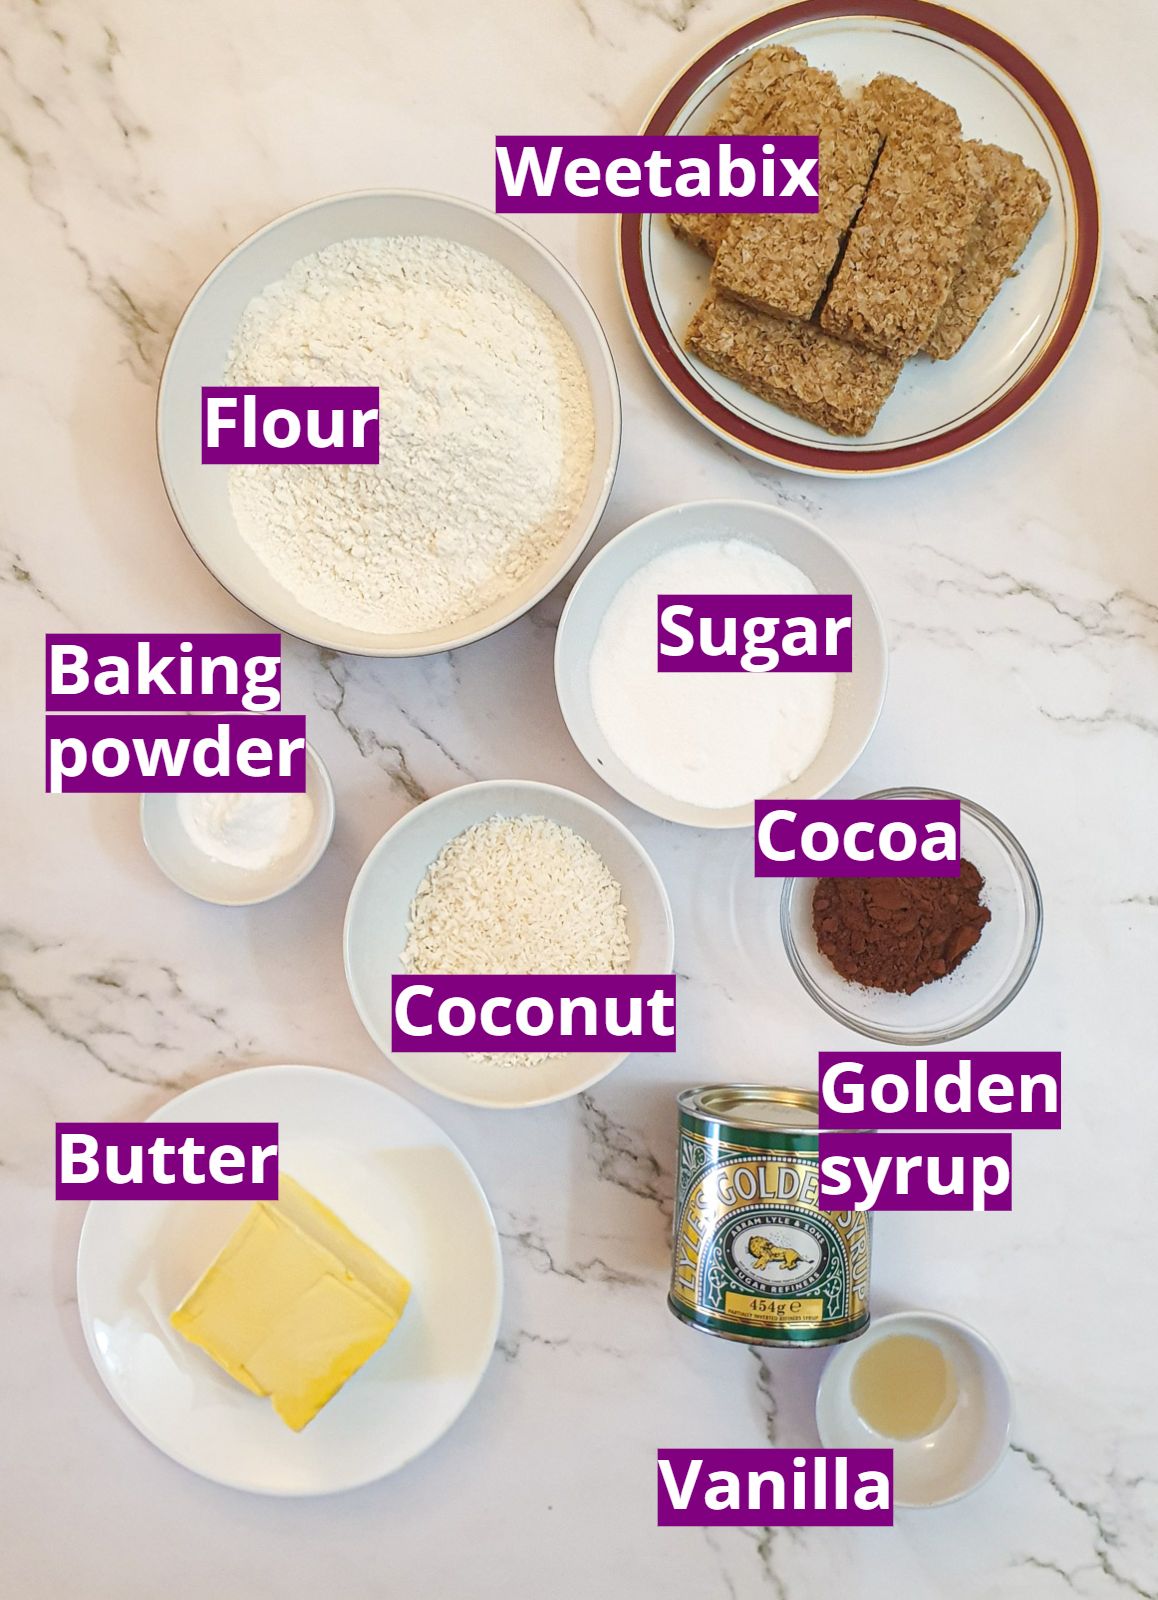
- Weetabix biscuits - you can use the original Weetabix biscuits, or substitute them with the supermarket's 'own brand' which is normally labelled as Wheat Biscuits. In Australia and New Zealand, this cereal is called Weetbix. Both Weetbix and Weetabix are available in Canada and the US.
- Flour - I used plain (all-purpose) flour with the addition of baking powder. If you prefer you can use self-raising flour.
- Sugar - caster sugar is preferred for baking because it is finer than granulated sugar. For this recipe, it doesn't matter whether you use caster or granulated sugar.
- Coconut - unsweetened desiccated coconut, which is normally found in the baking aisle in supermarkets.
- Cocoa powder - this is unsweetened cocoa powder - don't substitute with drinking chocolate - it will be too sweet.
- Butter - I normally recommend using butter when making cakes, but for this particular recipe you could substitute with yellow baking margarine.
- Golden syrup - helps the cake bind together as it bakes - don't be tempted to leave it out.
- Vanilla essence - optional
What to do
Mix and bake the cake
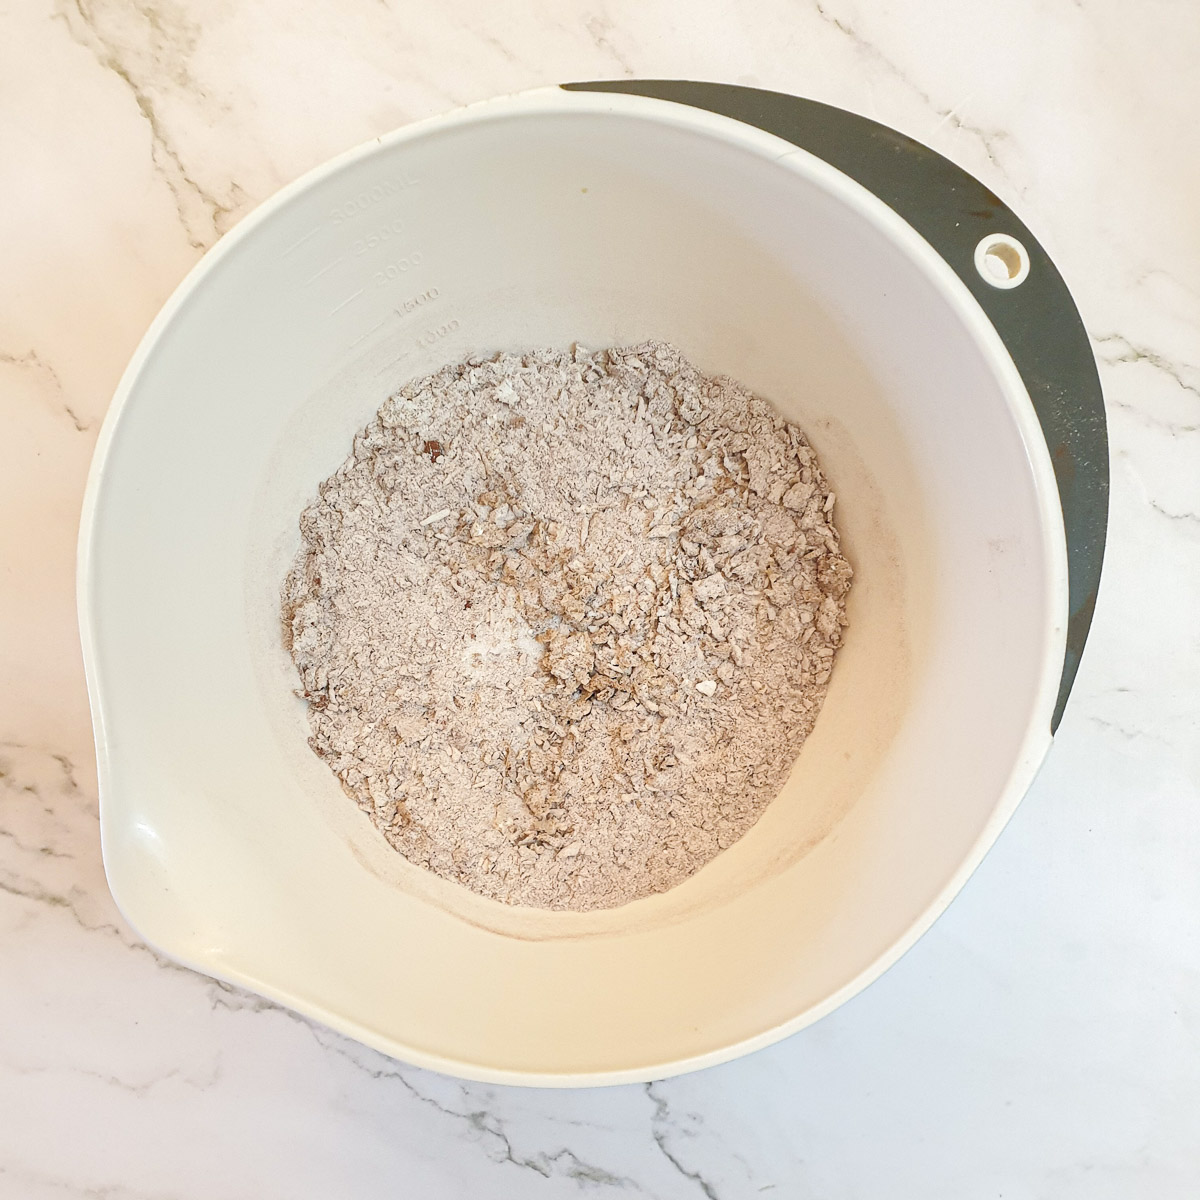
Combine all the dry ingredients (flour, baking powder, crushed Weetabix, coconut, and sugar) in a mixing bowl.
The easiest way to crush the Weetabix is to squeeze them in your hand. They will separate into flakes.
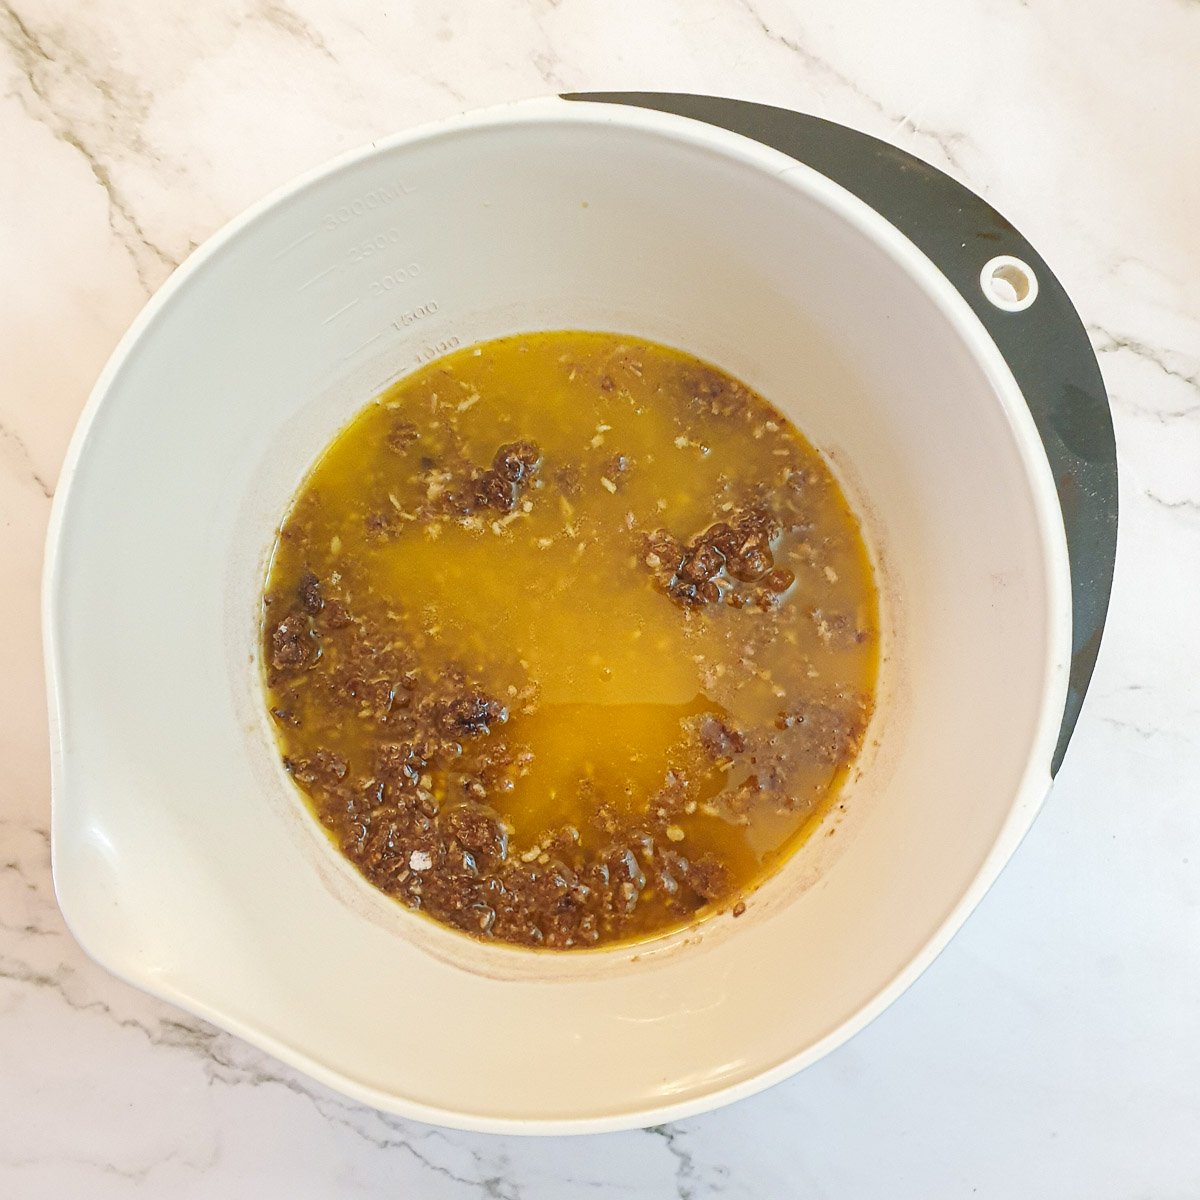
Melt the butter in a small saucepan (or in the microwave) and then stir in the golden syrup (and vanilla if using) until the syrup melts into the butter.
Pour the butter mixture over the dry ingredients.
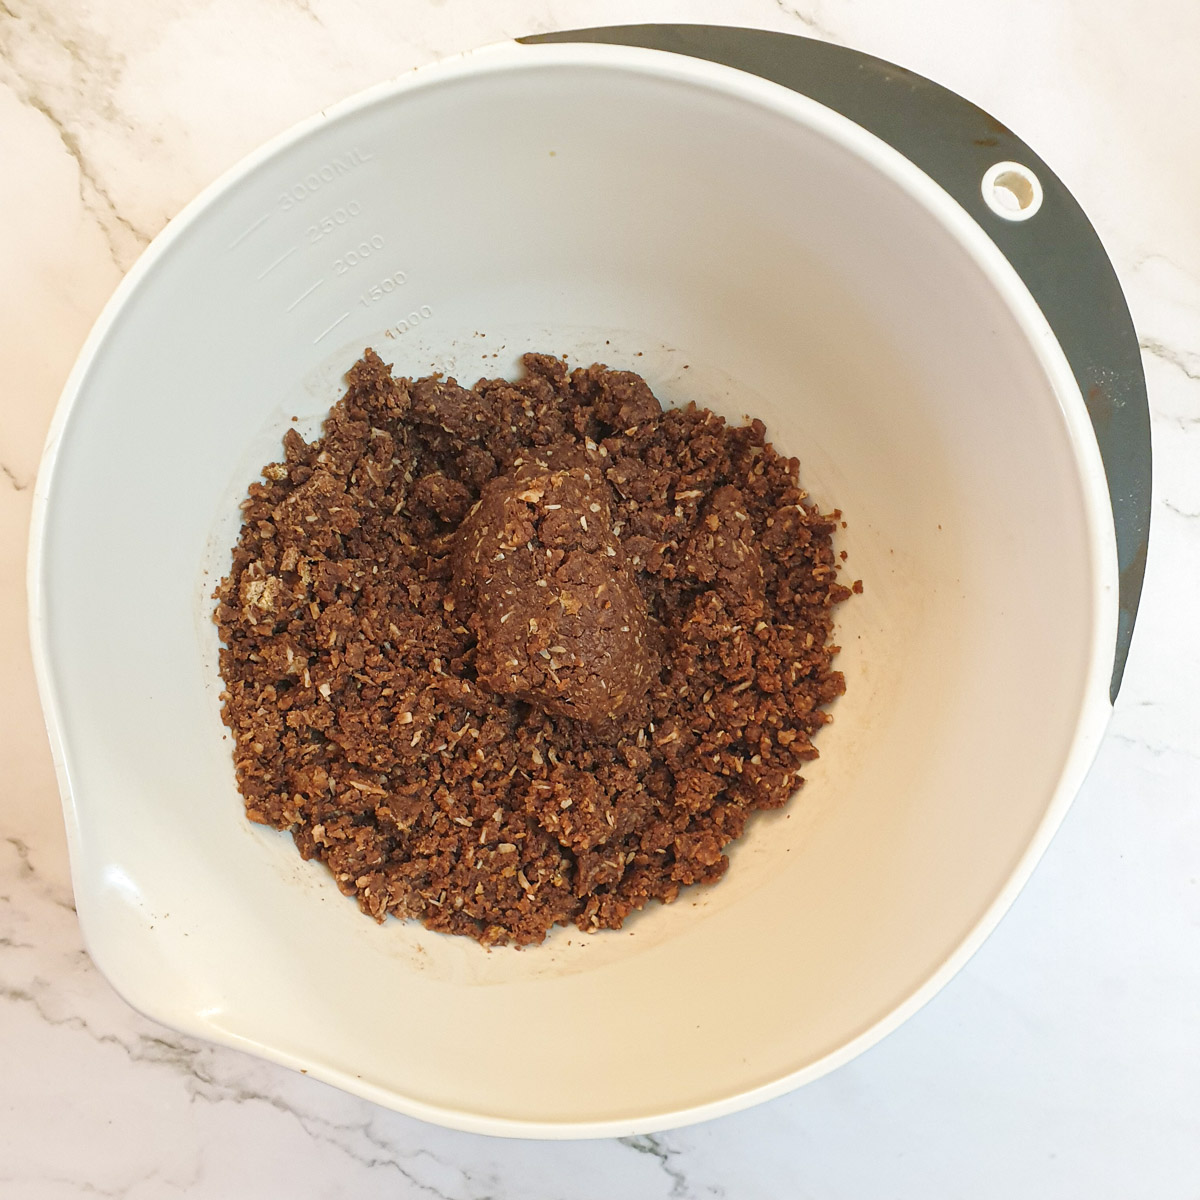
Stir the mixture with a wooden spoon, until the butter is well combined. You may find it easier to use your hands for the final stir.
The mixture should hold its shape when you take a handful and squeeze it gently together.
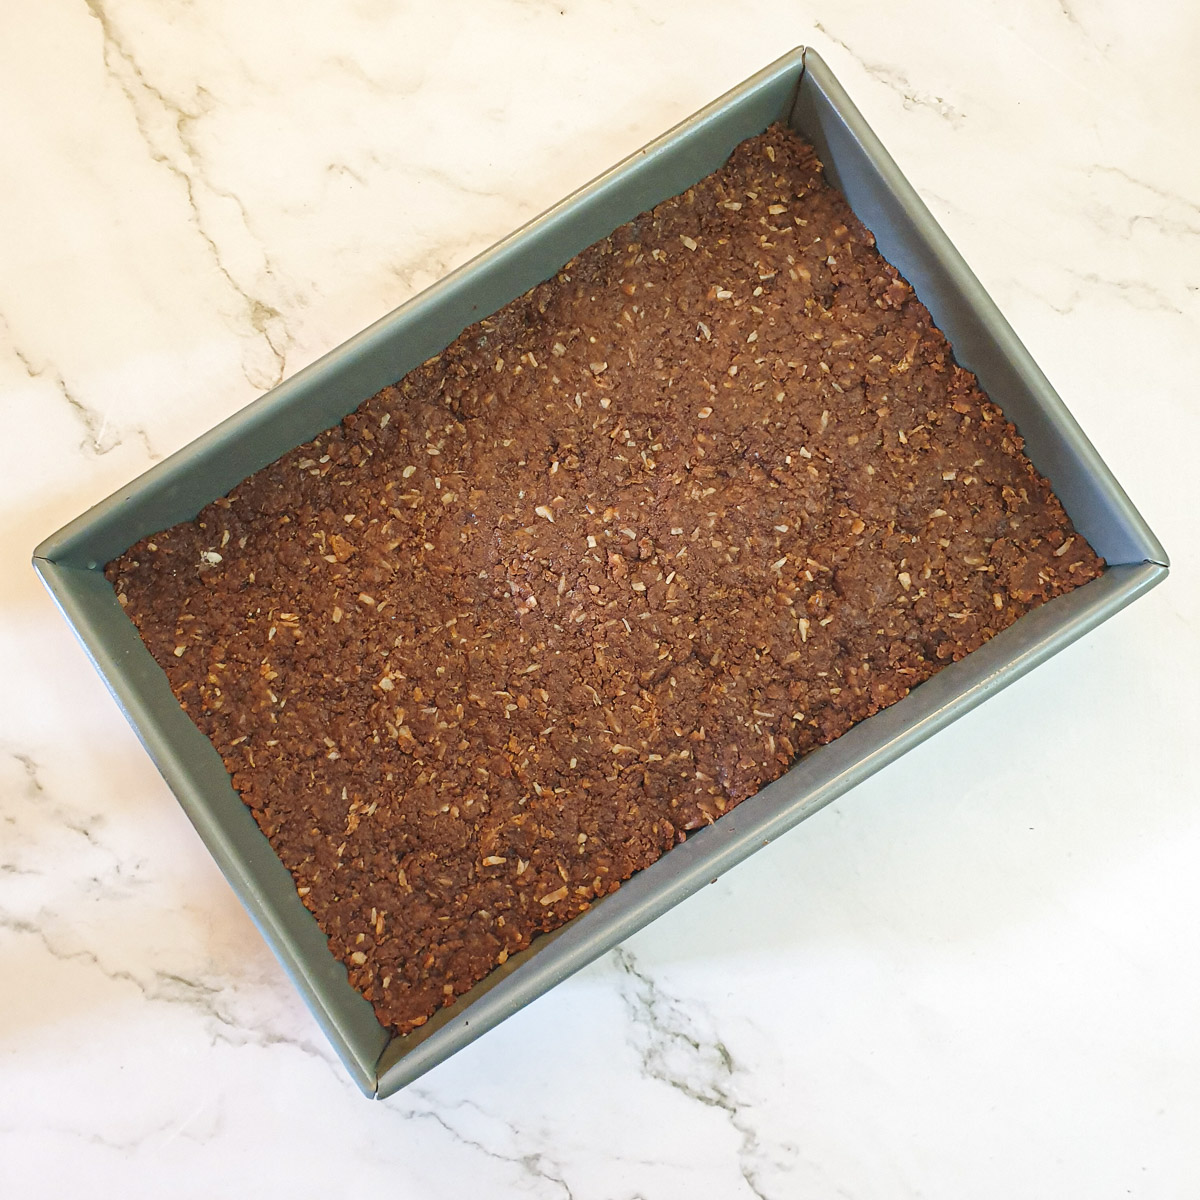
Press the mixture into a greased baking tray.
If your baking tray is inclined to stick, you can line it with baking parchment first.
Press the mixture well down. I used the bottom of a thick drinking glass to help me.
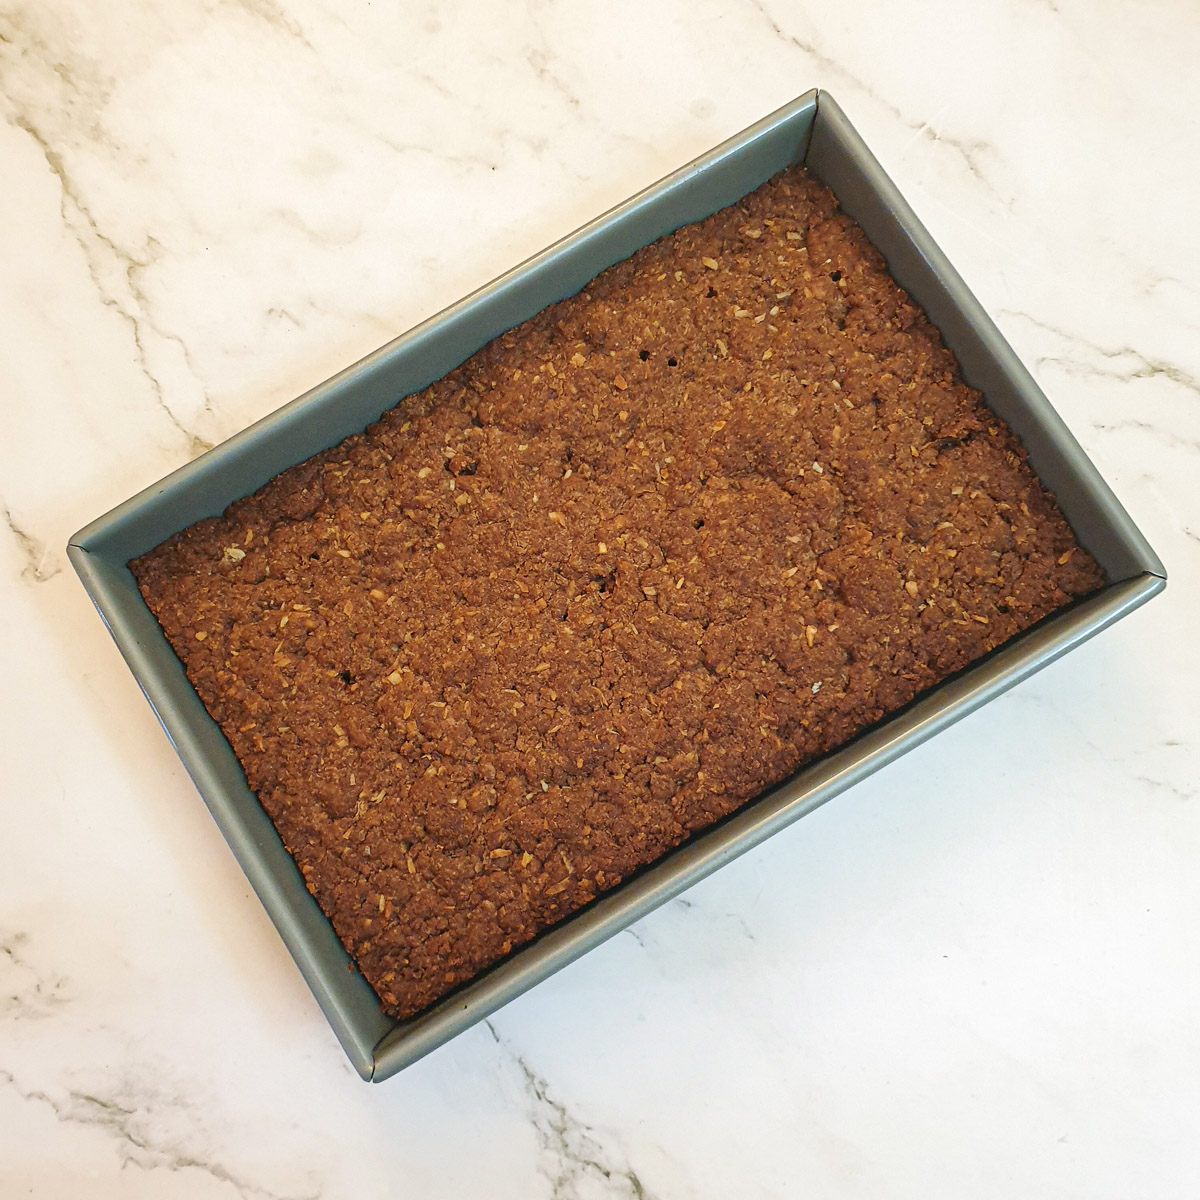
Bake in a preheated oven (180C / 355F) for 15 minutes or until the cake is firm to the touch.
Remove from the oven and allow to cool.
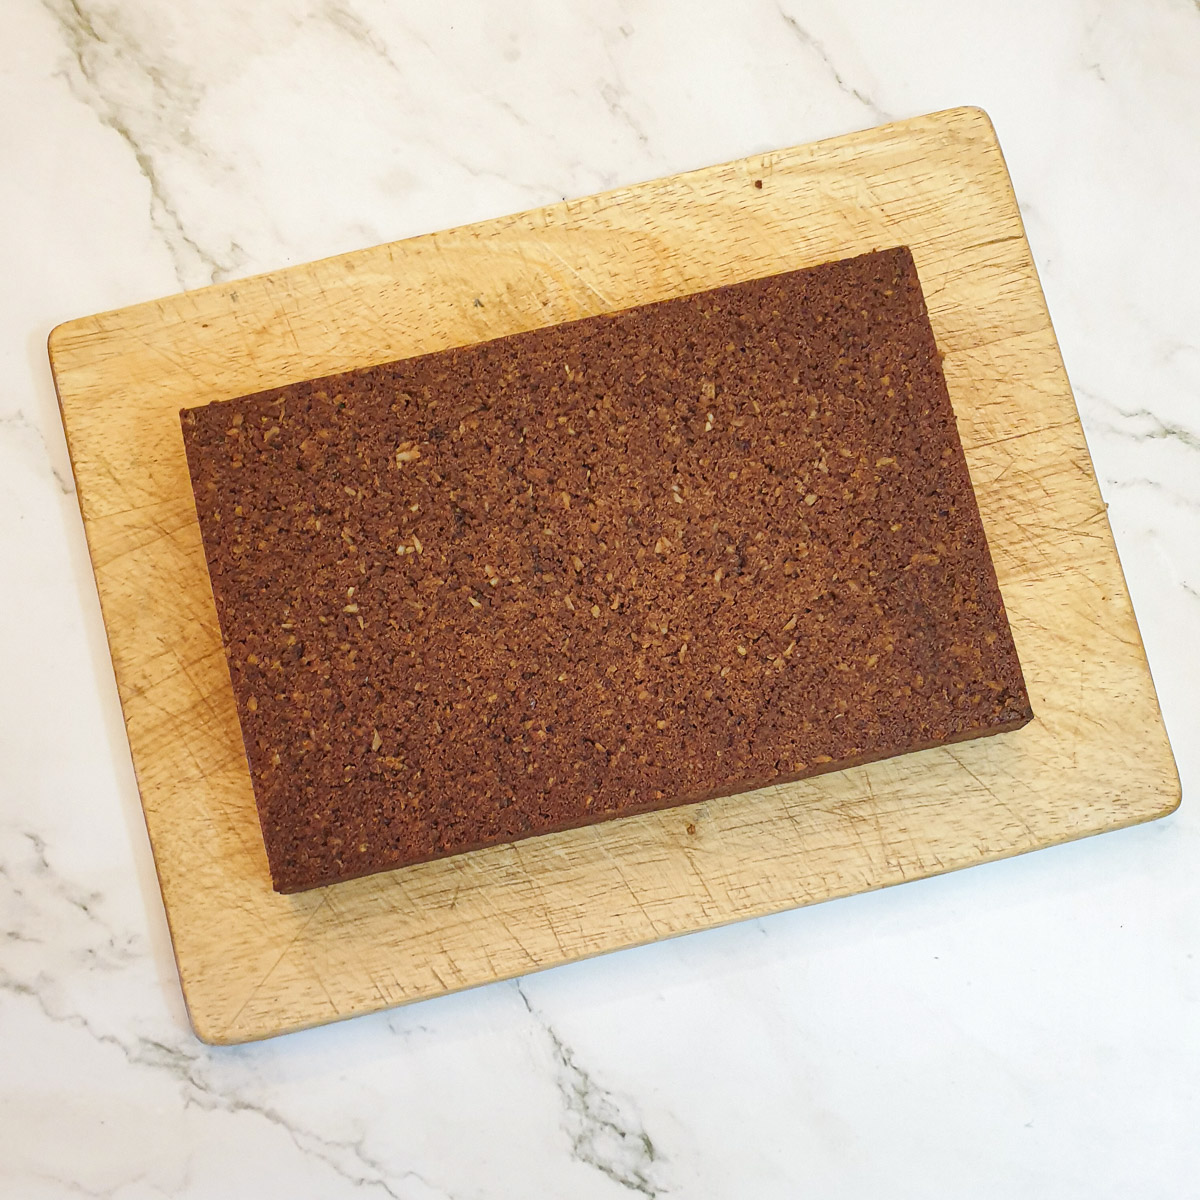
Once the cake has cooled, remove it from the baking pan and peel away any baking parchment (if you used it).
The icing
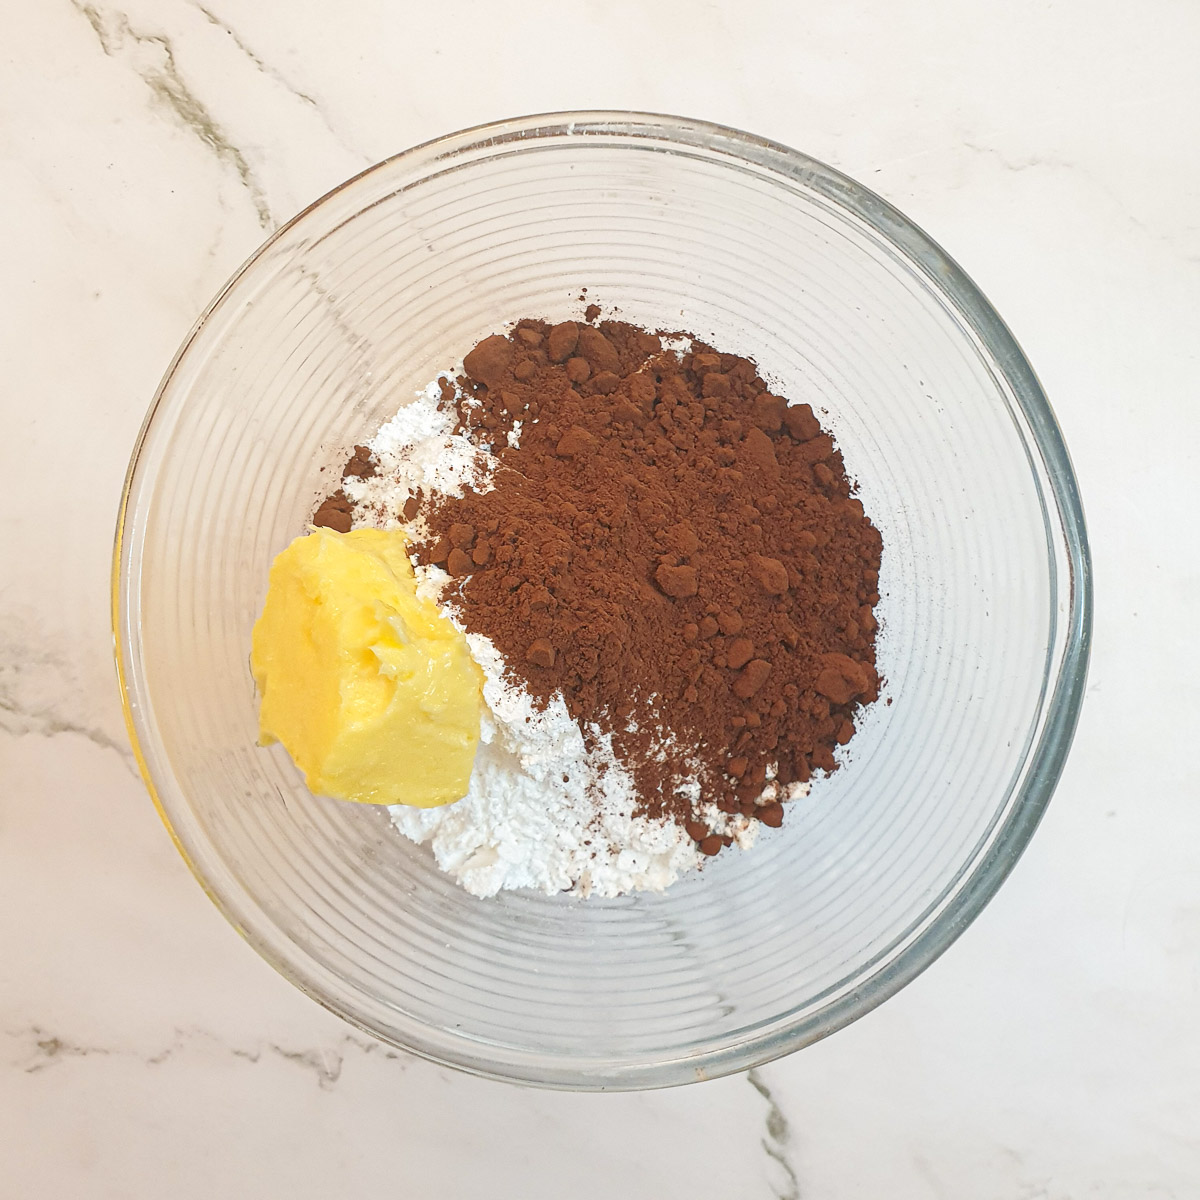
To make the icing, combine icing sugar, cocoa, and butter in a mixing bowl.
The butter will mix in more easily if it is at room temperature.
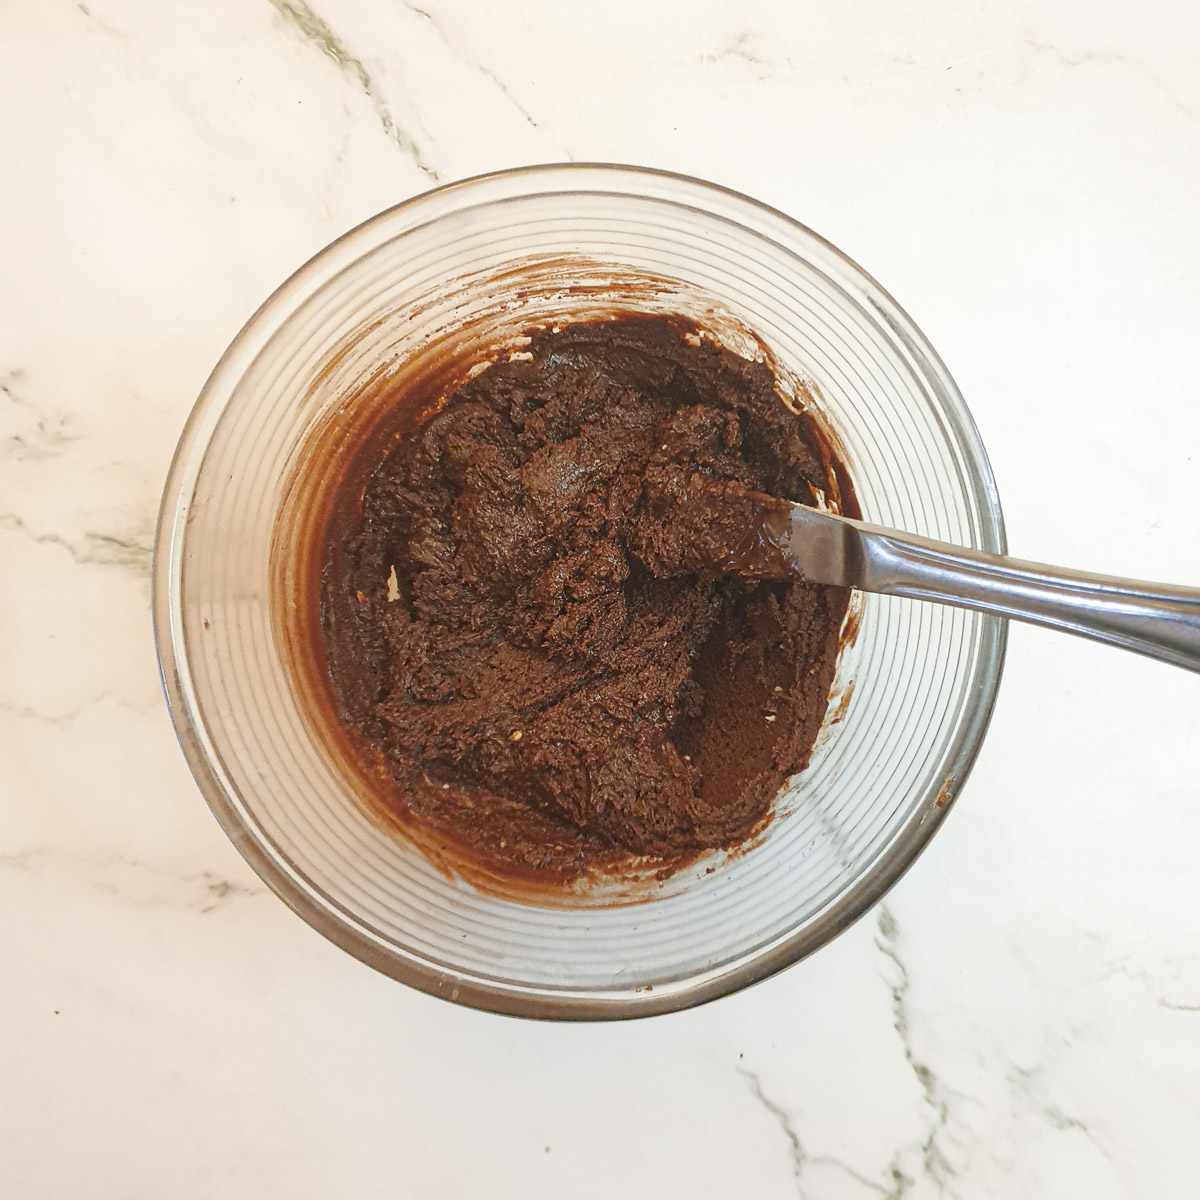
Add 1 tablespoon of boiling water and mix until you get a smooth, spreadable consistency.
If you need more water, add a few drops at a time. Be careful because it is very easy to make this icing too runny. If you do happen add too much water by mistake, add additional icing sugar.
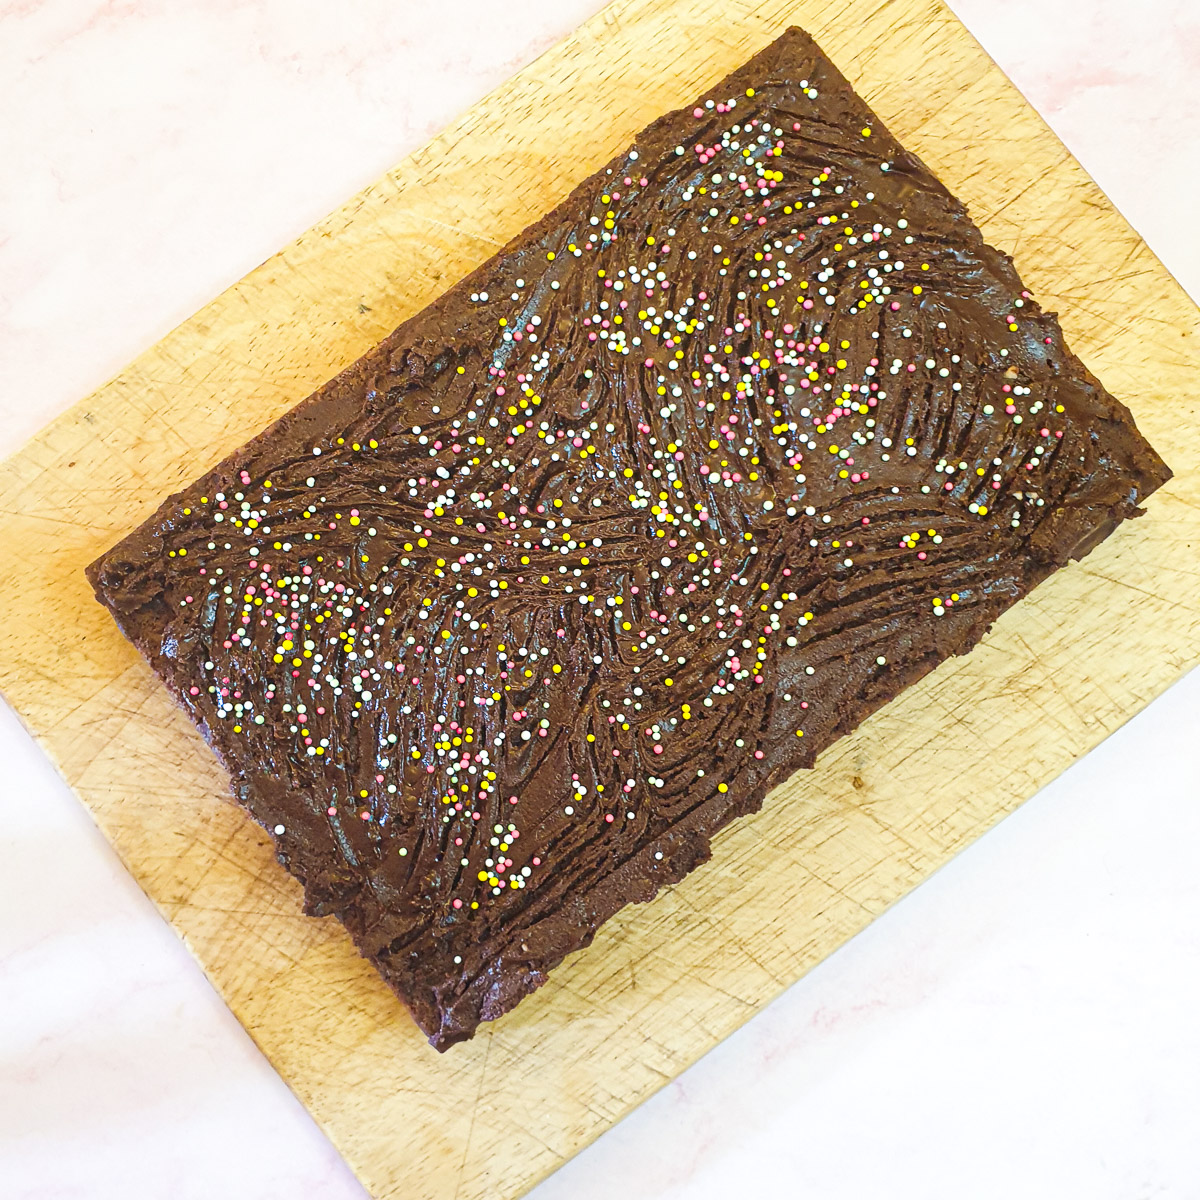
Spread the icing evenly over the cake (use a flat-bladed knife to help you).
Use a fork to draw wavy lines in the icing, then sprinkle with hundreds and thousands.
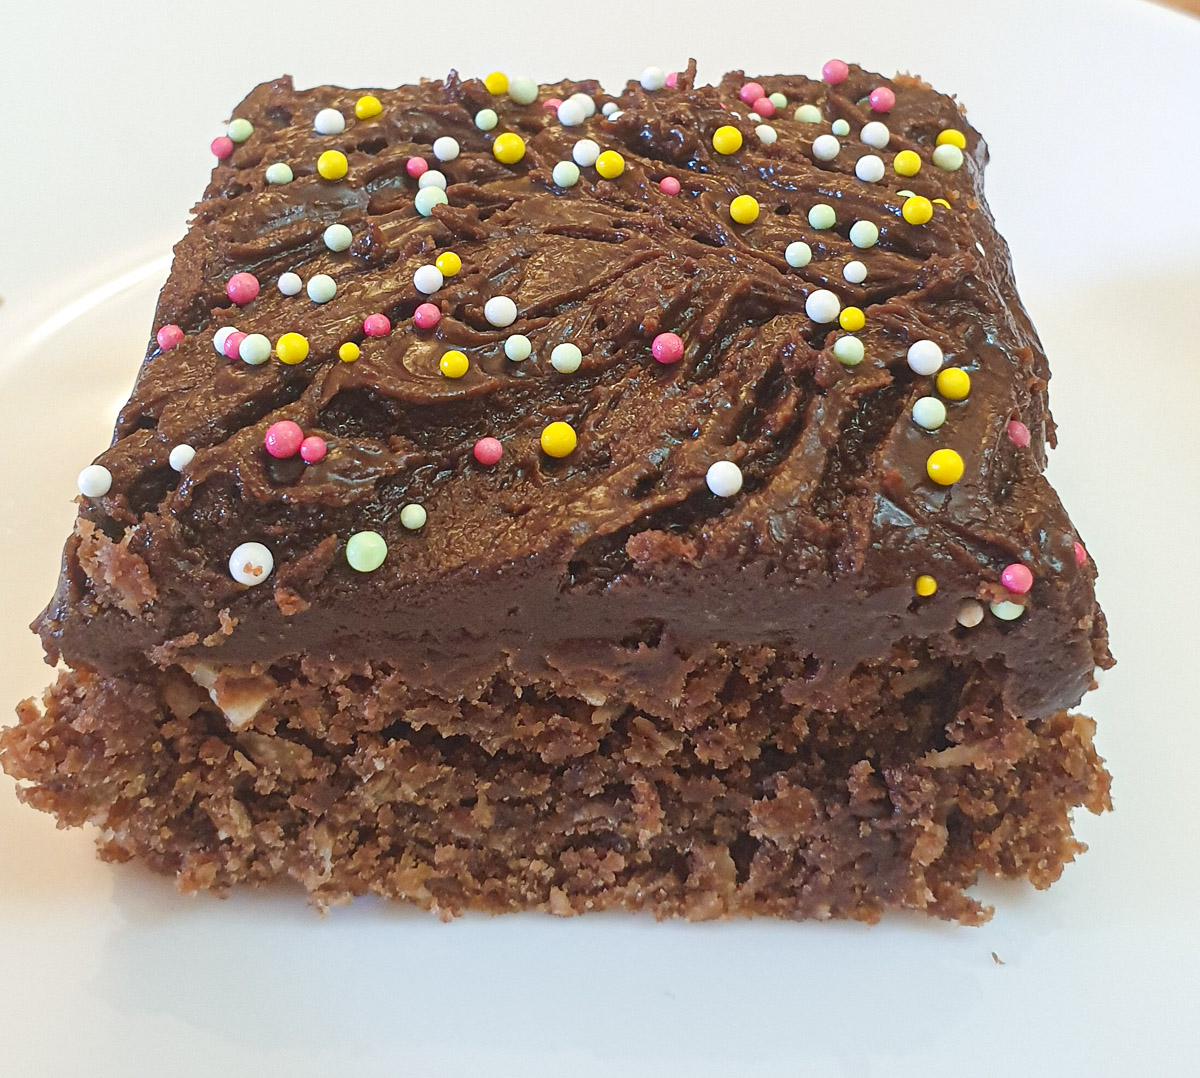
Cut into slices to serve.
If you'd like to be notified of new recipes, why not subscribe to my newsletter? To say thank you, you will receive a free recipe e-book containing some of my most popular cakes and desserts.
Tips and FAQ
You can store the Weetabix slice in an airtight tin in the kitchen for 5 to 6 days. You could also wrap it in a layer of tin foil and store it that way.
To be perfectly honest, this crumble slice tastes really good even when it is slightly stale.
If you'd like to cover this Weetabix slice with chocolate instead of icing, this is what to do.
You can use good quality baking chocolate or a normal bar of milk chocolate such as Nestle or Cadbury's. To cover the cake you will need about 100 grams or 3.5 ounces of chocolate.
Break the chocolate into pieces and place it in a glass bowl. Microwave in 30-second blasts on full power, stirring after every 30 seconds until the chocolate is smooth and melted. My 900-watt microwave takes 1 minute.
Alternatively, place the pieces of chocolate into a glass bowl over a pan of simmering water and stir until the chocolate has melted. Be very careful not to get any water into the chocolate or it may turn into hard lumps.
Using a flat-bladed knife, spread the melted chocolate evenly over the cake and leave it to cool and set.
You can freeze this Weetabix slice by wrapping it in a layer of tin foil and then placing it in a plastic bag. It will freeze well for up to 3 months.
If you intend to use this Weetabix slice for lunchboxes, slice it before freezing so that you can remove it from the freezer one slice at a time.
You can add a frozen slice to the lunch box and it will be defrosted by the time it is ready to be eaten.
Alternatively, allow the Weetabix slice to defrost on the kitchen counter before serving.
Save for later
If you would like to try this chocolate Weetabix crumble slice for yourself, why not save the recipe to one of your Pinterest boards so you can find it easily? Just click on the image below.
Alternatively, you can save the recipe by clicking on the floating heart icon on the right-hand side of the screen.
Related recipes
If you enjoy this recipe you may want to try some of these easy recipes too:
You can find these and many more recipes on my cake recipes page.
📋The recipe
Chocolate Weetabix crumble slice
(Click the stars to rate this recipe)
Equipment
- 9" square baking tray
- 2 Mixing Bowls
- Baking parchment optional
- Saucepan
Ingredients
Weetabix slice
- 6 Weetabix biscuits
- 1½ cups / 210 grams all purpose flour (cake flour)
- 2 teaspoons baking powder
- 2 tablespoons unsweetened cocoa powder
- ¾ cup / 75 grams desiccated coconut
- ¾ cup / 150 grams caster sugar
- 2 tablespoons golden syrup
- 7 ounces / 200 grams butter
- 1 teaspoon vanilla essence
Chocolate icing
- 1½ cups icing sugar (confectioner's sugar)
- 2 tablespoons unsweetened cocoa powder
- 1 tablespon butter
- 1 to 2 tablespoons boiling water
- 1 tablespoon 100s and 1000s for sprinkling
Instructions
Weetabix slice
- Preheat the oven to 180°C/355°F
- Crush the Weetabix and combine them with the rest of the dry ingredients in a mixing bowl.6 Weetabix biscuits, 1½ cups / 210 grams all purpose flour (cake flour), 2 teaspoons baking powder, 2 tablespoons unsweetened cocoa powder, ¾ cup / 75 grams desiccated coconut, ¾ cup / 150 grams caster sugar
- Melt the butter in a small saucepan (or in the microwave) and then stir in the golden syrup (and vanilla if using) until the syrup melts into the butter.2 tablespoons golden syrup, 7 ounces / 200 grams butter, 1 teaspoon vanilla essence
- Pour the butter mixture over the dry ingredients.
- Stir the mixture with a wooden spoon, until the butter is well combined. You may find it easier to use your hands for the final stir.The mixture should hold its shape when you take a handful and squeeze it gently together.
- Press the mixture into a greased baking tray.If your baking tray is inclined to stick, you can line it with baking parchment first.Press the mixture well down. I used the bottom of a thick drinking glass to help me.
- Bake in a preheated oven for 15 minutes or until the cake is firm to the touch.Remove from the oven and allow to cool.
- Once the cake has cooled, remove it from the baking pan and peel away any baking parchment (if you used it), and cover it with the chocolate icing.
Chocolate icing
- Combine icing sugar, cocoa, and butter in a mixing bowl. The butter will combine more easily if it is at room temperature.1½ cups icing sugar (confectioner's sugar), 2 tablespoons unsweetened cocoa powder, 1 tablespon butter
- Add 1 tablespoon of boiling water and mix until you get a smooth, spreadable consistency.If you need more water, add a few drops at a time. Be careful because it is very easy to make this icing too runny. If you do add too much water by mistake, add additional icing sugar.1 to 2 tablespoons boiling water
- Spread the icing evenly over the cake (use a flat-bladed knife to help you).Use a fork to draw wavy lines in the icing, then sprinkle with hundreds and thousands.1 tablespoon 100s and 1000s
Notes
Nutrition
I am not a nutritionist. The nutrition information has been calculated using an on-line calculator, and is intended for information and guidance purposes only. If the nutrition information is important to you, you should consider calculating it yourself, using your preferred tool.
If you made this recipe and enjoyed it, I'd love it if you could give me a star rating in the comments below. And if you'd like to get in touch, you can email me at [email protected]. I'd love to hear from you. And don't forget to subscribe to my mailing list so you can grab yourself a copy of my FREE COOKBOOK!
If you'd like to continue browsing, just click on this link to all my recipes.
















Jenny
Can you make this gluten free.?
VJ
Hi Jenny - Unfortunately both the weetabix and the flour contain gluten so unless you can source a gluten free version of weetabix and use gluten-free flour you will be unable to make this recipe. Looking at your email address, I assume you are from New Zealand. In the UK we have a section in our supermarkets called 'Free From' where we can normally source such ingredients - I don't whether New Zealand has such as thing.
Sorry I can't be more help.
Regards VJ