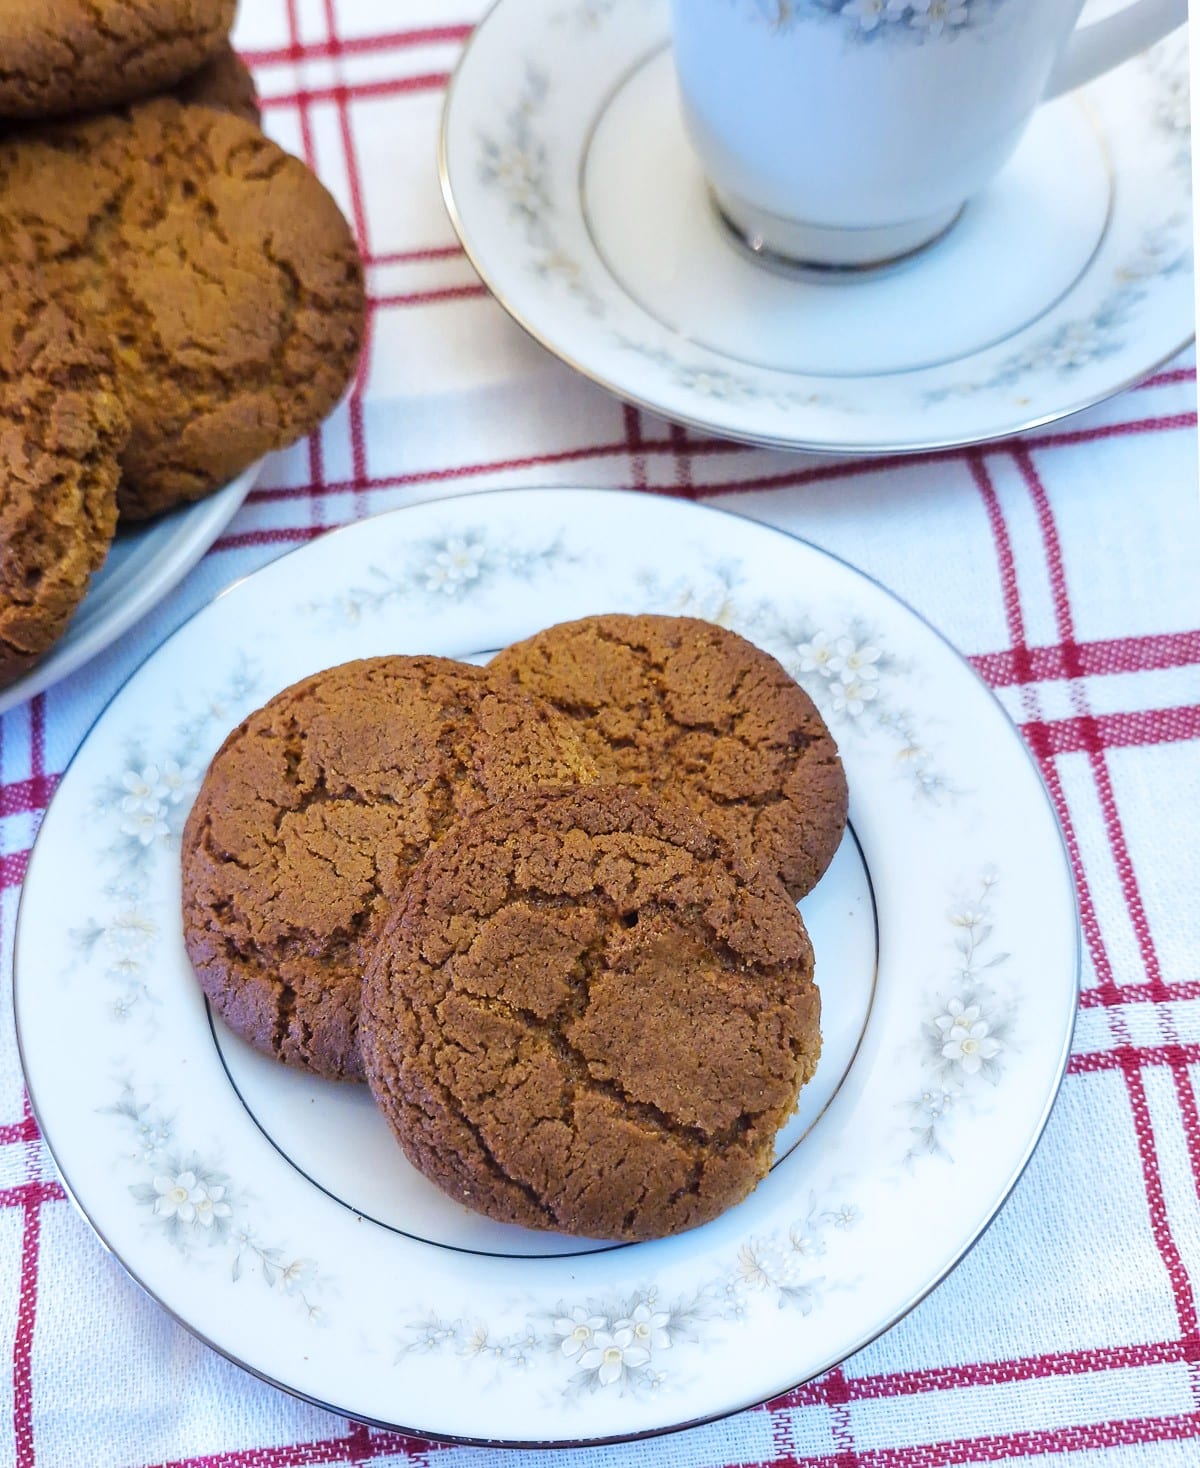
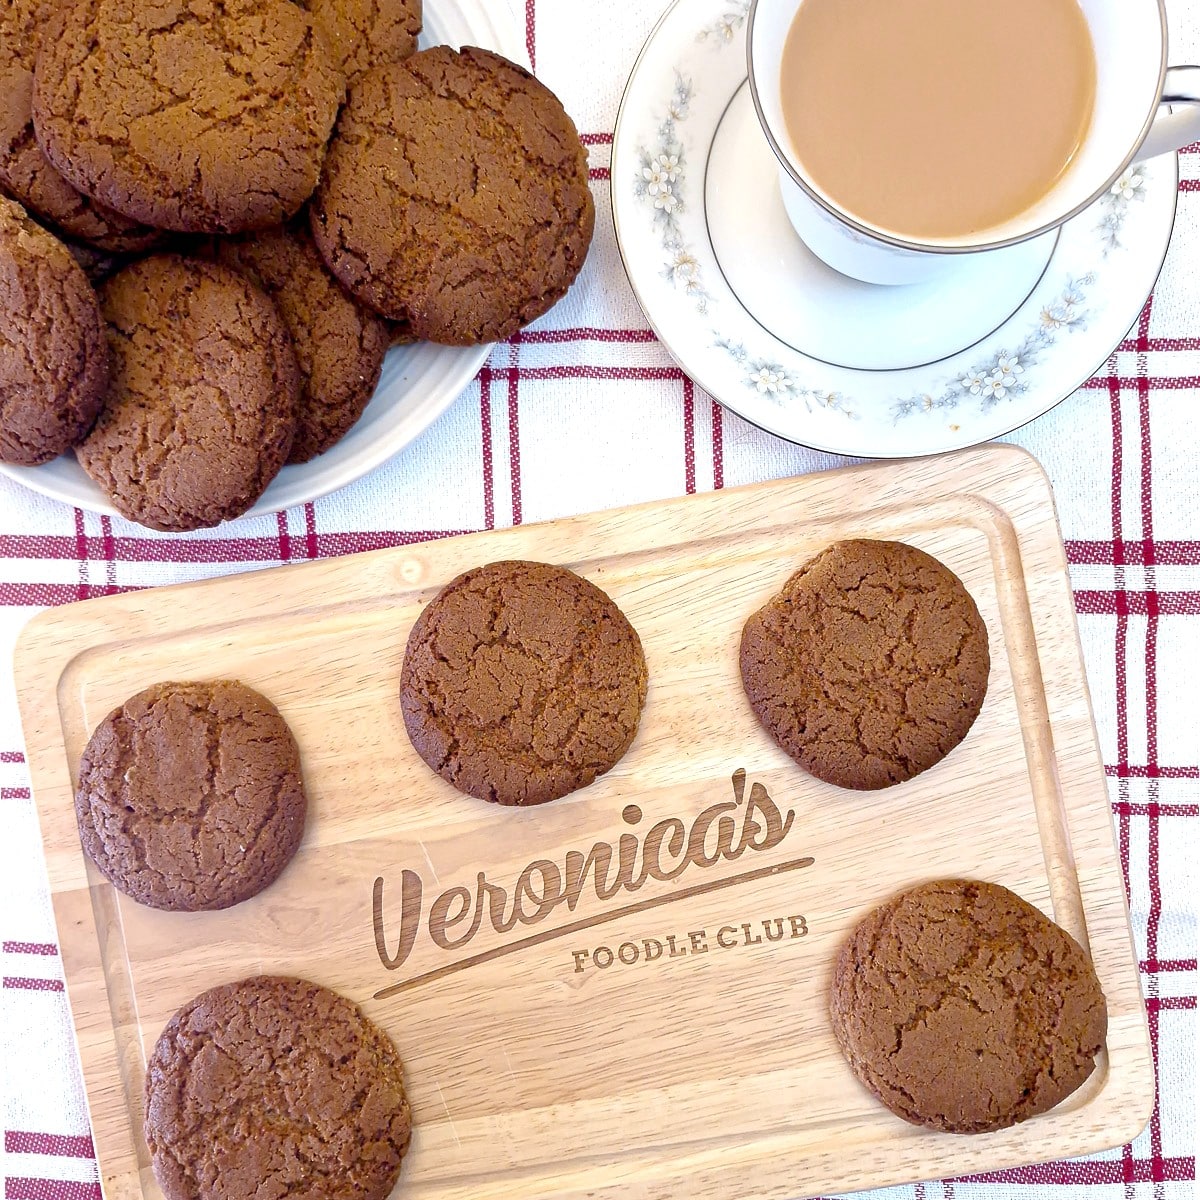
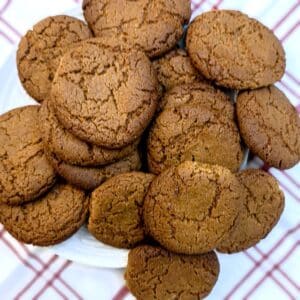
Classic crispy ginger snaps (otherwise known as ginger nuts) with a real snap and a warm blend of ginger, cinnamon and mixed spice. These old-fashioned ginger biscuits are spicy, perfectly crunchy, and so simple to make you could quite easily whip up a batch every day!

I've finally cracked it! I've been trying for ages to replicate a crispy, crunchy ginger biscuit with the characteristic cracked top, and I'm delighted to tell you I've finally done it.
Break them in half, and you can actually hear the 'snap'. But don't worry - they're not tooth-shatteringly hard; they are crunchy rather than dense, with a light, crisp texture that makes them dangerously easy to keep nibbling.
With their crisp bite, crackled finish and bold spiced flavours, these biscuits are everything a classic ginger snap ought to be. The addition of golden syrup gives them a subtle caramel richness that works beautifully with the warming spices.
Jump to:
Ginger snaps at a glance
- Quick recipe overview: Combine the dry ingredients, add the wet ingredients, and mix to a thick dough. Roll into small balls, place on a baking sheet, and bake for 12 to 15 minutes, depending on how crunchy you like your ginger snaps.
- Main ingredients: Flour, brown sugar, melted butter, golden syrup, an egg and the spices.
- Prep time: 15 minutes
- Cooking time: 12 to 15 minutes
- Yield: 24 biscuits
- Difficulty: Easy
Why I think you'll love these spiced ginger snaps
- A real 'snap'. Crisp and crunchy with the classic texture every ginger snap should have.
- Warmly spiced. Packed with a mixture of warming spices for a deeper flavour.
- Perfect for dunking. The crisp, firm texture makes these ginger nuts perfect for dunking.
- Customisable crunch. Take them out after 12 minutes, and they'll be crunchy on the outside and soft and chewy inside; leave them in the oven for up to 15 minutes for maximum crunch.
- Easy to make. Just a quick mix, and no chilling required.
Ingredients for old-fashioned ginger snaps
**This is just an overview to explain why I used a particular ingredient. The exact ingredient measurements are on the printable recipe card at the end of this post.**
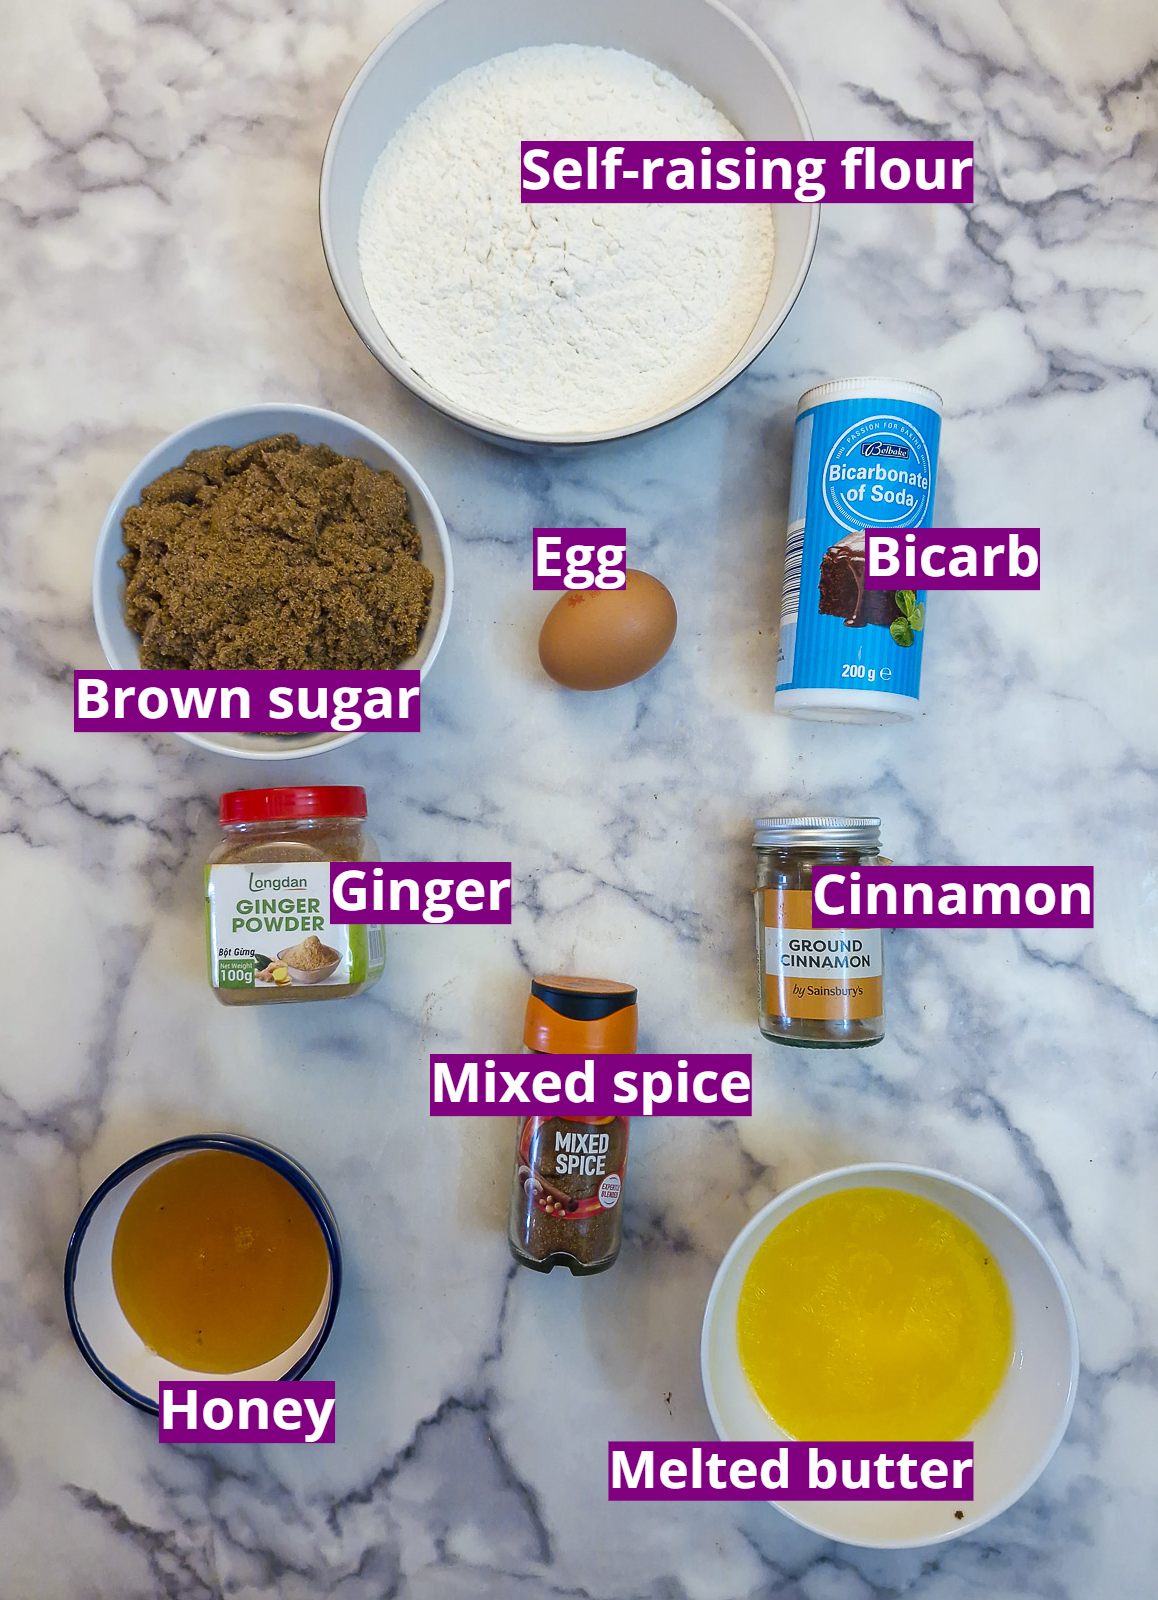
- Self-raising flour. The self-raising flour gives the biscuits a gentle rise as they bake, helping them become light rather than heavy or dense. If you don't have self-raising flour, you can make it by adding one teaspoon of baking powder to every cup (or 140 grams) of plain flour.
- Bicarbonate of soda. Even though we are using self-raising flour, the bicarb helps with the rise, but more importantly, creates a more open, crisp texture. It also helps develop the classic crackled surface that you get on ginger snaps.
- Brown sugar. The brown sugar creates rich caramel undertones and helps develop a deeper colour. Substitute with white sugar if that's all you have.
- Golden syrup. The golden syrup, on the other hand, while still contributing to the caramel flavour, helps the biscuits spread, and works with the bicarb to encourage the classic cracked top and snap.
- Egg. The egg acts as a binder to keep everything together and helps to develop structure and 'body'. Without the egg, you'd get a more fragile structure, almost shortbread-like.
- Melted butter. Using melted butter allows you to skip the creaming stage (where the butter is beaten with sugar to trap air). This results in thinner biscuits and a crisper, more snappy texture (rather than a cakey one).
- Spices. I wanted a spicy, gingery flavour and so I combined three spices - ginger, cinnamon and mixed spice. I found that 4 teaspoons of spices, when combined with the other ingredients, was the sweet spot; you can mix and match the spices to suit your taste. If you don't enjoy ginger, try leaving it out and substituting with an extra teaspoon of cinnamon and mixed spice. You will get more of a Biscoff-type flavour. On the other hand, if you want a more pronounced ginger flavour, use all ginger and leave out the cinnamon and mixed spice.
How to make these easy ginger biscuits
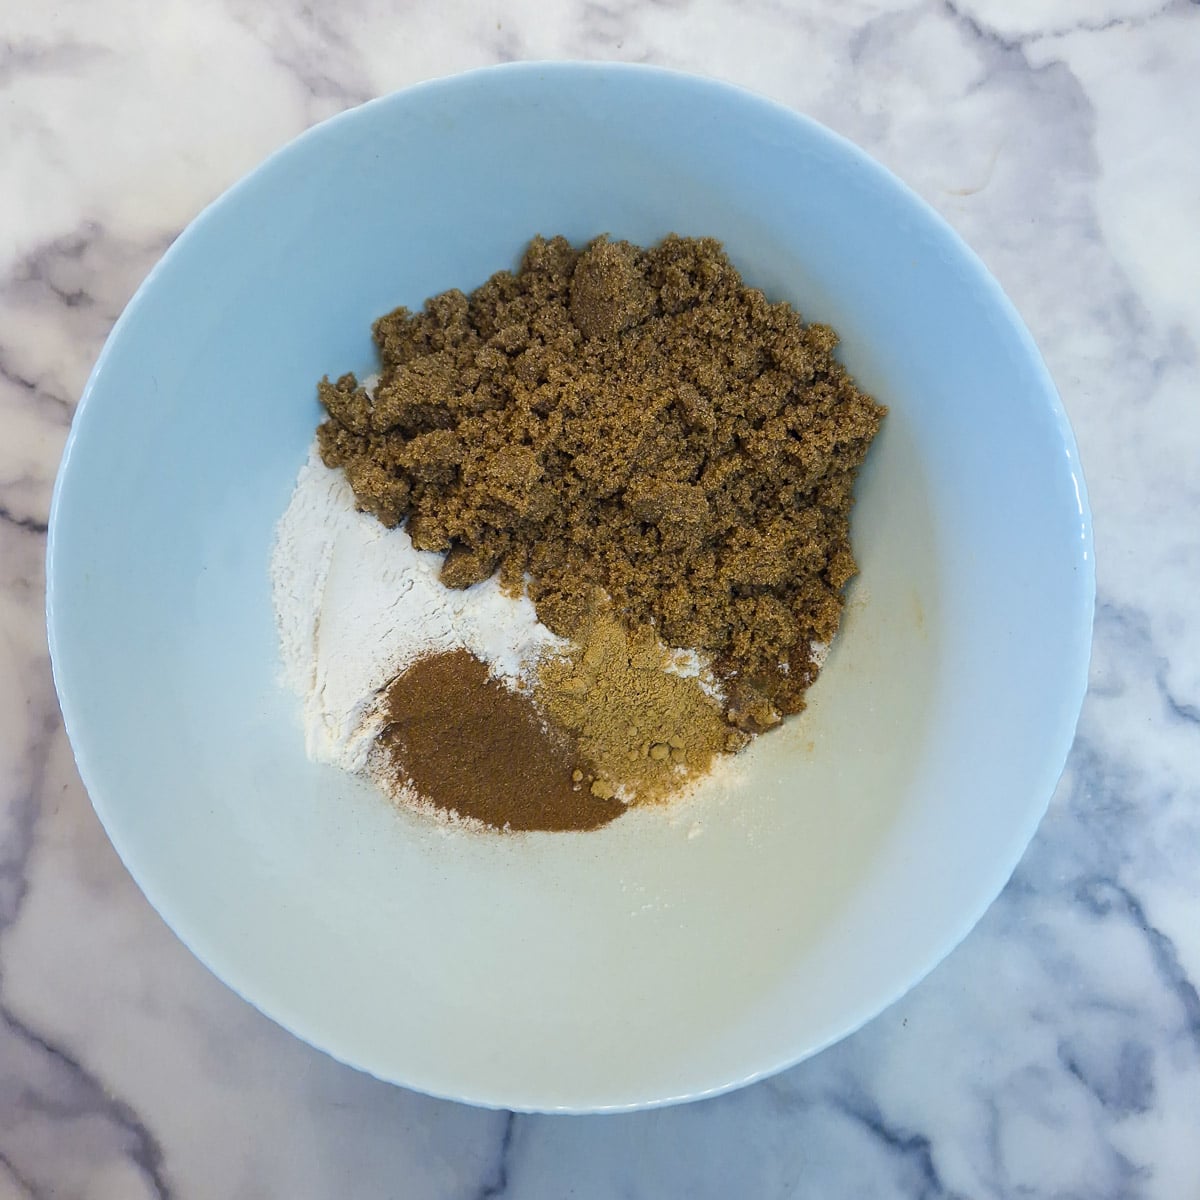
Step 1: Measure the dry ingredients into a mixing bowl.
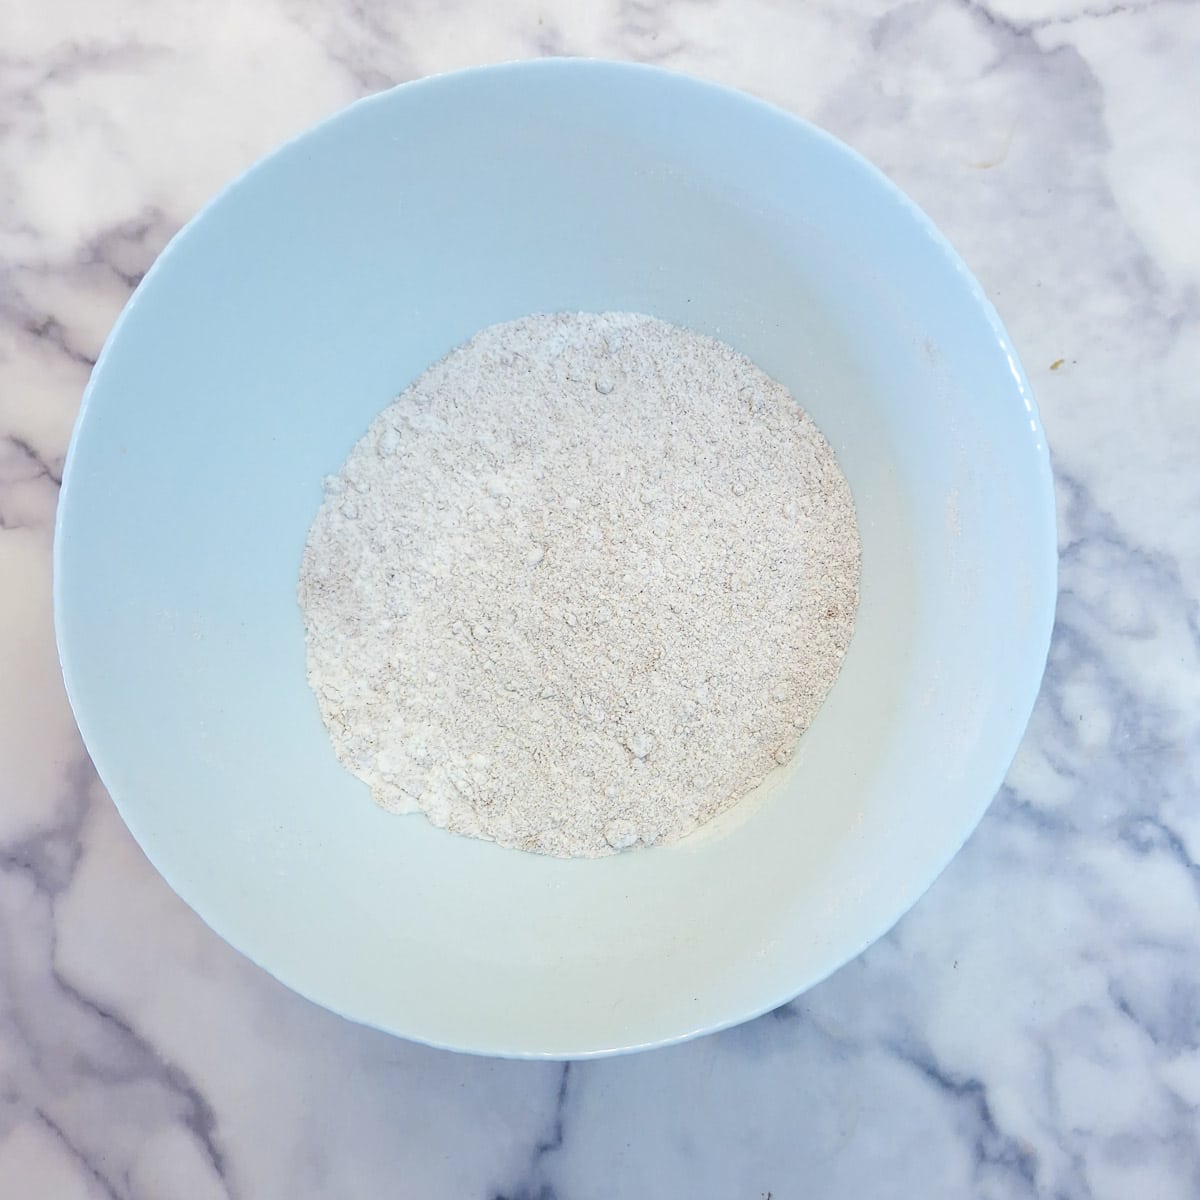
Step 2: Mix the dry ingredients thoroughly, especially if you are using brown sugar, which can be quite damp. Mix until well combined, and there are no visible lumps of sugar.
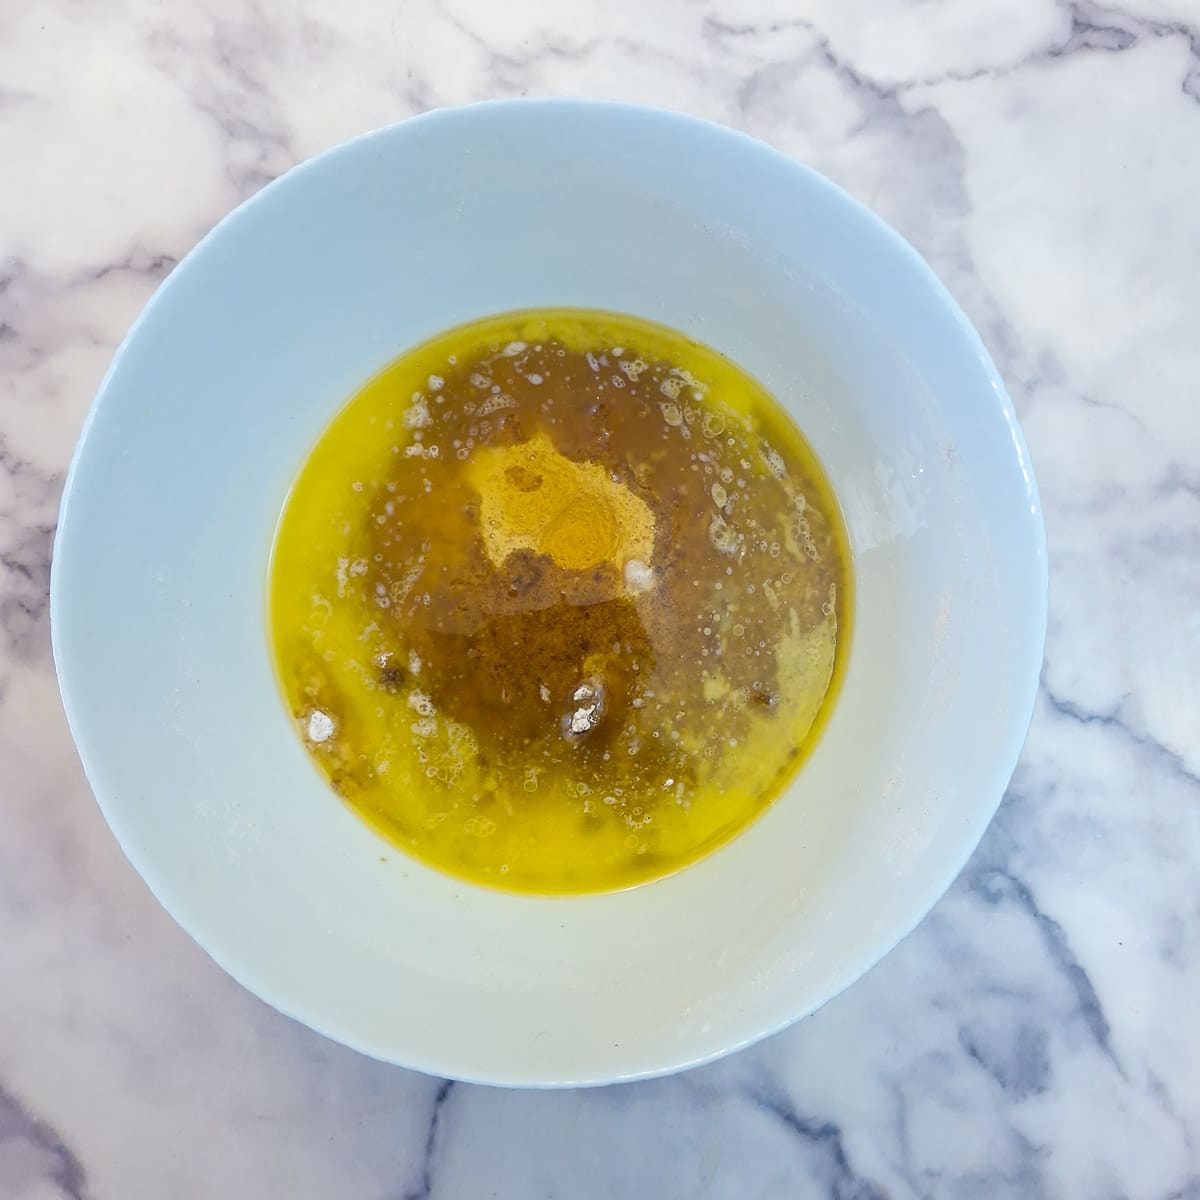
Step 3: Melt the butter in the microwave (on 50% power for 2 minutes) or in a saucepan on the stove and add it to the dry ingredients. Add the golden syrup and a lightly beaten egg.
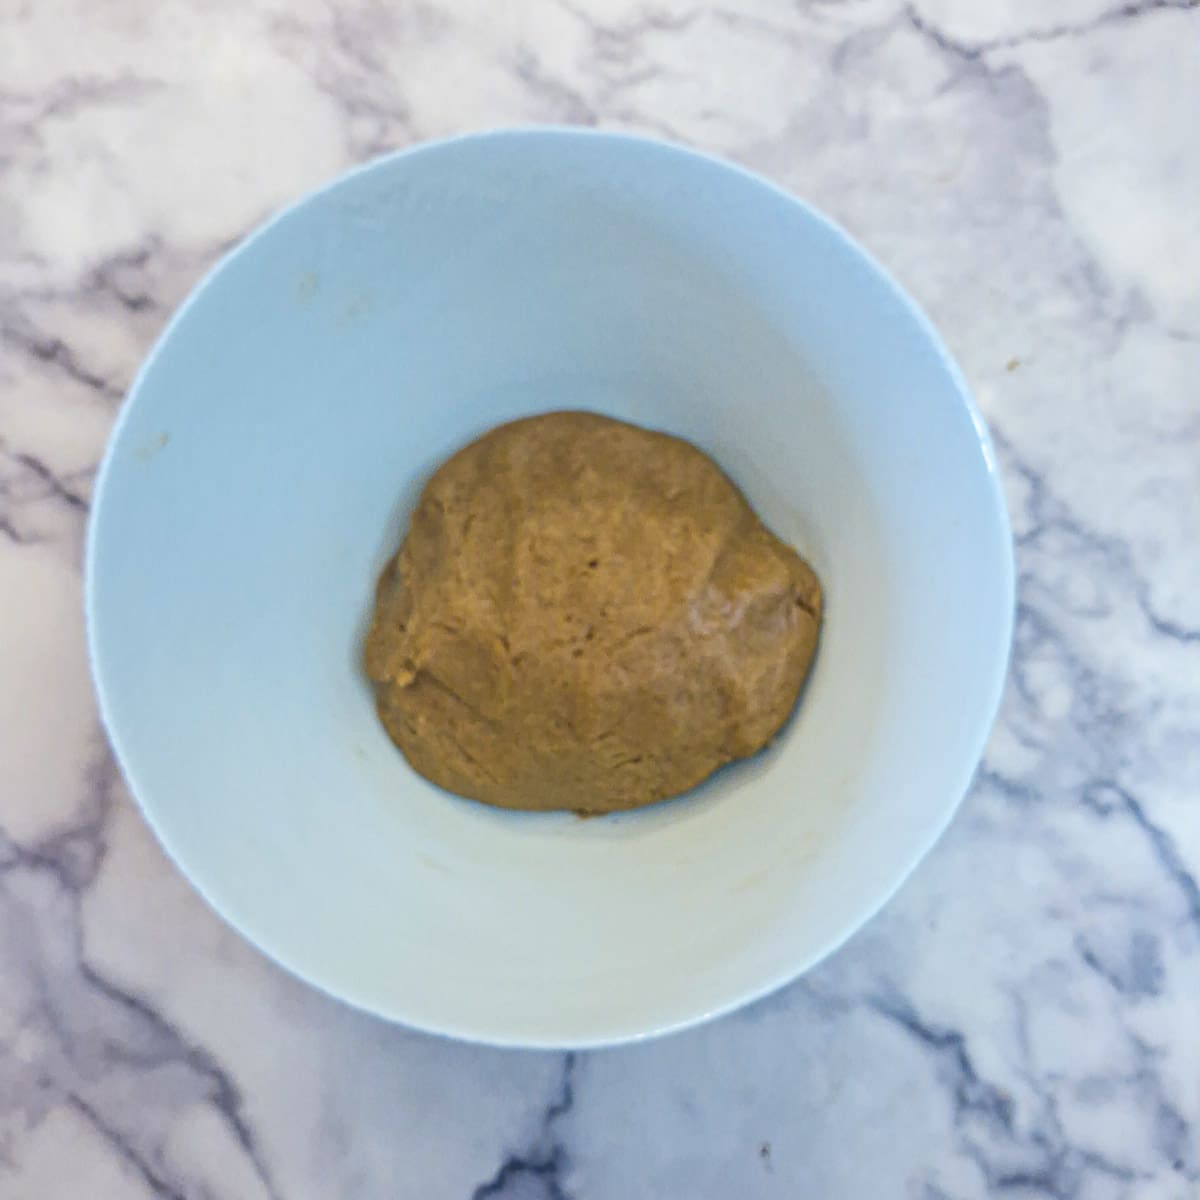
Step 4: Combine the ingredients with a spatula until well mixed, then use your hand to form the mixture into a smooth ball.
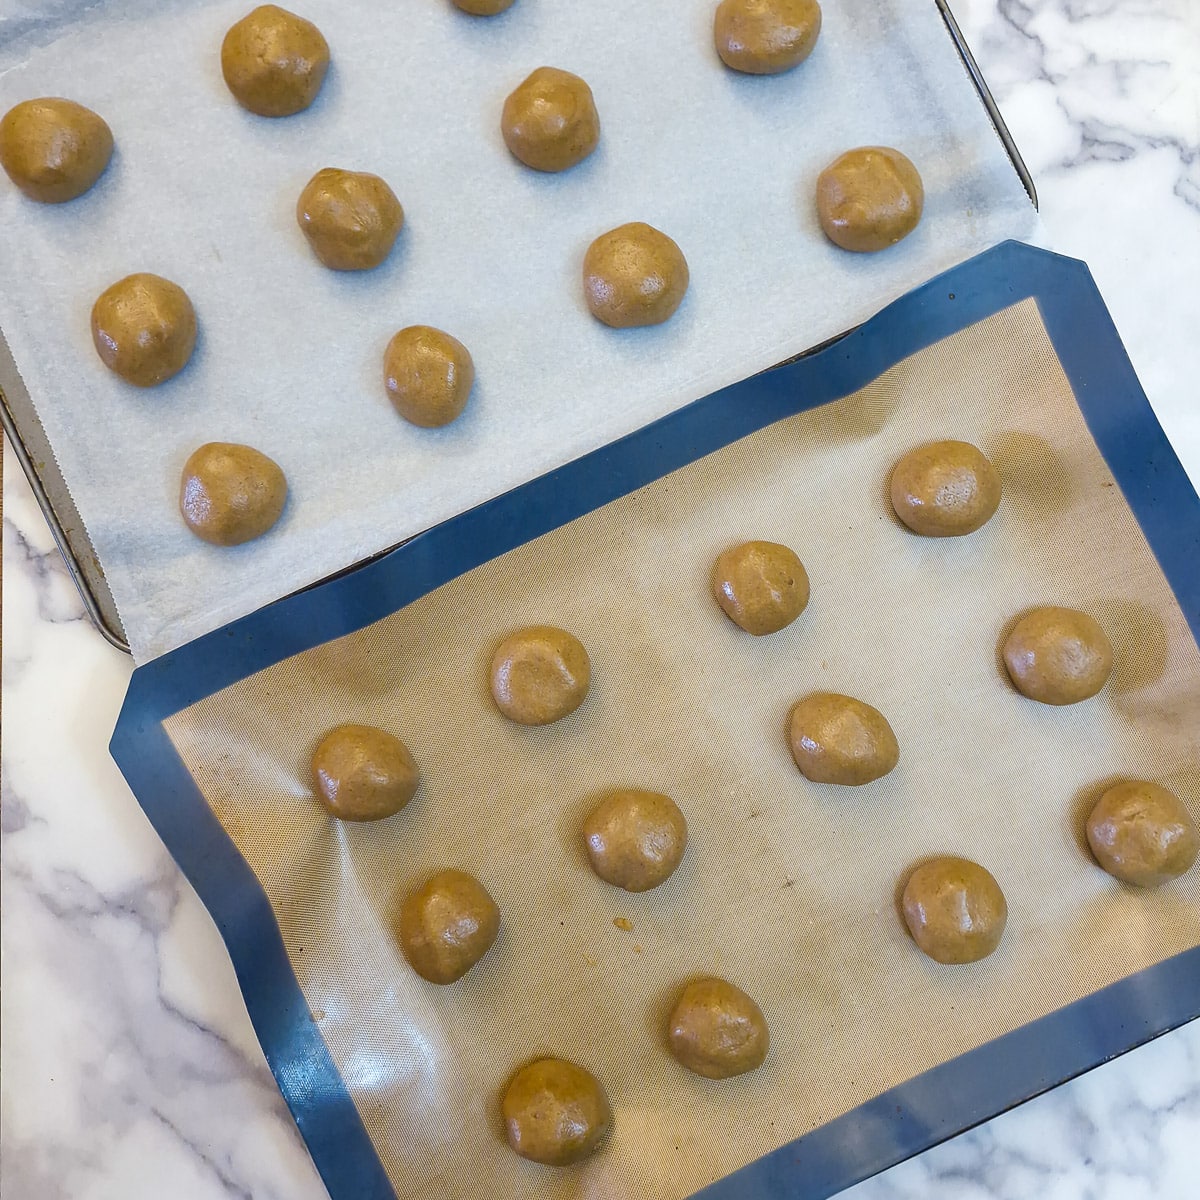
Step 5: Divide the dough in half, then divide each half into 4, so you end up with 8 evenly sized pieces. Divide each piece into 3, roll each piece into a ball and place them on a baking tray lined with baking paper or a silicone liner. Leave plenty of space between each ball as they spread in the oven. Do not flatten the balls.
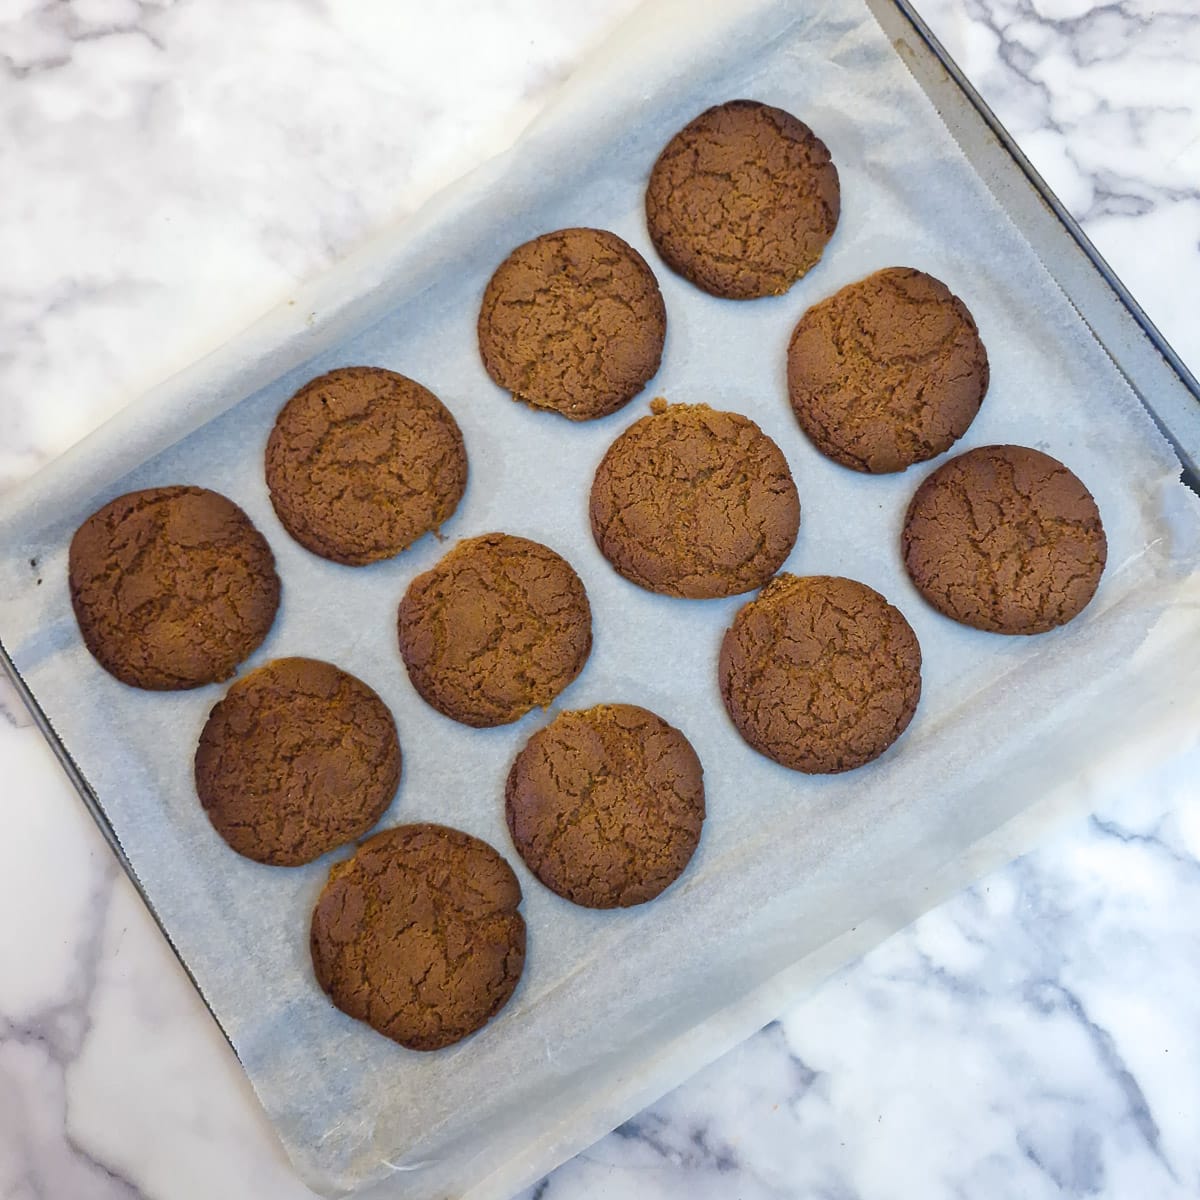
Step 6: Bake in a preheated oven (150C/300F (fan) or 170C/340F (conventional)) for 12 to 15 minutes, then remove the trays and leave to cool. The biscuits will crisp further as they cool.
Tips for a successful outcome
Here are my top tips to ensure your ginger snaps turn out as they should - with a perfect snap, a crunchy texture, and a beautifully crackled appearance.
- Follow the recipe exactly. This recipe is the result of extensive testing, and each ingredient plays an important role in the final result. See Ingredients for old-fashioned ginger snaps above.
- When placing the balls of dough onto the baking sheets, do not flatten them. In the oven, the outside of each dough ball sets first as it heats up, while the centre remains soft. As the inner dough melts and spreads, the set outer layer cracks and settles, creating those characteristic rippled tops and giving the biscuits their crisp, snappy texture.
- Baking time also plays a key role in the final results. After around 12 minutes, the edges will be set and crisp while the centres are still slightly soft, giving you a biscuit with a delicate crunch on the outside and a gentle chew in the middle. Leave them in the oven for up to 15 minutes, and the extra heat drives out more moisture, resulting in a fully crisp, snappier texture throughout.
- Allow the biscuits to cool properly. They will crisp up fully as soon as they reach room temperature.
Equipment
This recipe makes 24 cookies, which should be nicely spaced on the tray so that they don't spread and run into each other. For this reason, you will need 2 large baking sheets. You can bake them both at the same time, on 2 different shelves. If you only have one tray, then you will have to bake them in 2 batches.
You will also need a large mixing bowl and a spatula to help you combine the ingredients.
For baking recipes, the only way you can guarantee the outcome is by weighing your ingredients, and I recommend using a digital kitchen scale. I use one similar to this - it's great because it allows you to switch easily between grams and ounces.
Storage and freezing
These spicy ginger snaps will stay crispy in an airtight container on the kitchen counter for more than a week (if you don't eat them all before then)!
They'll remain edible for 2 or more weeks, although they may soften slightly towards the end of this period.
You can freeze the baked biscuits once cooled. You can freeze them for up to 6 months. Allow them to defrost on the counter before eating.
You can also freeze the unbaked dough balls to bake later. Freeze the dough balls on a tray, then transfer them to a suitable container. Allow the frozen dough balls to sit for a few minutes on the tray before baking, so they are partially defrosted. To ensure crispness, you may need to add a minute or two to the baking time.
FAQ
The dough balls should be rolled and baked without flattening. As the biscuits spread in the oven, the outer surface sets first and then cracks naturally as the centre expands. Overmixing the dough or using too little bicarbonate of soda can also reduce cracking.
They probably need a little longer in the oven. Baking for around 12 minutes gives a crisp edge with a slightly chewy centre, while 14-15 minutes produces a much crunchier biscuit. They will also continue to crisp up as they cool.
Even though they are both sweet, they each contribute something different to the ginger biscuits. The brown sugar adds moisture and a rich caramel flavour, while the golden syrup (coupled with the bicarb), helps create the classic crisp texture and the characteristic snap.
You probably left them in the oven for too long. They can go from crispy to solid in the blink of an eye. Next time, bake them for a minute or two less. They will be great for dunking though!
Save for later
If you would like to try these spicy ginger nuts, why not save the recipe to one of your Pinterest boards so you can find it easily? Just click the image below.
Alternatively, you can save the recipe by clicking on the floating heart icon on the right-hand side of the screen.
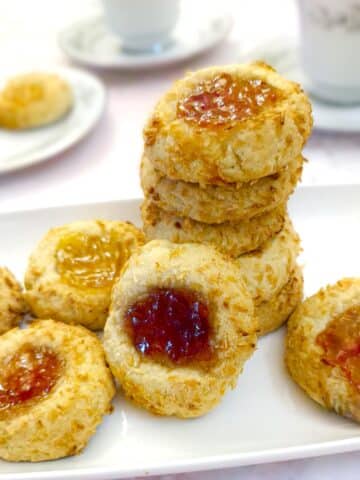
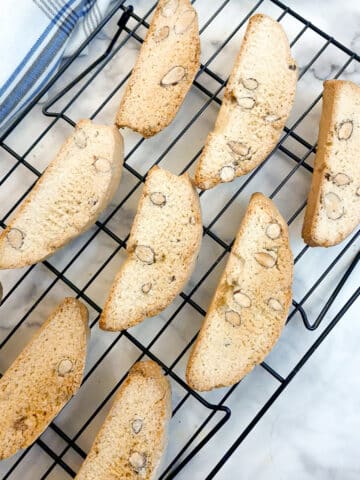
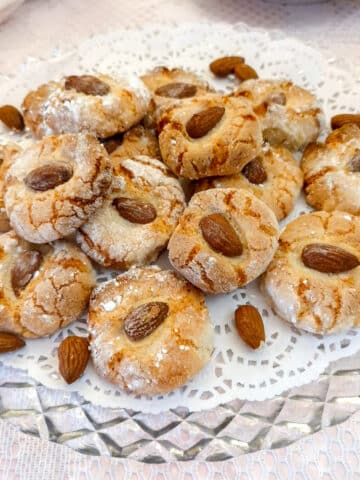
Related recipes
Visit my cakes, biscuits and dessert recipes page for more tasty tea-time treats. Here are a few you might enjoy:

📋The recipe
Spicy ginger snaps
(Click the stars to rate this recipe)
Equipment
- Mixing bowl
- Spatula
- Small bowl to melt the butter
- 2 Baking trays
- Silicone liner OR
- Baking parchment
Ask a Question
If you have a question about this recipe that has not been answered, please use the box below to ask it.
Use this with care. This is an AI-generated result and may contain errors or inaccuracies. I cannot be held responsible for the information returned.
Ingredients
- 2 cups 280 grams self-raising flour
- 1 teaspoon bicarbonate of soda
- 2 teaspoons ground ginger
- 1 teaspoon cinnamon
- 1 teaspoon mixed spice
- ¾ cup / 150 grams brown sugar
- 3½ ounces / 100 grams butter melted
- ¼ cup / 75 grams golden syrup
- 1 large egg lightly beaten
Instructions
- Preheat the oven to 150°C /300°F (fan) or 170°C /340° F(conventional)
- Combine the dry ingredients in a mixing bowl. If you are using brown sugar, it can be quite damp, so mix thoroughly until well combined and there are no visible lumps of sugar.2 cups 280 grams self-raising flour, 1 teaspoon bicarbonate of soda, 2 teaspoons ground ginger, 1 teaspoon cinnamon, 1 teaspoon mixed spice, ¾ cup / 150 grams brown sugar
- Melt the butter in the microwave (on 50% power for 2 minutes) or in a saucepan on the stove and add it to the dry ingredients.3½ ounces / 100 grams butter
- Add the golden syrup.¼ cup / 75 grams golden syrup
- Add the lightly beaten egg.1 large egg
- Combine the ingredients with a spatula until well mixed, then use your hand to form the mixture into a smooth ball.
- Divide the dough in half, then divide each half into 4, so you end up with 8 evenly sized pieces.
- Divide each piece into 3, roll each piece into a ball and place them on a baking tray lined with baking paper or a silicone liner. Leave plenty of space between each ball as they spread in the oven. Do not flatten the balls.
- Bake in a preheated oven for 12 to 15 minutes, then remove the trays and leave to cool. The biscuits will crisp further as they cool.
Notes
- Follow the recipe exactly. This recipe is the result of extensive testing, and each ingredient plays an important role in the final result. See Ingredients for old-fashioned ginger snaps in the post.
- When placing the balls of dough onto the baking sheets, do not flatten them. In the oven, the outside of each dough ball sets first as it heats up, while the centre remains soft. As the inner dough melts and spreads, the set outer layer cracks and settles, creating those characteristic rippled tops and giving the biscuits their crisp, snappy texture.
- Baking time also plays a key role in the final results. After around 12 minutes, the edges will be set and crisp while the centres are still slightly soft, giving you a biscuit with a delicate crunch on the outside and a gentle chew in the middle. Leave them in the oven for up to 15 minutes, and the extra heat drives out more moisture, resulting in a fully crisp, snappier texture throughout.
- Allow the biscuits to cool properly. They will crisp up fully as soon as they reach room temperature.
- These spicy ginger snaps will stay crispy in an airtight container on the kitchen counter for more than a week (if you don't eat them all before then)!
- They'll remain edible for 2 or more weeks, although they may soften slightly towards the end of this period.
- You can freeze the baked biscuits once cooled. You can freeze them for up to 6 months. Allow them to defrost on the counter before eating.
- You can also freeze the unbaked dough balls to bake later. Freeze the dough balls on a tray, then transfer them to a suitable container. Allow the frozen dough balls to sit for a few minutes on the tray before baking, so they are partially defrosted. To ensure crispness, you may need to add a minute or two to the baking time.
Nutrition
I am not a nutritionist. The nutrition information has been calculated using an on-line calculator, and is intended for information and guidance purposes only. If the nutrition information is important to you, you should consider calculating it yourself, using your preferred tool.
If you made this recipe and enjoyed it, I'd love it if you could give me a star rating in the comments below. And if you'd like to get in touch, you can email me at [email protected]. I'd love to hear from you. And don't forget to subscribe to my mailing list so you can grab yourself a copy of my FREE COOKBOOK!
If you'd like to continue browsing, just click on this link to all my recipes.
Did you make this recipe? Let me know!