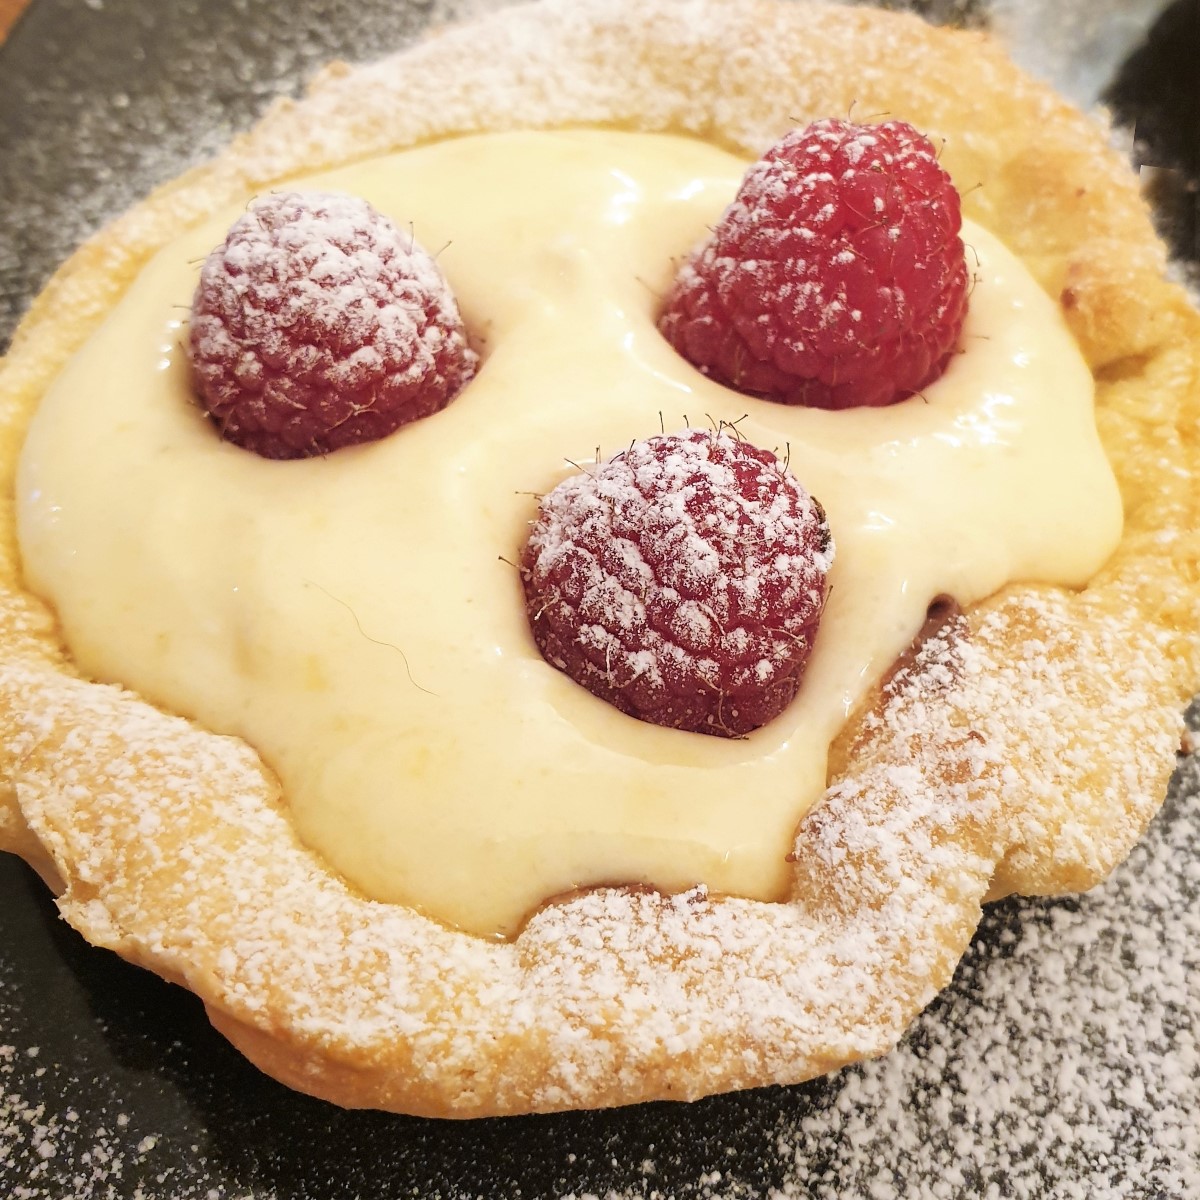
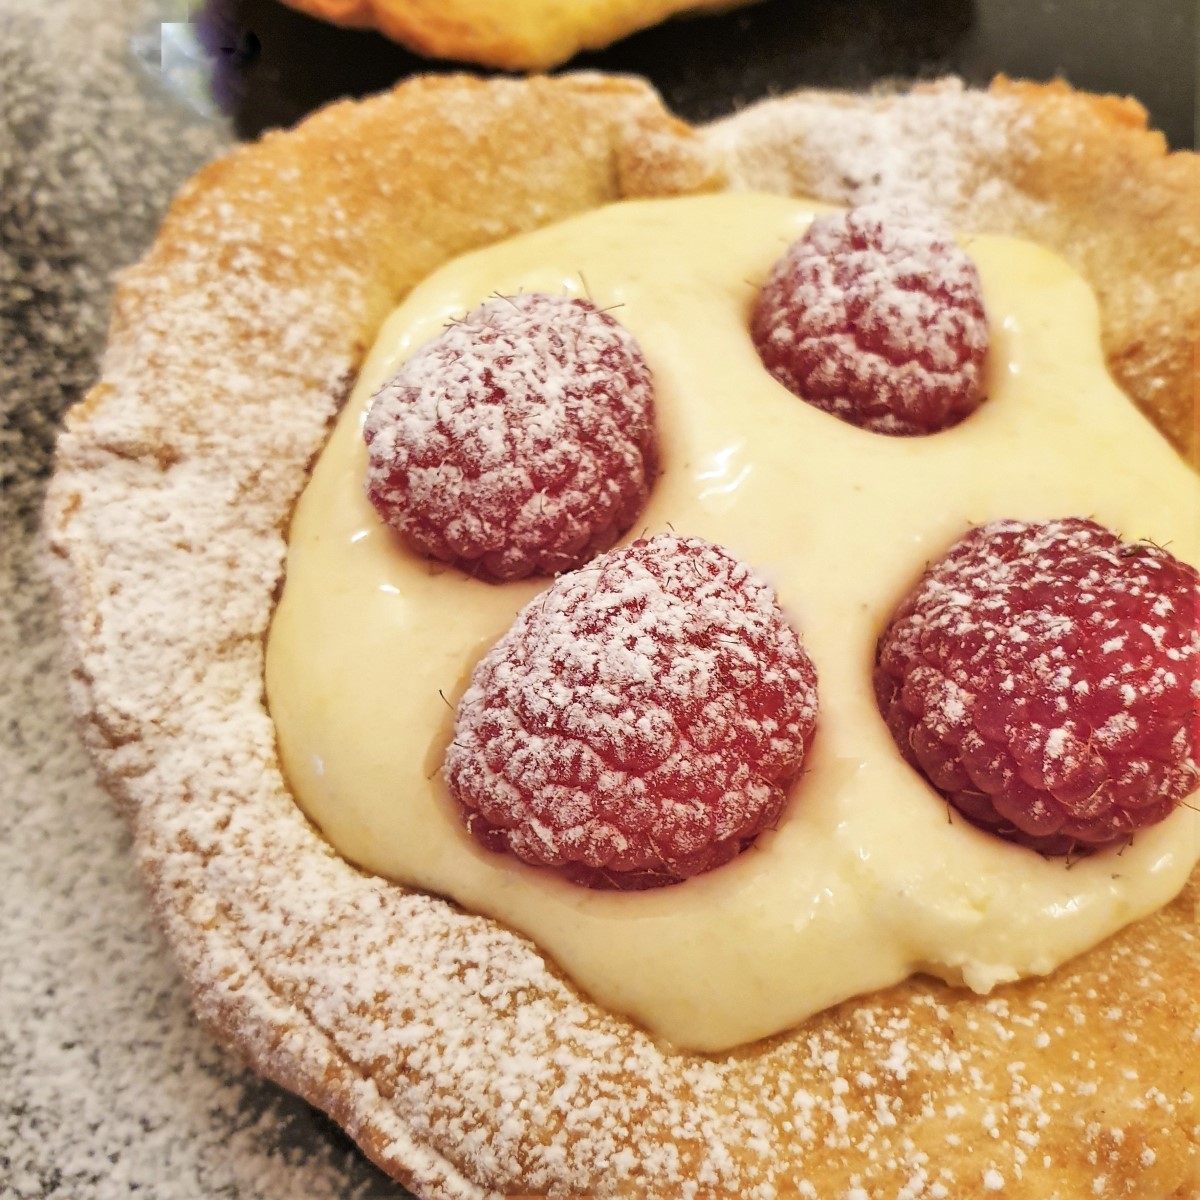
These raspberry custard tarts with creme patissiere are quite possibly the tastiest dessert recipe I've posted to date. Fresh juicy raspberries, nestled in a bed of dreamy creme patissiere, in a chocolate-lined pastry case are perfect for spoiling your loved ones on Valentine's Day (or any other day really).

Jump to:
The perfect dessert
Whether you're planning a romantic dinner for two or just want to spoil the family, these little raspberry custard tarts make the perfect dessert. Just take a mouthful of the sweet juicy raspberries and the creamiest creme patissiere (sometimes called pastry cream) and you'll see what I mean. These really are heaven on a plate.
What I like about them is the fact that they are so simple to make. You could even bypass all the steps for making them from scratch, and buy some little flan cases, fill them with store-bought custard, top with fresh raspberries and be done with it!
However, if you are like me and prefer making things from scratch I've got all the steps listed below so you can make them from scratch yourself.
I've made my custard tarts in a 4-hole baking pan which makes 4" diameter tarts. You could use a 12-hole pan if you prefer smaller tarts. If you would like to make a larger tart that you can cut into slices, by all means, use 2 x 9" flan tins.
What will I need?
See the printable recipe card at the end of this post for the exact ingredient measurements.
- You will need a punnet of fresh raspberries for topping the tarts. You could use any other berries of your choice instead.
- Milk chocolate to brush the inside of the pastry cases before filling with creme patissiers.
- Icing sugar (confectioner's sugar) - to dust over the tarts
Pastry
To make the pastry, you will need:
- All-purpose or cake flour - not self-raising flour. Self-raising flour will cause the pastry to rise and we don't want that.
- Butter - you can get away with using margarine, but butter does give a better flavour.
- Egg yolks - you can use the whites to make meringues.
Creme Patisserie
For the creme patisserie you will need:
- Egg yolks - you can use the egg white to make these coconut jam tarts.
- Sugar - granulated is fine, or you could use castor sugar.
- Flour and cornflour (cornstarch) - used for thickening the custard.
- Milk - full fat preferred, but you could use semi-skimmed.
- Vanilla extract or essence - for additional flavour.
- Double cream - make sure to use double cream (or heavy whipping cream). Single or pouring cream will not whip to stiff peaks.
How to make raspberry custard tarts
There are four easy steps:
- Make the pastry and put it aside to rest
- Make the creme patissiere and allow to cool
- Prepare the pastry cases and bake
- Assemble the tarts
Make the pastry cases
The first step is to make the pastry. This will take about 10 minutes to mix.
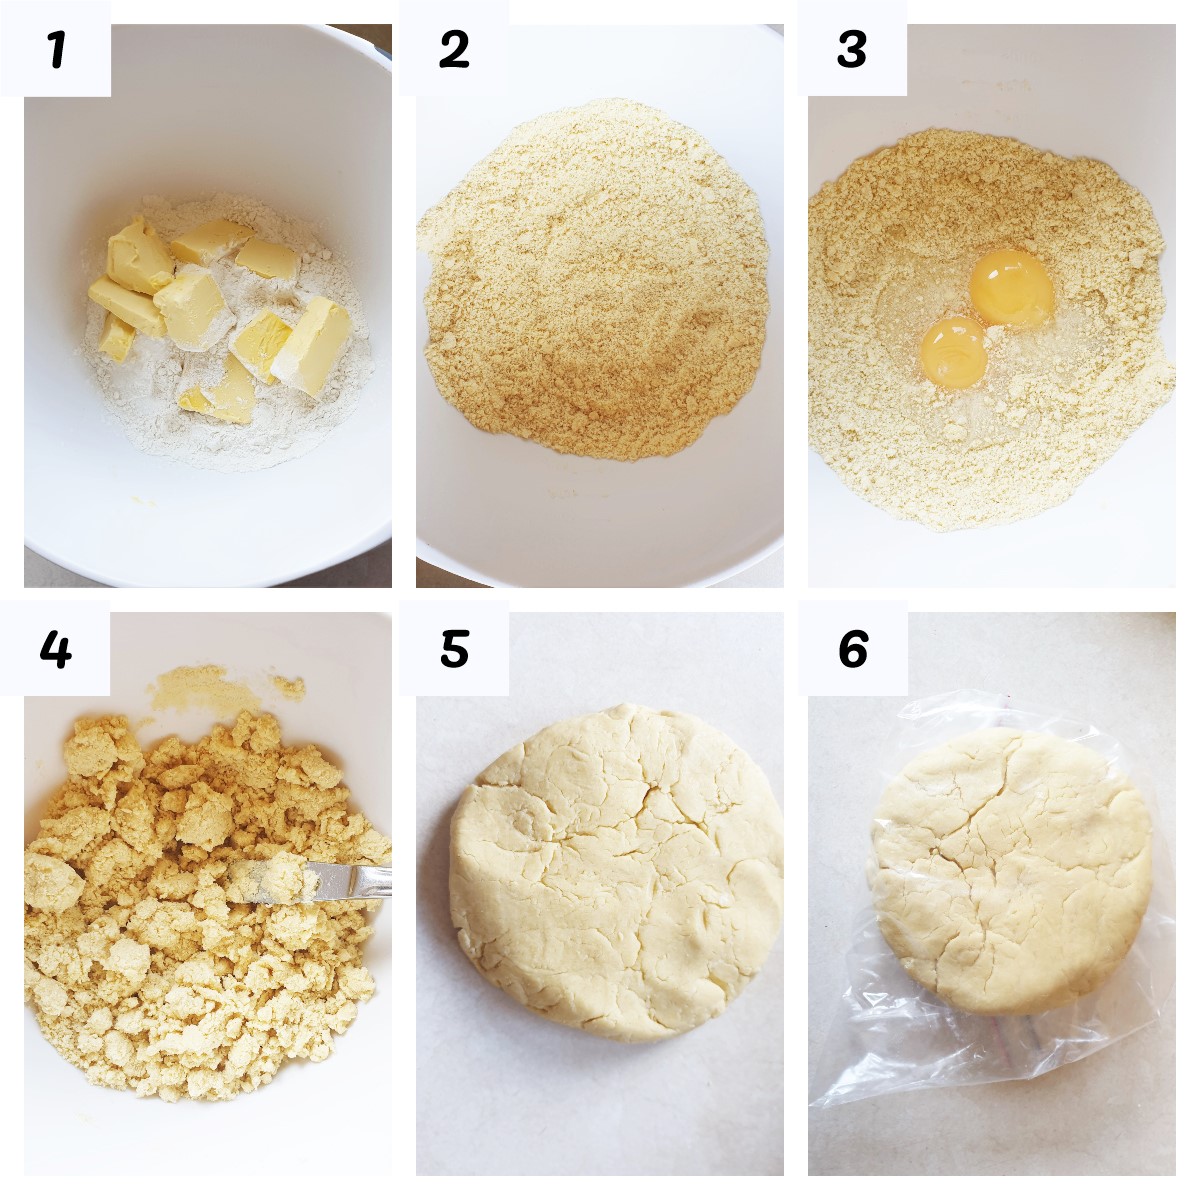
- Sift the flour into a mixing bowl, cut the butter into cubes and add (image 1 above).
- Using your fingertips, rub the butter into the flour until all the flour has been coated with butter and the mixture resembles fine breadcrumbs (image 2 above). When rubbing in, lift the butter and flour above the bowl and allow it to fall back. This helps aerate the mixture.
- Add the egg yolk and water (image 3 above).
- Use a flat knife to cut the eggs and water through the flour mixture until it starts to come together (image 4 above). Start with 4 tablespoons of water, and if you need more add an extra tablespoon.
- Now use your hands to gently press the pastry together into a flat disk (image 5 above). Do not knead. Use just enough pressure to make the dough come together.
- Place the pastry into a plastic bag, or cover it with clingfilm (image 6 above), and place it in the refrigerator to rest for at least half an hour. You can prepare the creme patissiere while the pastry is resting.
Make the creme patissiere
While the pastry is resting you can make the creme patissiere
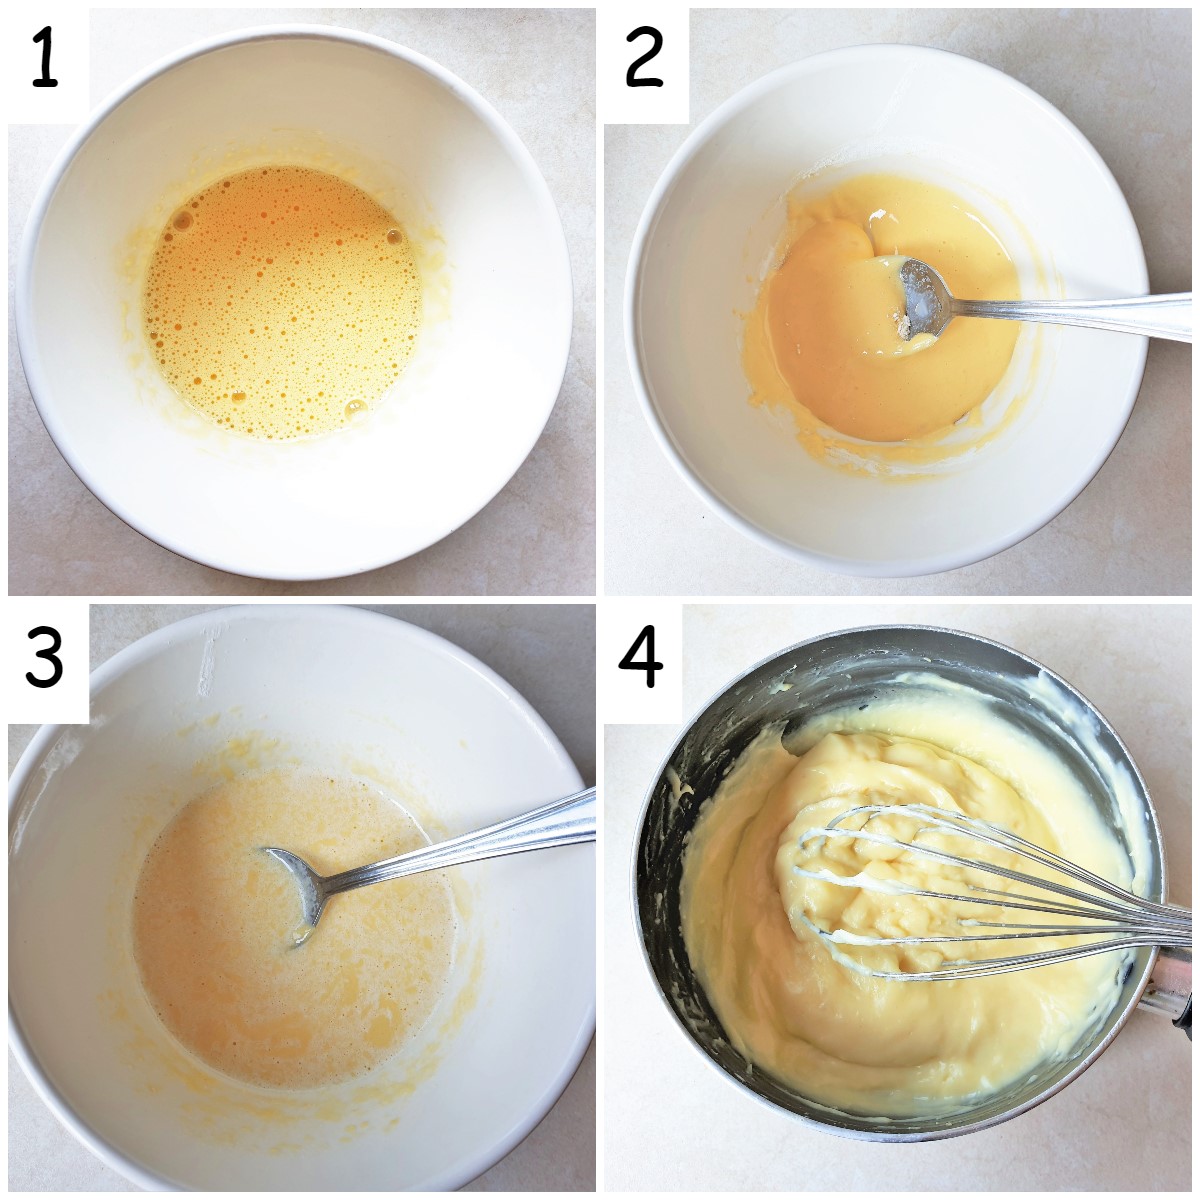
Beat the egg yolks until they are pale yellow and frothy (image 1 above), then whisk in the flour and cornflour/cornstarch (image 2 above). The mixture will be quite thick.
Bring the milk, sugar and vanilla extract to a boil and pour a quarter of the hot milk into the egg and flour mixture (image 3 above). Whisk well to remove any lumps, then pour the egg back into the remaining milk. Keep whisking over low heat until the mixture thickens. It should be very thick and hold its shape (see image 4 above).
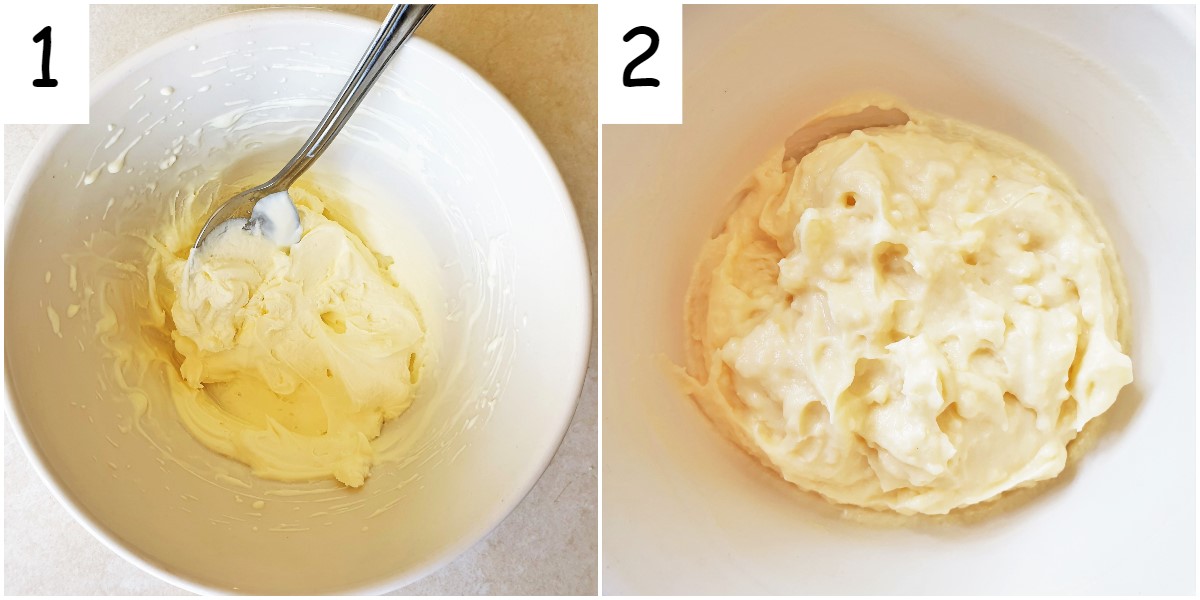
Whip the cream until it forms thick peaks (image 1 above), then mix the whipped cream into the cooled custard until well combined (image 4 above).
Place in the refrigerator to chill while you prepare and bake the pastry cases.
Prepare the pastry cases
The pastry cases are baked in the oven before being filled with the pastry cream.
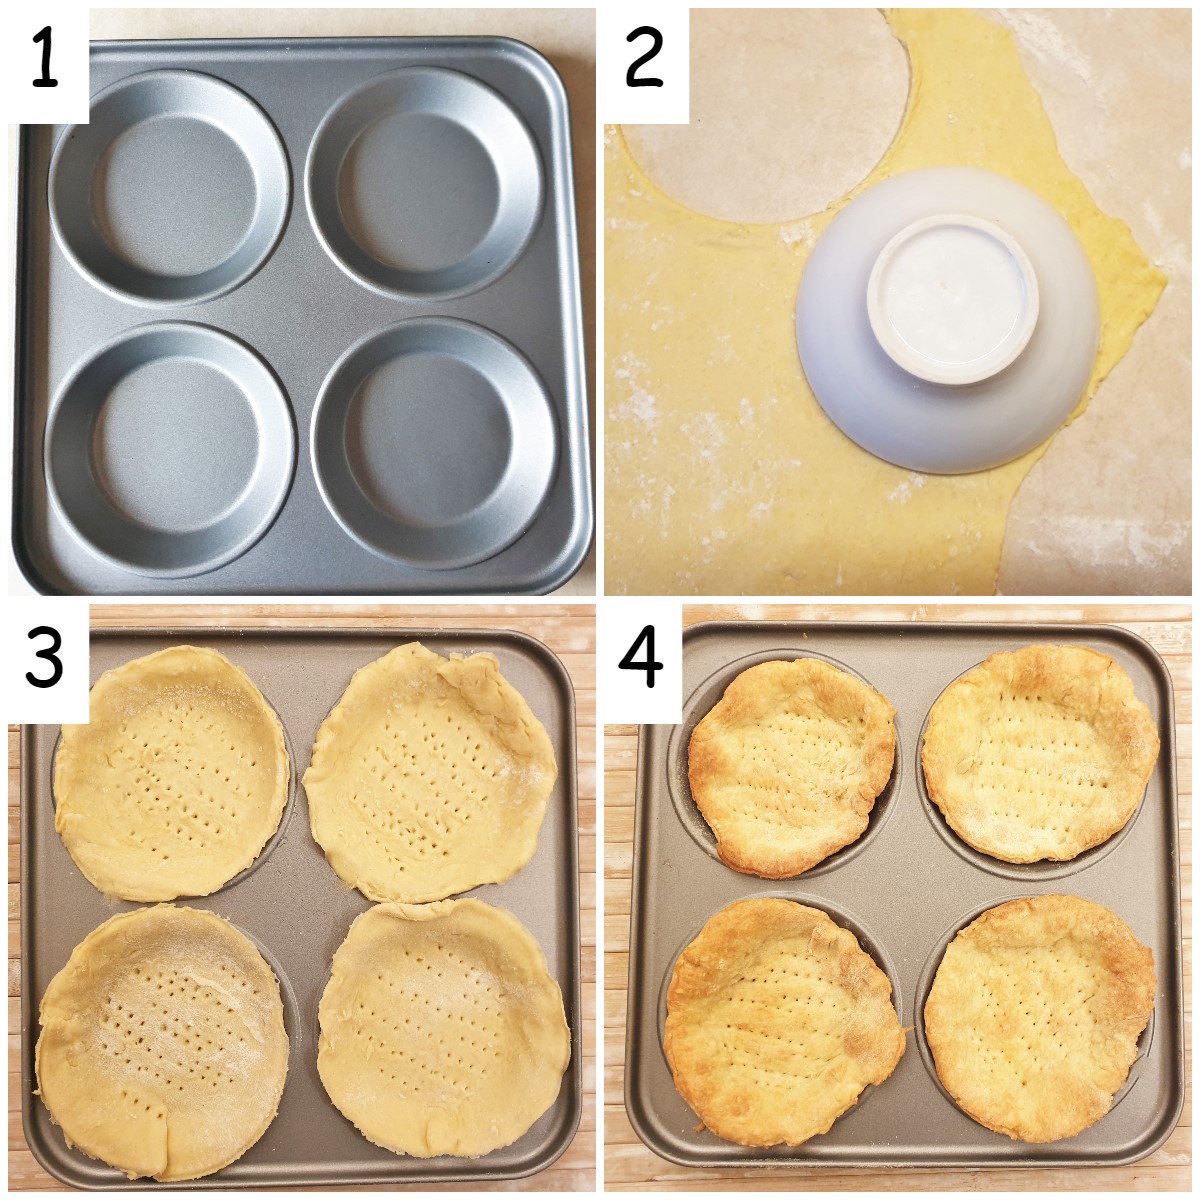
I used a large 4-hole baking pan which makes tarts about 4" in diameter. You can use a smaller 12-hole pan if you prefer, or even 2 x 9" pastry shells. Grease the holes in the baking-pan with a little sunflower oil or butter to prevent the pastry from sticking.
- Roll the pastry out to approximately ⅛" thickness and cut rounds to fit your baking-pan. If you are using a 12-hole baking pan, a normal biscuit cutter should be large enough, or you could use the rim of a drinking glass, or even a coffee cup to cut the pastry to size.
- If you are using 9" baking pans, just divide the pastry in half and roll each half out to size, to fit the pan.
- Line the baking-pan with the pastry and prick the base with a fork to prevent the pastry from rising.
- Bake in a hot oven (200C/400F) for 10 minutes until the pastry starts to turn brown and is cooked through.
- Remove from the oven and allow to cool.
Assemble the tarts
- Break the milk chocolate into pieces and place in the microwave for 30 seconds on full power. Stir, and if there are still lumps in the chocolate microwave for another 30 seconds.
- Brush the base of the pastry cases with a thin layer of melted chocolate.
- Fill the pastry cases with creme patissiere, and arrange a few raspberries on top.
- Dust with icing sugar (confectioner's sugar or powdered sugar) and leave in the refrigerator until ready to eat.
If you'd like to be notified of new recipes, why not subscribe to my newsletter? To say thank you, you will receive a free recipe e-book containing some of my most popular cakes and desserts.
Make in advance
You can bake the pastry shells, cool and spread them with melted chocolate, then store them in an airtight container for up to 3 days.
You can also make the creme patissiere and store it, covered, in the refrigerator for up to 3 days.
When you are ready to eat them, just fill the pastry shells with the creme patissiere, top with raspberries and sprinkle with icing sugar.
Freezing
The creme patissiere is not suitable for freezing as it may split when defrosted.
The pastry shells can be frozen in a rigid container for up to 6 months. Don't store them in a plastic bag in the freezer as they may get crushed and broken.
Save for later
Why not pin this recipe for raspberry custard tarts to one of your Pinterest boards so you can make it later? Just click the image below.
Alternatively, you can save the recipe by clicking on the floating heart icon on the right-hand side of the screen.
Related recipes
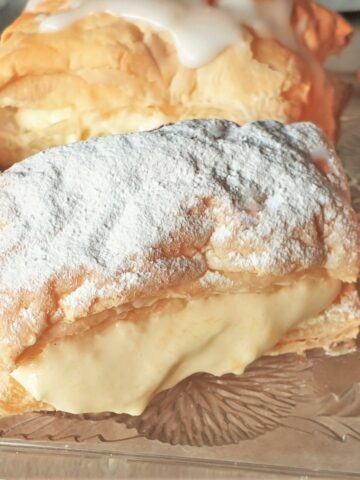
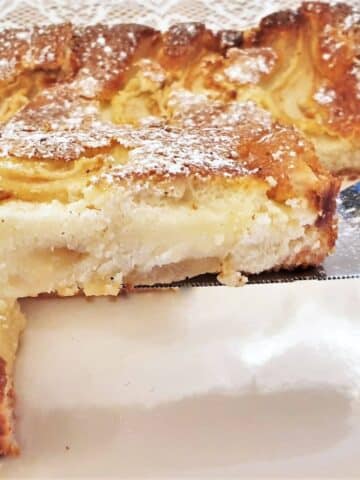
If you enjoyed these raspberry custard tarts, you may enjoy these other creamy desserts from my cake, biscuits and dessert recipes page.
📋The recipe

Raspberry custard tarts with creme patissiere
(Click the stars to rate this recipe)
Equipment
- Mixing bowl
- 12-hole jam tart tin
- Saucepan
- Whisk
Ask a Question
If you have a question about this recipe that has not been answered, please use the box below to ask it.
Use this with care. This is an AI-generated result and may contain errors or inaccuracies. I cannot be held responsible for the information returned.
Ingredients
- 1 punnet (5oz or 150g) raspberries
- 2 ounce (60g) milk chocolate (optional)
- 1 tablespoon icing sugar / confectioner's sugar to dust over the tarts
Pastry
- 2 cups (280g) all purpose / cake flour
- ½ teaspoon salt optional
- 4½ ounce (125g) butter
- 2 large egg yolks
- 4 - 5 tablespoons ice cold water
Creme Patissiere
- 3 large egg yolks
- 6 tablespoons (75g) sugar
- 1½ cups milk
- 1½ tablespoons (15g) plain flour
- 1½ tablespoons (12g) cornflour / cornstarch
- 1 teaspoon vanilla extract
- ¾ cup double or whipping cream
Instructions
Pastry
- Sift the flour into a mixing bowl and add the salt
- Cut the butter into cubes and add to the flour.
- Using your fingertips, rub the butter into the flour until it resembles fine breadcrumbs.
- Add 2 egg yolks and 4 tablespoons ice cold water Note 1
- Mix with a flat knife until the mixture starts to come together, then using your hands, press the mixture into a flat disk. Add the final tablespoon of water if necessary. Note 2
- Place the dough in a plastic bag, or cover with clingfilm and leave in the refrigerator for half an hour to rest.
Creme Patissiere
- Beat the egg yolks until they are light and fluffy.
- Stir in the flour and cornflour. The mixture will be quite thick.
- Heat the milk, sugar and vanilla in a saucepan until it just comes to the boil.
- Pour approximately ¼ of the hot milk into the egg and flour mixture and whisk well to remove any lumps, then pour the milk and egg back into the rest of the hot milk in the saucepan.
- Whisk continuously over a low heat until the mixture thickens,Note 3 then remove from the heat and set aside to cool.
- Whisk the cream until stiff peaks form, then mix it through the cooled custard.
- Leave in the refrigerator until you are ready to use it.
Bake the pastry shells
- Pre-heat oen to 200°C/400°F
- Grease a 4 or 12-hole baking pan with oil or butter to prevent the pastry sticking.
- Roll the pastry out to approximately ⅛" thickness and cut rounds to fit your baking-pan. Note 4
- Line the baking-pan with the pastry and prick the base of the pastry with a fork to prevent the pastry from rising.
- Bake for 10 minutes, or until the pastry starts to turn brown and is cooked through.
- Remove from the oven and allow to cool.
Assembly
- Break the milk chocolate into pieces and place in a small dish in the microwave for 30 seconds on full power. If the chocolate is not completely melted after this time microwave for another 30 seconds.
- Brush the base of the pastry cases with melted chocolate.
- Spoon the creme patissiere into the pastry cases.
- Arrange 3 to 4 raspberries on top.
- Dust with icing sugar (confectioner's sugar).
- Place into the refrigerator to chill. Serve cold.
Notes
- Don't add all the water at once - you may not need it all. Keep one tablespoon back and only add it if necessary.
- For the lightest pastry, handle as little as possible. Do not knead the pastry, just press it together with your hands until it forms a ball.
- The pastry cream should be very thick and hold its shape. It will thicken further on cooling. If it is not thick enough, mix a further teaspoon of cornflour with a tablespoon of milk, add to the custard and stir over a low heat until it thickens sufficiently.
- If you are using a 4-hole baking pan, use a small dish to cut around to get the pastry to the correct size. If using a 12-hole tin you could use a pastry cutter or the rim of a drinking glass. If you are using 9" baking pans, just divide the pastry in half and roll each half out to size, to fit the pan.
Nutrition
I am not a nutritionist. The nutrition information has been calculated using an on-line calculator, and is intended for information and guidance purposes only. If the nutrition information is important to you, you should consider calculating it yourself, using your preferred tool.
If you made this recipe and enjoyed it, I'd love it if you could give me a star rating in the comments below. And if you'd like to get in touch, you can email me at [email protected]. I'd love to hear from you. And don't forget to subscribe to my mailing list so you can grab yourself a copy of my FREE COOKBOOK!
If you'd like to continue browsing, just click on this link to all my recipes.

Did you make this recipe? Let me know!