Let me show you how to make butter at home, with only one ingredient. Yes, that's right, you can make your own butter easily at home and all you will need is a carton of whipping cream. Plus as a by-product you get some buttermilk too!
Homemade butter
I've always wanted to make my own butter, but I've been put off by thoughts of how difficult it must be to make. I couldn't have been more wrong. Making butter at home is so simple and rewarding. I'm here to tell you right now - if you can whip cream, you can make butter.
I was browsing around the supermarket the other day when I happened to spot a 2-litre bottle of whipping cream marked down to an amazing 25p. So, of course, I bought it! Unfortunately, we were going on holiday the next day so I popped the cream into the freezer to keep it from going off while we were away.
Once we got home, the problem of what to do with 2 litres of whipping cream reared its head so I decided to try my hand at making butter. And I'm so glad it did. It turned from cream into a luxuriously creamy butter in less than 15 minutes.
I can't believe I haven't made my own butter before. Not only is it ridiculously easy to make, but it actually works out cheaper than buying butter in the supermarket. You can buy a 600 ml tub of whipping cream for £2.10 which yields around 300 grams of butter, and almost 2 cups of buttermilk as a by-product. So not only do you get the butter, but you can use the buttermilk to make pancakes, Irish soda bread or even a deliciously creamy coleslaw salad.

What you will need
Equipment
You will need a stand mixer. This will make light work of whisking the cream. If you don't have a stand mixer, an electric hand mixer would be the next best thing or you could even use a balloon whisk and some elbow grease! You could also put the cream into a mason jar with a tightly fitting lid and shake away!
Ingredients
Double cream (or heavy whipping cream). The quantities don't matter, the more cream you have the more butter you will get! The actual amount of butter also depends on the fat content of the cream - the higher the fat content, the more butter is produced.
Salt - this is optional. I like to split my butter into 2 batches - one for baking and one for spreading on sandwiches. I leave the baking butter plain (without salt). For the butter I am going to be using for sandwiches, I mix in a quarter teaspoon of salt for every 250 grams of butter once the butter has separated from the buttermilk.
What to do
**You can get the full instructions for making your own butter on the printable recipe card at the end of this post**
This is more of a method than a recipe. I have based the recipe on 600 ml of cream which will yield around 300 grams of butter, but you can use any amount of cream that you choose.
There are a few stages that the cream goes through before it turns into butter.
- First, the cream thickens
- As you continue to whisk, the fat solids start to separate from the buttermilk and the mixture starts to look like scrambled eggs.
- When the buttermilk starts to slosh out of the bowl the butter is ready.
- The final step is to drain the buttermilk, rinse the butter in cold water and form into shape.
The time that this will take depends on a number of factors.
- the amount of cream you use - I was using a 2-litre bottle and it took about 10 minutes to separate completely.
- the temperature of the cream. Cream at room temperature will separate faster than cream directly from the refrigerator.
- The type of mixer you use - an electric mixer will be much faster than beating by hand.
All things being equal it shouldn't take more than 8 to 10 minutes to form the butter.
So let's have a look at how to do it.
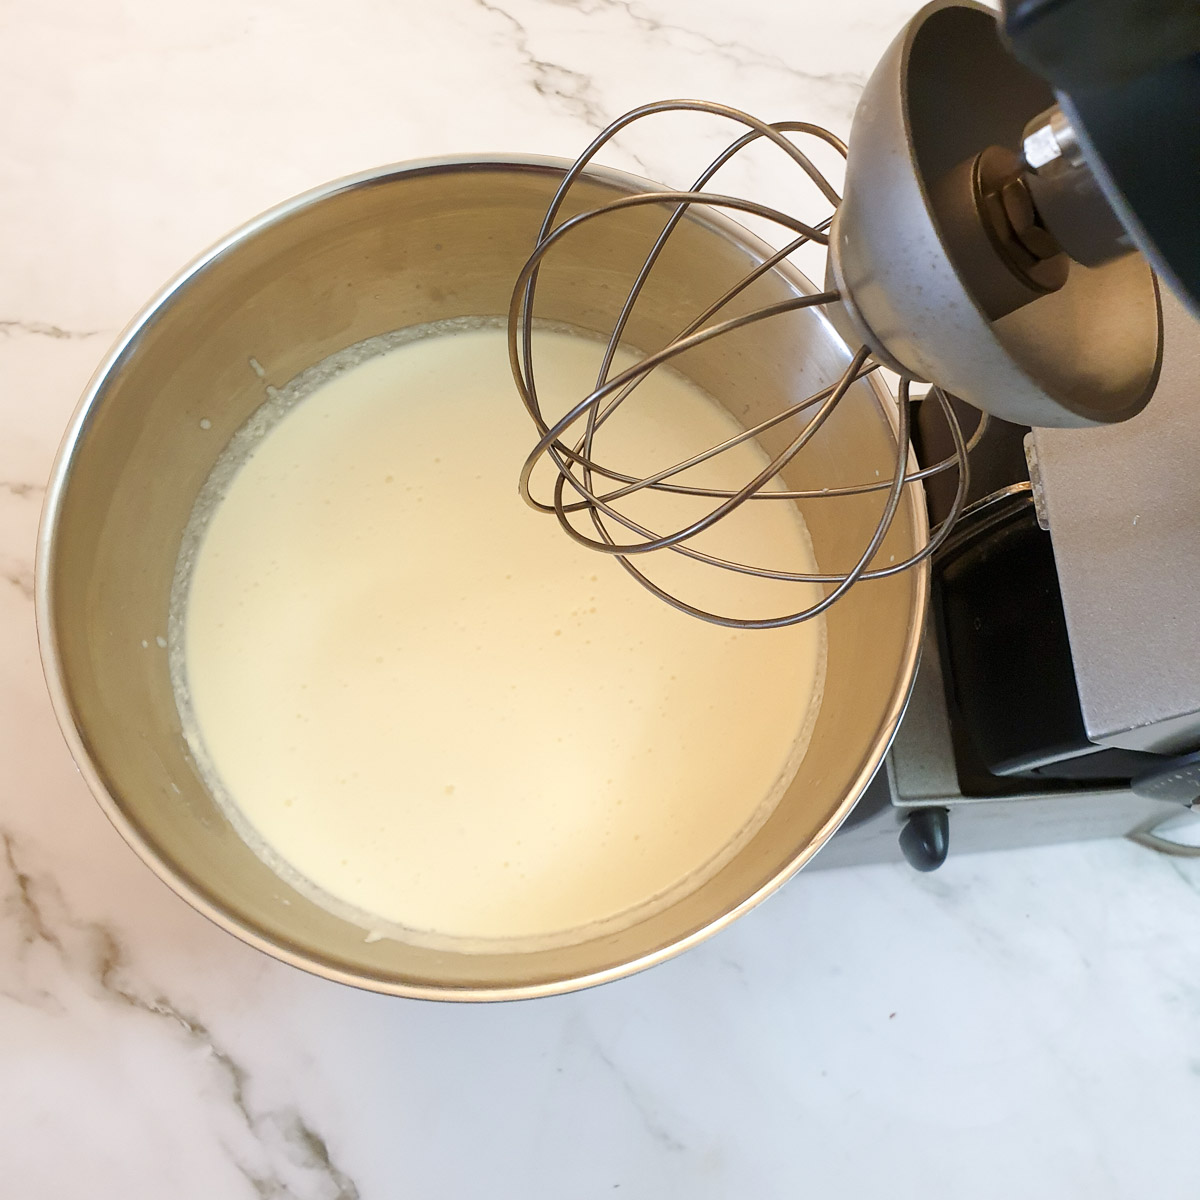
Pour the cream into the bowl of your stand mixer fitted with a balloon whisk attachment. If you prefer (and if your stand mixer has one) you can use the flat-bladed beater attachment (or K-beater) instead of the balloon whisk.
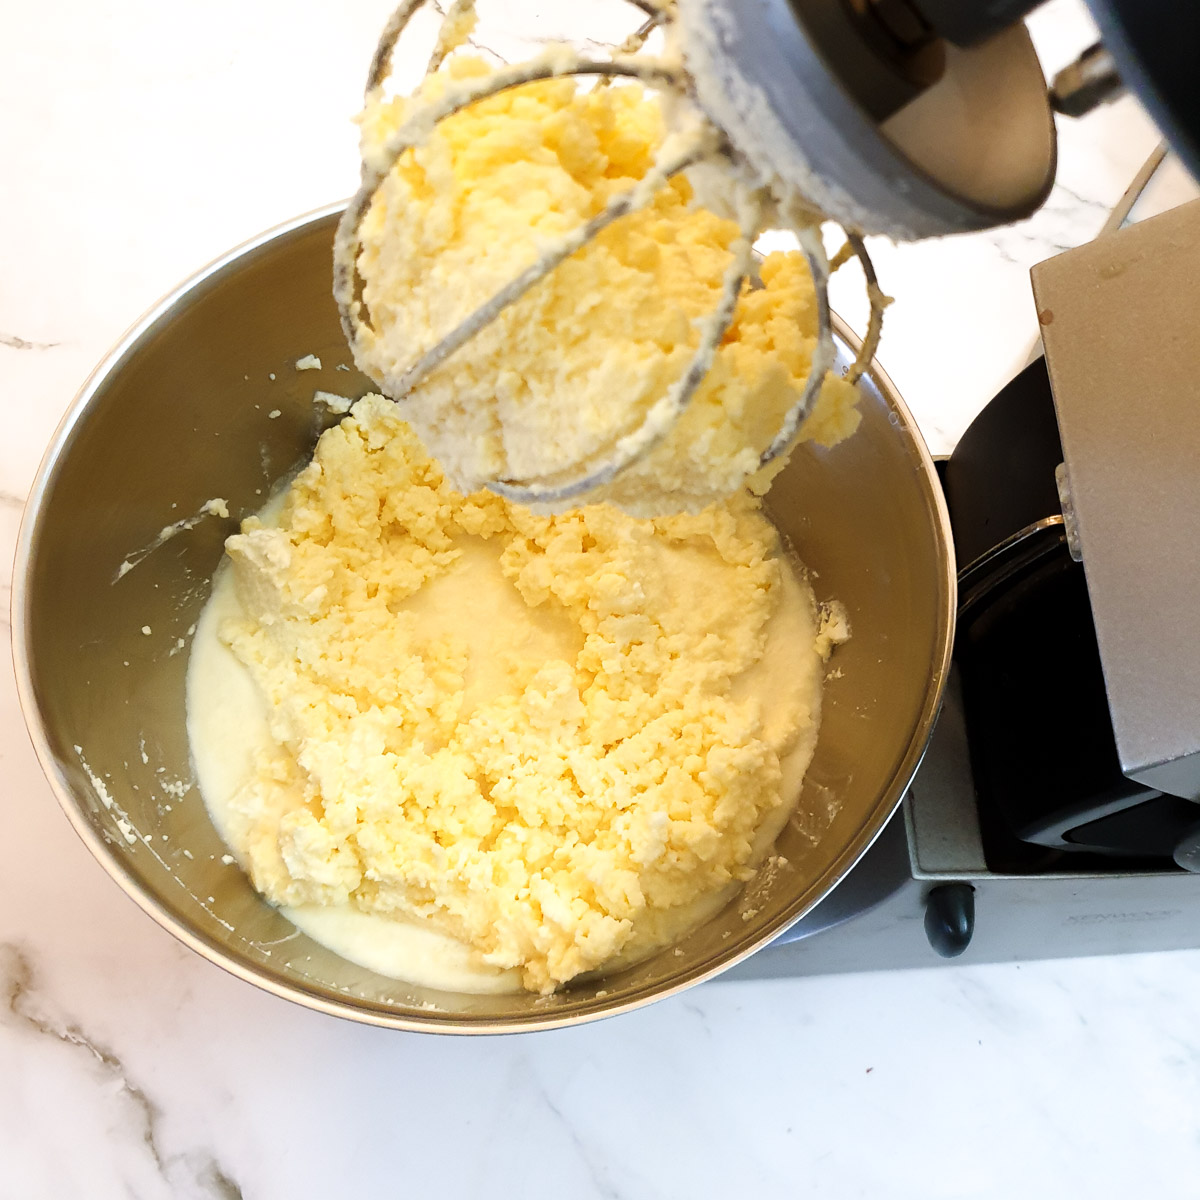
Whisk on medium speed until you get something resembling scrambled eggs.
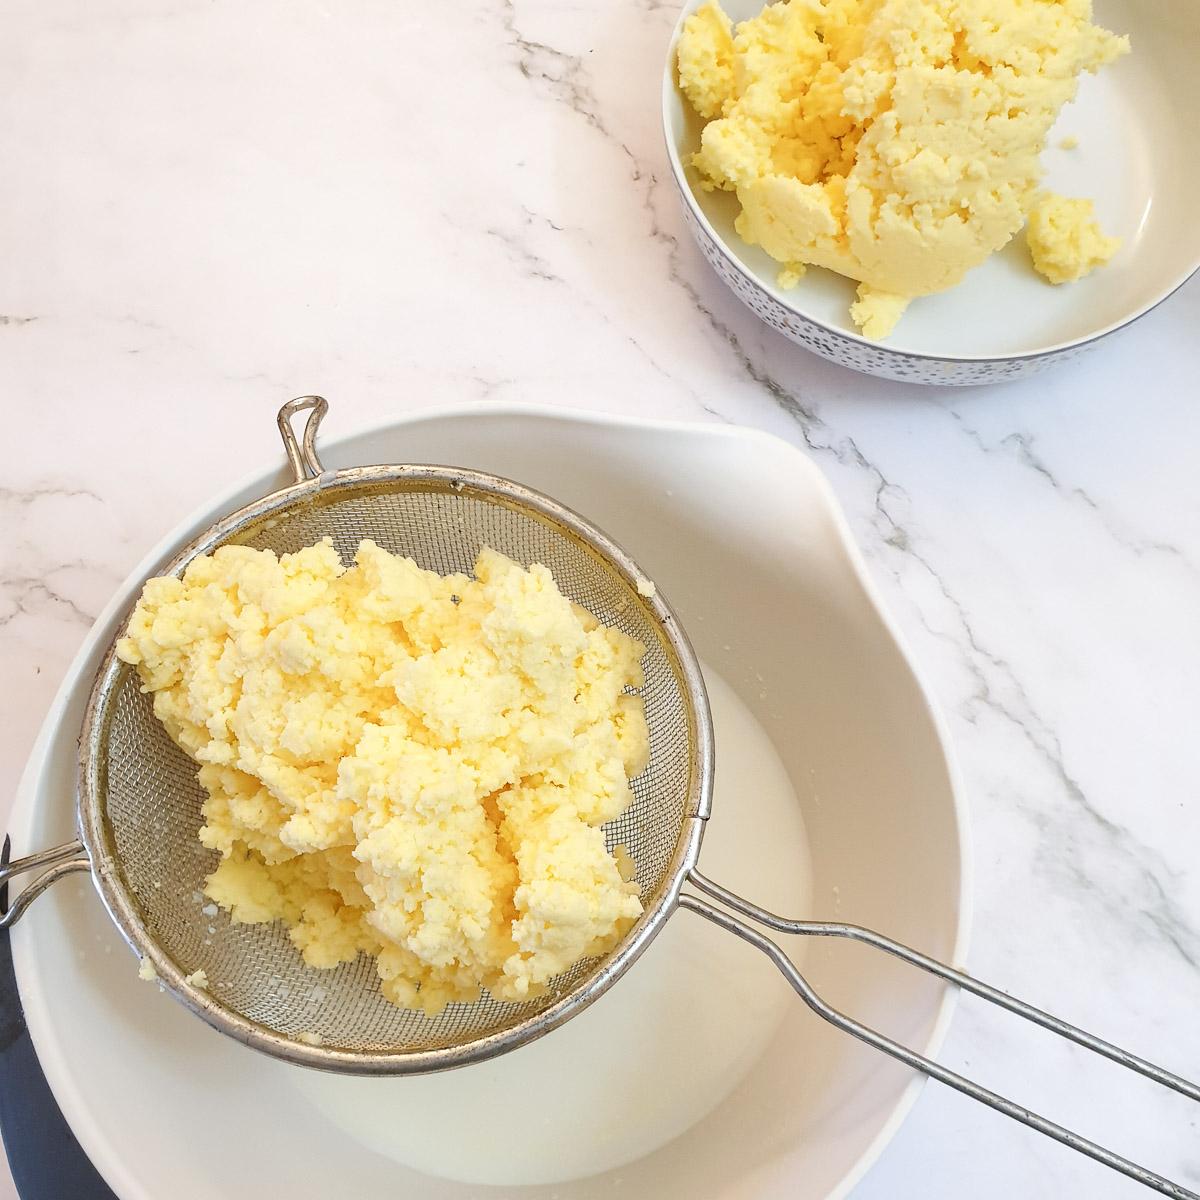
Once the butter has formed, tip it into a sieve and allow the buttermilk to drain off. Reserve the buttermilk for use in other recipes. You can freeze the buttermilk if you don't want to use it immediately.
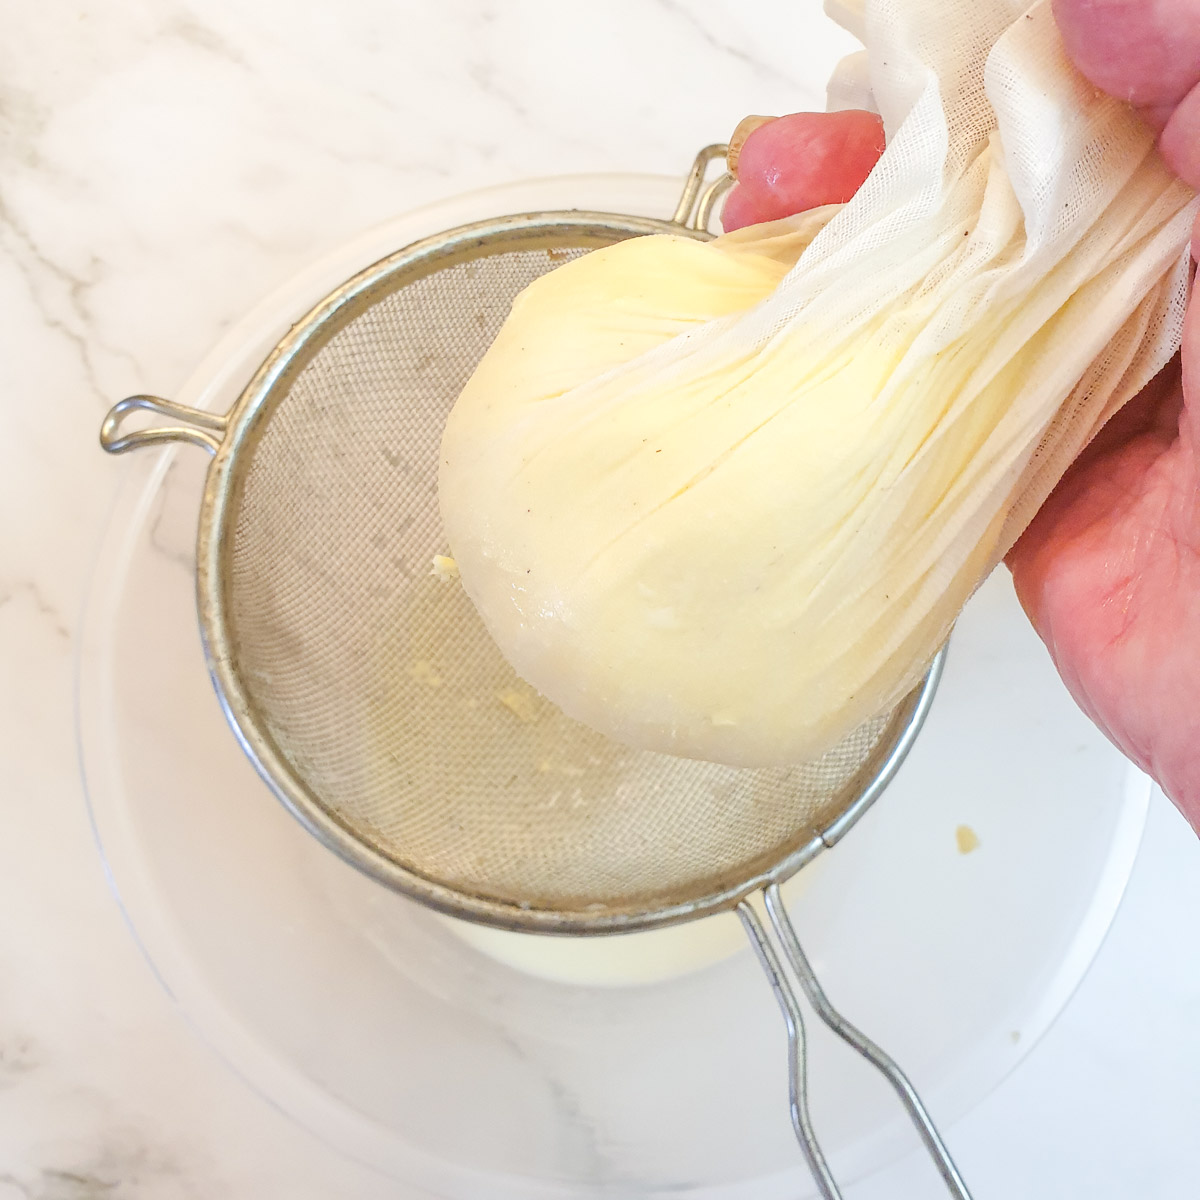
Take the butter in your hands or wrap it in a clean muslin cloth and squeeze it gently to remove as much of the buttermilk as possible.

Now either put the butter into a bowl of COLD water and massage it gently until all the buttermilk has been removed. Replace the water once it has turned cloudy and repeat until the water stays clear.
Don't worry about the butter dissolving in the cold water - it won't. The butter at this stage of the process actually feels like a piece of plasticine or modelling clay.
You could also rinse the butter under a running tap of cold water.
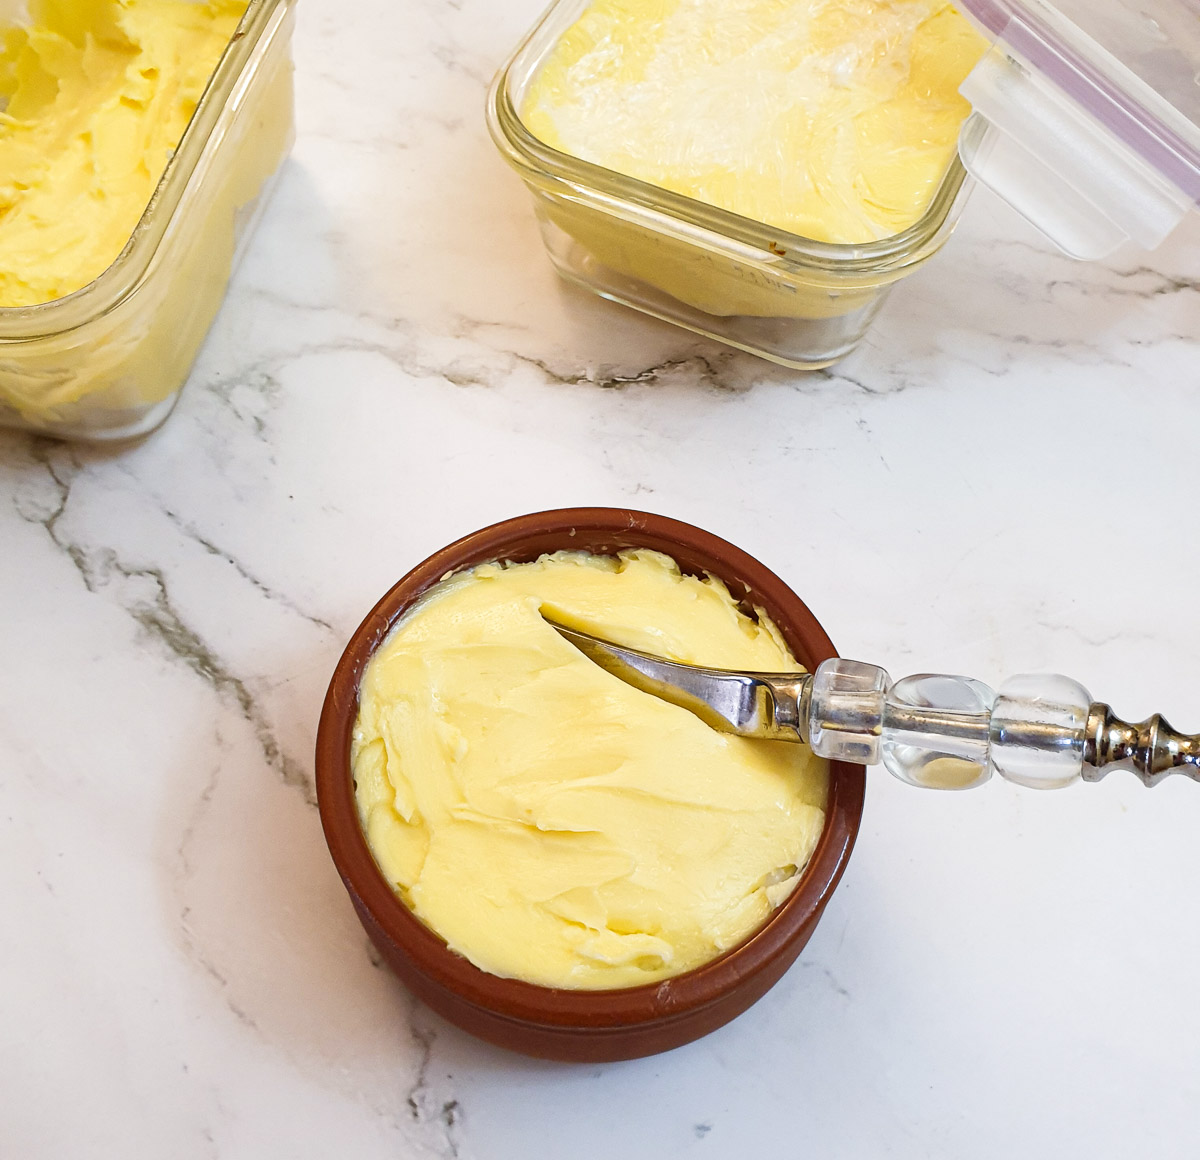
The butter is ready! If you want to add salt, this is the time to mix it through. Just place the butter into a bowl, add the salt and work the salt into the butter using a flat-bladed knife.
Don't add salt before you drain the buttermilk as this will make the buttermilk salty.
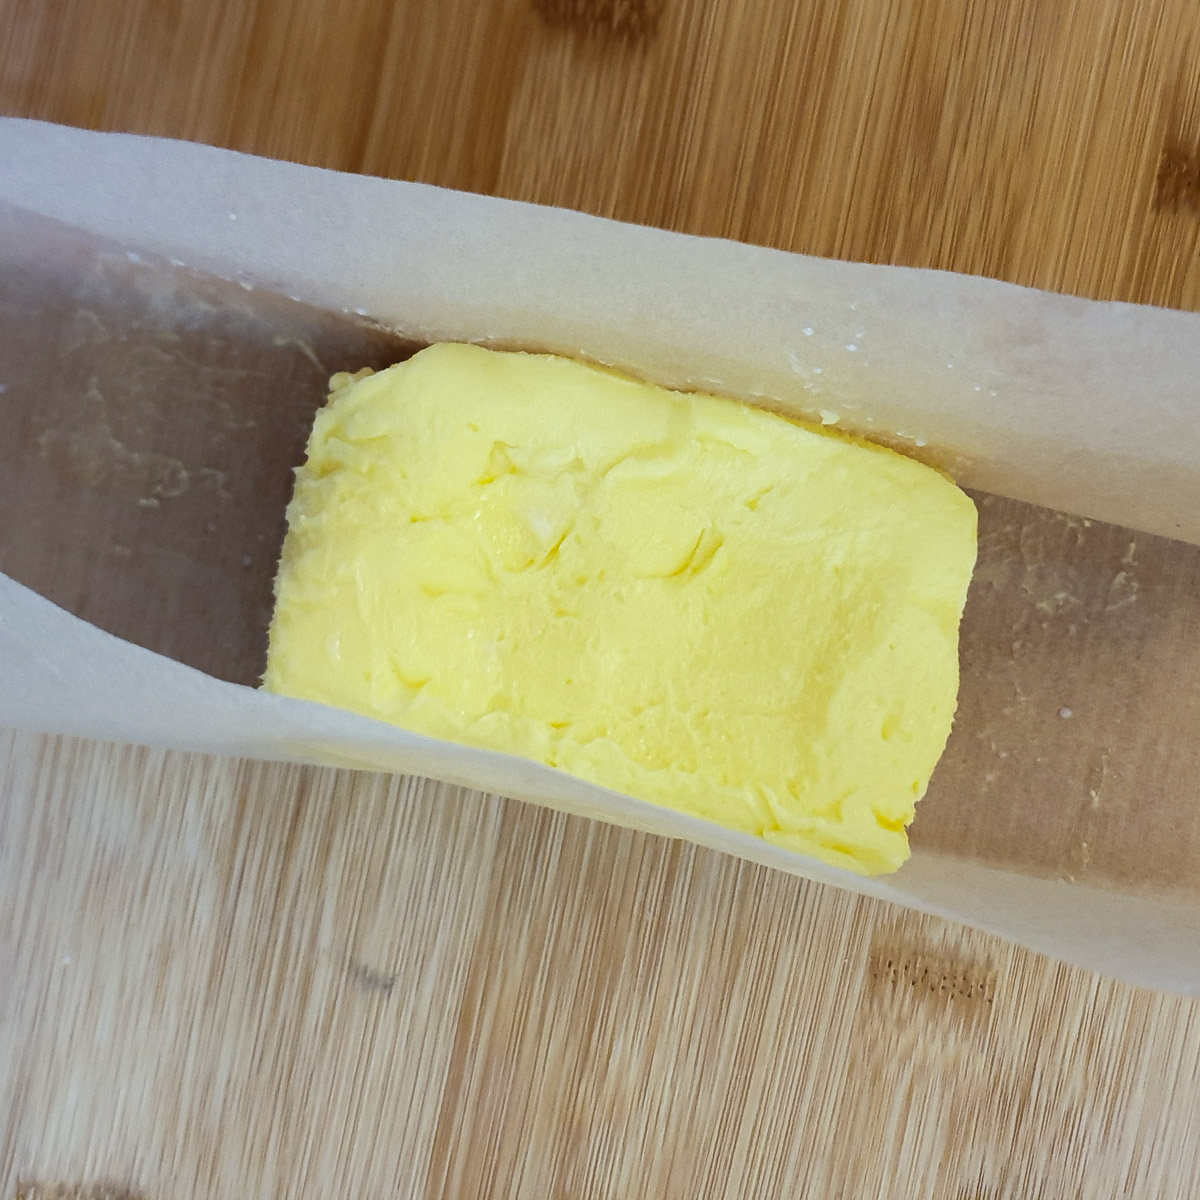
If you have a set of wooden butter paddles, you can use those to shape the butter into a brick.
Otherwise, just put the butter onto a sheet of greaseproof paper and use your hands (and the paper) to press it into shape.
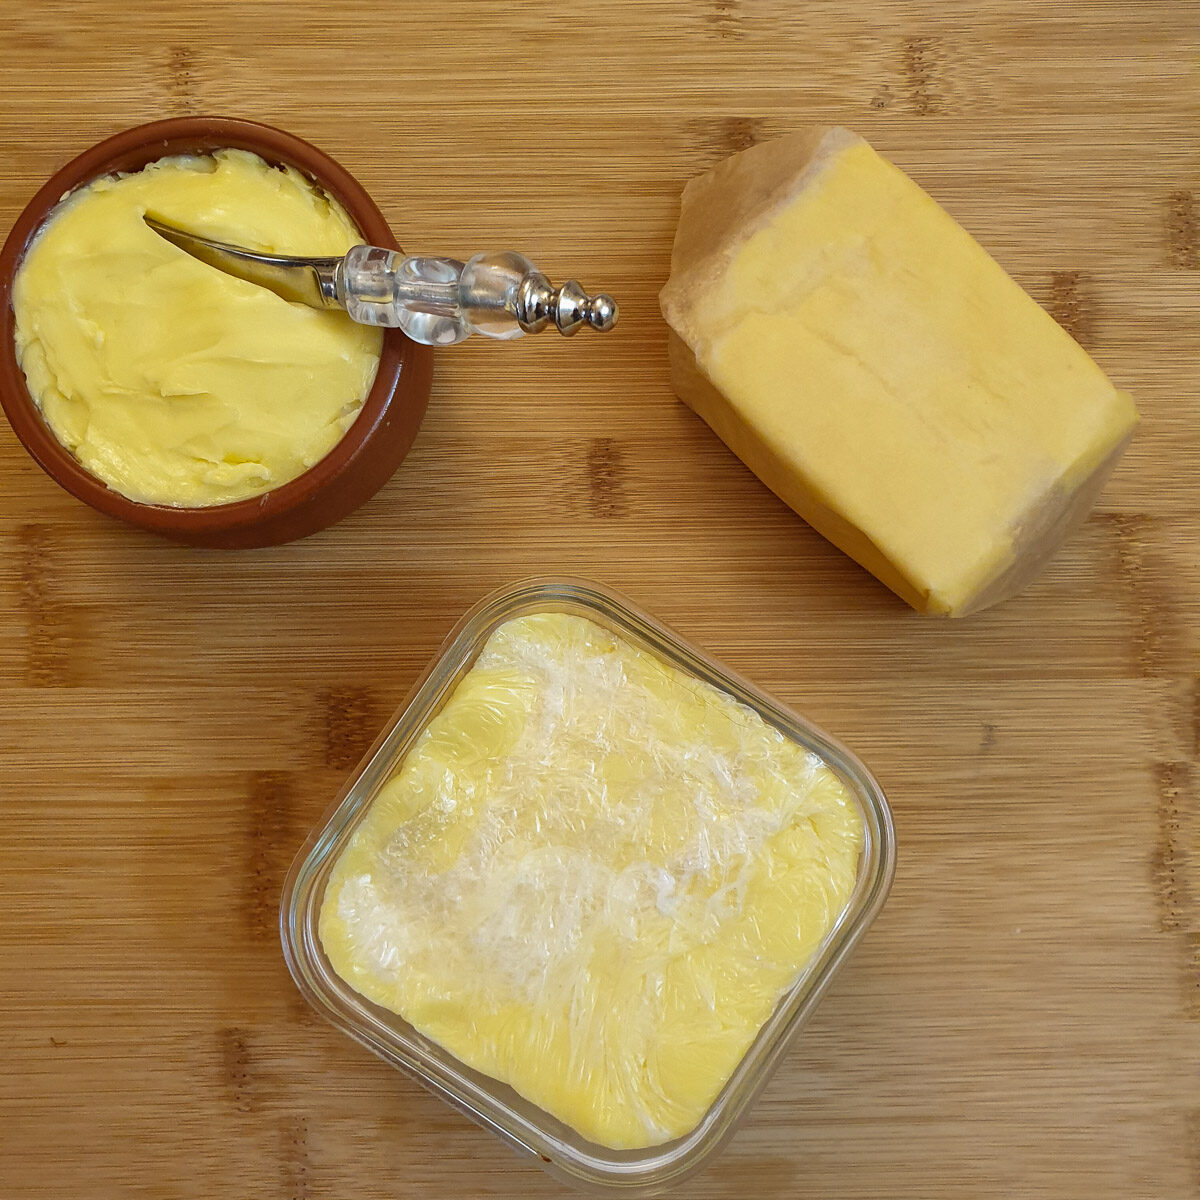
If I intend to use the butter immediately, I press it into a ramekin. If I am going to freeze it, I either wrap it in greaseproof paper or press it into a dish lined with plastic wrap.
The plastic wrap makes it easy to remove the butter from the dish for freezing.
If the butter starts to melt while you are shaping it, pop it into the refrigerator for a couple of minutes to firm up again.
If you'd like to be notified of new recipes, why not subscribe to my newsletter? To say thank you, you will receive a free recipe e-book containing some of my most popular cakes and desserts.
FAQ
Yes you can freeze this butter.
Place the butter (which you've either wrapped in greaseproof paper or plastic wrap) into a large freezer bag and freeze for up to 6 months.
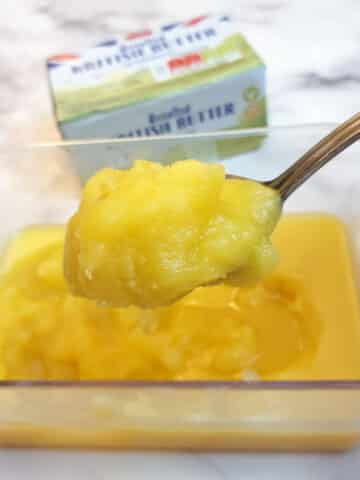
You can store this butter in your refrigerator in a covered container for a week or longer. The actual time it will last before it goes sour will depend on the amount of buttermilk you managed to extract. It is the buttermilk that will turn sour.
No - single cream does not have a high enough fat content. You should use double or heavy whipping cream for making butter.
The butter will be ready when it sticks together in a ball on your whisk and the buttermilk starts to slosh out of the bowl.
Save for later
If you'd like to make your own butter, why not save the recipe to one of your Pinterest boards? Just click on the image below.
Alternatively, you can save the recipe by clicking on the floating heart icon on the right-hand side of the screen.
Related recipes
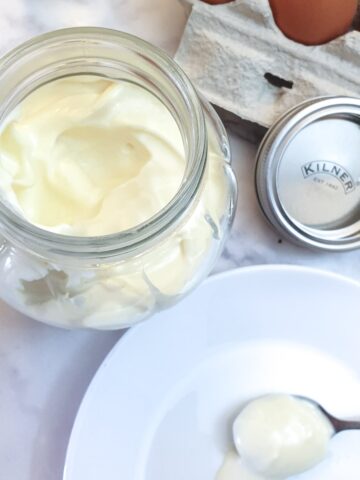
If you enjoyed making your own butter you may like to try your hand at making other pantry staples too.

📋The recipe
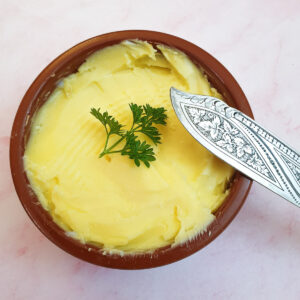
How to make butter.
(Click the stars to rate this recipe)
Equipment
- Stand mixer or
- Hand mixer or
- Balloon whisk
Ask a Question
If you have a question about this recipe that has not been answered, please use the box below to ask it.
Use this with care. This is an AI-generated result and may contain errors or inaccuracies. I cannot be held responsible for the information returned.
Ingredients
- 2½ cups / 600 ml double or heavy whipping cream
- ¼ teaspoon salt optional
Instructions
- Pour the cream into the bowl of a stand mixer fitted with a balloon whisk attachment.2½ cups / 600 ml double or heavy whipping cream
- Whisk on medium power for 6 to 8 minutes until the cream has separated into butter-fat and buttermilk. The mixture will resemble scrambled eggs.
- Drain the mixture through a sieve or a colander, reserving the buttermilk for use in other recipes.
- Place the butter into a piece of clean muslin cloth and squeeze gently to remove as much buttermilk as possible. You could also just use your hands to squeeze out the remaining buttermilk.
- Remove the butter from the muslin and place it in a bowl of COLD water.
- Massage the butter in the water to remove any remaining buttermilk. Change the water if it becomes too cloudy.
- If you are going to salt the butter, place the butter in a large dish, add the salt, and work the salt into the butter with a flat-bladed knife.¼ teaspoon salt
- Form the butter into a brick shape, either with wooden butter paddles or place the butter on a sheet of greaseproof paper and push the butter into shape with your hands.Alternatively, spoon the butter into a suitable dish and press it down firmly with the back of a spoon.
- Store the butter in a covered container in the refrigerator or wrap it in plastic wrap or greaseproof paper and freeze until needed.
Notes
Nutrition
I am not a nutritionist. The nutrition information has been calculated using an on-line calculator, and is intended for information and guidance purposes only. If the nutrition information is important to you, you should consider calculating it yourself, using your preferred tool.
If you made this recipe and enjoyed it, I'd love it if you could give me a star rating in the comments below. And if you'd like to get in touch, you can email me at [email protected]. I'd love to hear from you. And don't forget to subscribe to my mailing list so you can grab yourself a copy of my FREE COOKBOOK!
If you'd like to continue browsing, just click on this link to all my recipes.


Did you make this recipe? Let me know!