Ghee is a type of clarified butter that originated in India and is widely used in South Asian cuisine. It has a rich, nutty flavour and a high smoke point, making it ideal for frying, baking, and sautéing. Making ghee at home is simple and rewarding, and you only need one ingredient! Let me show you how to make ghee yourself.
**As an Amazon affiliate, I earn from qualifying purchases.**
Jump to:
What is ghee used for
Ghee is a pantry staple in most South Asian households, and for good reason. The delicious nutty almost caramel-like taste adds an extra dimension of flavour to dishes that you would typically cook with butter.
You can use ghee in a variety of ways:
- Use it as a substitute for butter in recipes for pancakes, pastries and cookies. You will find it makes the pastry extra crispy. Do take care when using it as a substitute for butter when making cakes. Because there is no liquid content in ghee as there is in butter your cakes may turn out drier than normal.
- Because it has a high smoke point, ghee is ideal for frying vegetables, meat, seafood or fritters.
- You can pour a little melted ghee over steamed or roasted vegetables to add a nutty, buttery flavour.
- Use it in place of butter, when making sauces.
- Or simply spread it on toast!
And did you know that you can make your own butter and then turn it into ghee?
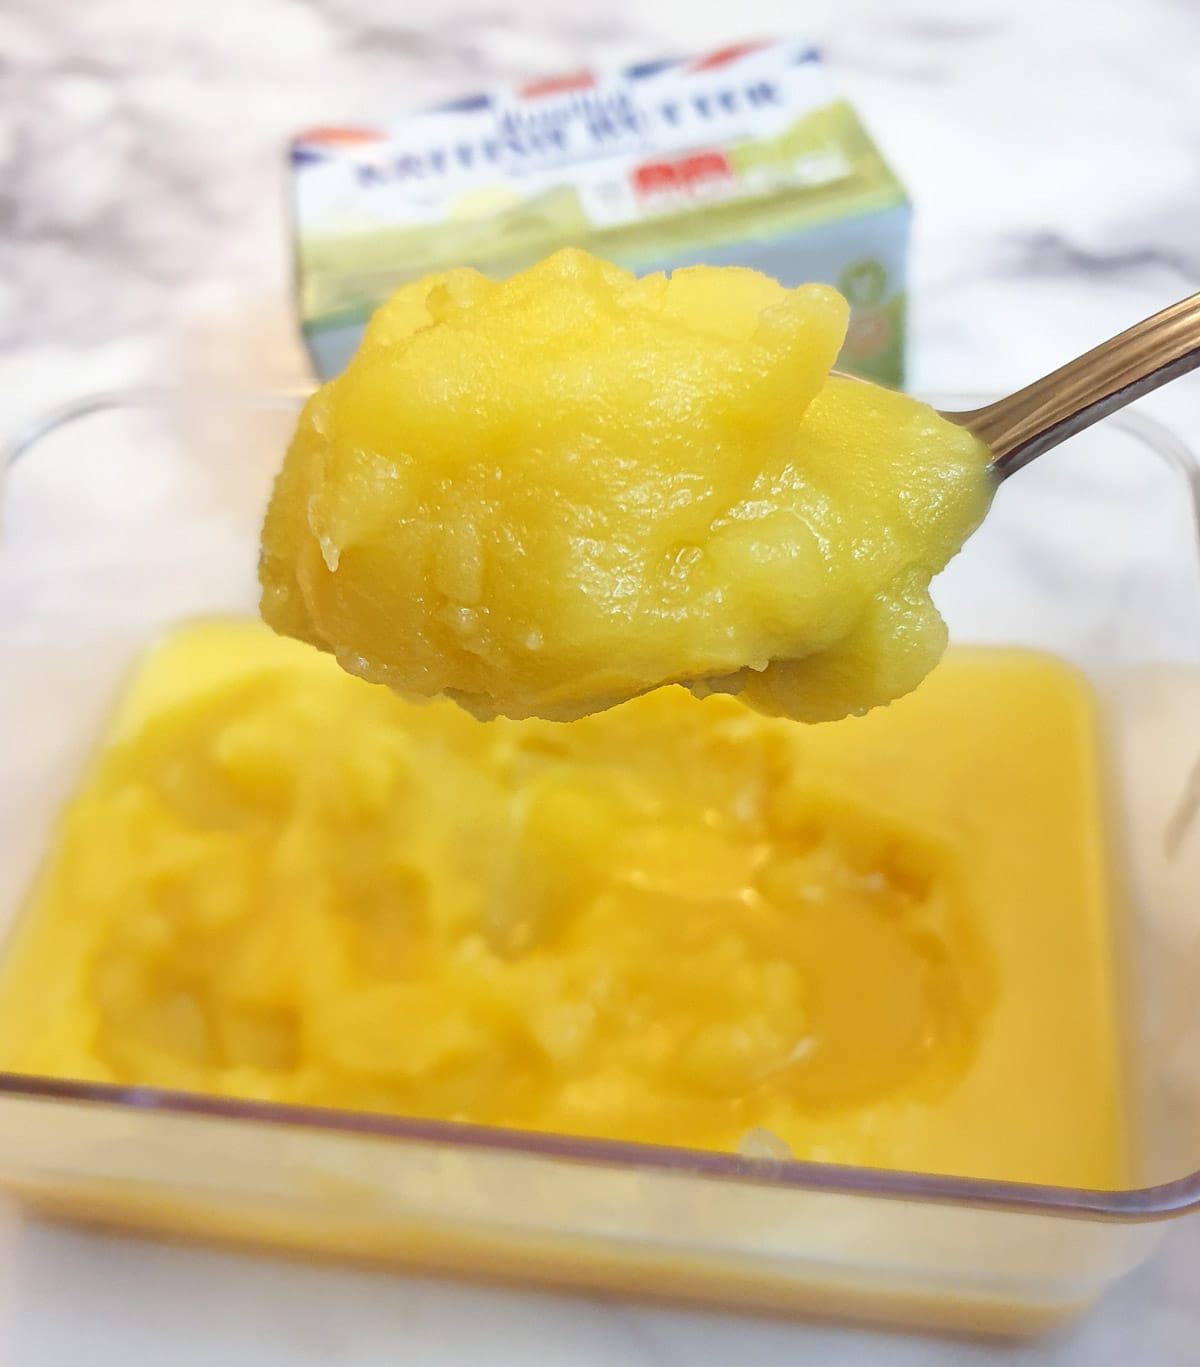
In its liquid form, ghee has the texture of oil, but as it cools and solidifies the texture turns to that of soft butter.
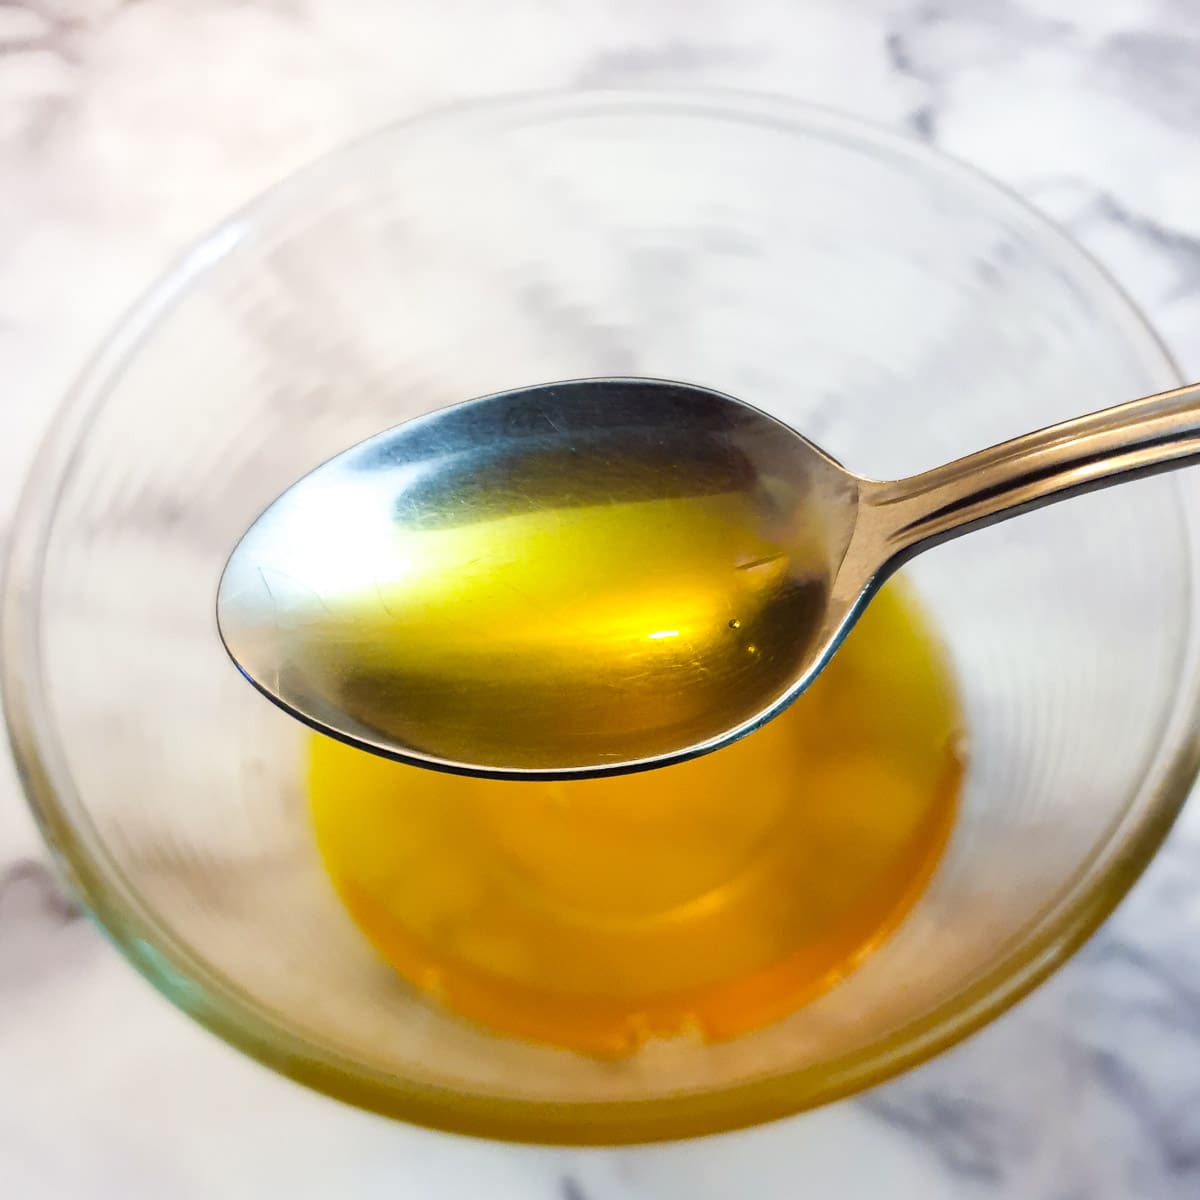
Let me show you how easy ghee is to make.
What you will need
Equipment
You will need a saucepan, something to strain the ghee through, such as a piece of muslin, a fine sieve or even a coffee filter.
Ingredients
Not too many ingredients are needed for this recipe. In fact, there is only 1. Can you guess what it is?
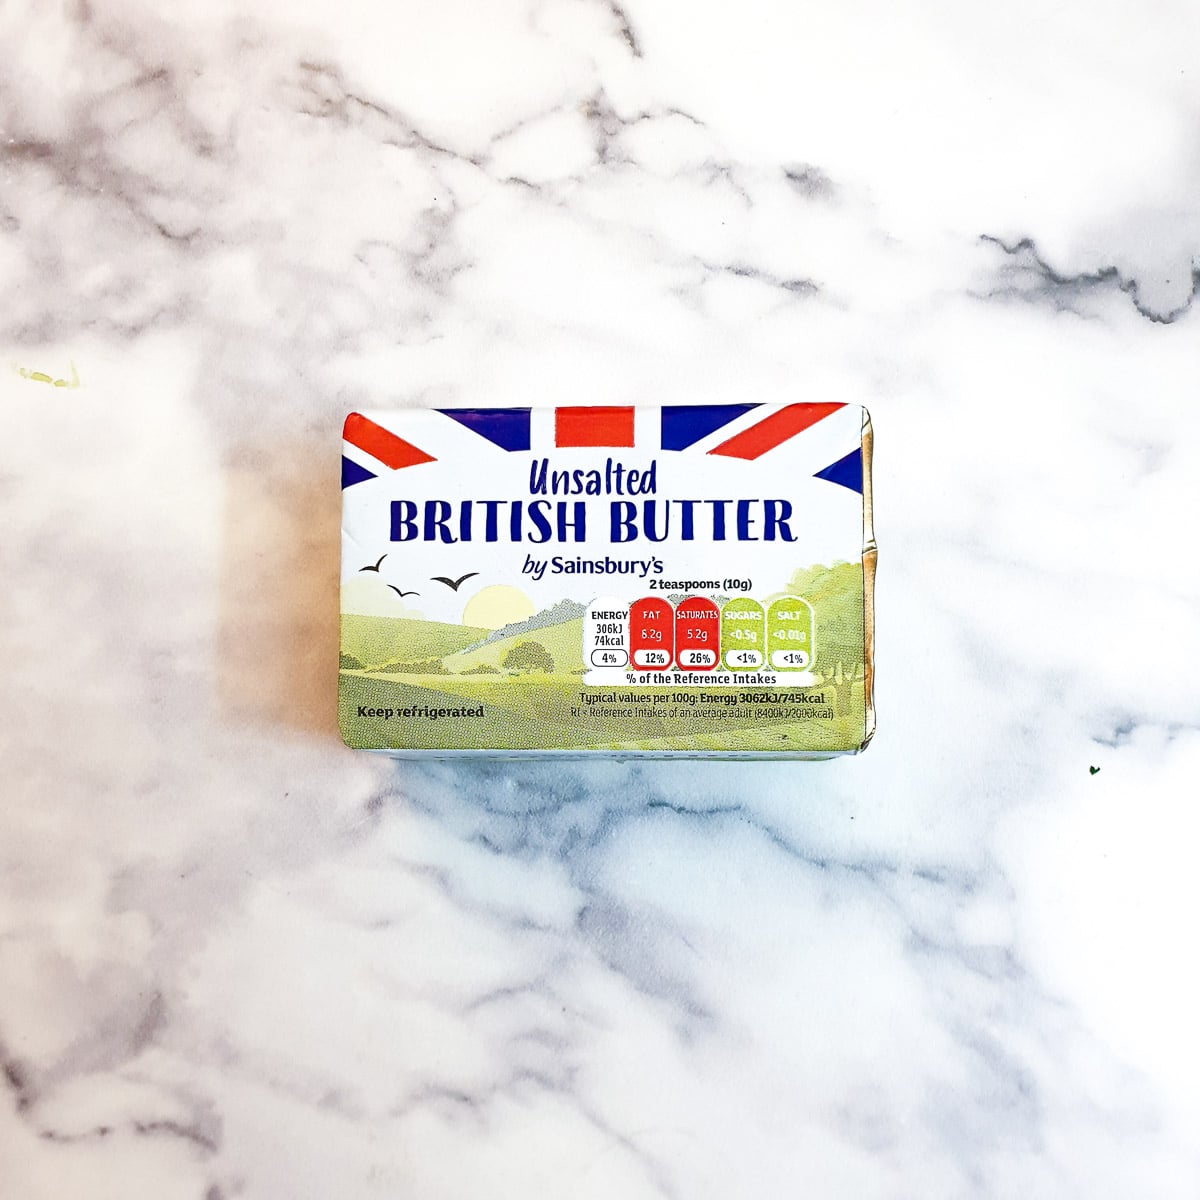
That's right - it's simply plain unsalted butter.
Ghee is made by removing the milk solids and water from normal butter. Butter contains approximately 20% water, so you will lose 20% of whatever quantity of butter you choose to use. A 250-gram block of butter will yield approximately 200 grams of ghee. If you prefer to calculate it in ounces, you will lose approximately 1.5 ounces for every 8 ounces of butter.
You can make as much ghee as you like in one batch. However, it may take longer for all the water to evaporate from the butter.
There are no substitutions for this recipe. You MUST use real butter - butter substitute spreads and/or margarine will not work!
What to do
In a nutshell, this is what you have to do:
- Heat the butter gently until it melts.
- Leave the butter to simmer for 20 to 25 minutes to allow any water in the butter to evaporate and the milk solids to separate and turn slightly brown.
- Cool and strain the melted butter into a container.
And here are the details:
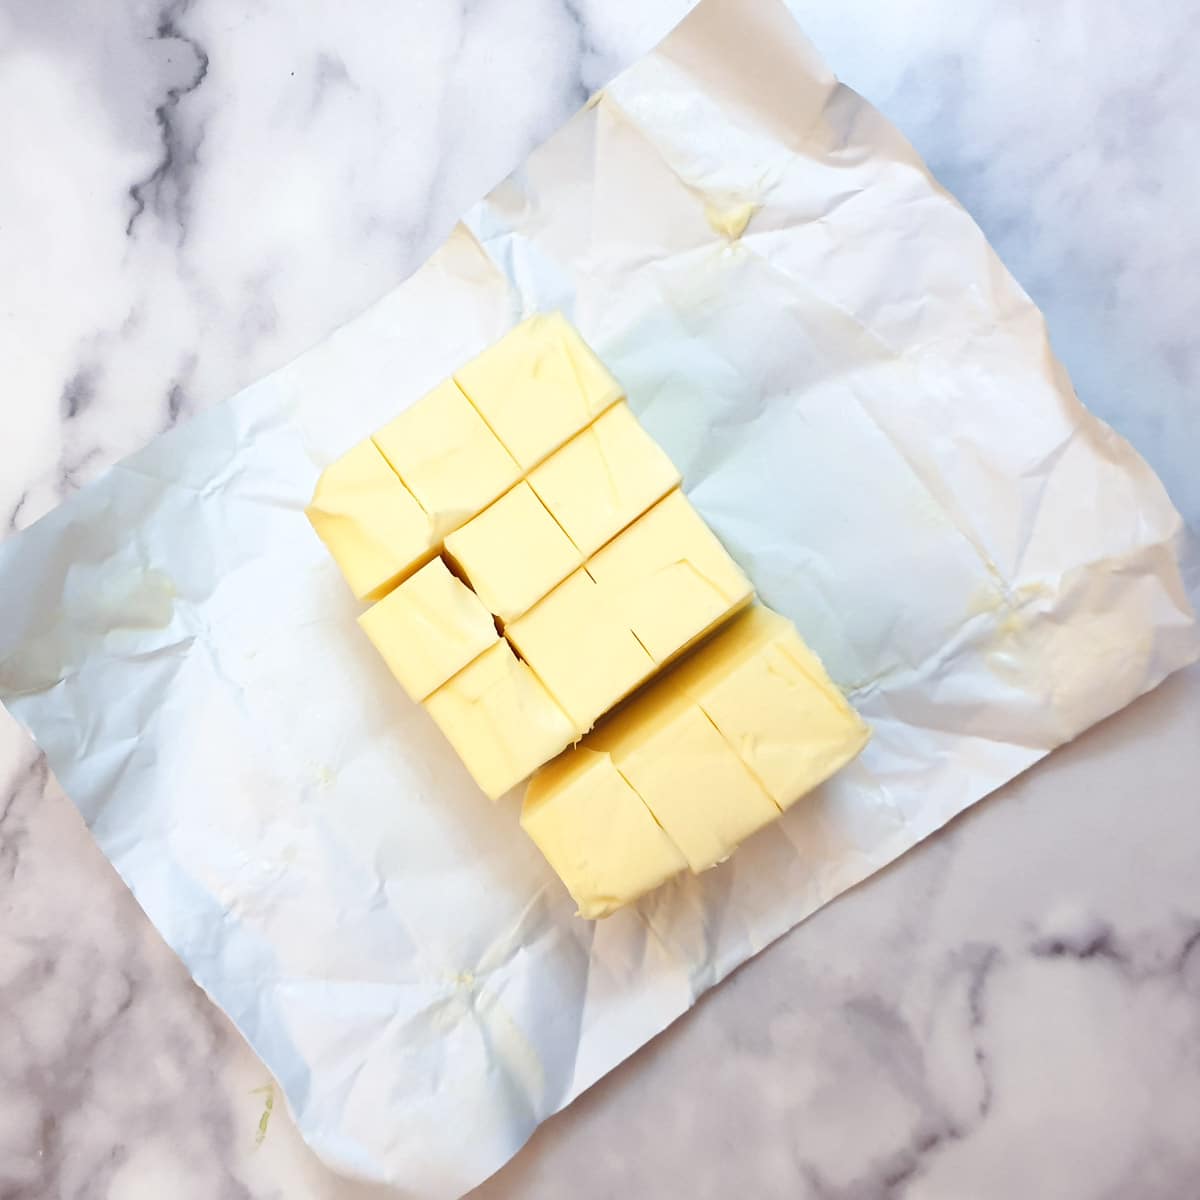
Start off by cutting your butter into cubes.
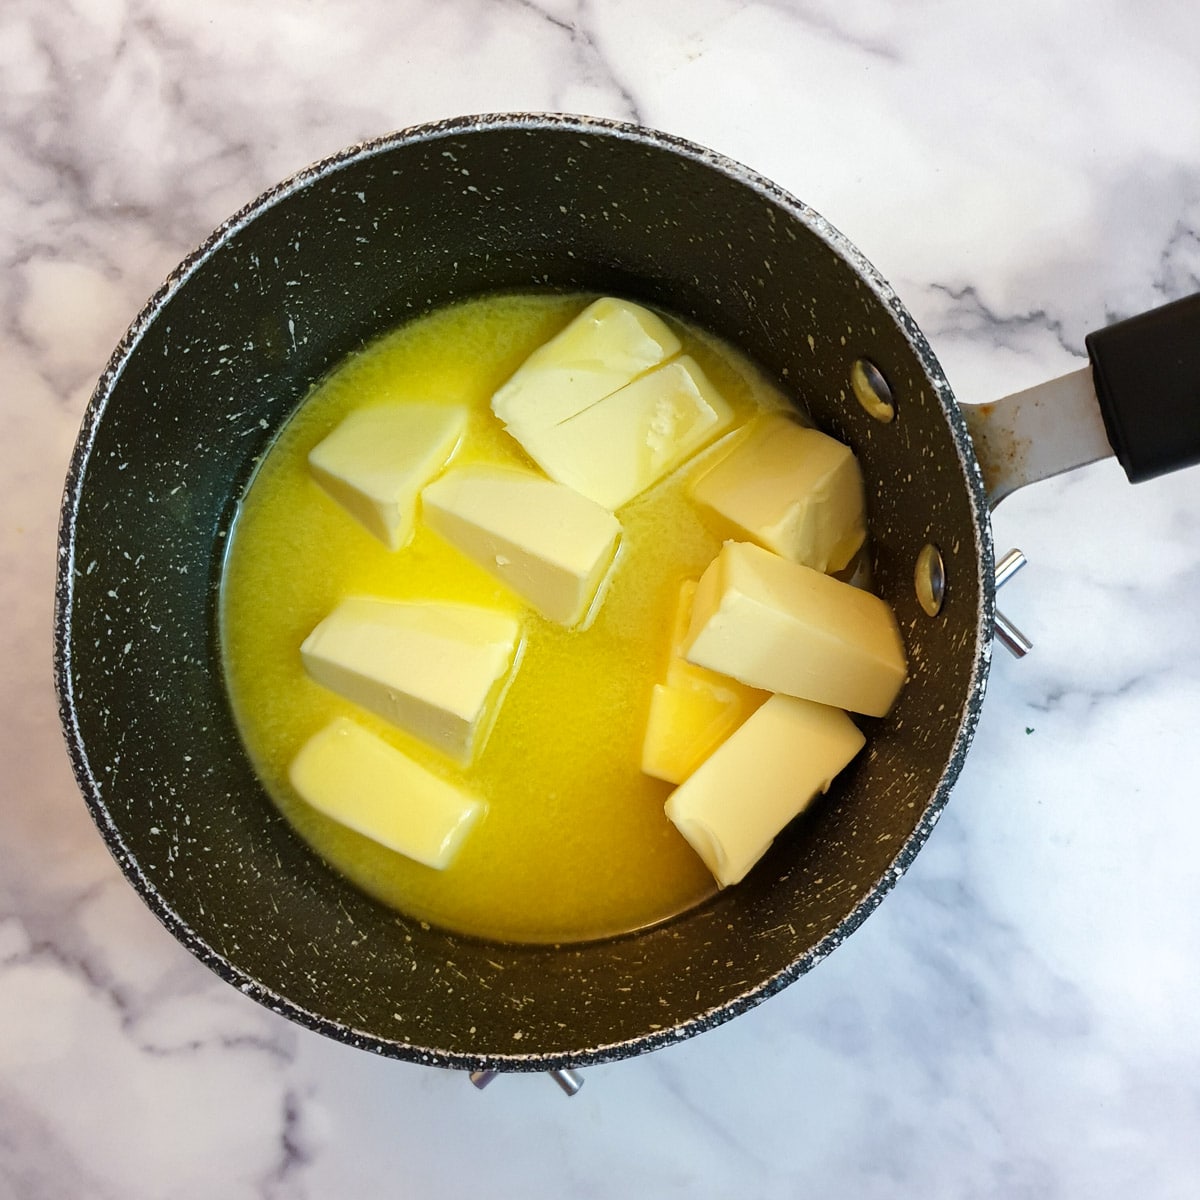
Place the cubed butter into a saucepan and melt it gently over low to moderate heat. Keep the heat low so that the ghee does not burn.
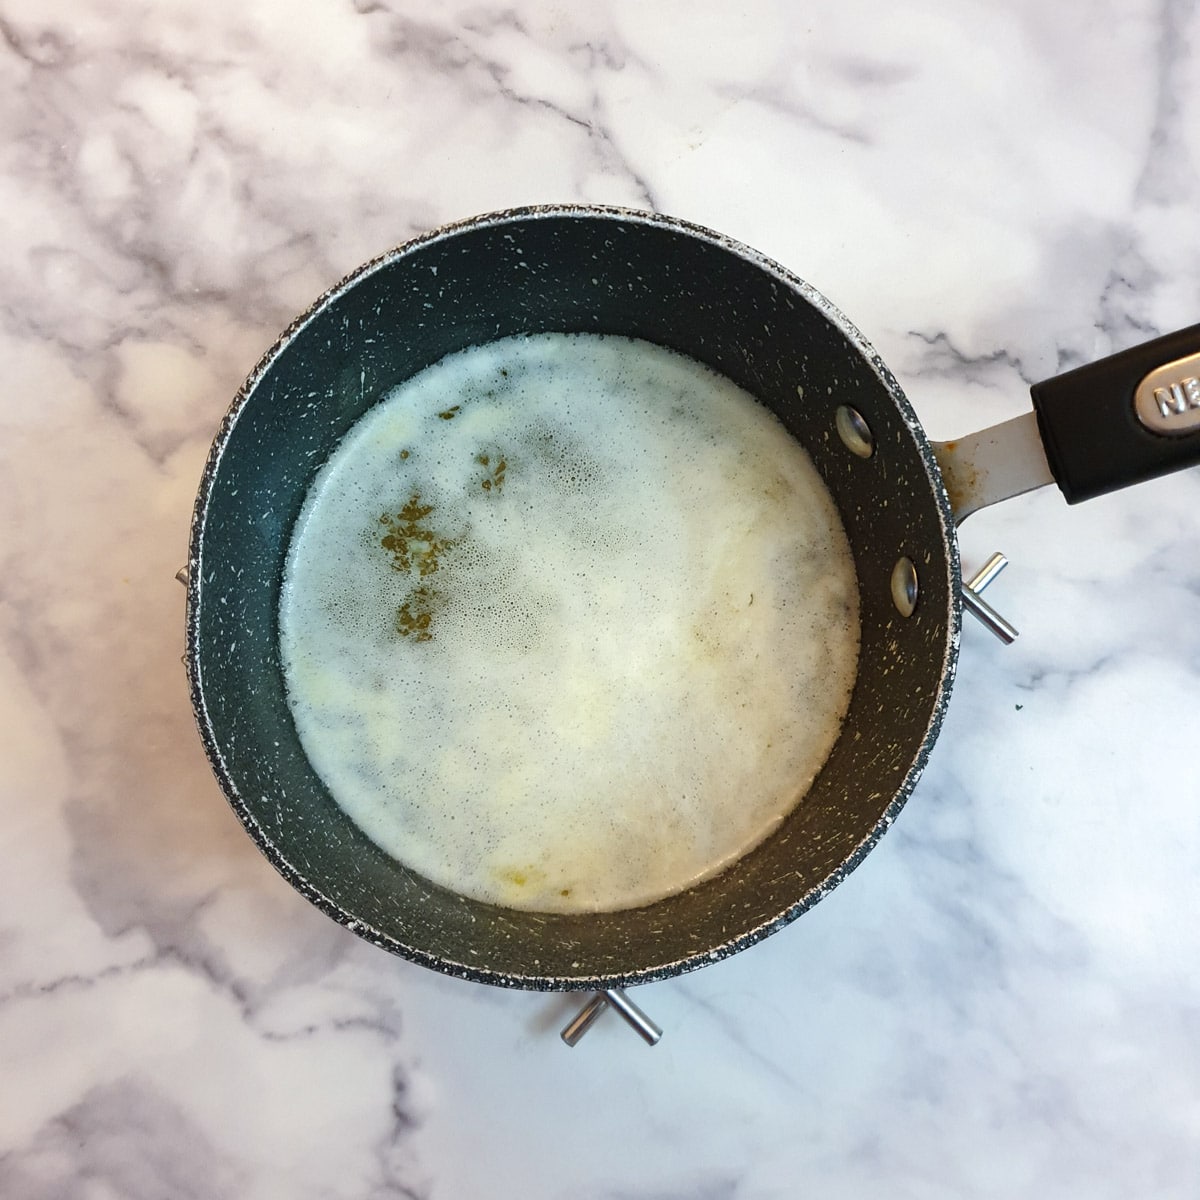
As the butter melts and begins to boil, it will start to form a scum on top. These are the milk solids that separate from the butter fat.
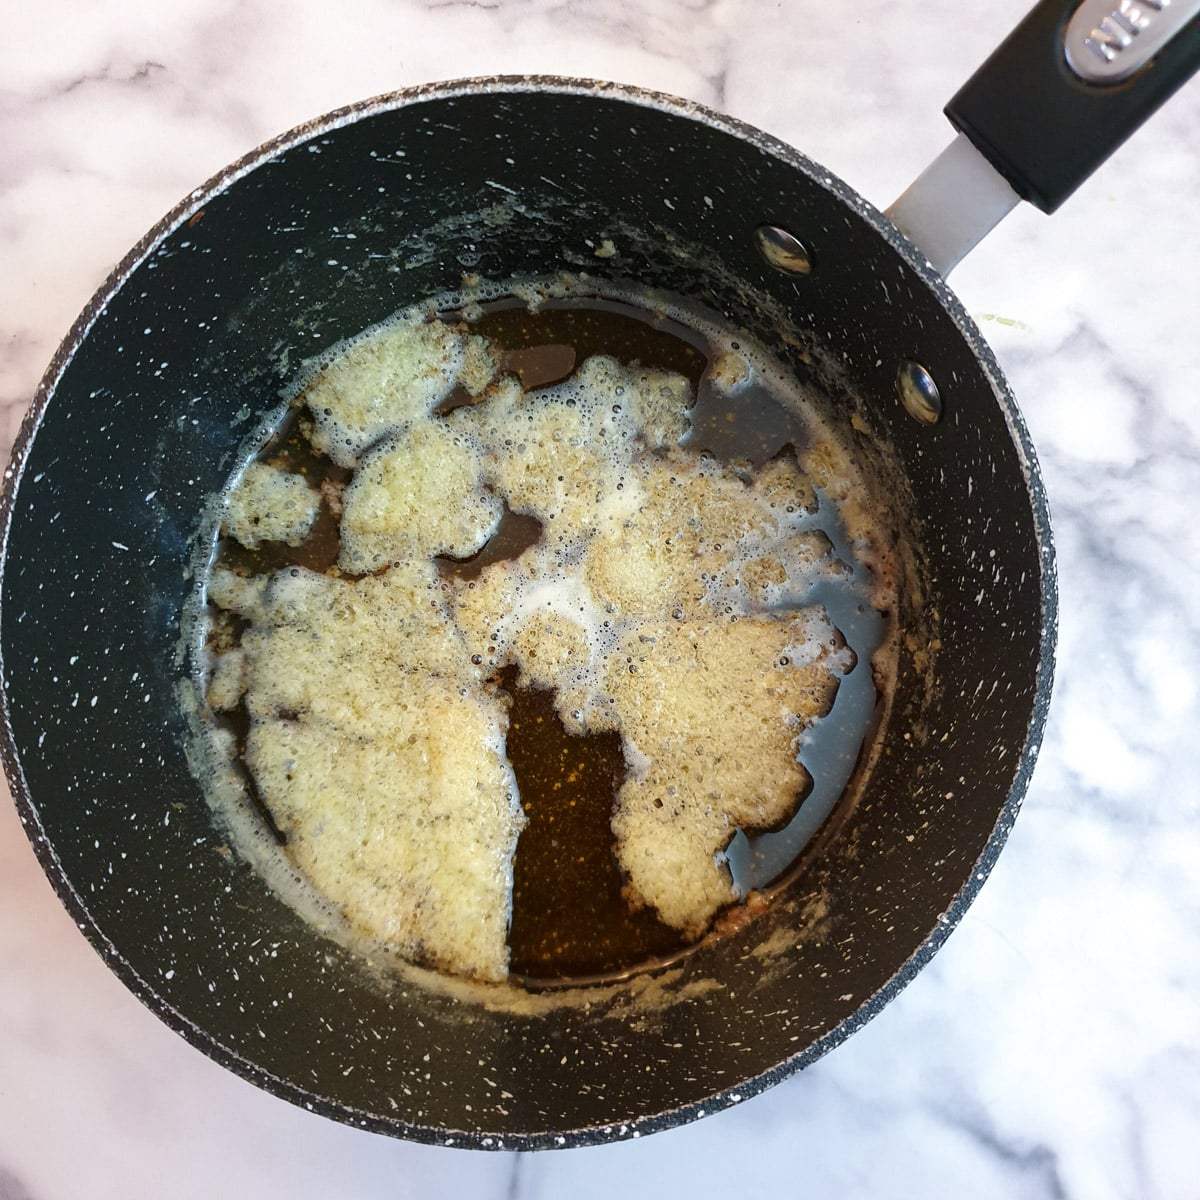
Allow the butter to simmer on very low heat for 20 to 25 minutes. After this time, the milk solids will have totally separated from the butter and will have turned slightly brown. It is this browning process that adds the nutty caramel flavour to the ghee.
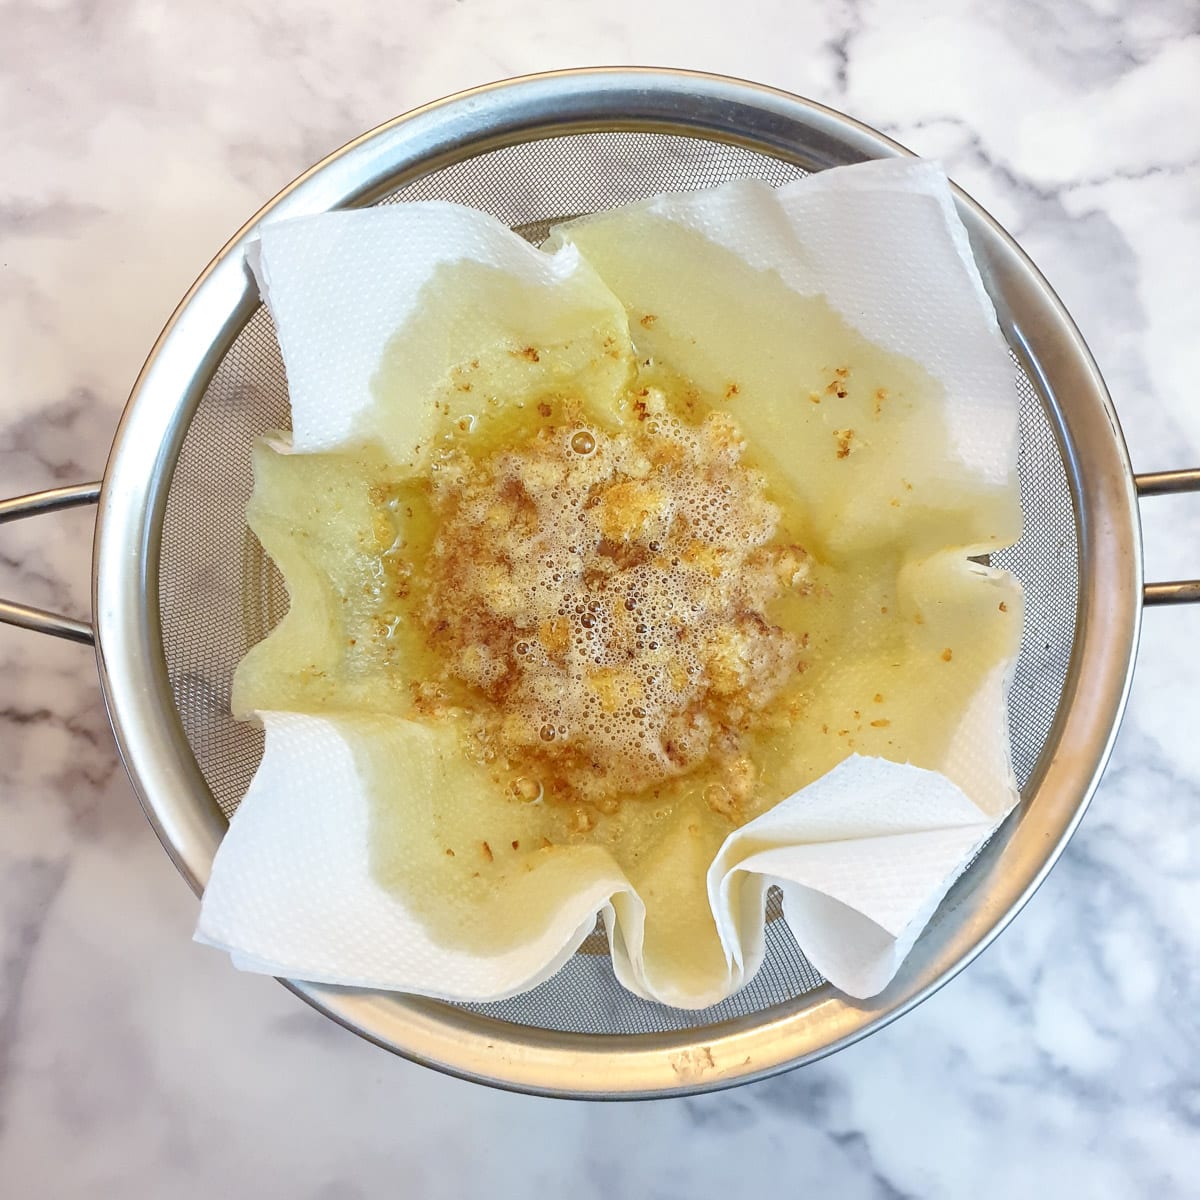
Remove the pan from the heat and allow it to cool for a few minutes. Pour the ghee into a bowl through a metal sieve lined with 2 or 3 layers of kitchen paper towel.
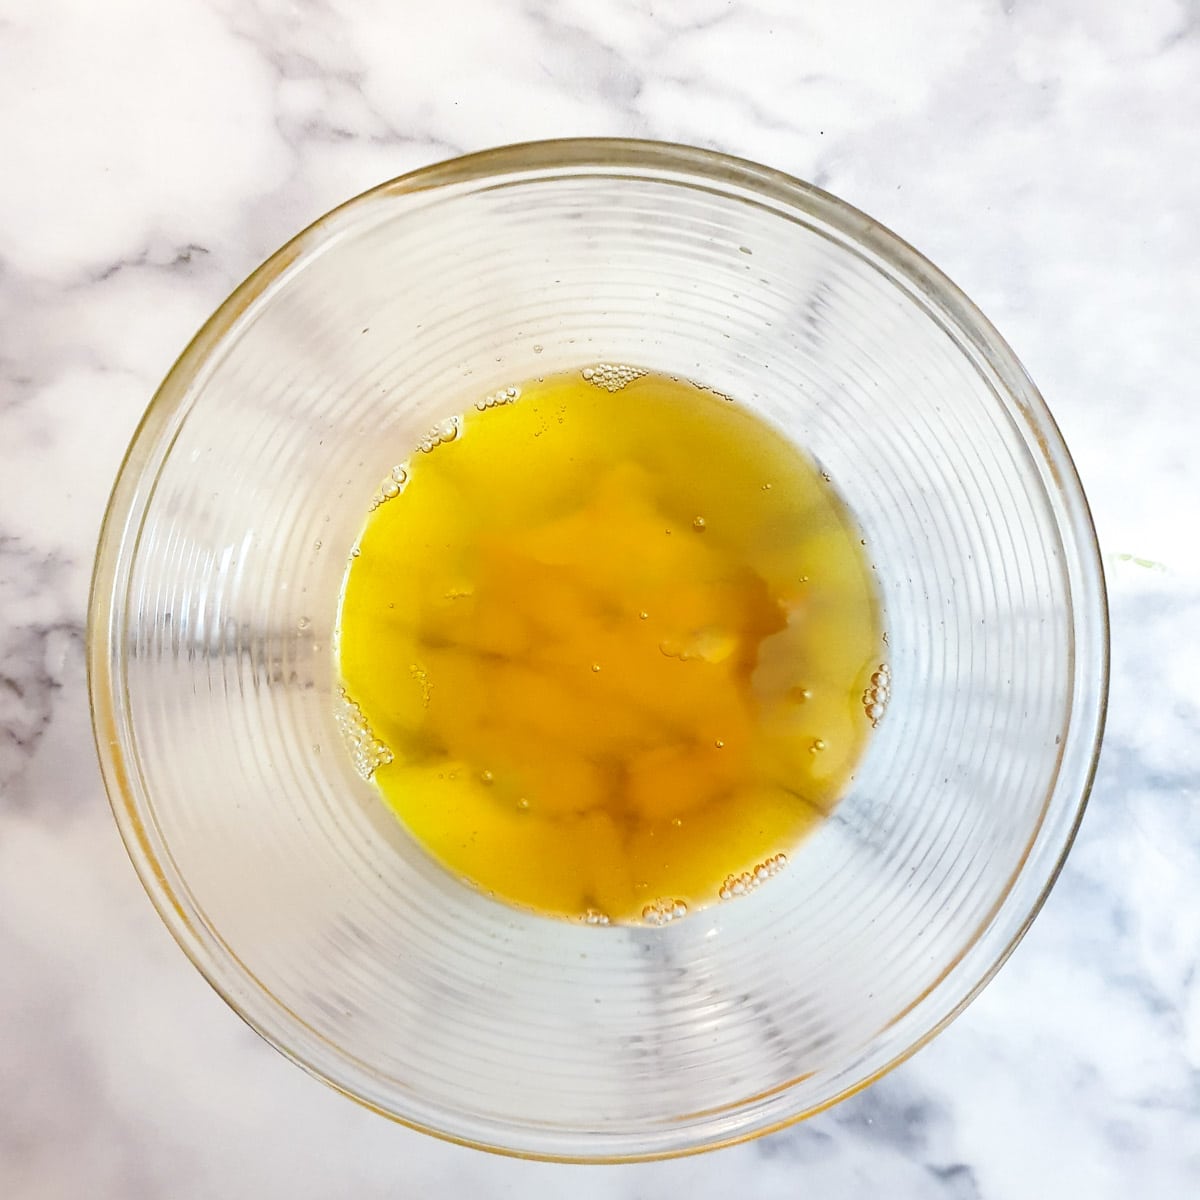
You will be left with a clear yellow liquid that will solidify as it cools. Some people call this 'liquid gold' because of the amazing taste it adds to food.
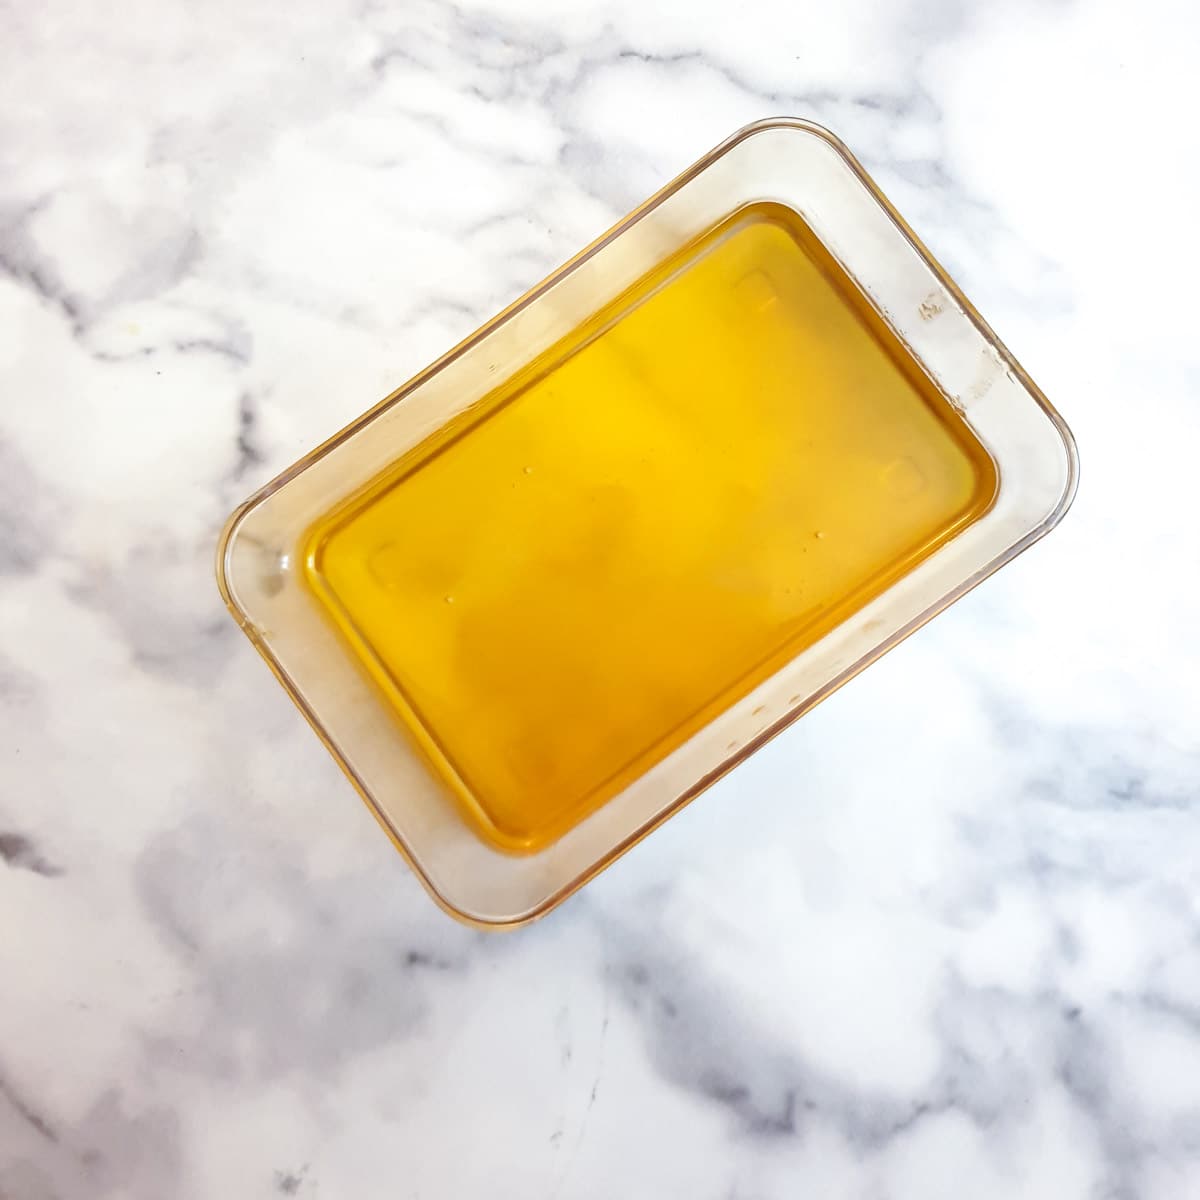
I normally transfer the ghee into a glass bowl with a lid so I can store it in the refrigerator.
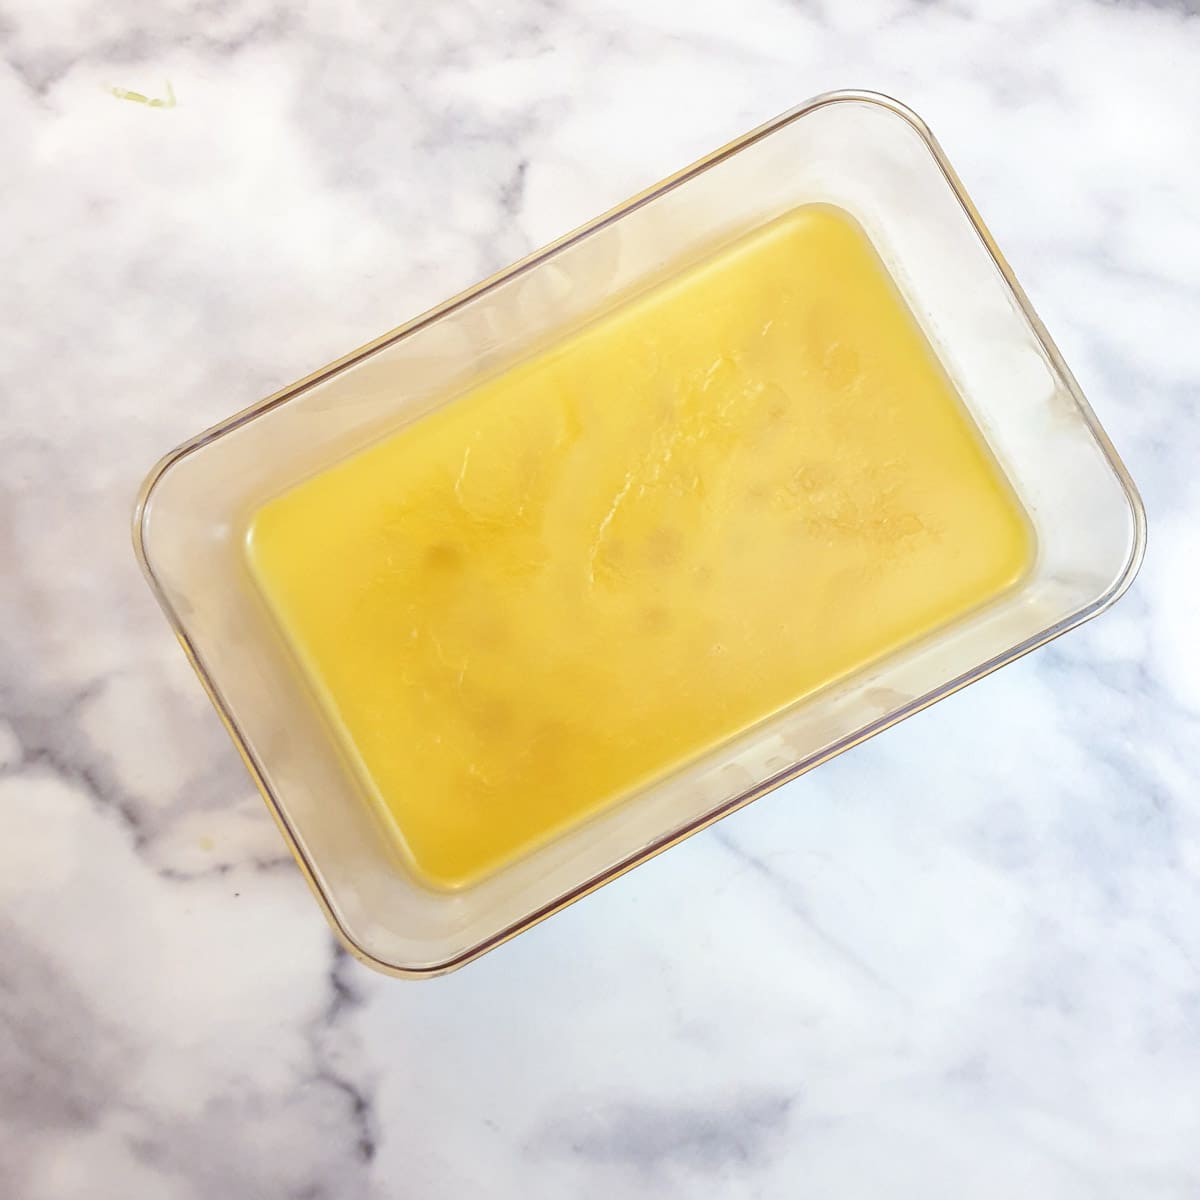
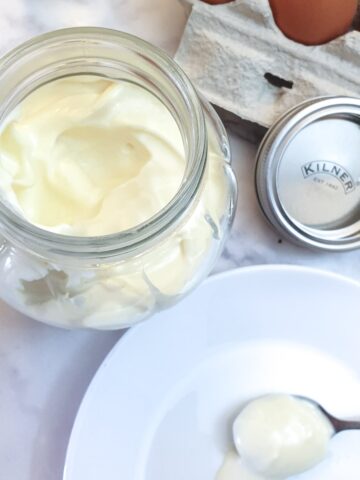
This is what it looks like when cooled. It will have the texture of soft butter.
Tips for making ghee
Here are some tips you may find useful:
- When melting the butter keep the heat to very low. You want the milk solids to separate from the fat, but not burn.
- Do let the butter simmer for at least 20 minutes to ensure all the water has evaporated.
- You will hear a crackling noise as the ghee is cooking. This is the water content sizzling as it evaporates. Once the crackling sound stops you will know the ghee is ready. My 225-gram pack of butter took just over 20 minutes to get to this stage. If your butter has a higher water content it may take slightly longer.
- You can strain the butter either through a metal sieve lined with paper towel, use a piece of muslin or cheesecloth or even pour it through a coffee filter (although a coffee filter will take longer to strain).
Variations
I prefer to leave my ghee plain, which means I can use it in whatever dishes I choose. However, you could alter the flavour by adding the following (depending on what you are going to be using it for). Any additions will be removed when the butter is strained, leaving just their flavour behind.
- Hot - add chilli pepper flakes or a finely chopped chilli to the butter so that the ghee can pick up the heat.
- Herby - add your choice of chopped herbs such as rosemary, thyme or basil (great if you are going to be drizzling melted ghee onto a pizza!
- Spicy - add your choice of spices such as cardamon, cumin or coriander seeds.
- Fruity - if you intend to use the ghee for making pastry or a fruity sauce, you could add citrus zest or honey with the butter.
Storage
Because all the milk solids have been removed, the ghee can be stored in your pantry without going rancid. I prefer to store mine in the refrigerator, where it will stay usable for up to a year.
FAQ
Ghee has a much higher smoke point (240C/465F) than butter (175C/350F) making it ideal for frying meat and vegetables without burning.
It is also shelf-stable for longer than butter because the milk solids that cause butter to turn rancid have been removed.
Ghee is similar to clarified butter in that both ghee and clarified butter have their milk solids removed. The difference is that ghee is cooked for longer, which gives a more intense nutty flavour.
Ghee is also of Asian origin whereas clarified butter originated in French cuisine.
Save for later
If you would like to make ghee yourself, why not save the recipe to one of your Pinterest boards so you can find it easily? Just click on the image below.
Alternatively, you can save the recipe by clicking on the floating heart icon on the right-hand side of the screen.
Related
For these and other handy ideas, why not browse through my how-to guides?
📋The recipe
How to make ghee
(Click the stars to rate this recipe)
Ingredients
- 8 ounces / 225 gram unsalted butter
Instructions
- Cut the butter into 1 to 2-inch cubes.8 ounces / 225 gram unsalted butter
- Place the cubed butter into a saucepan and melt it gently over low to moderate heat. Keep the heat low so that the ghee does not burn.
- As the butter melts and begins to boil, it will start to form a scum on top. This is the milk solids that are separating from the butter fat.
- Allow the butter to simmer on very low heat for 20 to 25 minutes. After this time, the milk solids will have totally separated from the butter and will have turned slightly brown. It is this browning process that adds the nutty caramel flavour to the ghee.
- Remove the pan from the heat and allow it to cool for a few minutes. Pour the ghee into a bowl through a metal sieve lined with 2 or 3 layers of kitchen paper towel.
- I normally transfer the ghee into a glass bowl with a lid so I can store it in the refrigerator.
Notes
- When melting the butter keep the heat to very low. You want the milk solids to separate from the fat, but not burn.
- Do let the ghee simmer for at least 20 minutes to ensure all the water has evaporated.
- You will hear a crackling noise as the ghee is cooking. This is the water content sizzling as it evaporates. Once the crackling sound stops you will know the ghee is ready. My 225-gram pack of butter took just over 20 minutes to get to this stage. If your butter has a higher water content it may take slightly longer.
- You can strain the ghee either through a metal sieve lined with paper towel, use a piece of muslin or cheesecloth or even pour it through a coffee filter (although a coffee filter will take longer for the ghee to run through).
Nutrition
I am not a nutritionist. The nutrition information has been calculated using an on-line calculator, and is intended for information and guidance purposes only. If the nutrition information is important to you, you should consider calculating it yourself, using your preferred tool.
If you made this recipe and enjoyed it, I'd love it if you could give me a star rating in the comments below. And if you'd like to get in touch, you can email me at [email protected]. I'd love to hear from you. And don't forget to subscribe to my mailing list so you can grab yourself a copy of my FREE COOKBOOK!
If you'd like to continue browsing, just click on this link to all my recipes.















Did you make this recipe? Let me know!