This luscious and creamy no-bake pineapple fridge tart is guaranteed to satisfy your sweet cravings. With just 5 simple ingredients and 15 minutes of your time, this recipe is quick and easy to make. Trust me, once you try it for yourself you'll be hooked on the irresistible taste of this tangy pineapple dessert!
Jump to:
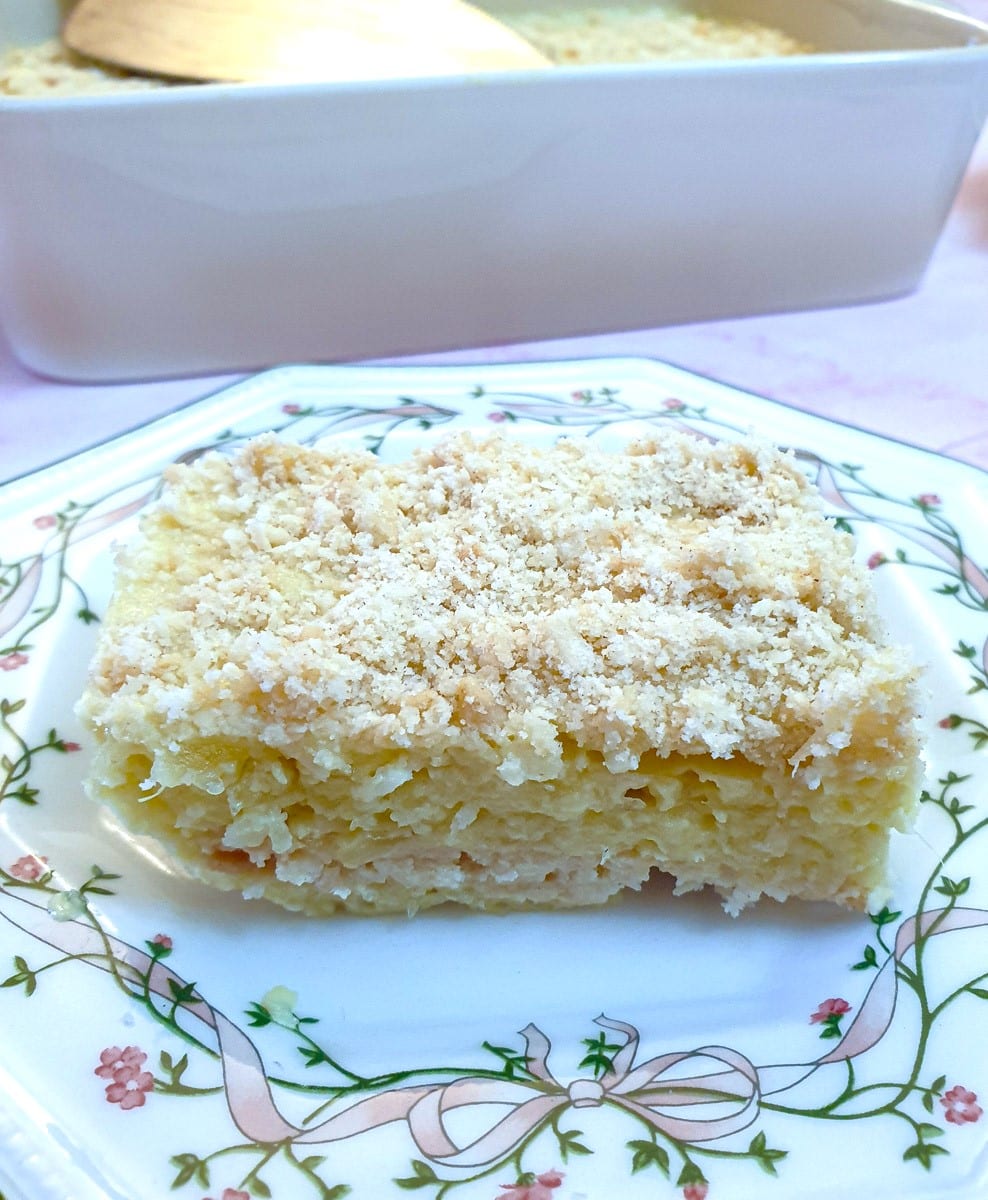
No-bake pineapple fridge tart
Why not indulge yourself in one of my all-time favourite desserts - a no-bake pineapple fridge tart? This recipe has been a family favourite for years and is perfect for those of you looking for a light and refreshing chilled dessert. The mouthwatering combination of flavours and textures will leave you and your family craving more. So why not give it a try and see why this recipe has stood the test of time?
Despite its creamy texture, this pineapple fridge tart recipe doesn't contain any cream. Instead, the filling is prepared by whipping evaporated milk until it thickens. This is combined with layers of fruit and crispy coconut-flavoured biscuits (or cookies). And with only 113 calories per slice, you can be excused for taking an extra helping.
If you want to reduce the calories even further you can leave out the biscuits and spoon the filling into individual glasses. It will thicken and set in the fridge, a bit like a mousse. The calories would drop to only 48, making this the ideal dessert for those of you who are on a diet.
It's a versatile recipe too. I've used pineapples, which provide a lovely tangy flavour. But you could use any canned fruit of your choice. I've tried it with canned pears and or peaches, which work really well. And if you would like a more exotic flavour, why not use a can of lychees?
Apart from dissolving a packet of jelly in the pineapple juice in a saucepan, there is absolutely no cooking involved. Just mix, assemble and leave in the fridge for a few hours to set.
South African fridge tarts
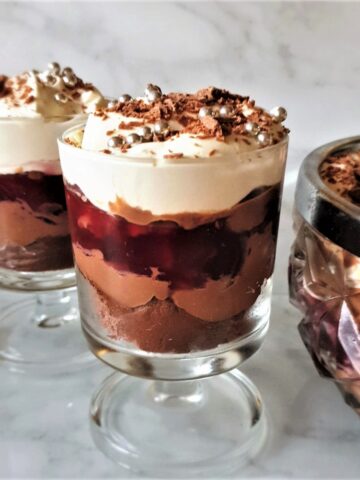
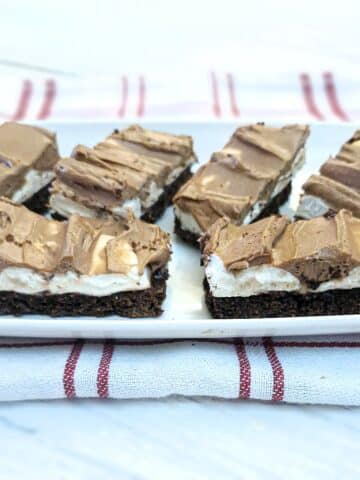
South Africa is well known for its fridge tarts, the most iconic of which is a peppermint crisp fridge tart, which is a decadent, gooey dessert, made with condensed milk and peppermint chocolate. I defy anyone to have more than one slice.
I much prefer the lighter fridge tarts though, such as this pineapple fridge tart that I am sharing today and this citrus cheesecake. Contrary to its name, the citrus cheesecake does not contain any cheese. Instead, it gets its fresh tangy taste from Greek yoghurt.
What you will need
Equipment
- Small saucepan for melting the jelly with the pineapple juice.
- Mixing bowl for mixing up the filling.
- If you have one, a food processor for chopping up the pineapple, or you can chop up the pineapple with a sharp knife instead.
- For whisking the evaporated milk you will need a whisk or electric hand mixer.
- 2 - 8.5 " x 7" dishes for assembling the tart.
Ingredients
**You can find the complete list of ingredients and full instructions for making this pineapple fridge tart on the printable recipe card at the end of this post**
This recipe will make 2 tarts, both approximately 10" by 8" in size.
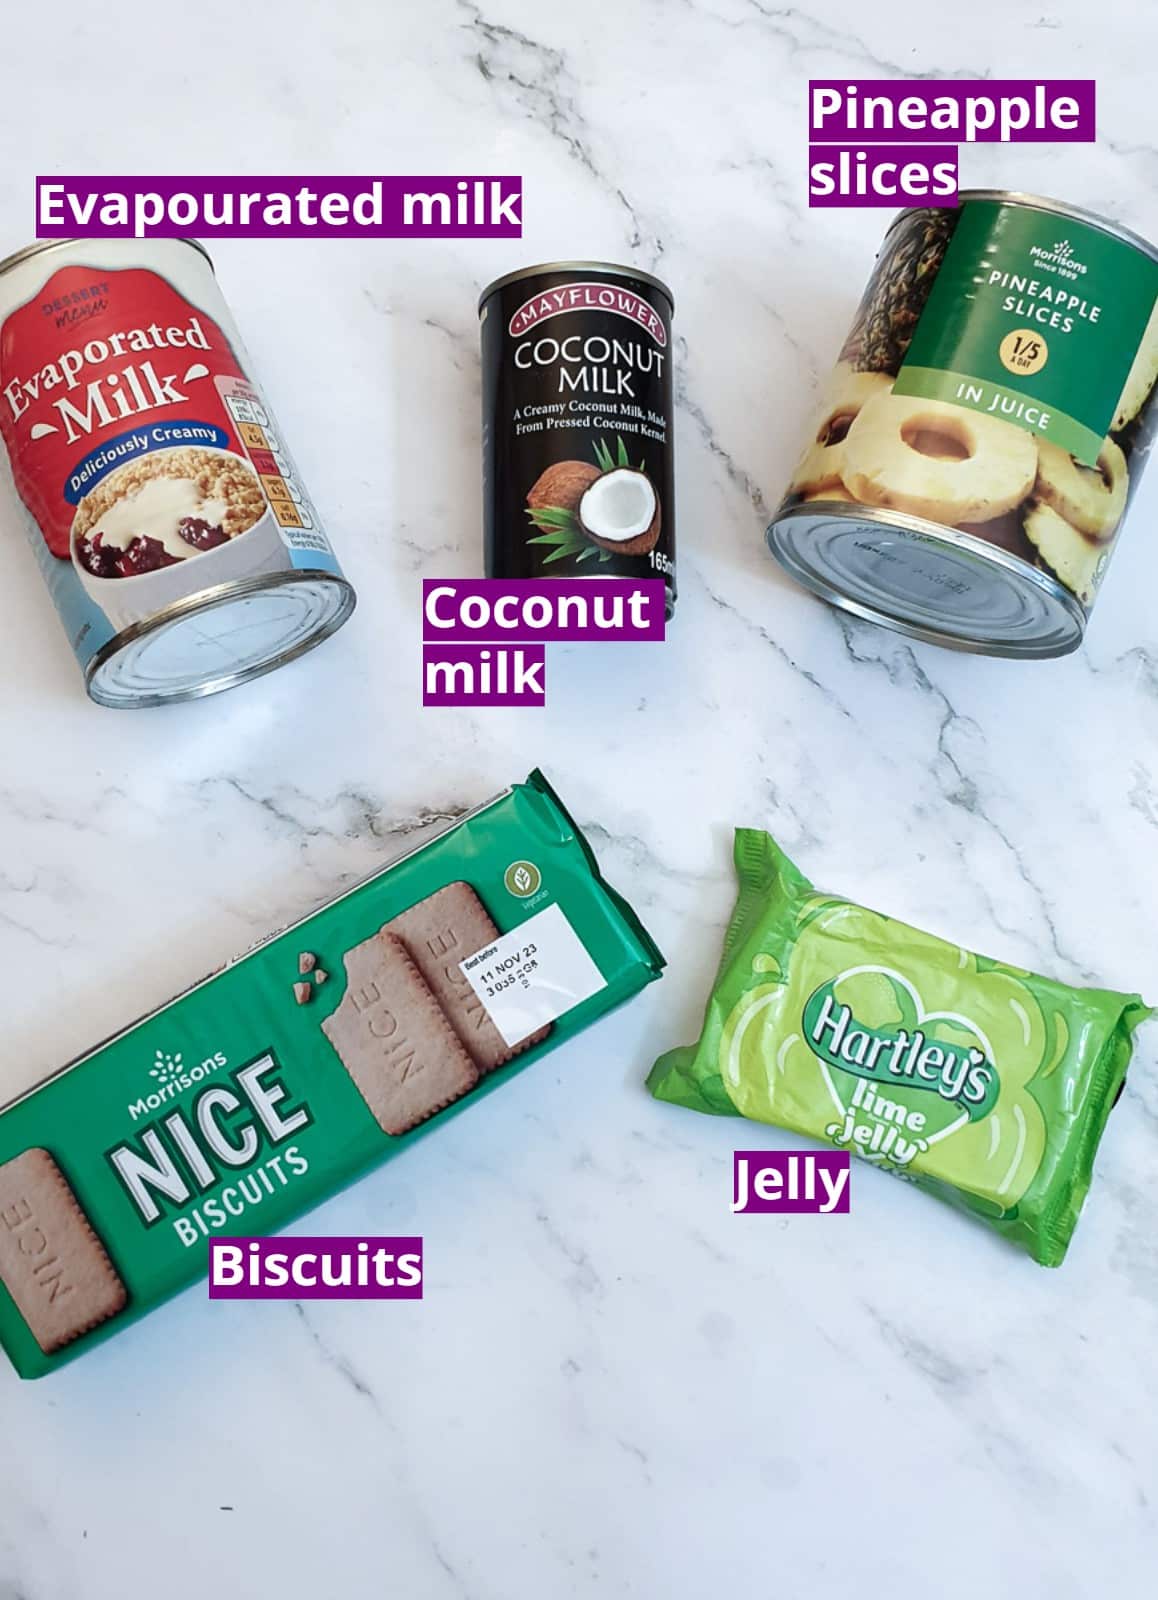
You will only need 5 ingredients :
- Flavoured jelly (or jello if you live in the US). I've used lime flavour because I wanted to enhance the tropical flavour, but a lemon or pineapple flavour would work just as well. You can use the gelatine type of jelly, as I've used here, or you can use jelly crystals.
- A can of pineapple slices (or other fruit of your choice). The fruit gets chopped finely in a food processor.
- Evaporated milk (NOT the sweeter condensed milk). Evaporated milk is simply milk that has been heated until half of the water content has been removed.
- Coconut milk - this is optional but I like to add an extra coconut flavour to the tart. For an even stronger coconut taste, you could add one or two tablespoons of desiccated coconut.
- Nice biscuits (or if you live in the US, Graham crackers). The original version of this dessert uses a South African biscuit/cookie called Tennis biscuits which are thin coconut/caramel-flavoured biscuits/cookies.
- The closest substitute for Tennis biscuits that I can find in the UK is Nice biscuits (they are stamped with the word NICE). For my US readers, I believe the closest substitute would be Graham crackers. However, any thin shortcake-type cookie will work. The biscuit/cookie has to be thin enough to absorb some of the filling, as this is what helps thicken the tart.
Update - one of my readers suggested using Biscoff biscuits. I think the flavour of these would be perfect.
What to do
Make the filling

Open the can of pineapple and drain the juice into a small saucepan. Add the jelly and allow it to dissolve on a low heat. Leave to cool slightly.
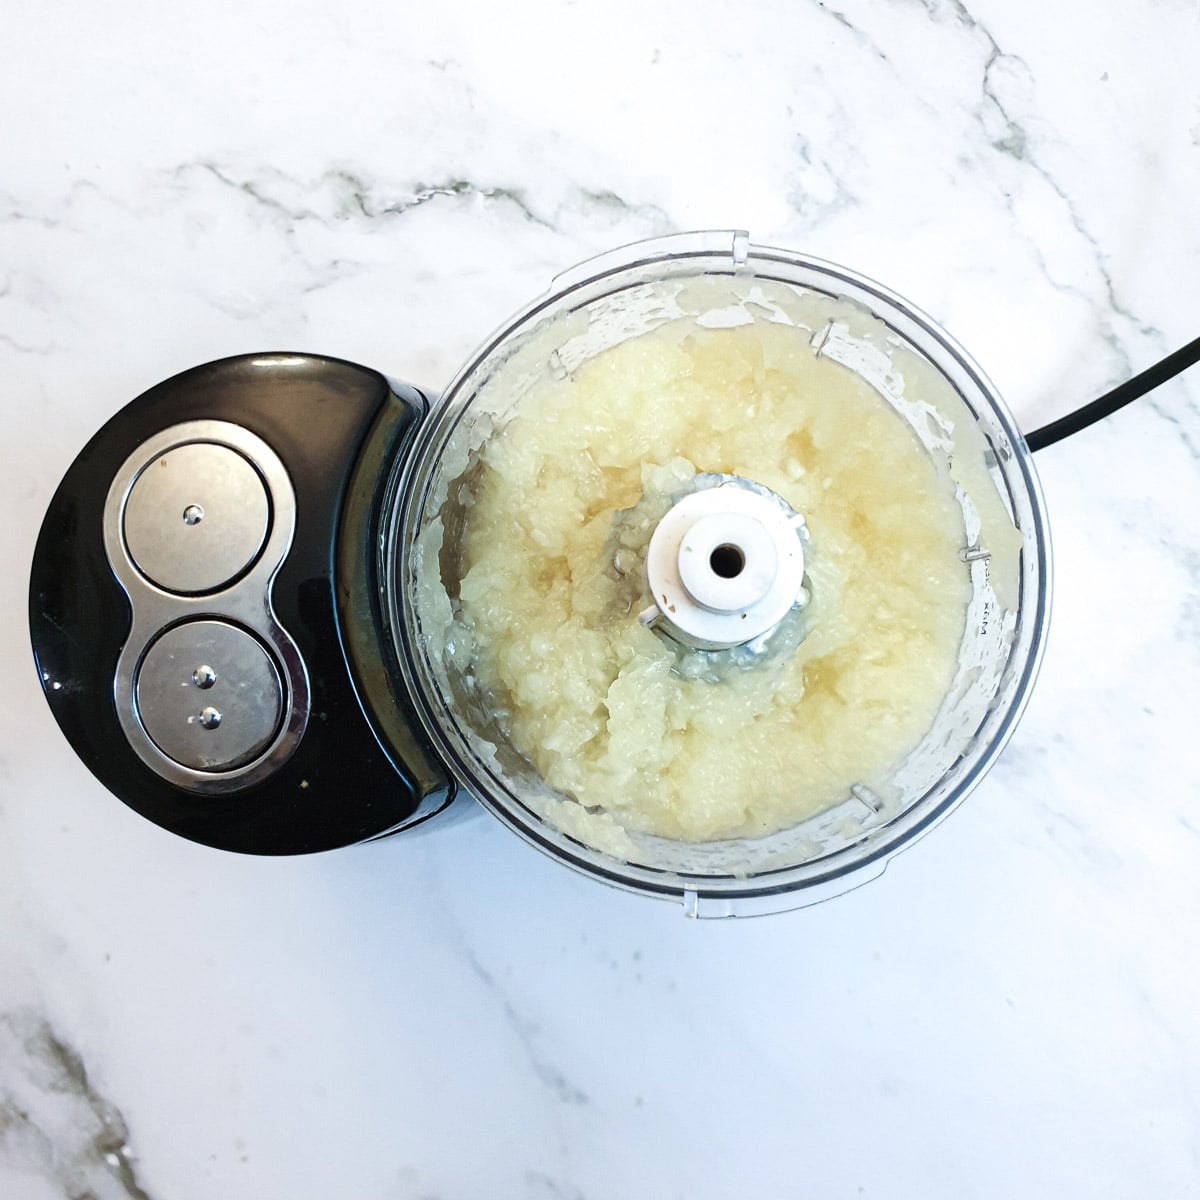
Place the pineapple pieces into a food processor and blitz until they are finely chopped. You could do this using a sharp knife if you don't have a food processor.
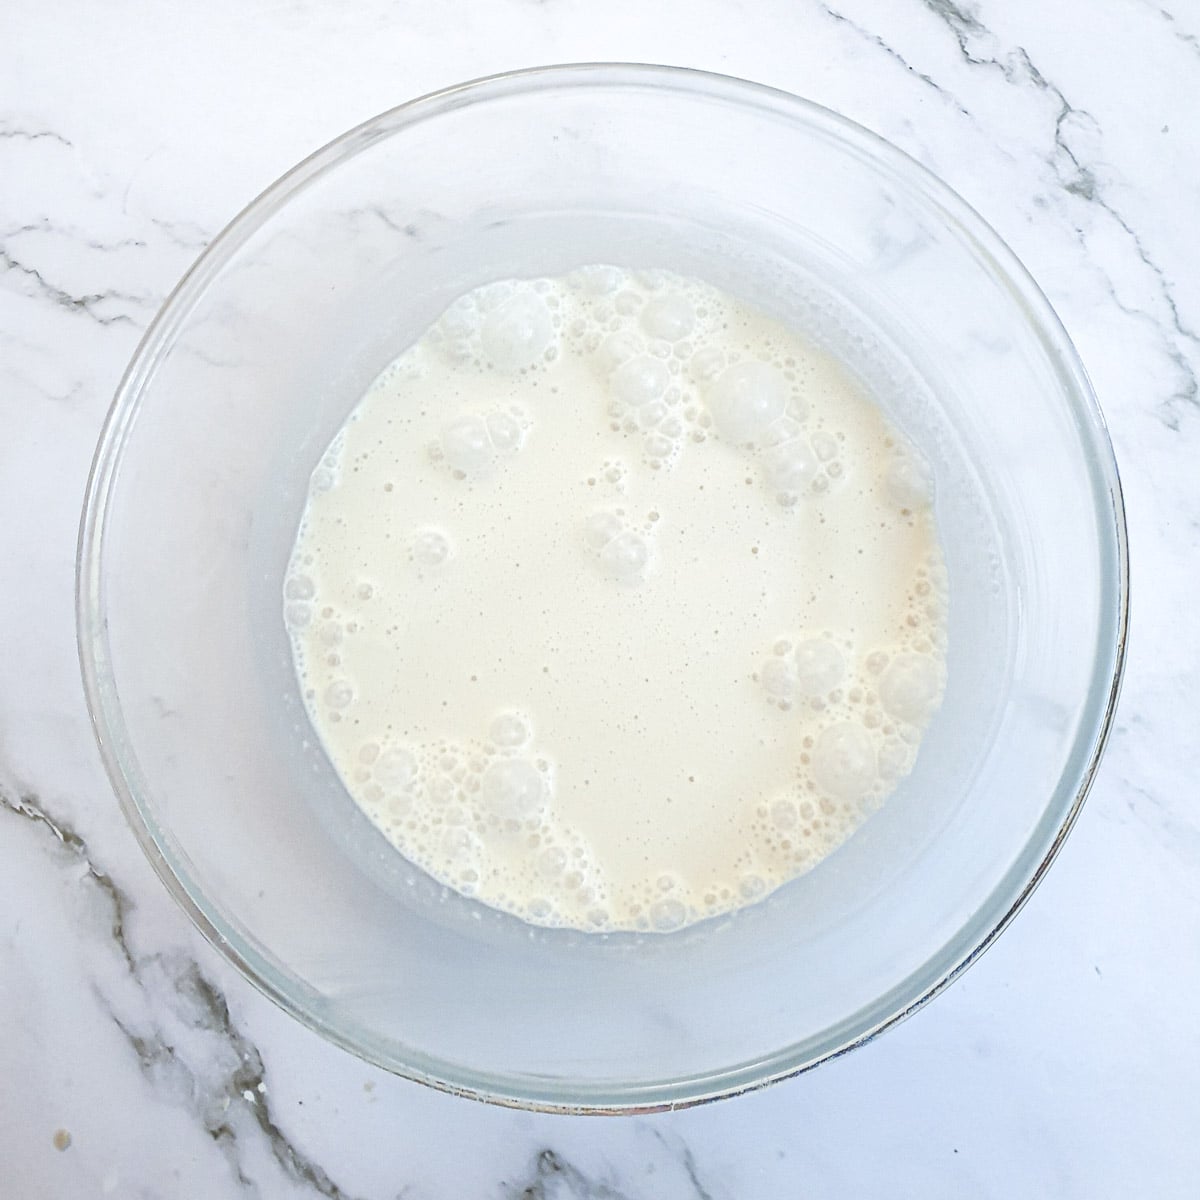
Pour the evaporated milk into a large mixing bowl and whisk with a hand mixer until it starts to thicken. If you chill the evaporated milk before using it, you will find it will thicken faster when you whisk it.
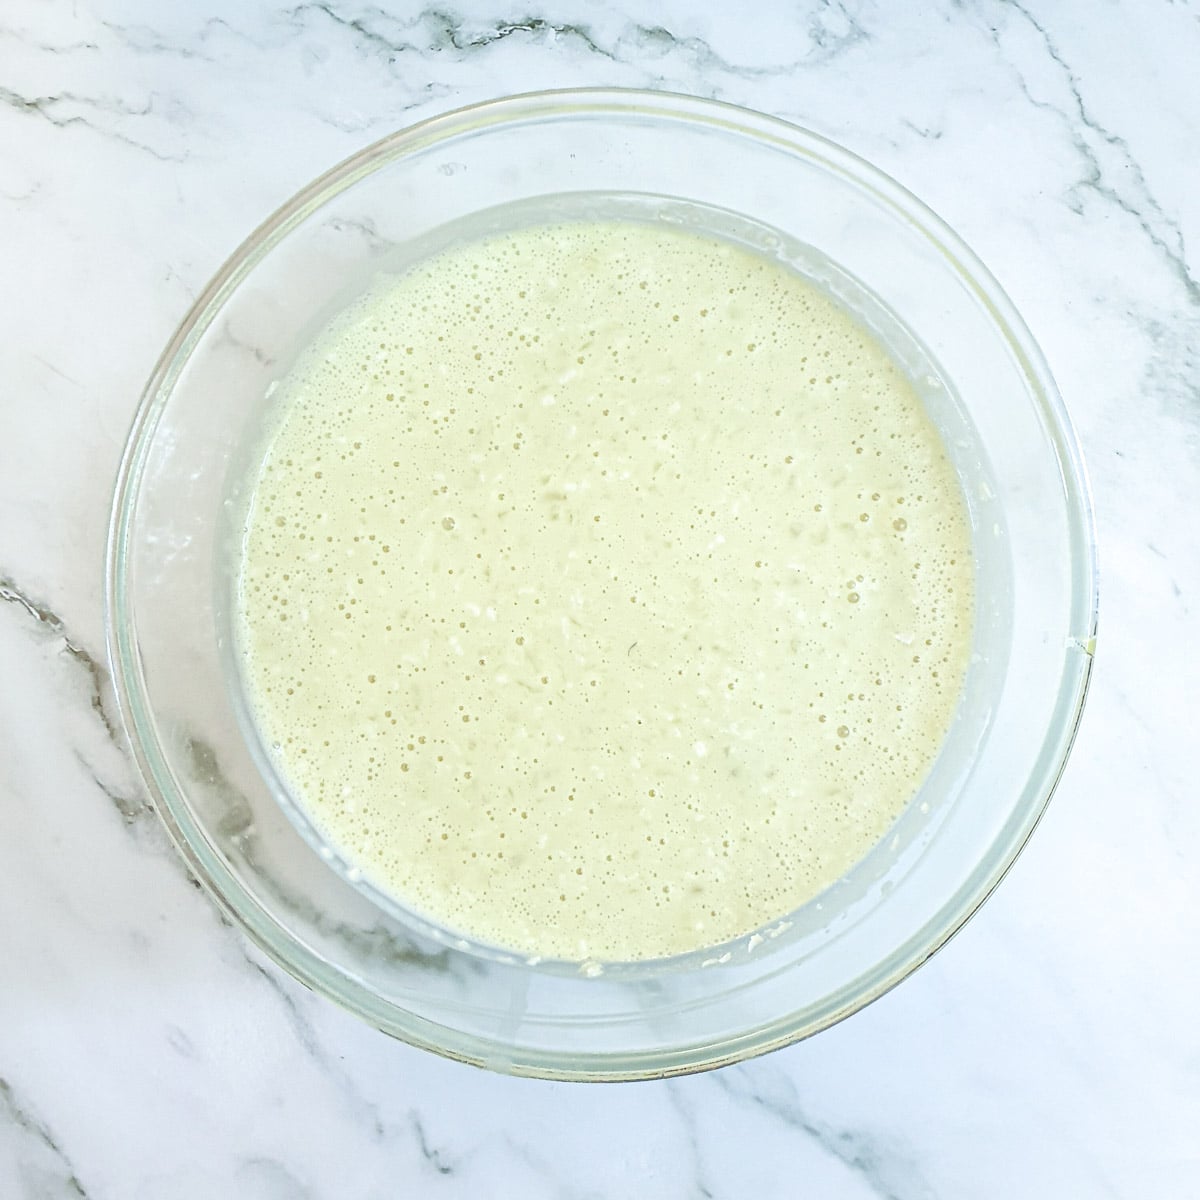
Stir the dissolved jelly and pineapple juice, the chopped pineapple and the coconut milk into the evaporated milk. If you are adding extra coconut, then you can add it at this point.
Assemble the tart
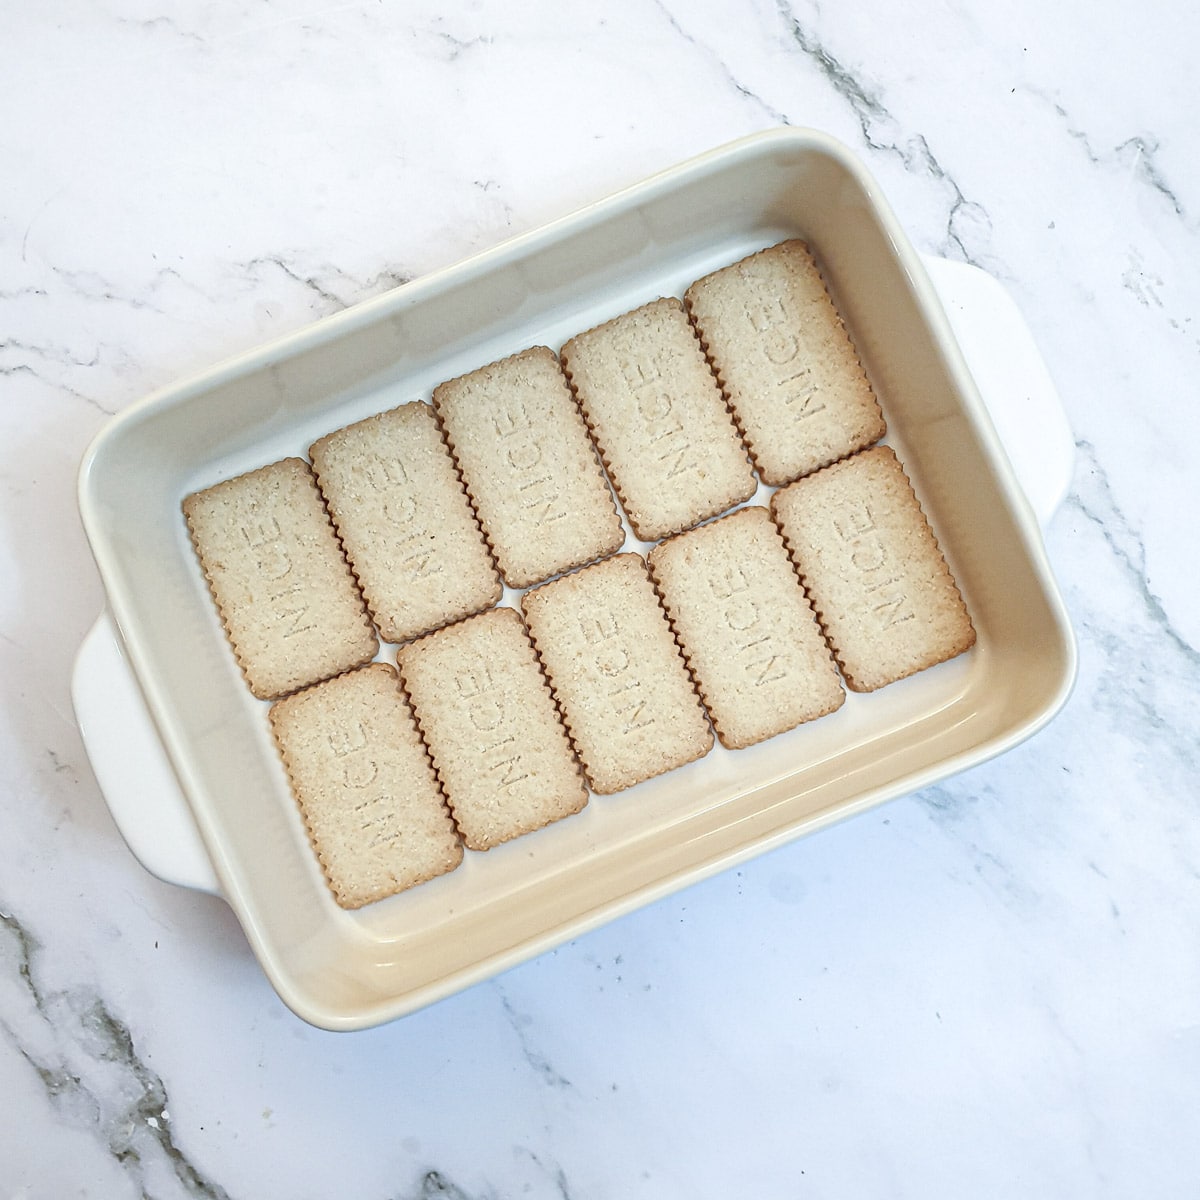
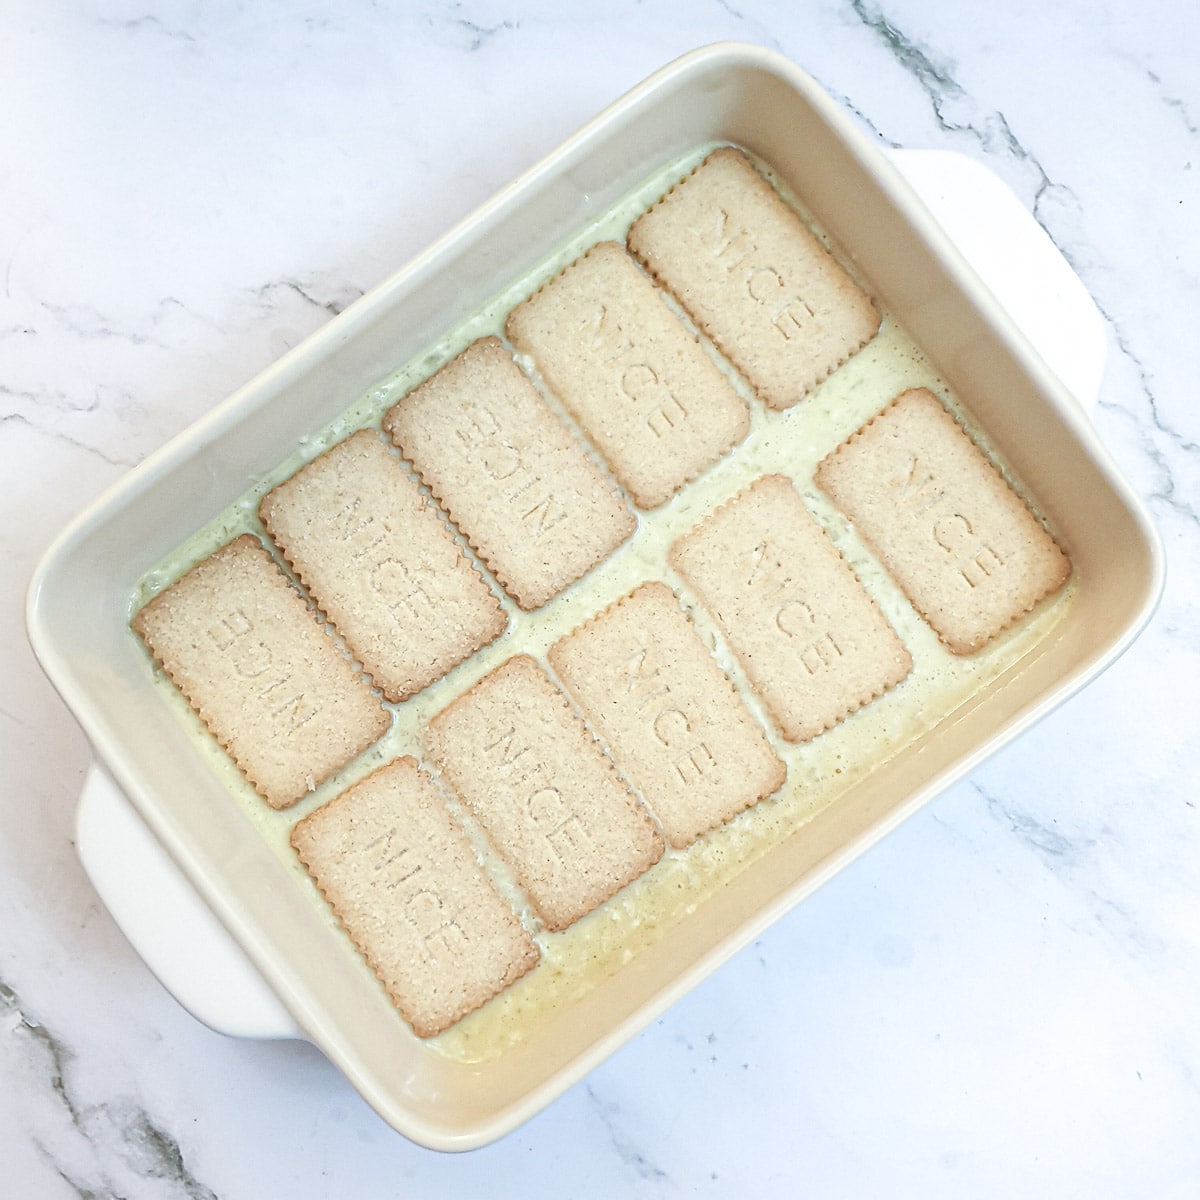
Arrange a layer of biscuits on the bottom of your dish.
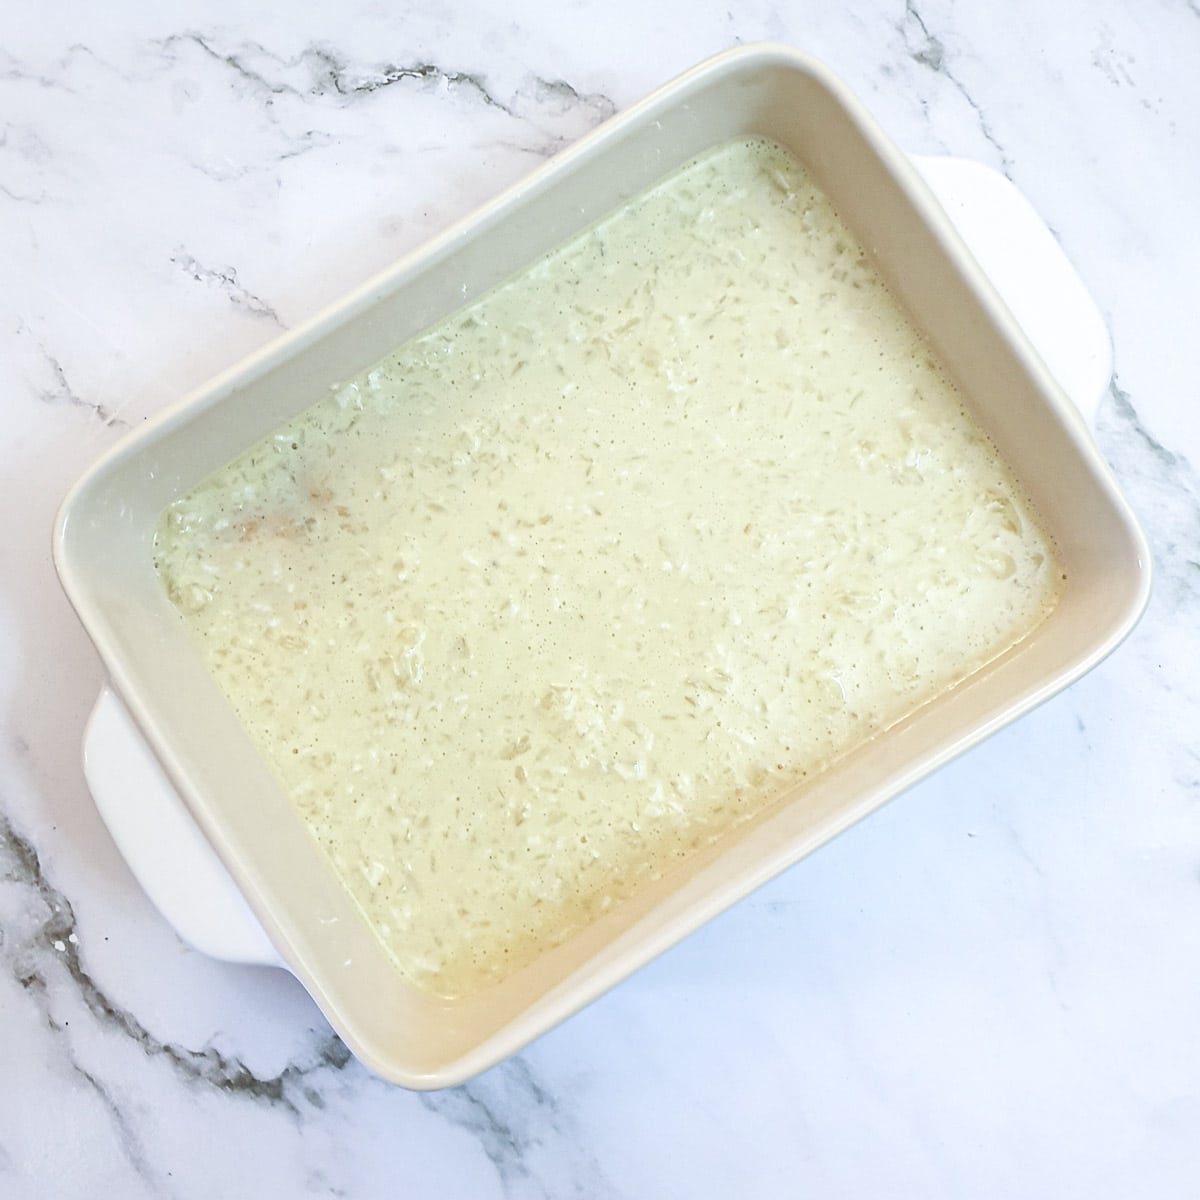
Cover with a layer of the milk and pineapple mixture.
Add a second layer of biscuits.
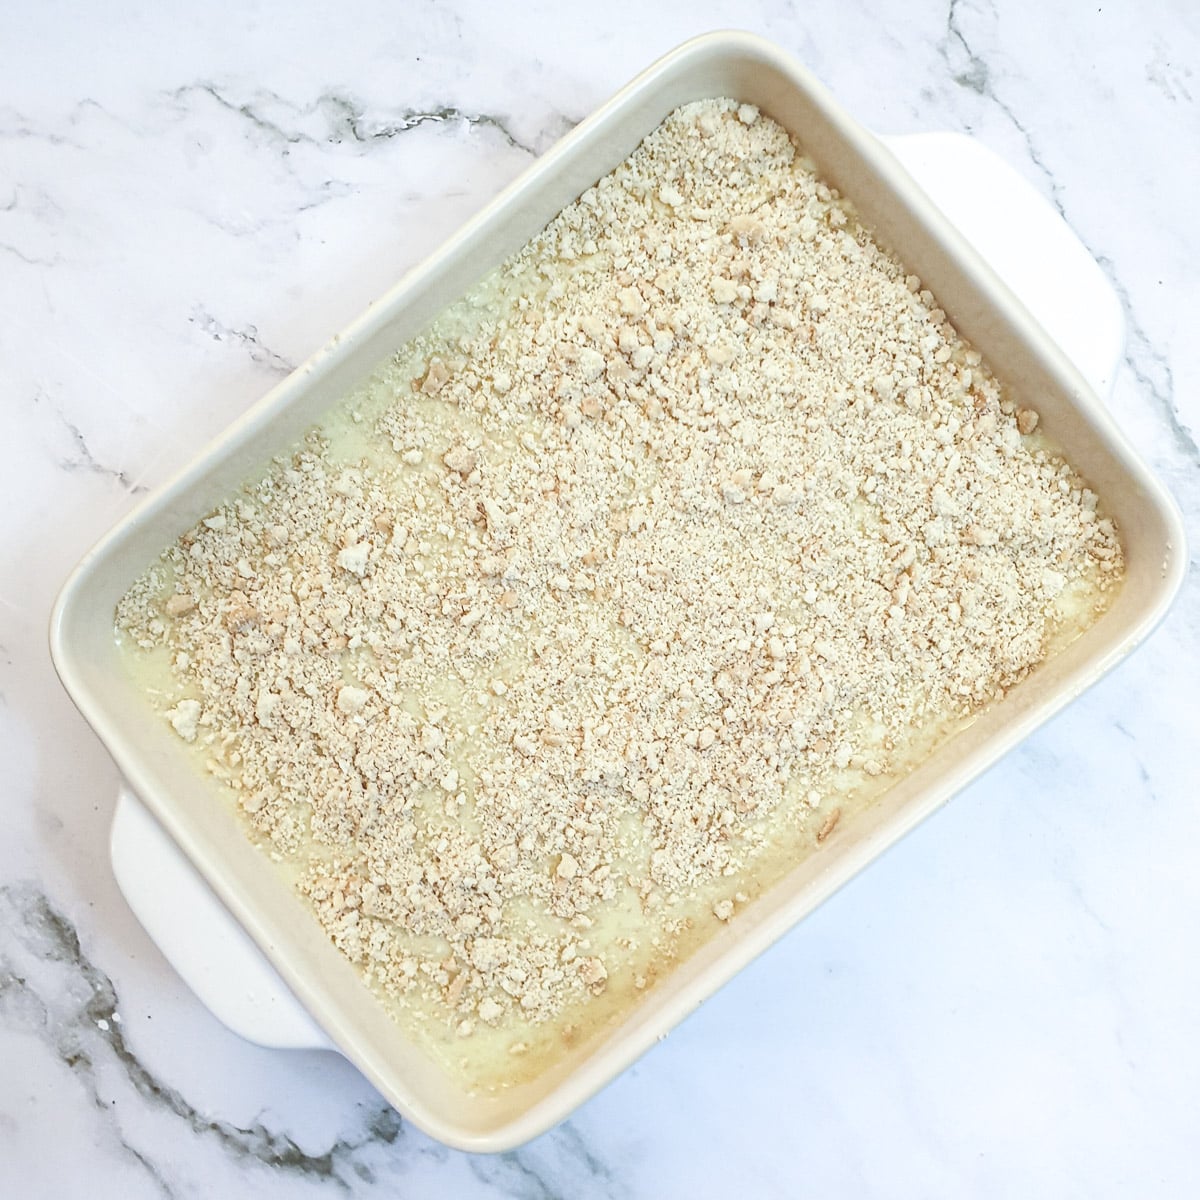
Add a final layer of milk and pineapple mixture and sprinkle with crushed biscuit crumbs.
You can crush the biscuits in a plastic bag with a rolling pin to turn them into crumbs.
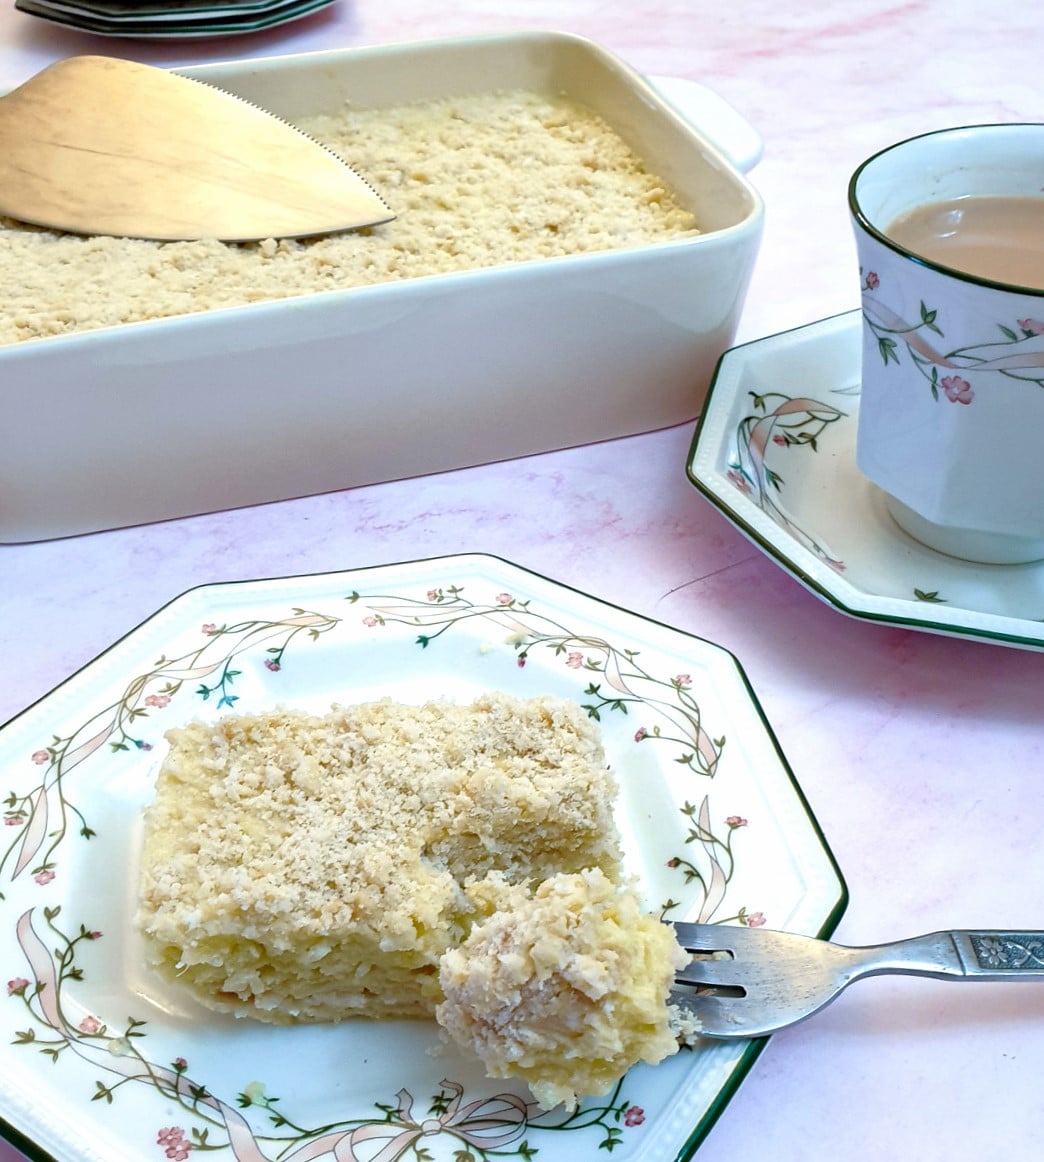
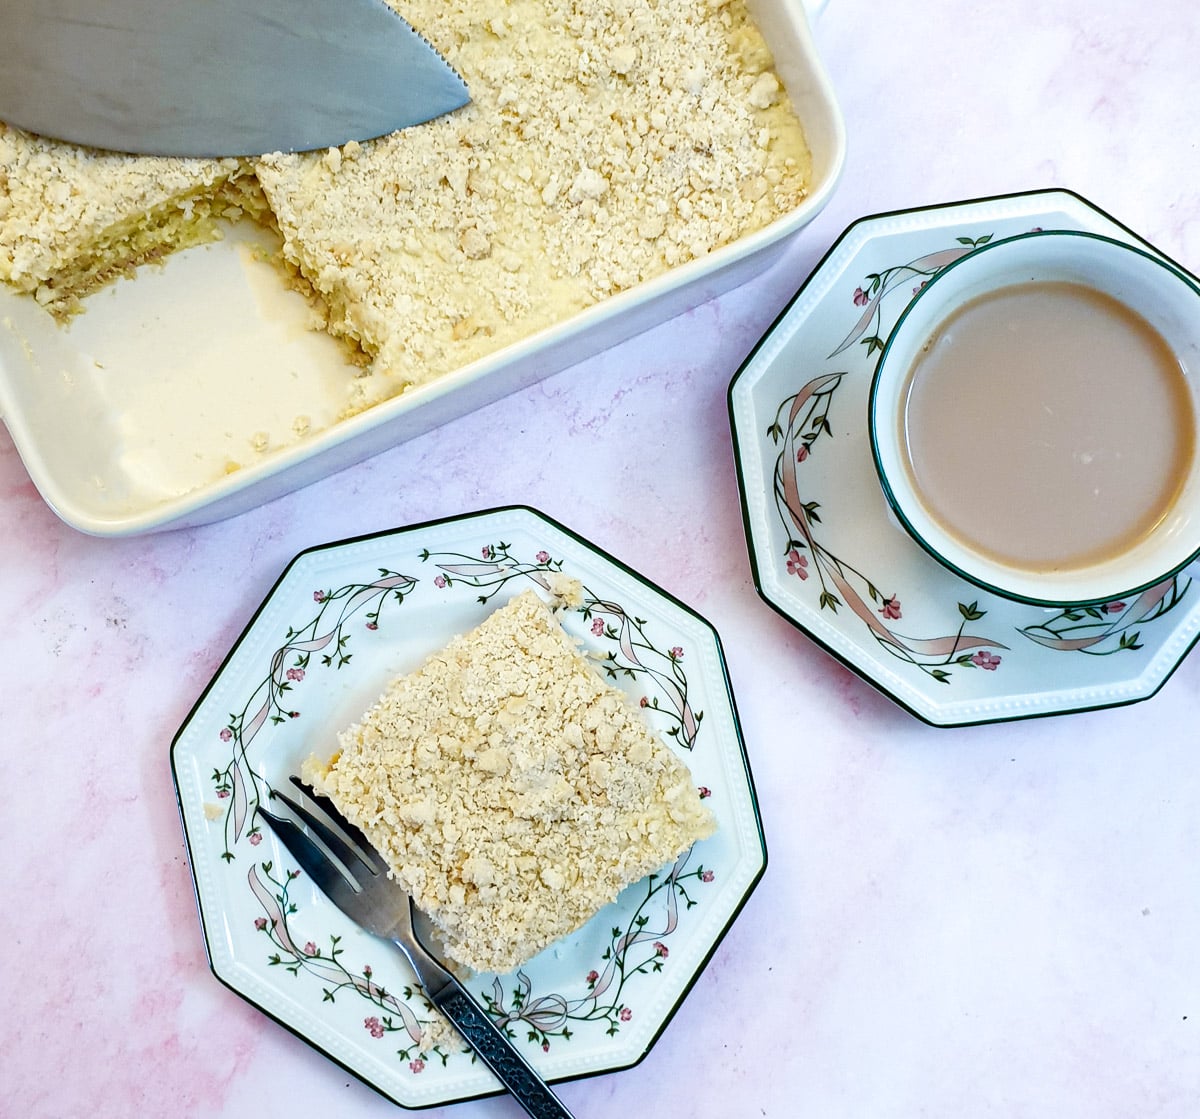
Place the pineapple cake in the refrigerator for at least 3 hours and allow it to set.
Eat a slice before anyone finds out you've made this delicious cake. It will disappear before you know it 🙂 .
Variations
You can vary this fridge tart by substituting different fruits for the pineapple. Peaches and pears work well, but you can use any fruit that has been canned in juice. You will need the juice from the fruit to dissolve the jelly.
If you want to make a lighter dessert, you can pour the filling into individual serving dishes, without adding the biscuits, for a deliciously creamy, fruity mousse. Place the individual bowls in the refrigerator to set for a few hours before eating.
If you'd like to be notified of new recipes, why not subscribe to my newsletter? To say thank you, you will receive a free recipe e-book containing some of my most popular cakes and desserts.
Save for later
If you would like to make this no-bake pineapple fridge tart recipe why not save the recipe to one of your Pinterest boards so you can find it easily? Just click the image below.
Alternatively, you can save the recipe by clicking on the floating heart icon on the right-hand side of the screen.
Related recipes
You can find many more dessert recipes on my cakes, biscuits and dessert recipes page. Here are a few you might enjoy:


📋The recipe

No-bake pineapple fridge tart
(Click the stars to rate this recipe)
Equipment
- Saucepan
- 12" diameter pie dish
- Spatula
- Balloon whisk or
- Electric hand mixer
Ask a Question
If you have a question about this recipe that has not been answered, please use the box below to ask it.
Use this with care. This is an AI-generated result and may contain errors or inaccuracies. I cannot be held responsible for the information returned.
Ingredients
- 14 ounce / 410 gram can evaporated milk
- 14 ounce / 410 gram can pineapple chunks/rings
- 2 packets coconut flavoured biscuits 8 ounces / 225 grams each
- 2 packets lime flavoured jelly (135 grams or 4.75 ounces each) or pineapple or lemon flavour
- ¾ cup / 180 ml coconut milk
Instructions
- Open the can of fruit and pour the juice into a saucepan.14 ounce / 410 gram can pineapple chunks/rings
- Add the jelly to the pineapple juice and heat gently until the jelly has dissolved. If you are using jelly crystals you should stir them as it heats. Allow it to cool slightly.2 packets lime flavoured jelly (135 grams or 4.75 ounces each)
- Cut the pineapple into small pieces or blend them in a food processor.
- Pour the evaporated milk into a mixing bowl and whisk vigourously until the milk has thickened and trebled in volume.14 ounce / 410 gram can evaporated milk
- Pour the cooled jelly and the fruit, along with the coconut milk, into the thickened milk and mix well.¾ cup / 180 ml coconut milk
- Arrange a single layer of cookies in an 8" x 10" dish.2 packets coconut flavoured biscuits
- Cover the cookies with one-quarter of the milk/fruit mixture.
- Repeat with a second layer of cookies and another quarter of the milk/fruit mixture.
- Crush a few of the remaining cookies into crumbs and sprinkle over the top of the cake.
- Repeat to make a second tart with the remaining mixture
- Place the tarts into the fridge for at least 3 hours to allow them to set.
- Serve chilled.
Notes
Nutrition
I am not a nutritionist. The nutrition information has been calculated using an on-line calculator, and is intended for information and guidance purposes only. If the nutrition information is important to you, you should consider calculating it yourself, using your preferred tool.
If you made this recipe and enjoyed it, I'd love it if you could give me a star rating in the comments below. And if you'd like to get in touch, you can email me at [email protected]. I'd love to hear from you. And don't forget to subscribe to my mailing list so you can grab yourself a copy of my FREE COOKBOOK!
If you'd like to continue browsing, just click on this link to all my recipes.


Theresa says
I have been making pineapple fridge tart for a long time. I cannot find pineapple jellie. Can I use passion fruit jellie instead?
VJ says
Absolutely - you could also try lemon jelly - that will add a nice touch of tartness.
Estelle McKenna says
I'm retired and lived in the UK ten years now but my South African roots still appreciate your recipes. I've made a few of your recipes and love them. I've got so many milk tart recipes but would like to know if you have a tried and tested one that you like.
Thanks for the hard work you put into this blog.
Estelle
VJ says
Hi Estelle - perhaps you'd like to try this milk tart recipe.
ashok says
Thanks For Sharing this amazing recipe. My family loved it. I will be sharing this recipe with my friends. Hope the will like it.
VJ says
Great, thanks for letting me know 🙂
Magda says
Thanks for recipe! Always loved the Pineapple "Yskastert", but tomorrow will be the first time I will make it myself. Regards.
VJ says
I hope it turns out well for you Magda. Thanks for the comment 🙂 x