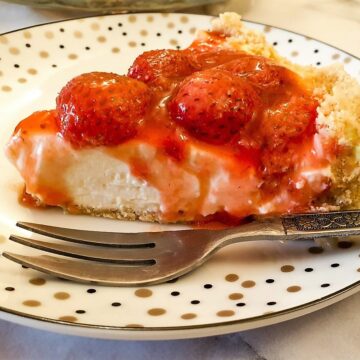
With the smoothest and creamiest of fillings and a topping made with fresh strawberries oozing in a syrupy glaze, this classic no-bake strawberry cheesecake makes the perfect summer dessert.
Jump to:
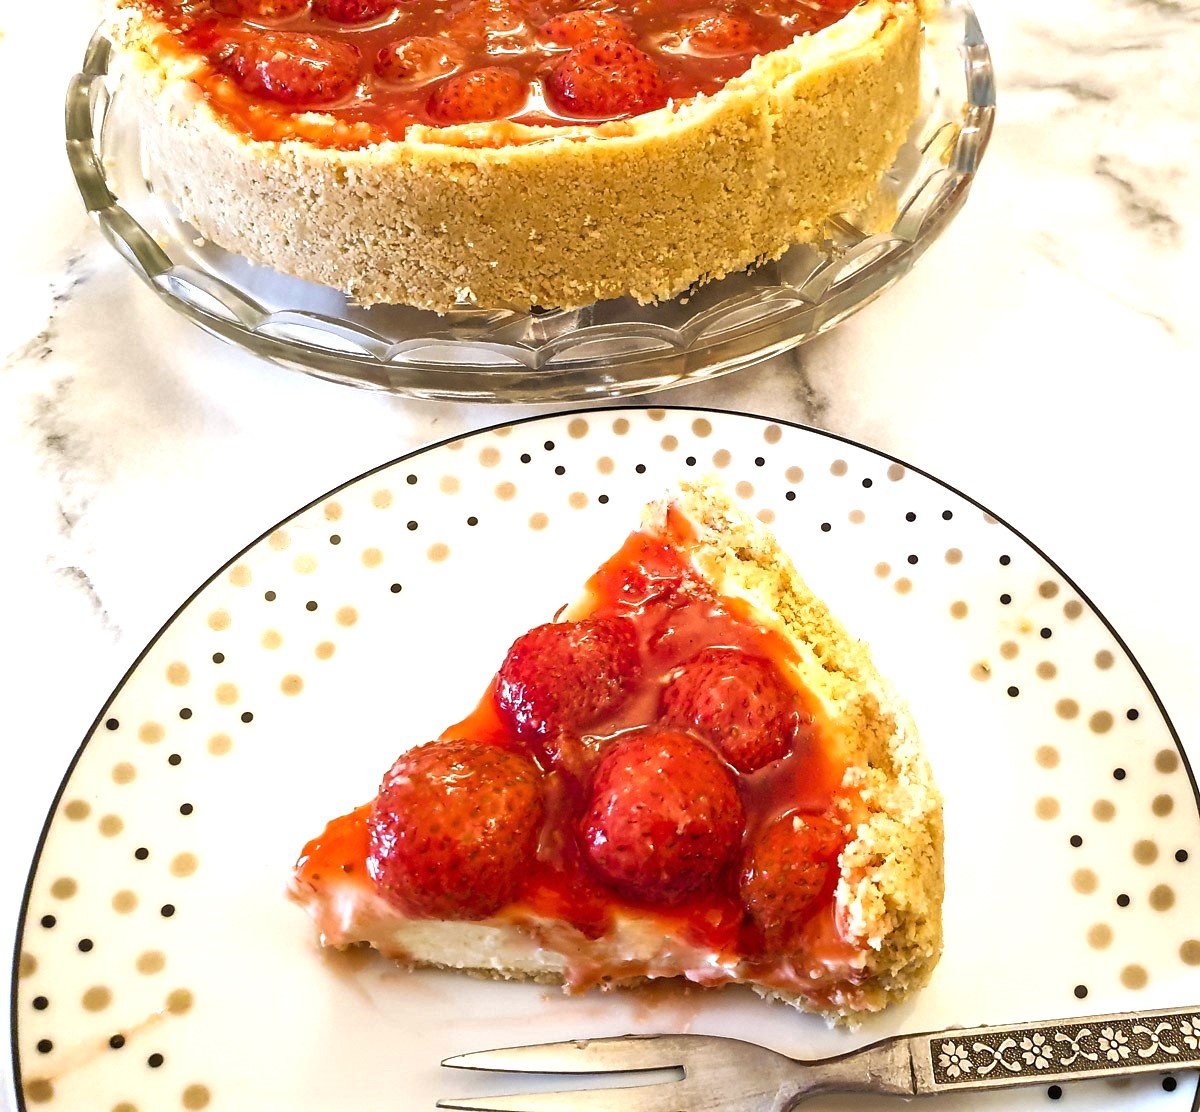
My amazing no-bake strawberry cheesecake recipe
Hubby arrived home from his garden allotment the other day and proudly presented me with a bucket of fresh strawberries that he had just picked. It was a no-brainer to turn them into a strawberry cheesecake. Strawberries and summer are synonymous, and this strawberry cheesecake just screams summer!
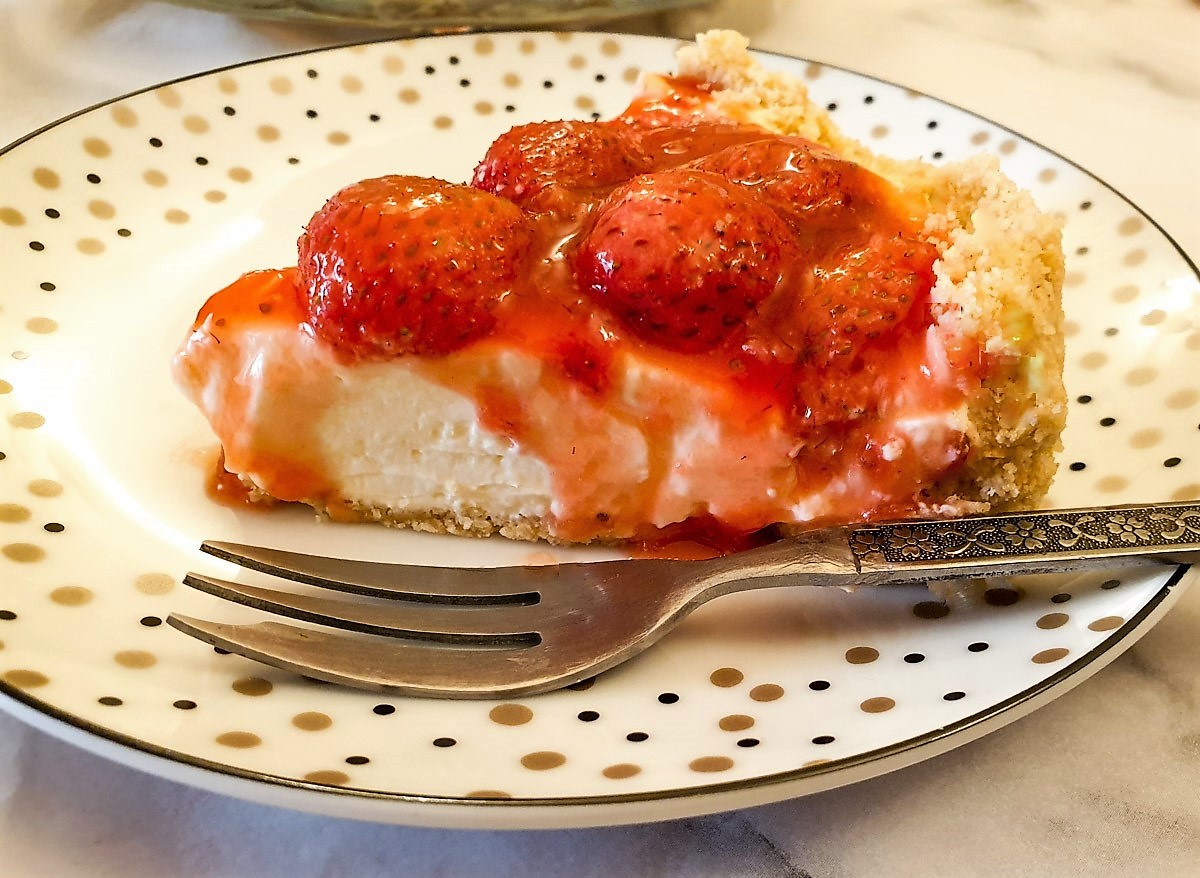
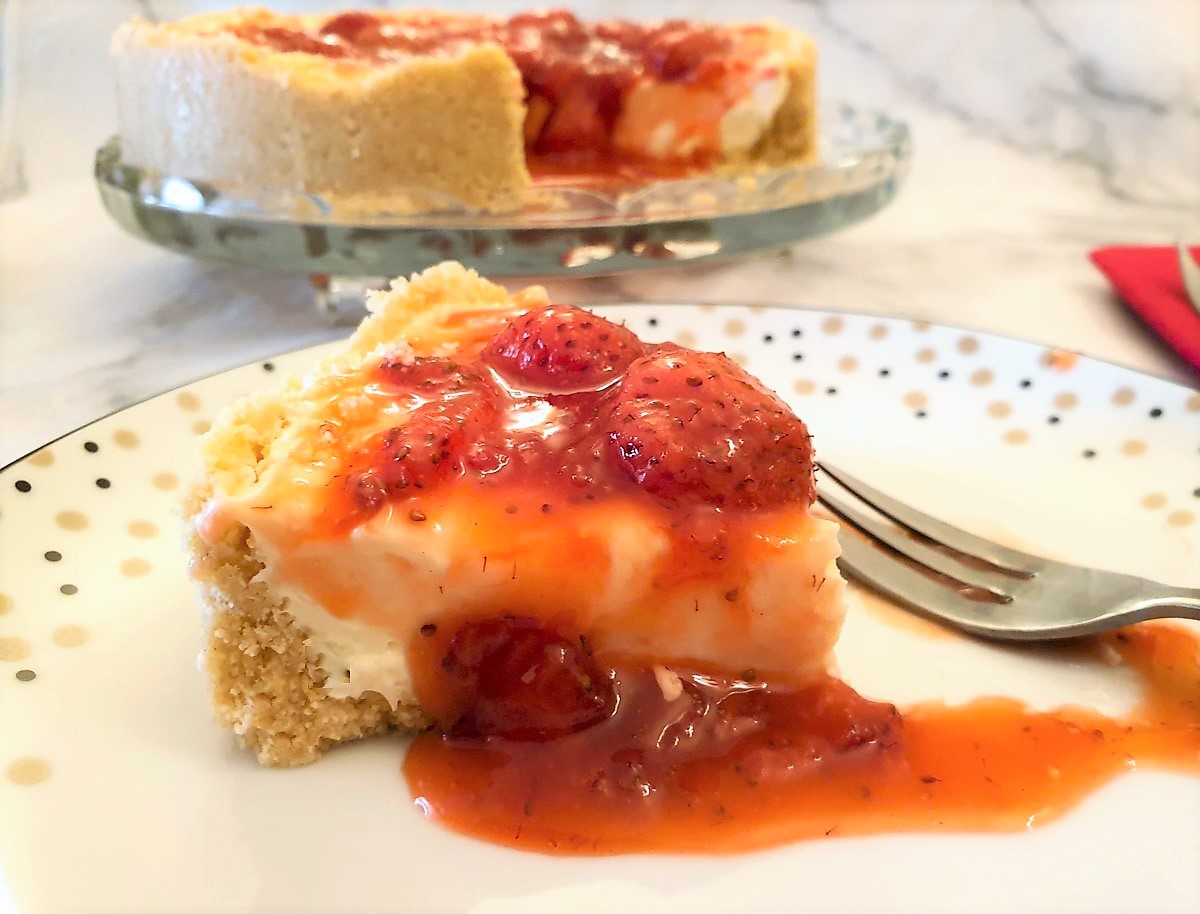
It's made with a crushed biscuit base, filled with a decadent creamy cheesy filling, and topped with strawberries that are swimming in oozing strawberry syrup. And the taste is out-of-this-world! It will only take one mouthful of the creamy filling coupled with the sweetest, freshest strawberries and the crunchiness of the buttery biscuit base to convince you that this is one of the best-tasting desserts you've ever eaten.
Why I think you'll love this strawberry cheesecake
I'm convinced you'll love it as much as I do!
- There are only three simple steps. It couldn't be easier to make.
- Crush the biscuits and mix with melted butter to form the crust;
- Whip the cream and cream cheese and mix with icing sugar for the filling; and
- Make the syrupy strawberry topping and pour over the filling.
- Everyone will love it. I made it twice in a matter of days. The first time to photograph for this recipe, and the second time for a dinner party. The second time I made it I topped it with freshly sliced strawberries, without the syrup and it was quite possibly even more delicious. My good friend and recipe-taster, Penny, went home happily clutching the remains in a plastic container!
- There's absolutely no baking required. Both the base and the filling are just mix-and-go, and the strawberry topping only takes 10 minutes to throw together. The hardest part is leaving it to firm up overnight in the refrigerator!
This no-bake strawberry cheesecake is one of those desserts that everyone should have in their repertoire, so without further ado let me show you how to make it.
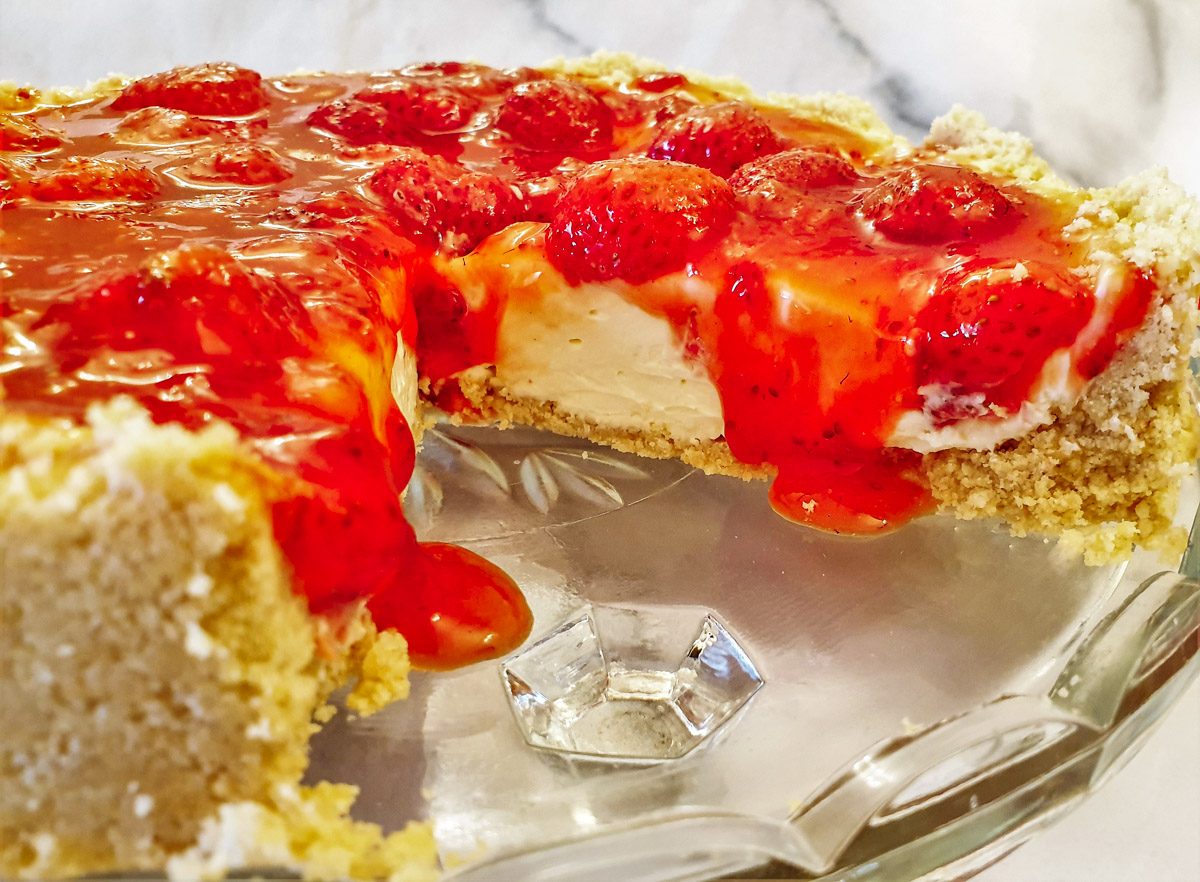
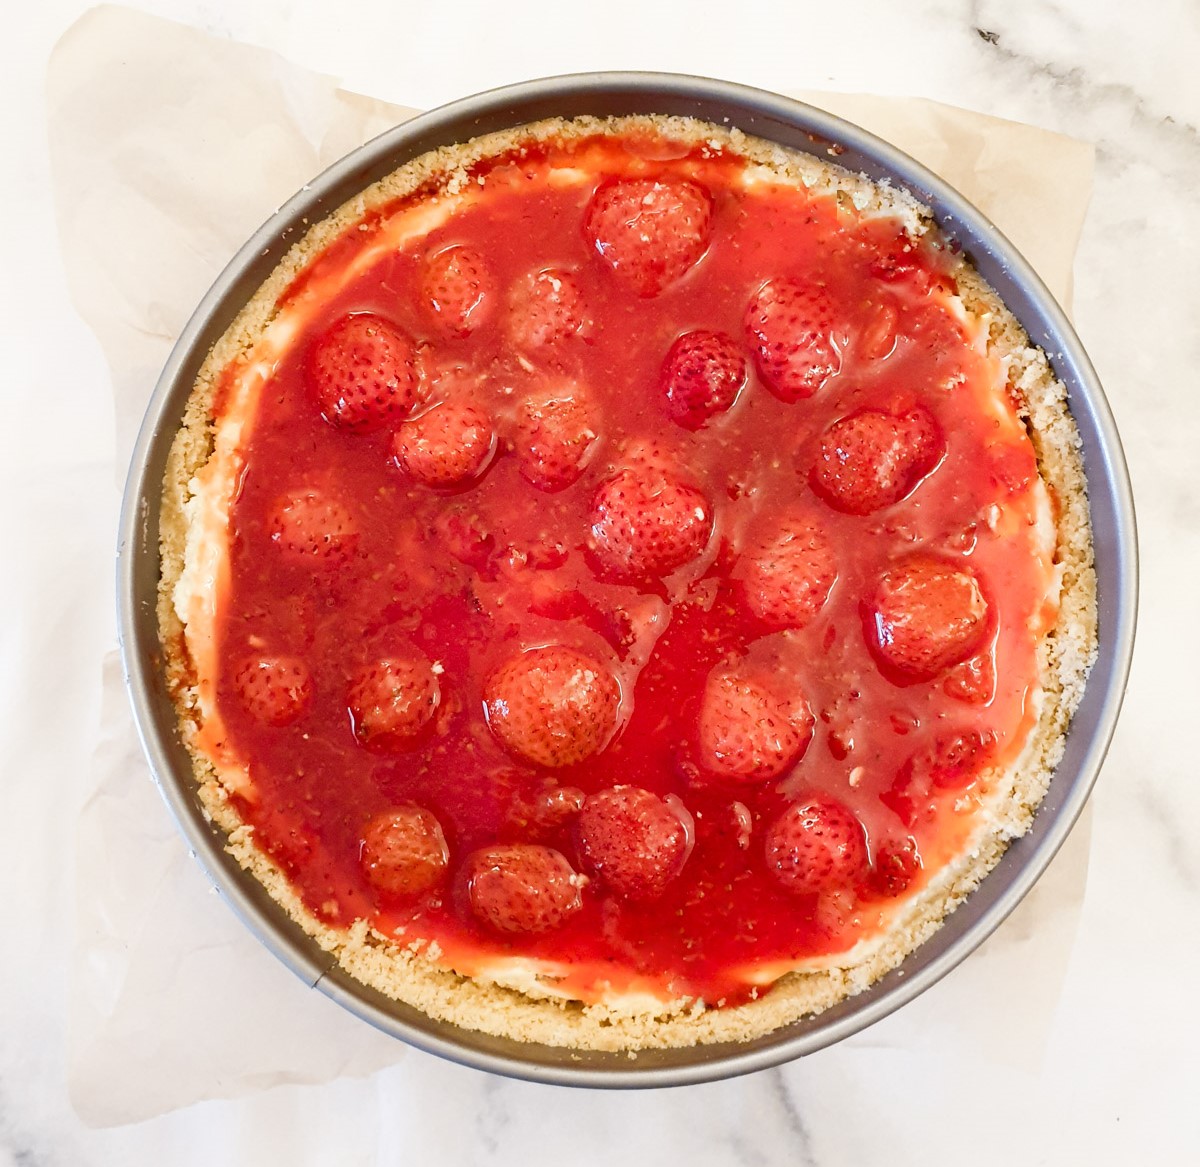
Just look at how the syrupy glaze oozes down the sides of the cheesecake!
Make the crust for the cheesecake
All you need for the crust are two simple ingredients - biscuits (or crackers) and butter. In the UK I use Nice biscuits, or you could use Biscoff, which would give a lovely caramel flavour. If you are in South Africa, Tennis biscuits would be ideal, and I believe Graham crackers are the biscuit of choice for this type of recipe in the US.
I prefer using unsalted butter, but this is a matter of choice.
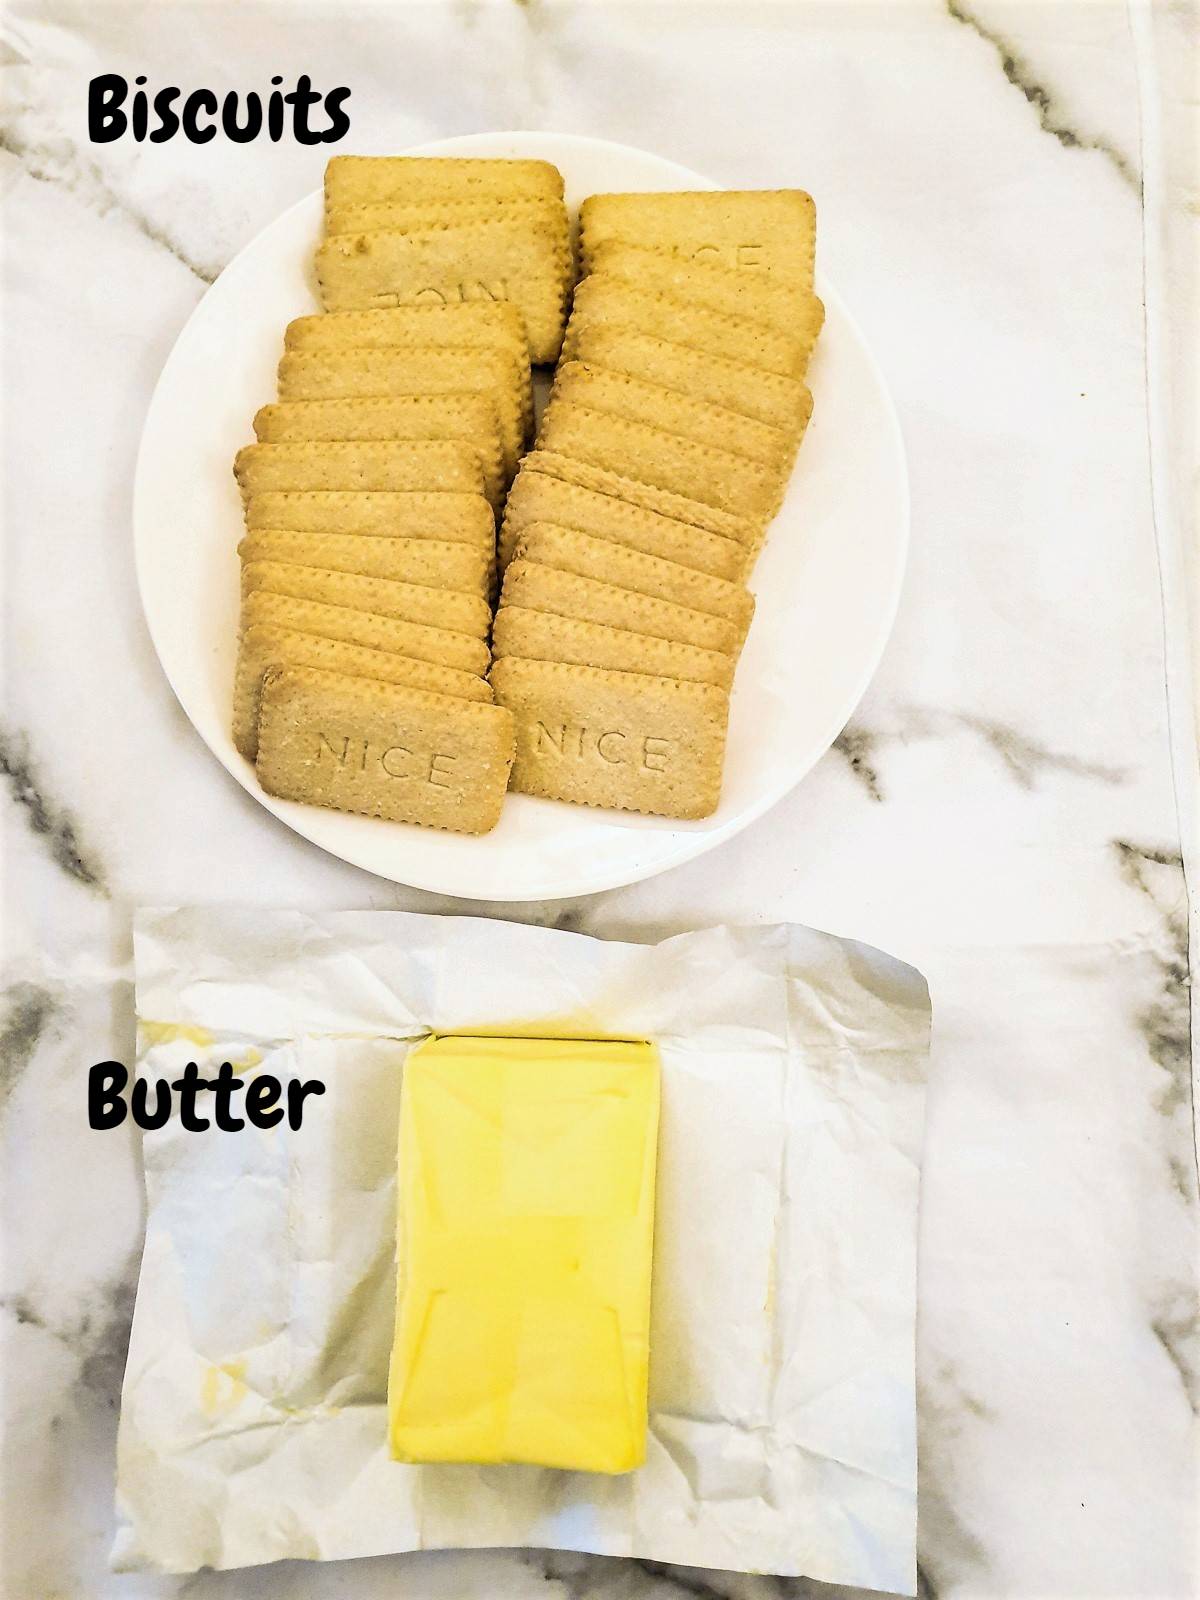
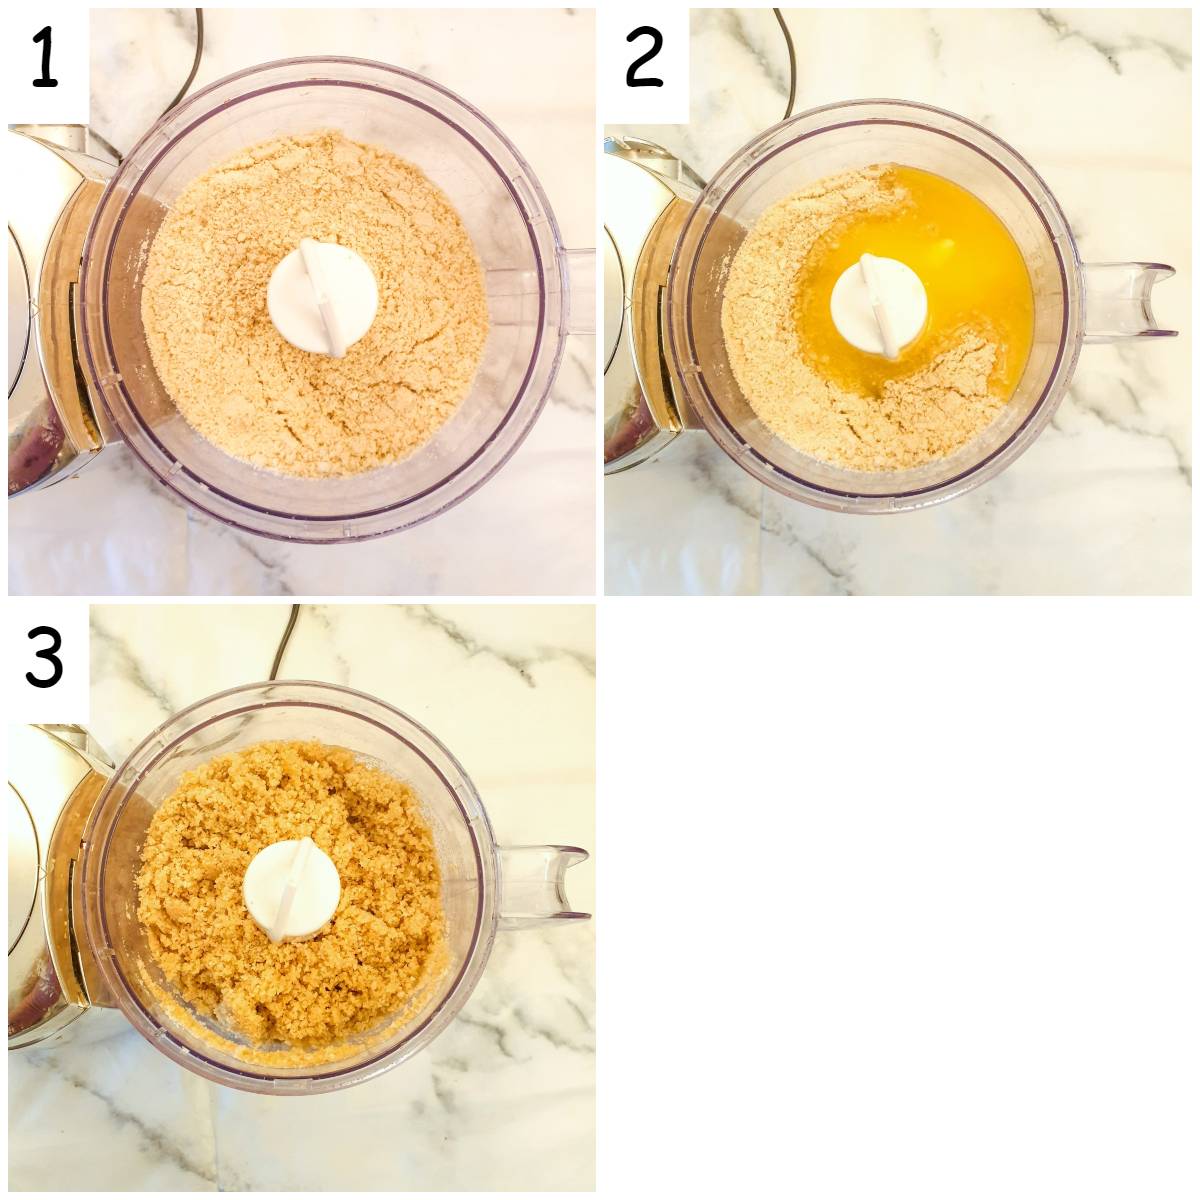
To make the cracker crust:
- Blitz the biscuits in a food processor, or if you don't have one, put the biscuits in a plastic bag and pound them with a rolling pin until they turn into crumbs.
- Melt the butter (in the microwave or on the stove) and pour into the crushed biscuit mixture.
- Mix until well combined.
Make the filling
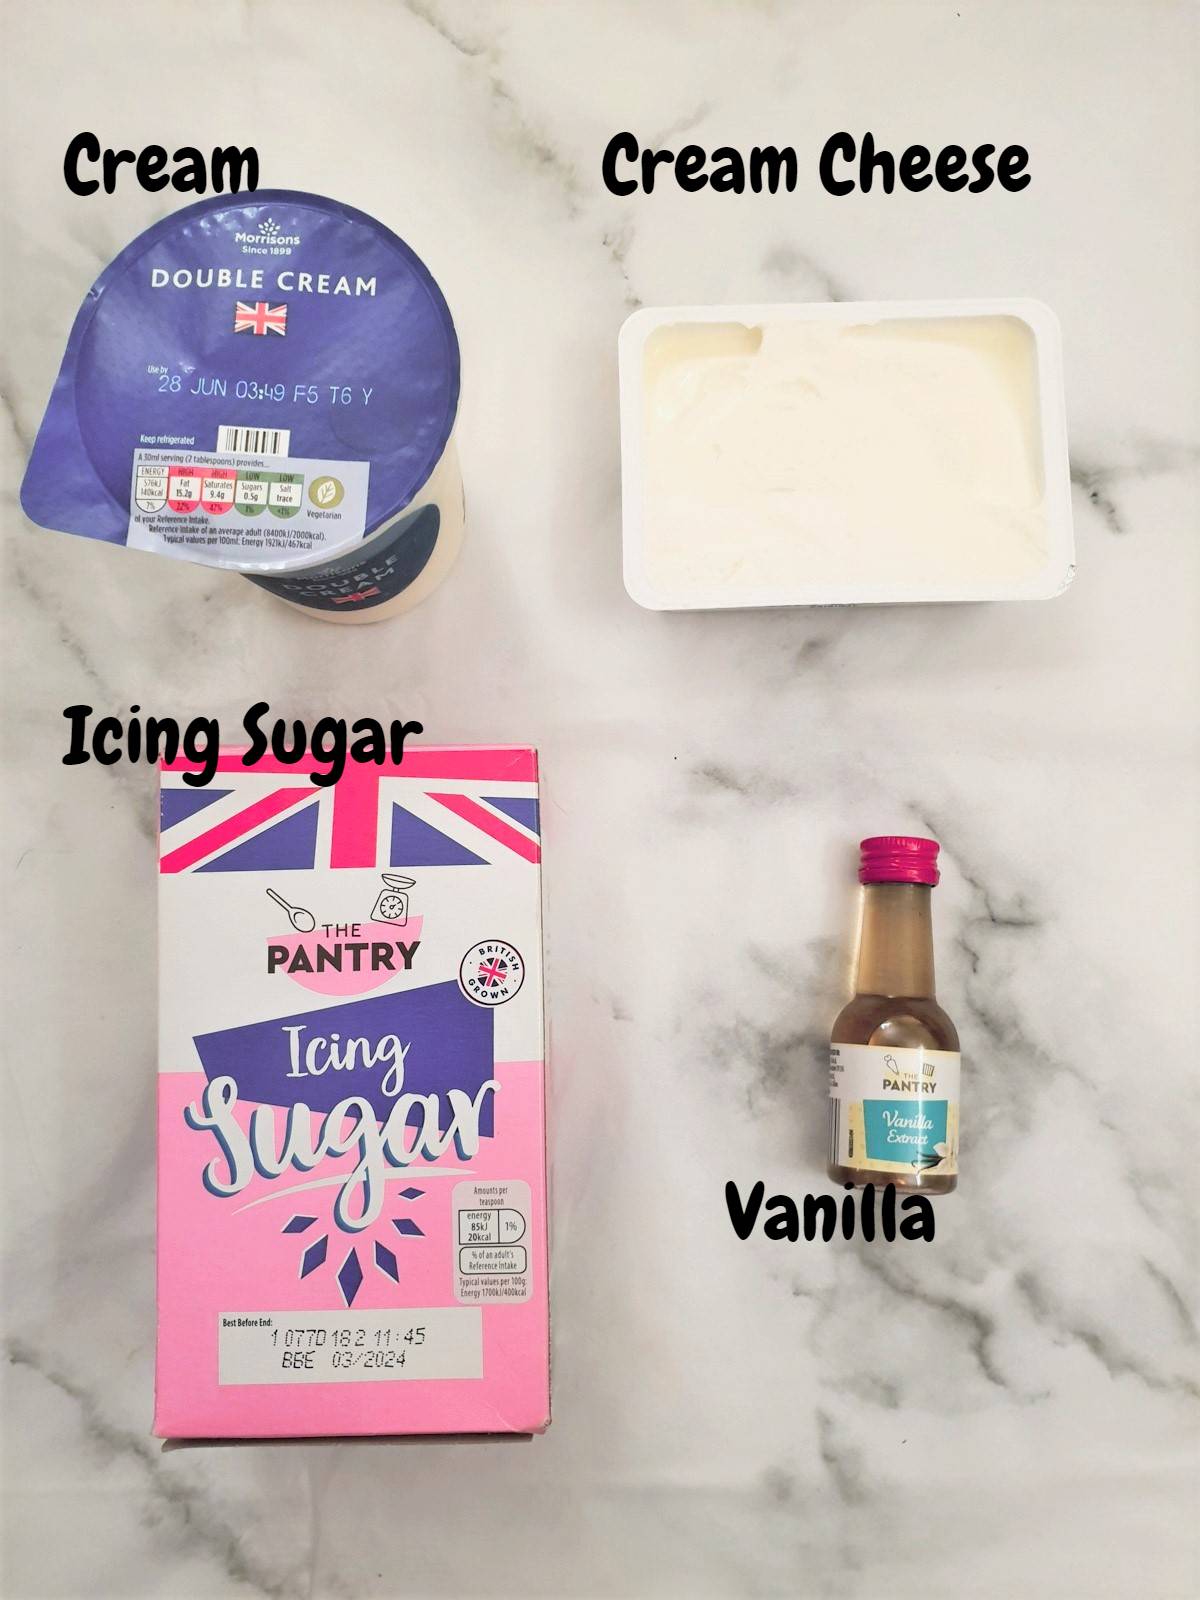
For the filling, you will need double (or heavy) cream - the sort that you can whip to thick peaks. Don't use single cream as this will not thicken no matter how long you beat it.
You will also need some cream cheese. Philadelphia is my cream cheese of choice, but as long as you use full-fat cream cheese you can get away with a supermarket own brand.
You will also need some icing sugar (also known as powdered sugar or confectioner's sugar) and vanilla essence.
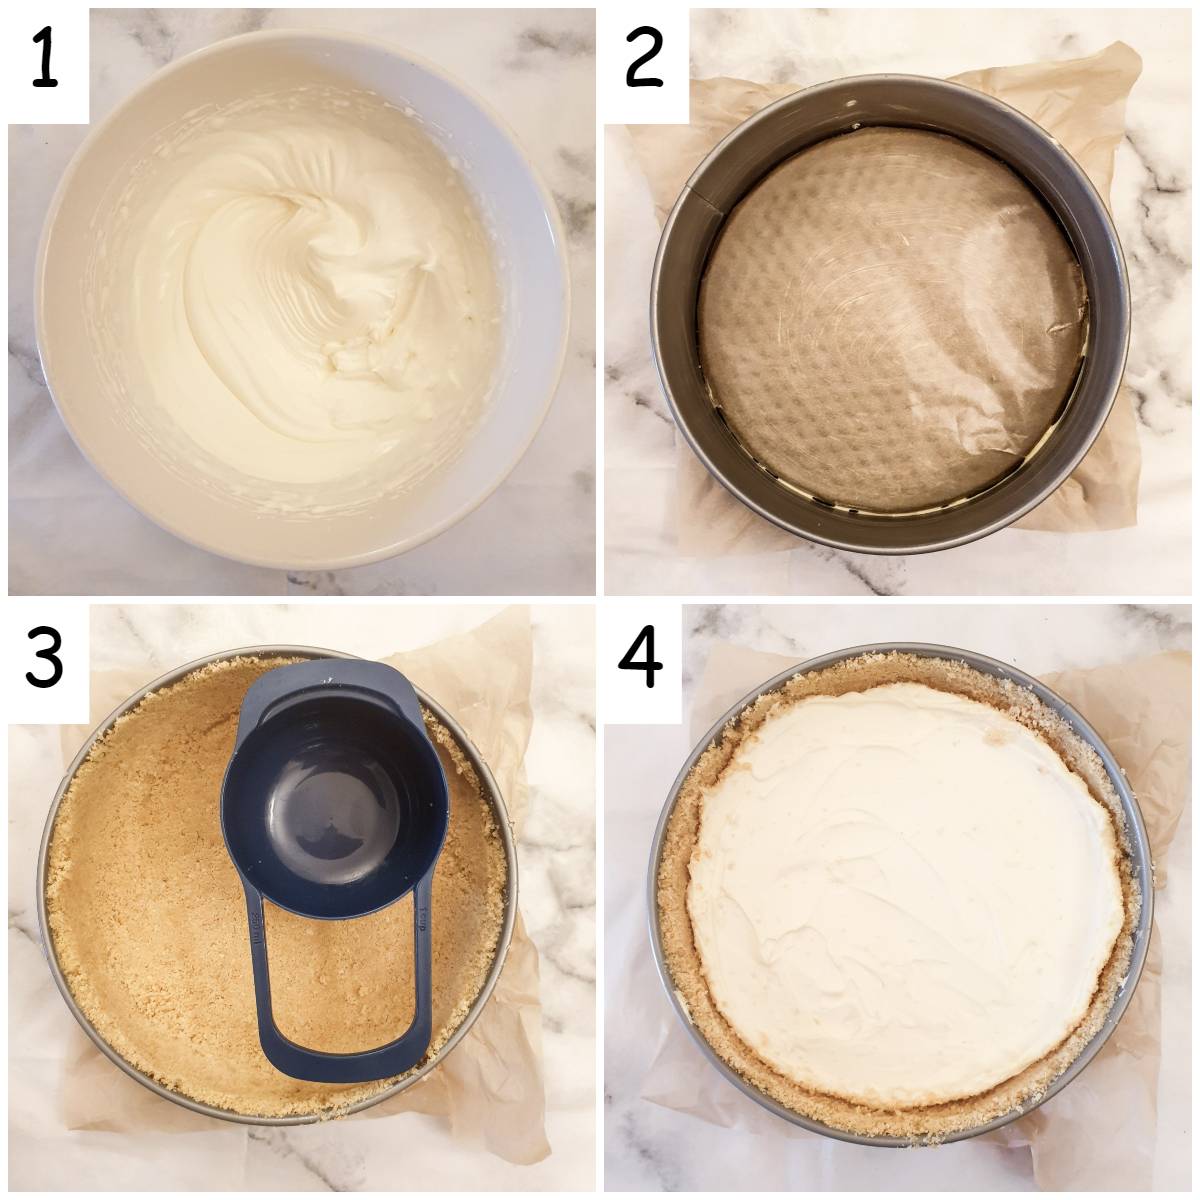
- Whip the cream in a bowl until thick peaks form. In another bowl, whisk the cream cheese to soften it and then transfer the cheese into the bowl with the cream. Add the icing sugar and vanilla essence and mix well to combine.
- Line an 8" spring-form baking pan with greaseproof paper or baking parchment and rub the sides of the pan with a little butter or margarine. You can get away with using a 9" pan, but then the cheesecake will not be as deep.
- The top tip for getting the cheesecake out of the tin easily is to turn the base upside down so that the lip of the base is facing downwards. This way the cheesecake will slide off easily without getting stuck on the lip.
- I also use a square piece of baking parchment and cover the base before enclosing it in the metal ring of the springform pan. This way you don't have to worry about cutting the paper to size, and it makes it easy to put the paper out from under the cheesecake once you've slid it onto the serving plate.
- You could also assemble this cheesecake directly into your serving dish.
- Press the crumbs firmly onto the base and up the sides of the greased pan. I normally use my large measuring cup which has a flat base to help me press the crumbs in firmly. The reason for bringing the crust up the walls of the pan is to hold the strawberry topping in place and stop it from flowing down the sides of the cheesecake.
- Pour in the filling and then place the pan into the fridge and leave for at least 4 hours, or preferably overnight, to firm up.
The hardest part is waiting for the filling to set before you can top the cheesecake with strawberries and eat it!
Make the strawberry cheesecake topping
This is the only cooking you will have to do, and it only takes 10 minutes. If you are in a hurry or prefer a fresh strawberry topping you can skip this step and top the cheesecake with freshly sliced strawberries instead.
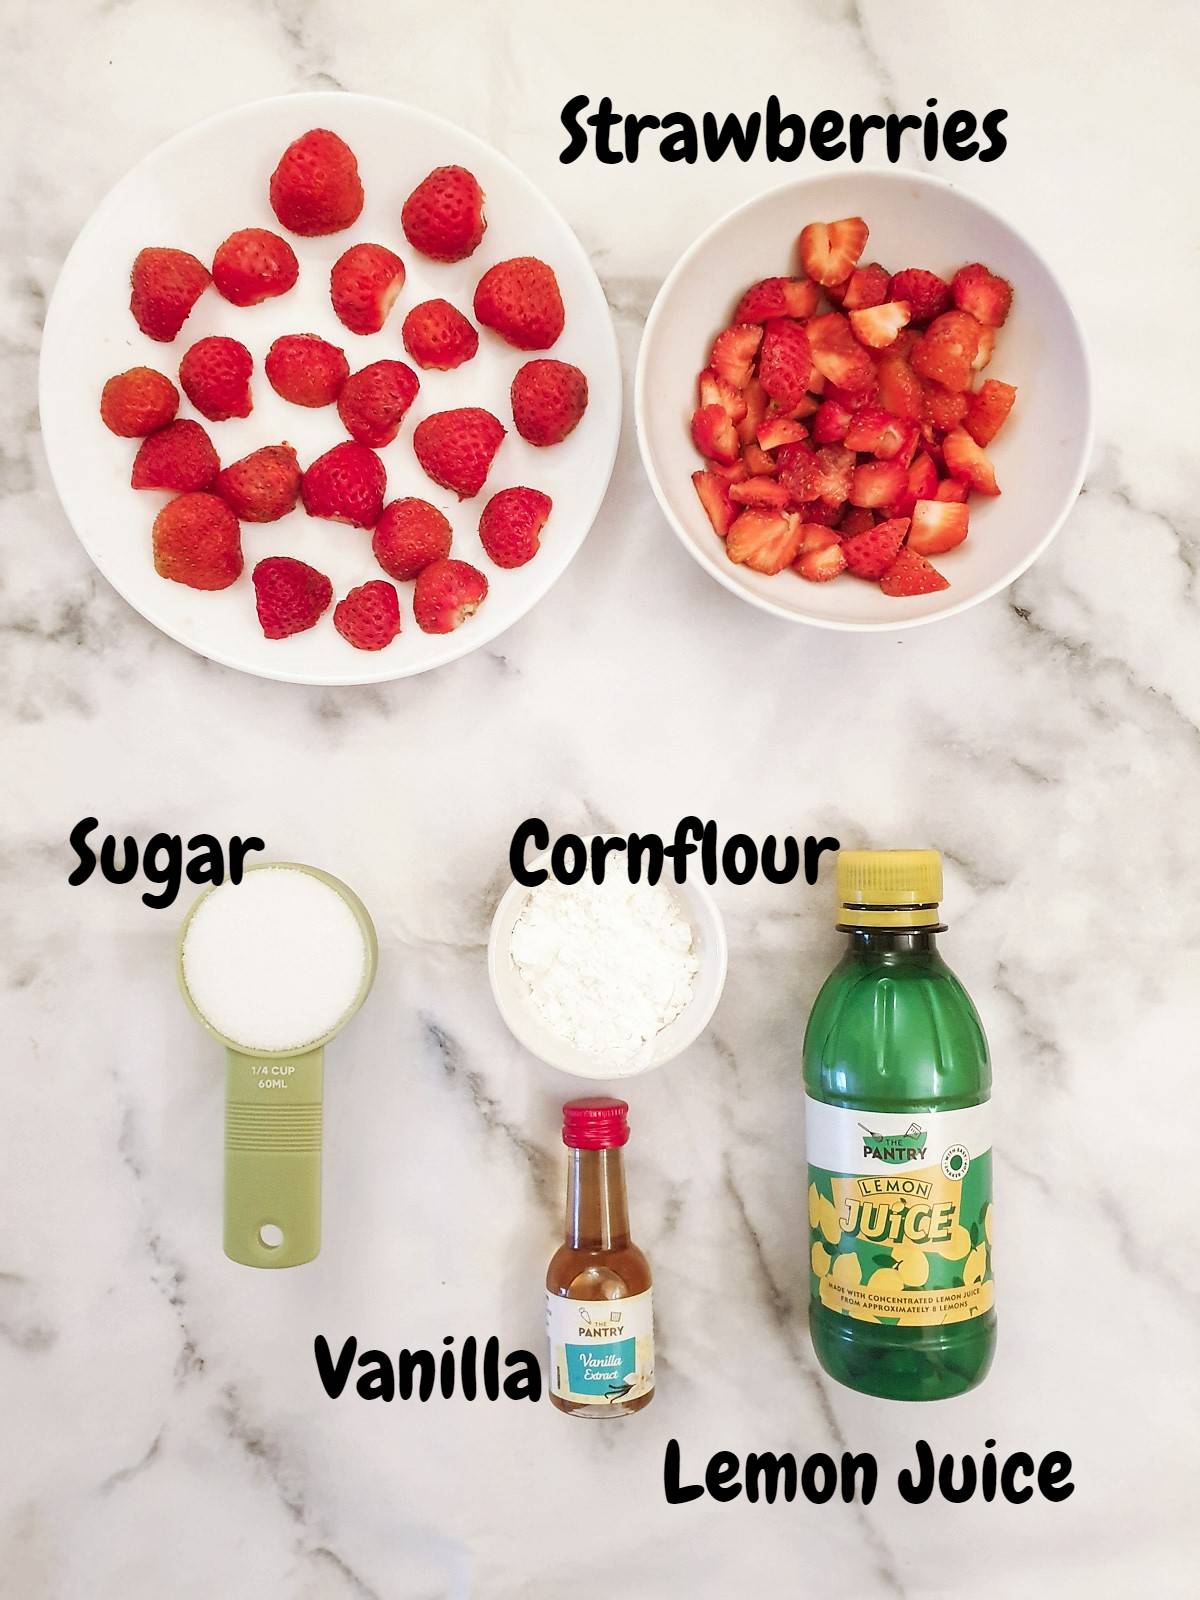
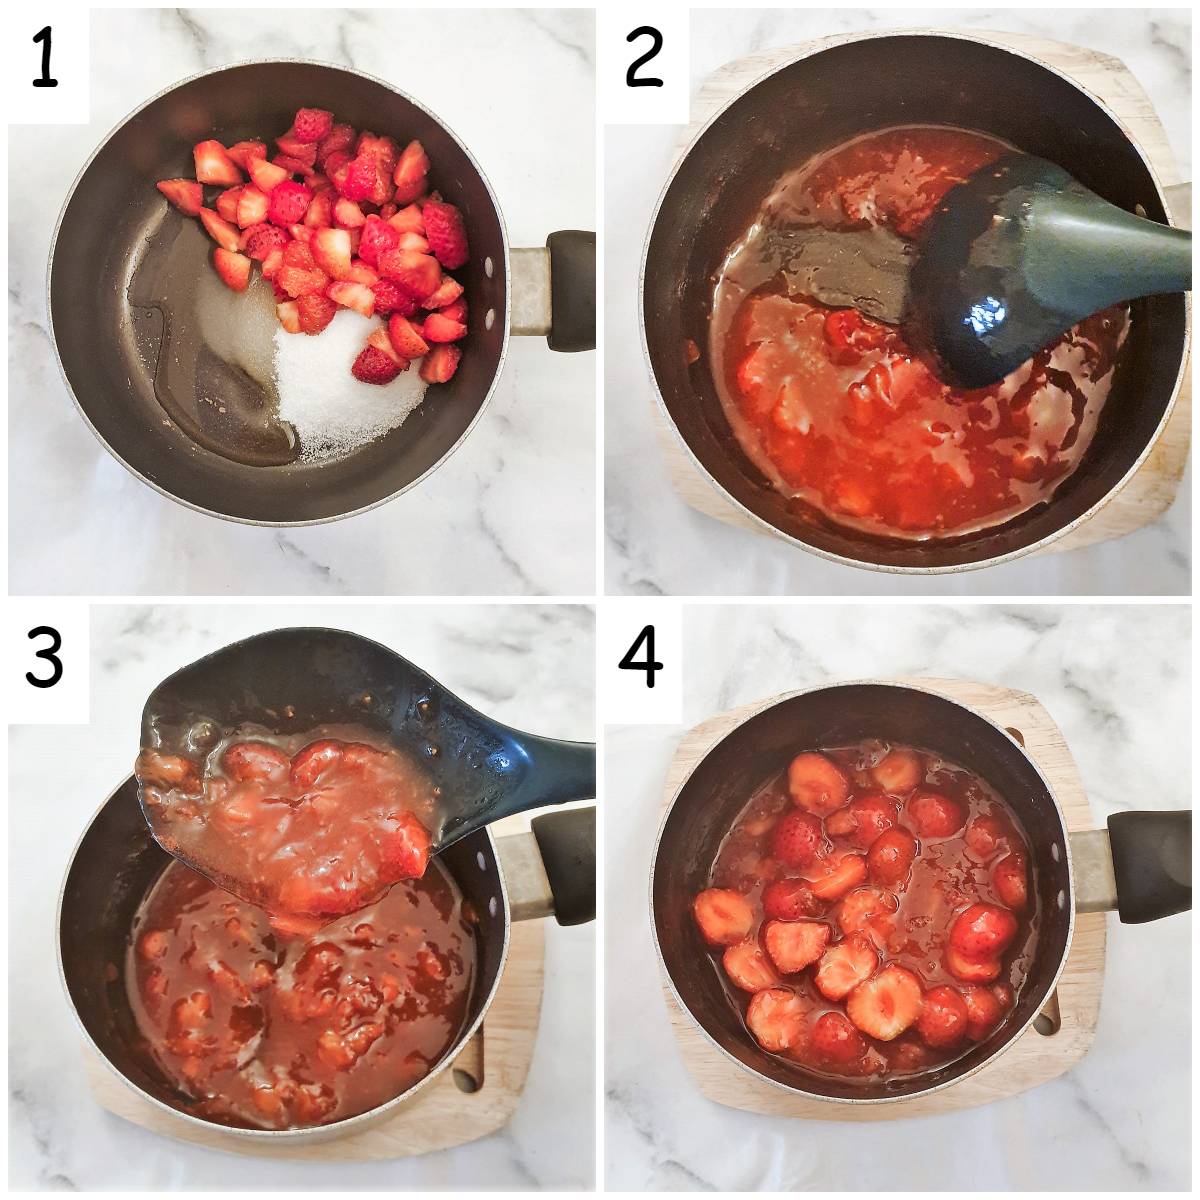
You will need some strawberries. Keep a few aside and cut them in half. These will be arranged on top of the cheesecake. Cut the rest into smaller chunks so they will break down nicely in the syrup.
You will also need some sugar, lemon juice and more vanilla essence. You can use fresh lemon juice if you have a fresh lemon to hand; I didn't have one so I used bottled lemon juice.
Finally, to thicken the syrup, you will need cornflour (or cornstarch).
- The first step is to put the strawberries, sugar, vanilla essence and a splash of water in a saucepan and bring to a boil.
- Then turn down the heat and simmer for 10 minutes. Mix the cornflour with a little water and stir into the strawberries. Simmer for another minute or two until the syrup thickens. The syrup will be ready when it leaves a trail as you draw a spoon through it. It should also hold its shape on the spoon.
- Once the syrup is thick enough, remove from the heat and stir through the halved strawberries. Don't cook these - the heat from the syrup will soften them ever so slightly, but we don't want them to turn mushy. Allow the strawberries to cool before pouring them on the cheesecake or the filling may melt.
If you feel you need to thicken the syrup, drizzle in a teaspoon of cornflour mixed with a tablespoon of water and cook for a further minute.
Finally - the moment you've all been waiting for - remove the chilled cheesecake from the fridge and pour the cooled strawberries over the top. Use a spoon or a fork to turn the halved strawberries cut side down.
And there you have it - a no-bake strawberry cheesecake. Leave it in the refrigerator until you are ready to eat it.
To remove the cheesecake from the springform pan, unclip the side of the pan and gently remove the outer ring. Slide the cheesecake onto a serving plate - use the baking parchment to help slide it. Pull the baking parchment out from underneath - use a flat-bladed knife to hold the cheesecake in place as you pull the baking parchment out.
If you'd like to be notified of new recipes, why not subscribe to my newsletter? To say thank you, you will receive a free recipe e-book containing some of my most popular cakes and desserts.
Frequently asked questions
The easy answer to this is 'No'. This cheesecake is not baked in the oven so you can use your favourite pie dish to make this cheesecake. I used a springform pan because I wanted to remove the cheesecake from the pan for the photographs. You can assemble this cheesecake directly in the serving dish.
Yes, the cream is whipped to stiff peaks, and this, coupled with the cream cheese, makes the cheesecake set firmly enough to slice easily.
A baked cheesecake normally contains eggs which make the cheesecake set. This cheesecake has to be baked in the oven. A no-bake cheesecake does not contain any eggs and sets in the refrigerator.
No, I wouldn't freeze this particular recipe.
Yes, this cheesecake will stay fresh (covered in the refrigerator) for up to three days.
Save for later
If you would like to make this no-bake strawberry cheesecake, why not pin the recipe to one of your Pinterest boards so you can find it easily? Just click on the image below.
Alternatively, you can save the recipe by clicking on the floating heart icon on the right-hand side of the screen.
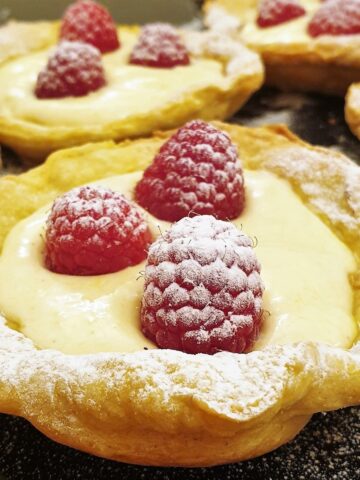
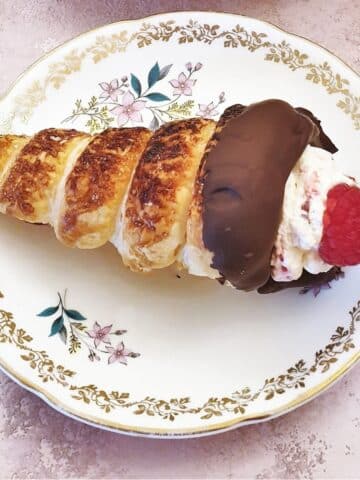
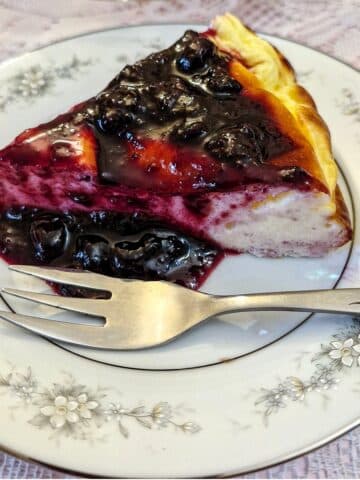
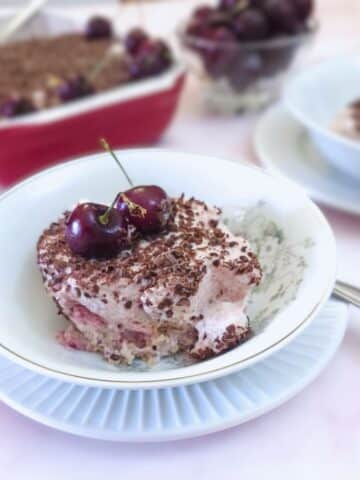
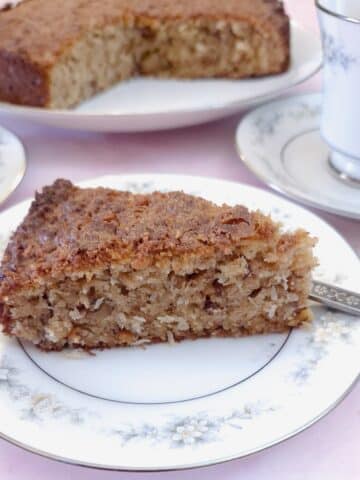
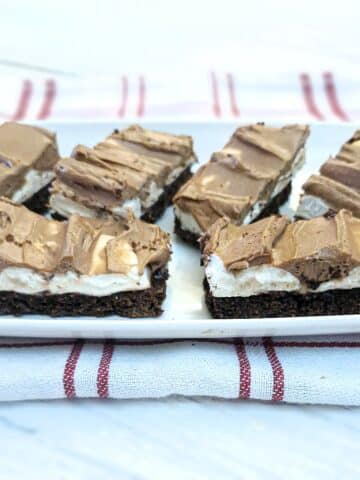
Related recipes
You can find many other dessert recipes on my cakes, biscuits and dessert recipes page. Here are a few of my favourite creamy desserts:
📋The recipe
Classic no-bake strawberry cheesecake
(Click the stars to rate this recipe)
Equipment
- 8" springform pan
- Mixing Bowls
- Electric hand mixer
Ask a Question
If you have a question about this recipe that has not been answered, please use the box below to ask it.
Use this with care. This is an AI-generated result and may contain errors or inaccuracies. I cannot be held responsible for the information returned.
Ingredients
Crust
- 8 ounce (225g) Nice biscuits or Graham crackers, or Tennis biscuits
- 3½ ounce (100g) butter melted
Cream Cheese Filling
- 8 ounce (225g) cream cheese at room temperature
- 1¼ cups (284ml) double cream
- ½ cup (60g) icing sugar or confectioner's sugar
- 1 teaspoon vanilla essence
Strawberry topping
- 1 pound / 450 grams fresh strawberries
- ¼ cup / 50 grams white sugar
- 1 teaspoon lemon juice
- 1 teaspoon vanilla essence
- 2 tablespoons water
- 1 teaspoon cornflour / cornstarch mixed with 1 tablespoon water for thickening
Instructions
Crust
- Blitz the biscuits in a food processor, or if you don't have one, put the biscuits in a plastic bag and pound them with a rolling pin until they turn into crumbs.
- Melt the butter (in the microwave or on the stove) and pour into the crushed biscuit mixture.
- Mix until well combined.
- Line an 8" spring-form baking pan with greaseproof paper or baking parchment and rub the sides of the pan with a little butter or margarine.
- Press the crumbs firmly onto the base and up the sides of the greased pan.
Cream cheese filling
- Using an electric hand mixer or a balloon whisk, whip the cream in a bowl until thick peaks form.
- In another bowl, whisk the cream cheese to soften it and then transfer the cheese into the bowl with the cream.
- Add the icing sugar and vanilla essence and mix well to combine.
- Pour the filling into the prepared biscuit crust and then place the pan into the fridge and leave for at least 4 hours, or preferably overnight, to firm up.
Strawberry topping
- Cut a few of the strawberries in half (to arrange on top of the cheesecake) and set them aside. Chop the remainder of the strawberries into smallish chunks.
- Place the chopped strawberries, sugar, vanilla essence and 2 tablespoons of water in a small saucepan and bring to a boil. Turn down the heat and simmer for 10 minutes, stirring occasionally.
- Mix the cornflour with a little water and stir into the strawberries. Simmer for another minute or two until the syrup thickens. The syrup will be ready when it leaves a trail as you draw a spoon through it.
- Once the syrup is thick enough, remove it from the heat and stir through the halved strawberries. Don't cook these - the heat from the syrup will soften them ever so slightly, but we don't want them to turn mushy.
- Allow to cool and then pour the strawberries over the cheesecake. Use a fork to turn the halved strawberries upside down.
- Refrigerate until ready to eat.
Notes
Nutrition
I am not a nutritionist. The nutrition information has been calculated using an on-line calculator, and is intended for information and guidance purposes only. If the nutrition information is important to you, you should consider calculating it yourself, using your preferred tool.
If you made this recipe and enjoyed it, I'd love it if you could give me a star rating in the comments below. And if you'd like to get in touch, you can email me at [email protected]. I'd love to hear from you. And don't forget to subscribe to my mailing list so you can grab yourself a copy of my FREE COOKBOOK!
If you'd like to continue browsing, just click on this link to all my recipes.

Did you make this recipe? Let me know!