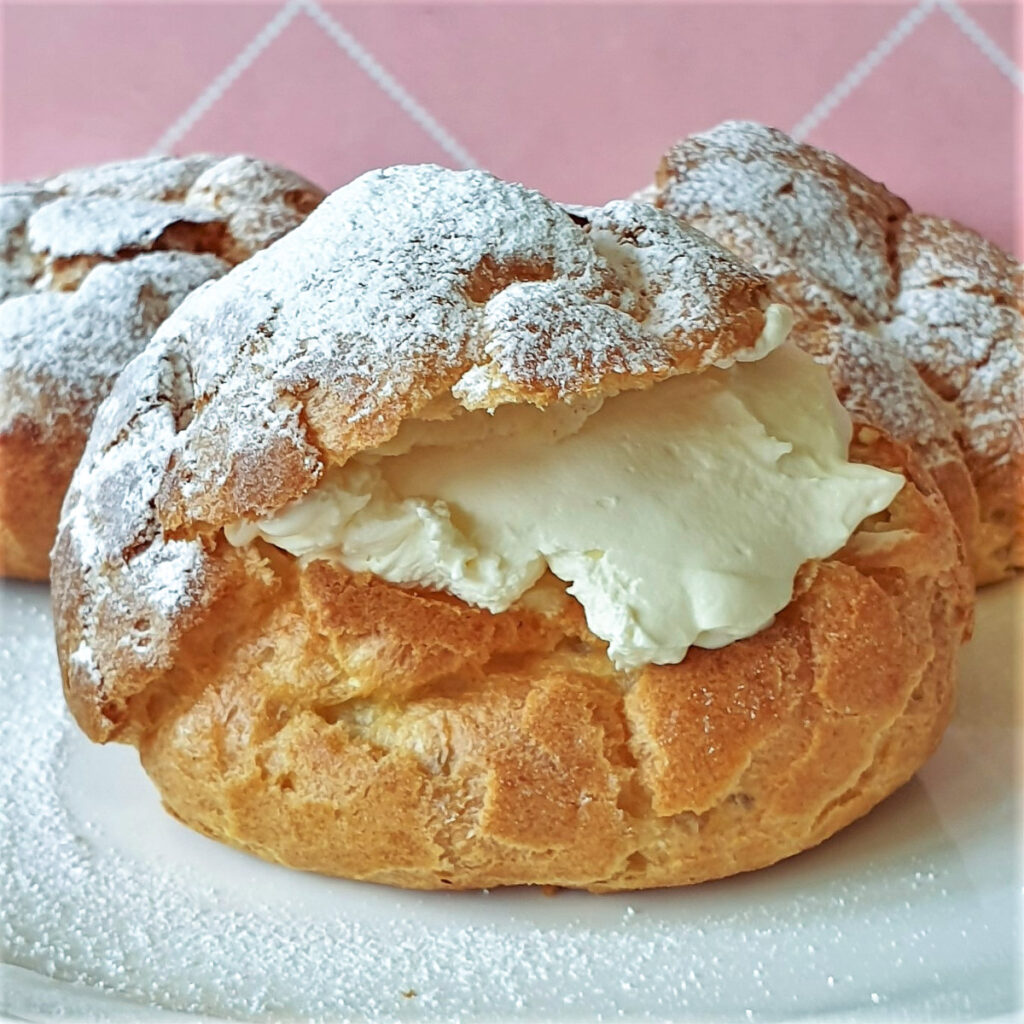
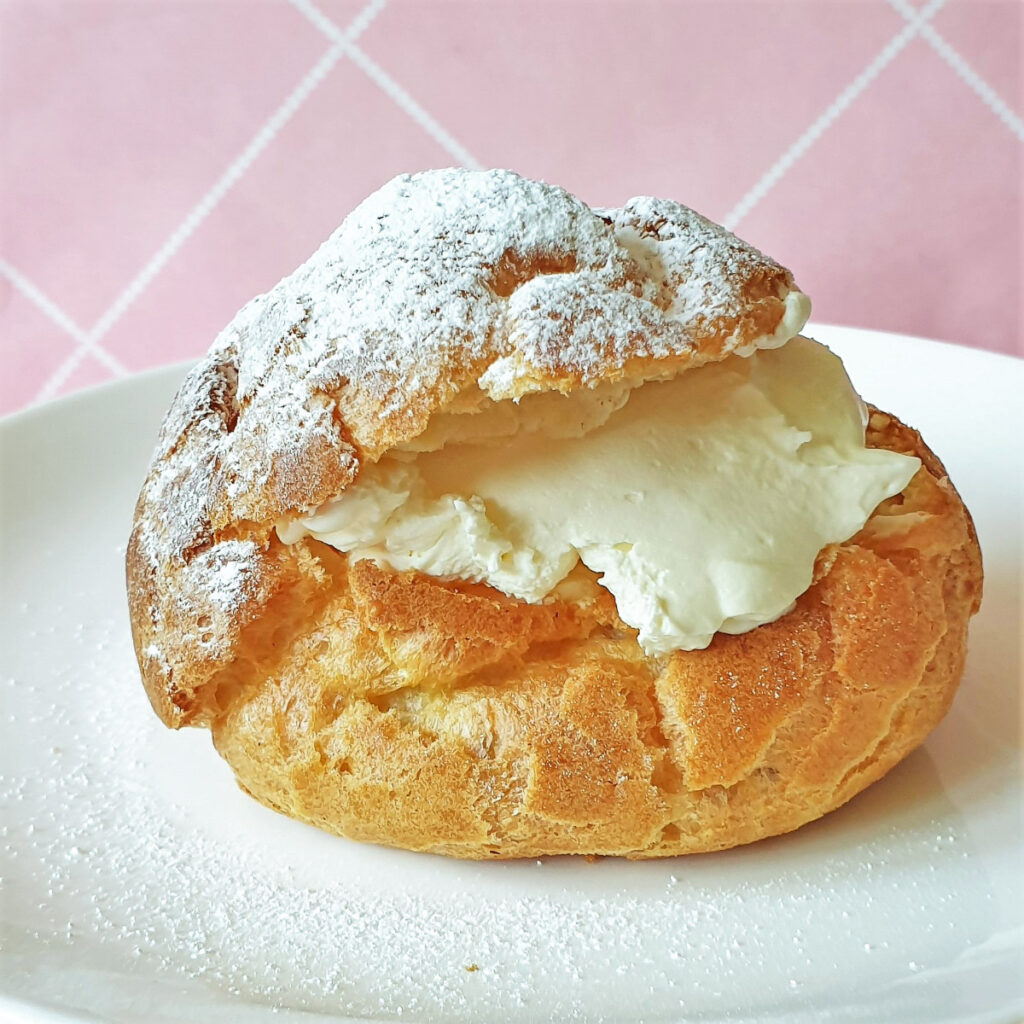
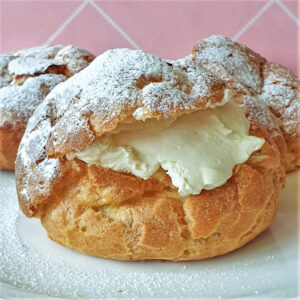
I can't think of anything more tempting than these homemade Cream Puffs. Light-as-a-feather choux pastry, filled with whipped cream and dusted with icing sugar. Forget about diets - sink your teeth into one of these - you've earned it!
**As an Amazon affiliate, I earn from qualifying purchases.**
Jump to:
Homemade Cream puffs with choux pastry
If you've ever wanted to make choux pastry but were put off by the thought of how difficult it must be, I'm here to tell you right now that you are mistaken. Choux pastry is one of the easiest and most rewarding pastries to make.
Once you have mastered the art of making choux pastry, there is so much you can do with it - cream puffs, eclairs, profiteroles.
My first attempt at choux pastry
Many years ago I was throwing a party for about 30 people, and racking my brains for a dessert that was quick to prepare and easy to serve. I'd never made choux pastry before, but I'd just seen a TV program where they made a pile of profiteroles stacked up on a plate. It looked pretty impressive and I thought that would make a good
I found a recipe for choux pastry, dug out my Kenwood Chef and whipped up a batch of dough. I was a bit dubious because the batter was quite runny, but to my surprise, they turned out really well.
The first batch of buns were a bit big because I'd spooned too much mixture onto the baking tray so I made another batch and had another go. By the time I'd got through the third batch of batter, I had enough homemade choux buns to build a pile of profiteroles the size of Mount Everest.
I made a thick custard to fill them with and drizzled them with melted chocolate. They looked and tasted amazing. I got so many compliments ... 'Wow, did you REALLY make these yourself?' ... and requests for the recipe ... 'You have to tell me how you made these' ... it was unbelievable.
Here's a fabulous example of a croquembouche, which is a tower of choux cream puffs piled on top of each other. Mine looked nowhere near as impressive, but it tasted good - so that was all that mattered.
Since then I've made choux pastry many times, and today I'd like to share this recipe for cream puffs with you. Crispy and light choux pastry, filled with whipped cream and dusted with icing sugar. Yum!
Ingredients for Homemade Cream Puffs
Whenever I read a recipe I like to have a look at the ingredients to see whether I have everything I need. To make it easy for you - I've listed the ingredients below. You can get the complete list of ingredients and instructions for making cream puffs in the printable recipe card at the end of this post
You don't need too many ingredients for this recipe, and you probably have most, if not all, in your pantry already.
- Butter - it has to be butter, not margarine
- Water - I know you don't need to buy this, I've just included it in the list of ingredients for completeness.
- Milk
- White Sugar
- Plain Flour (or all-purpose flour). Don't use self-raising flour. You don't need any leavening agents in choux pastry.
- Eggs
- Salt - this is optional but it does add to the flavour of the choux pastry
- Double Cream or whipping cream. Don't think you can buy single cream and get away with it. Single cream won't thicken, even if you whip it all day.
How to make Homemade Cream Puffs
The choux pastry for Cream puffs is made with a mixture of milk and water, butter and eggs, with a small amount of sugar
Melt the butter in the liquid
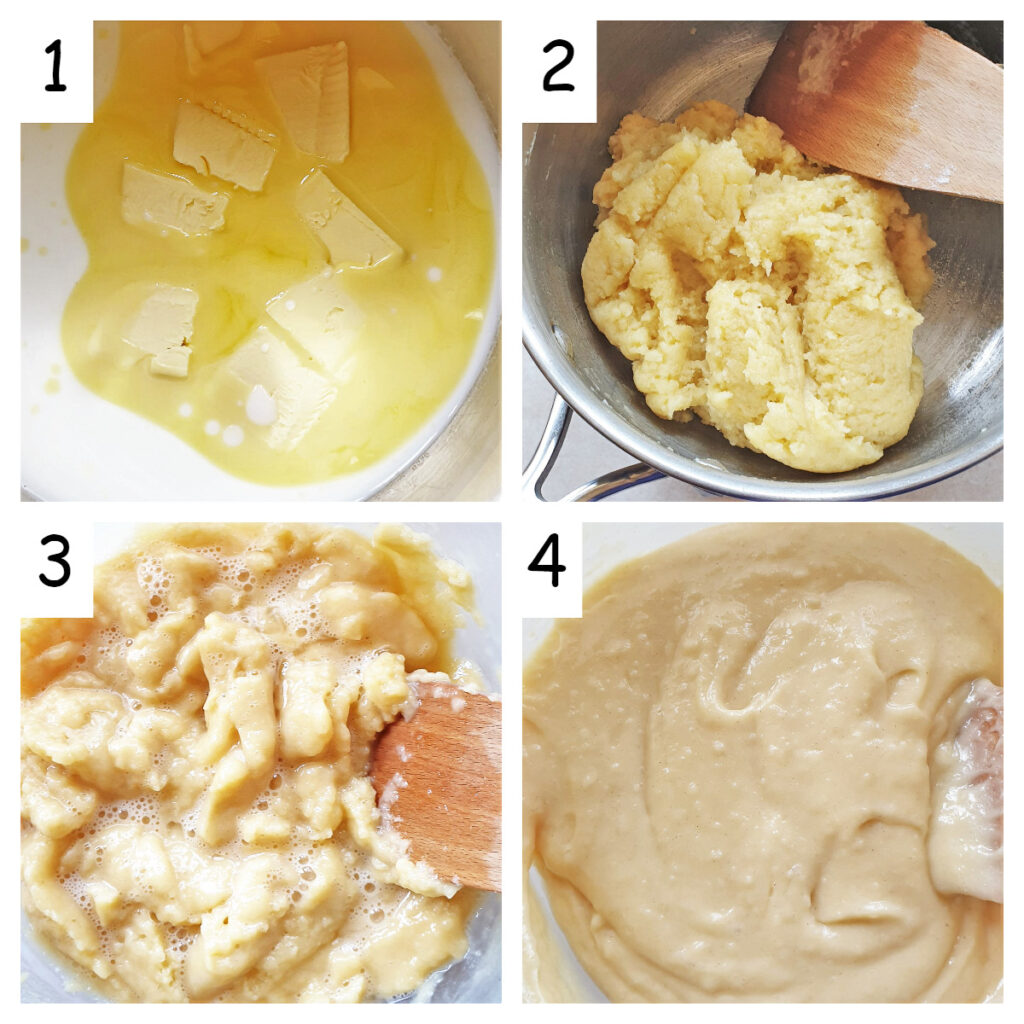
- Place the butter, sugar, salt, milk and water into a saucepan (image 1 above).
- Bring to the boil and stir until the butter has melted.
- Remove from the heat.
Add the flour
- Tip the sifted flour in all at once and beat
vigorously oververy low heat until it comes together in a ball (image 2 above). - Leave the mixture on low heat and keep mixing for about 2 minutes to allow the flour to cook.
Mix in the eggs
- Remove from the heat and allow the mixture to cool. This step is important because you don't want the hot mixture scrambling your eggs as you mix them in.
- Once the mixture is cool add the eggs one at a time and mix thoroughly. The mixture will go lumpy as you add each egg (image 3 above). This is perfectly normal. Just continue mixing until the mixture is smooth again before adding the next egg.
- You could use a mixer to do this and save yourself a lot of hard work. I have a Kenwood Chef that blitzes this together in no time, or you could use a hand mixer. If you are feeling energetic, use a wooden spoon!
- Once all the eggs are beaten in you should have a smooth glossy batter, which should hold its shape if you run the mixing spoon through it (image 4 above).
Bake
- Line a baking tray with baking parchment and brush lightly with water. This water will create extra steam in the oven which will assist in the rising process.
- Drop spoonfuls of the batter onto the baking sheet.
- Depending on how large you want the buns to be you could use either a teaspoon or a tablespoon.
- Alternatively, you could use a piping bag to pipe the shapes.
Tip - If you pipe long shapes with a piping bag, you could make eclairs - which you fill with cream and cover in melted chocolate
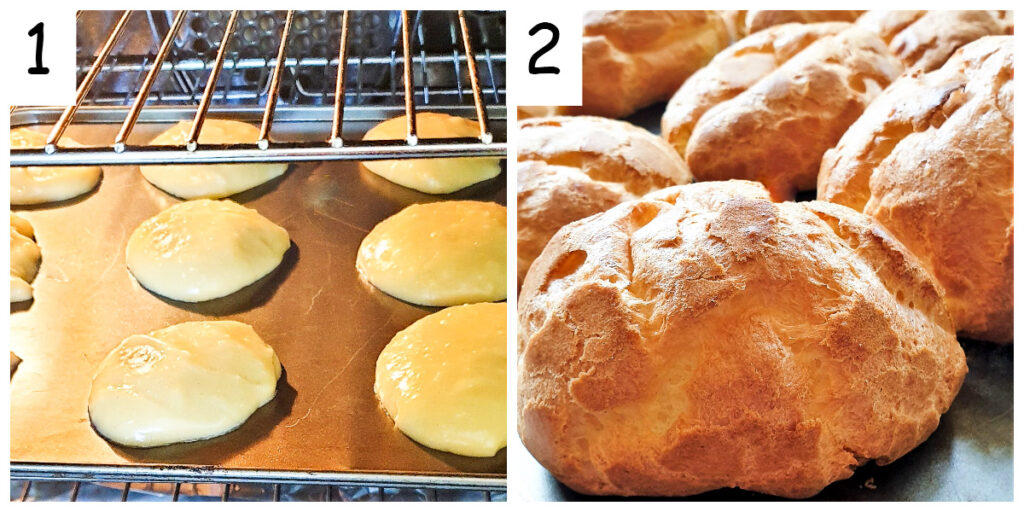
- In the first image above, I used a tablespoon to drop the mixture onto the baking sheet.
- Keep them quite far apart because they will spread as they expand during cooking.
- Place the baking tray in the oven. Bake at 200C / 400F for 20 minutes. This will allow the buns to rise and expand.
- After 20 minutes turn the heat down to 350F/180C and allow them to continue baking for another 10 to 15 minutes. This lower cooking time allows the outside to crisp and hold its shape, and gives the inside of the choux time to finish cooking.
Don't open the oven door for the first 20 minutes or you will allow the important steam to escape and the buns will not rise properly
- Once they are done, remove them from the oven, prick the side of each one with a toothpick and place them on a cooling rack. This allows any steam to escape and prevents the buns from becoming soggy and collapsing.
- You could also allow the buns to cool down in the switched-off oven, with the door open. Doing this lets the outside of the buns dry and harden slightly, which helps them hold their shape.
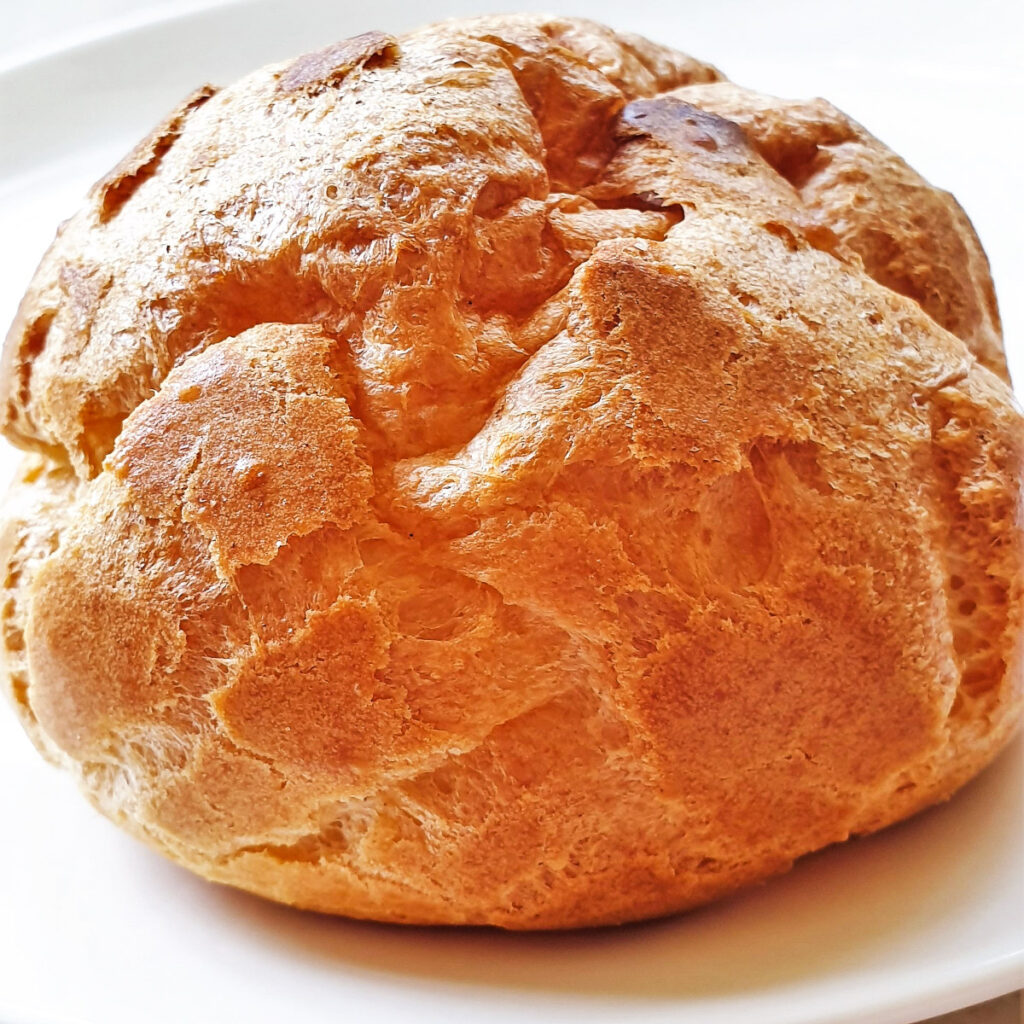
The aim is to get the buns looking like this -
Fill and serve
- When the buns are cool, split them and fill them with whipped cream. Then dust the top with icing sugar and enjoy.
If you'd like to be notified of any new recipes, why not subscribe to my newsletter? As a thank-you gift, you will receive a free recipe e-book containing some of my most popular cakes and desserts.
Save for later
Why not save this recipe for cream puffs to one of your Pinterest boards so you can find it easily? Just click the image below.
Alternatively, you can save the recipe by clicking on the floating heart icon on the right-hand side of the screen.
Other creamy desserts
If you enjoyed these cream puffs you may also like these other creamy desserts:
- Chocolate Magic Cake - mixed in one bowl, but magically separates into 3 layers while baking.
- Easy Coconut Pie - this pie forms a creamy layer of custard at the bottom, and a crispy coconut topping.
- South African Milk Tart - a traditional South African custard-type dessert.
- Black Forest Trifle - the ultimate in creamy indulgence.
📋The recipe
Homemade Cream Puffs
(Click the stars to rate this recipe)
Equipment
- Kenwood chef or
Ingredients
- 4½ ounce (125g) Butter (cubed)
- ½ cup Water
- ½ cup Milk
- 2 teaspoons White Sugar
- 1 cup (140g) Plain Flour
- 4 large Eggs (beaten)
- ½ teaspoon Salt
- 1 cup Double Cream (whipped until stiff)
Instructions
- Preheat oven to 400°F / 200°C
- Place the butter, milk, water, sugar and salt into a saucepan and bring to the boil. Stir to ensure the butter has completely melted
- Remove from the heat and add the flour all at once.
- Return to a low heat and mix vigorously until the mixtures comes together into a ball and the flour is completely combined.
- Allow to cool.
- Add the beaten egg a little at a time, mixing well after each addition to incorporate all the egg.
- Line a baking tray with baking parchment and brush .lightly with water. Shake off any excess water.
- Place spoonfuls of the mixture onto the baking tray. Leave about 4 cm between each one to allow for expansion during baking.
- Place the baking tray into the oven and bake for 20 minutes
- Now reduce the heat to 350°F / 180°C and allow to bake for a further 10 to 15 minutes until well risen and golden.
- Remove from the oven and prick each one with a toothpick to release any steam.
- Allow to cool on a wire rack and then fill with whipped cream. Dust with icing sugar.
Notes
Nutrition
I am not a nutritionist. The nutrition information has been calculated using an on-line calculator, and is intended for information and guidance purposes only. If the nutrition information is important to you, you should consider calculating it yourself, using your preferred tool.
If you made this recipe and enjoyed it, I'd love it if you could give me a star rating in the comments below. And if you'd like to get in touch, you can email me at [email protected]. I'd love to hear from you. And don't forget to subscribe to my mailing list so you can grab yourself a copy of my FREE COOKBOOK!
If you'd like to continue browsing, just click on this link to all my recipes.






Jayne
Hi VJ, love your recipes this will be my first attempt at Choux pastry and I wondered if it will work if I half the ingredients?
VJ
Hi Jayne - thank you - so please you like my recipes. I haven't actually made this pastry with half the ingredients, but I've just had a look at the recipe and I can't see why it wouldn't work. It'd love to know how they turn out 🙂
Jayne
Hi VJ I halved the recipe and it made 6 good sized choux buns. I was very happy with how they turned out. They held their shape and I was surprised by how much flavour they had before putting anything in or on them. I do think I could have baked them for a shorter time at the high temperature and a longer time at the lower temperature but that is down to my oven and not your recipe. Overall this was a great recipe for my first attempt at choux pastry, so thank you. I would encourage others to try it as they were really good.
VJ
Thanks for letting me know. I'm glad they turned out well for you!
Mel storey
These cream puffs are delicious , they are quick to make , I put lemon curd in mine topped with whipped vanilla cream , they are light & fluffy and devoured by the whole family
VJ
Thanks for the comment Mel. I'm so please you enjoyed them 🙂