If you grew up with old-fashioned milk jelly desserts made by whisking evaporated milk with jelly, this recipe will bring back memories. This version combines that light, fluffy mousse with fresh seasonal cherries for a simple no-bake cherry dessert that's just as delicious today as it was years ago.
Do you remember the old-fashioned milk jelly desserts our mums and grandmothers used to make? By whisking evaporated milk with jelly, they transformed two simple ingredients into a light, airy mousse that seemed to treble in volume. It was one of those wonderfully economical puddings that appeared in recipe books and family kitchens for generations.
I grew up eating something similar in South Africa, where it was served with chopped fruit folded through the fluffy jelly mixture. It was wonderfully refreshing, served straight from the fridge on a hot summer's day, and always seemed to disappear remarkably quickly.
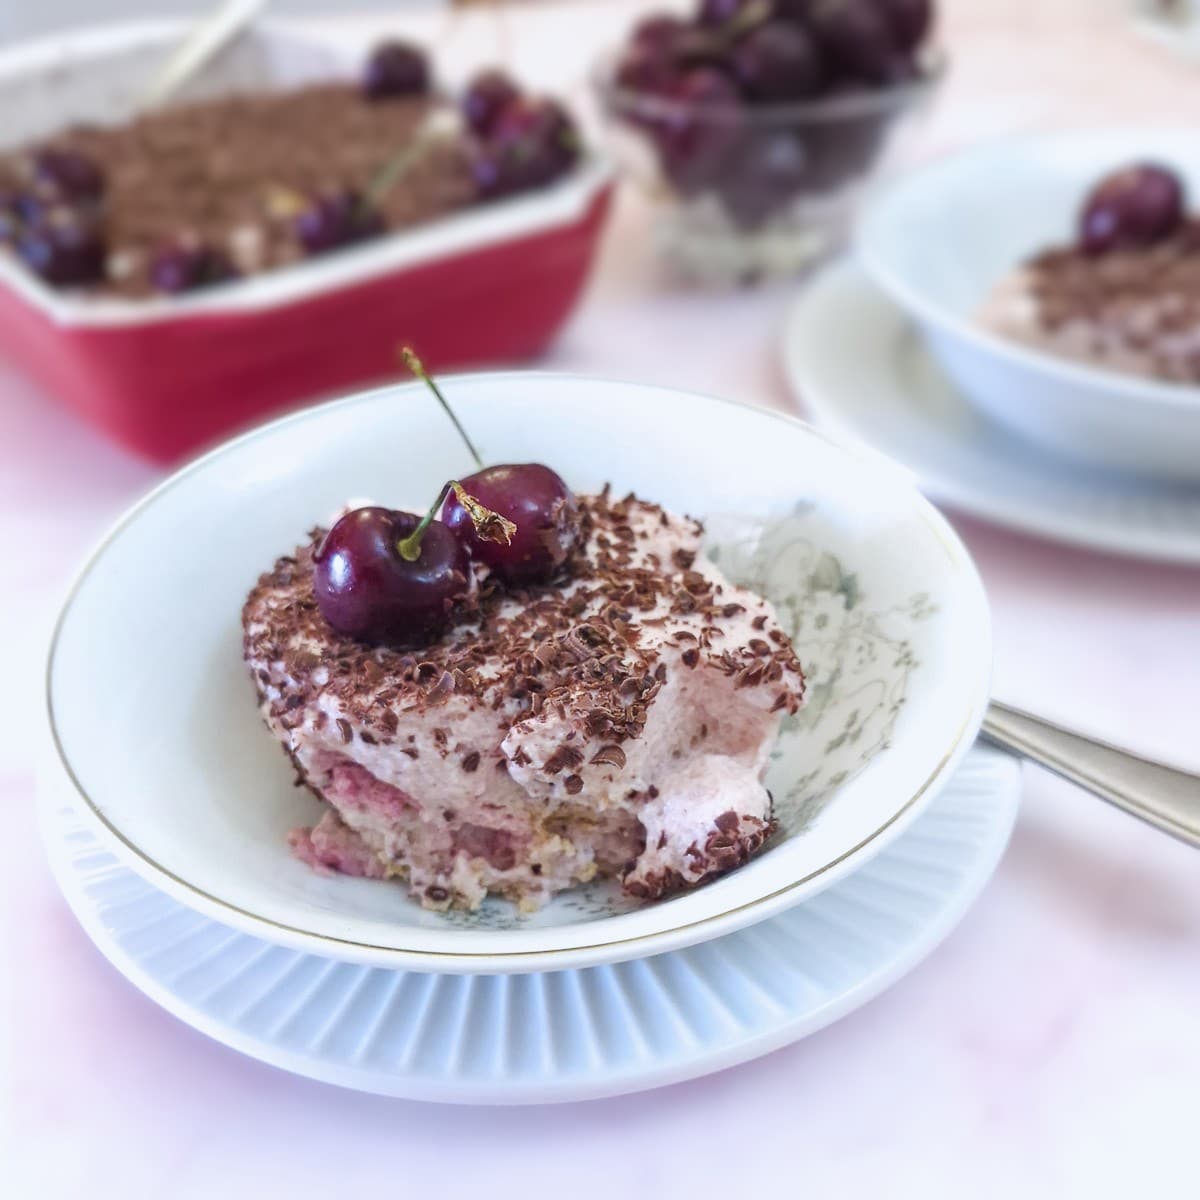
With the UK enjoying a spell of hot weather, I couldn't think of a better time to revive this nostalgic cherry milk jelly dessert. This version gives the classic recipe a fresh seasonal twist by folding juicy fresh cherries into the mousse, creating a light, refreshing no-bake dessert that's just perfect for summer.
Jump to:
- Milk jelly cherry dessert at a glance
- Why you'll love this summer cherry dessert recipe
- Ingredients for this fabulous cherry dessert
- How to make a cherry-flavoured milk jelly dessert
- Tips for a successful outcome
- Make it without biscuits
- Turn it into a black forest type dessert
- Storage and freezing
- FAQ
- Save for later
- Related recipes
- 📋The recipe
Milk jelly cherry dessert at a glance
- Recipe overview: Whip evaporated milk and jelly together until trebled in volume. Fold in softened cherries. Layer between biscuits and top with grated chocolate and extra cherries. Refrigerate until set.
- Main ingredients: Evaporated milk, black cherry jelly, plain biscuits, fresh cherries, dark chocolate (optional) for garnish.
- Prep time: 10 minutes
- Setting time: 2 - 3 hours in the refrigerator
- Yield: 8" x 12" dish of dessert.
- Difficulty: Easy
Why you'll love this summer cherry dessert recipe
- Economical: Made with just a handful of inexpensive ingredients, this cherry fridge tart comfortably serves 8 to 10 people. Better still, it stays fresh in the refrigerator for up to 4 days, making it perfect for preparing in advance or enjoying over several days.
- Versatile: Layer the cherry mousse with biscuits for a nostalgic fridge tart, or simply fold the cherries into the fluffy milk jelly, add a splash of Kirsch or cherry brandy, and spoon it into individual glasses for an elegant dinner party dessert.
- Light and refreshing. Unlike rich cheesecakes or creamy mousses, this fresh cherry dessert is wonderfully light and airy. It's the perfect ending to a summer meal when you fancy something sweet without it being too heavy.
- No baking required. When the weather is hot, the last thing you want to do is switch on the oven. This simple cherry fridge tart comes together with very little effort, and you can leave it to chill in the refrigerator until you're ready to serve it.
- Perfect for seasonal fruits. Fresh cherries add bursts of juicy sweetness, but this recipe is just as delicious made with peaches, apricots, berries or other soft fruits when they're in season. Just swap the flavour of the jelly to suit the fruit you use.
Ingredients for this fabulous cherry dessert
**This is just an overview to explain why I used a particular ingredient. The exact ingredient measurements are on the printable recipe card at the end of this post.**
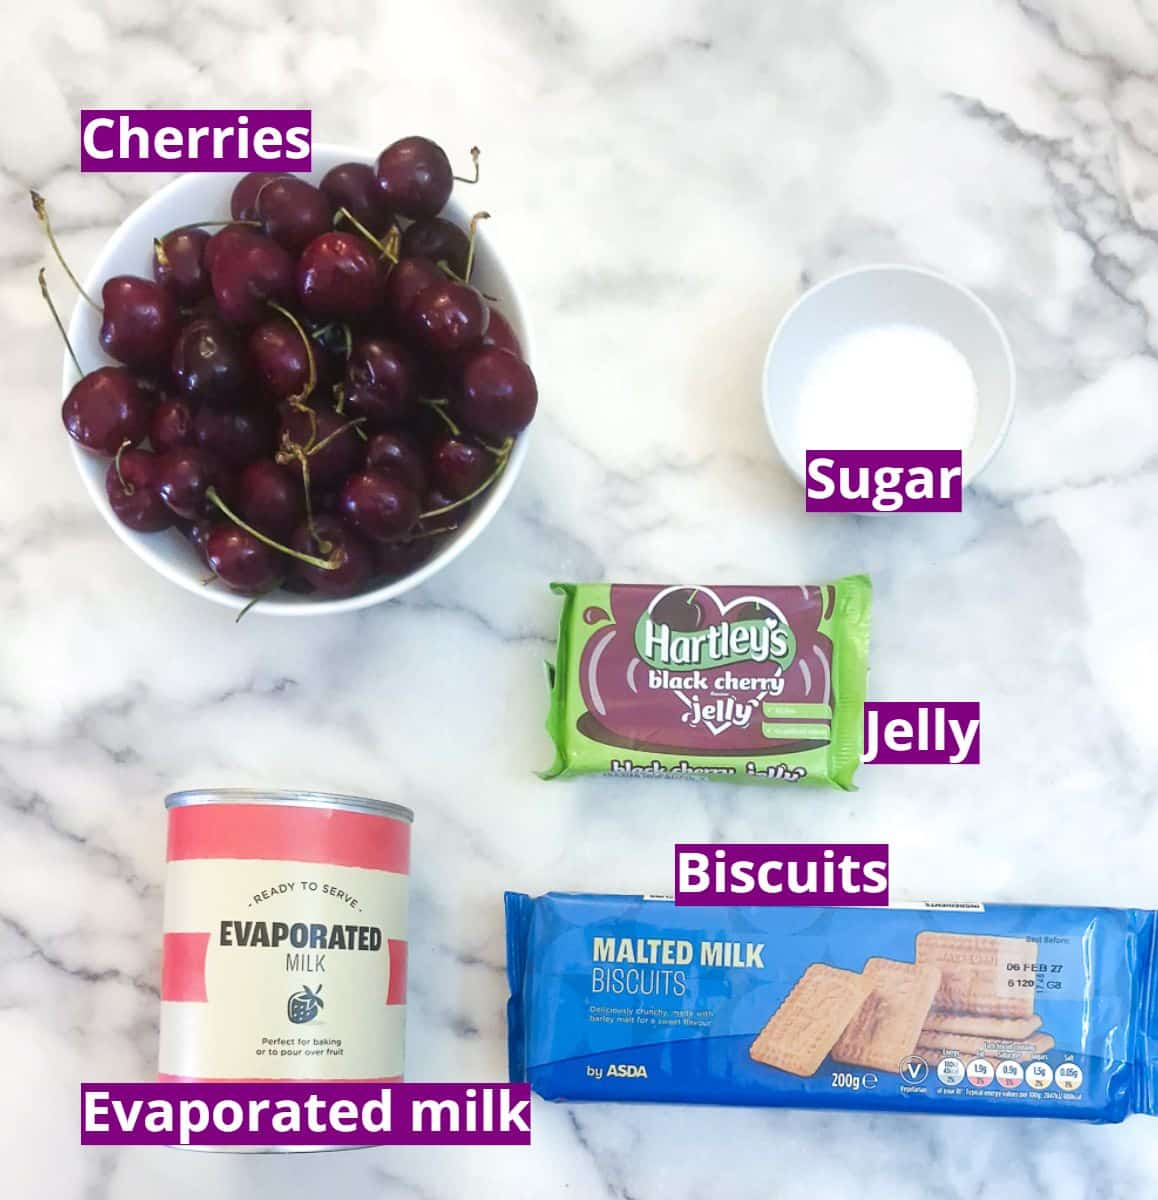
- Cherries. I made this with fresh cherries, but could also use frozen or canned cherries. If using fresh cherries, you should remove the pips; no one wants to break a tooth on a cherry stone! Frozen cherries should be defrosted. If using canned cherries, they should be drained. Try to find cherries canned in natural juice rather than syrup, as the ones canned in syrup may be too sweet.
- Sugar. This is just a small amount - and used for softening the fresh cherries. It's also optional, as the cherries may be sweet enough without it. You won't need sugar if you are using frozen or canned cherries.
- Jelly - I believe US readers call it jello. You can use either solid gelatine or jelly crystals. It should be dissolved in half a cup of boiling water and allowed to cool before being used. I used black cherry flavoured jelly, but if you can't get that, either raspberry or strawberry jelly makes an excellent substitute.
- Evaporated milk. Chill the evaporated milk in the fridge overnight (or at least for a few hours) before beating. Chilled milk will increase in volume and whip up more easily than milk at room temperature. Evaporated milk is simply milk that has had half of the water content removed.
- Biscuits. I wanted a plain-flavoured biscuit, so I opted for Malted Milk. You could use Tennis, Nice, Marie (or Maria), or Rich Tea biscuits. If you're in the US, you'll probably want to use Graham crackers.
- Dark chocolate (not pictured and optional). I like to sprinkle a layer of grated dark chocolate on top of the dessert and decorate with a few extra cherries.
How to make a cherry-flavoured milk jelly dessert
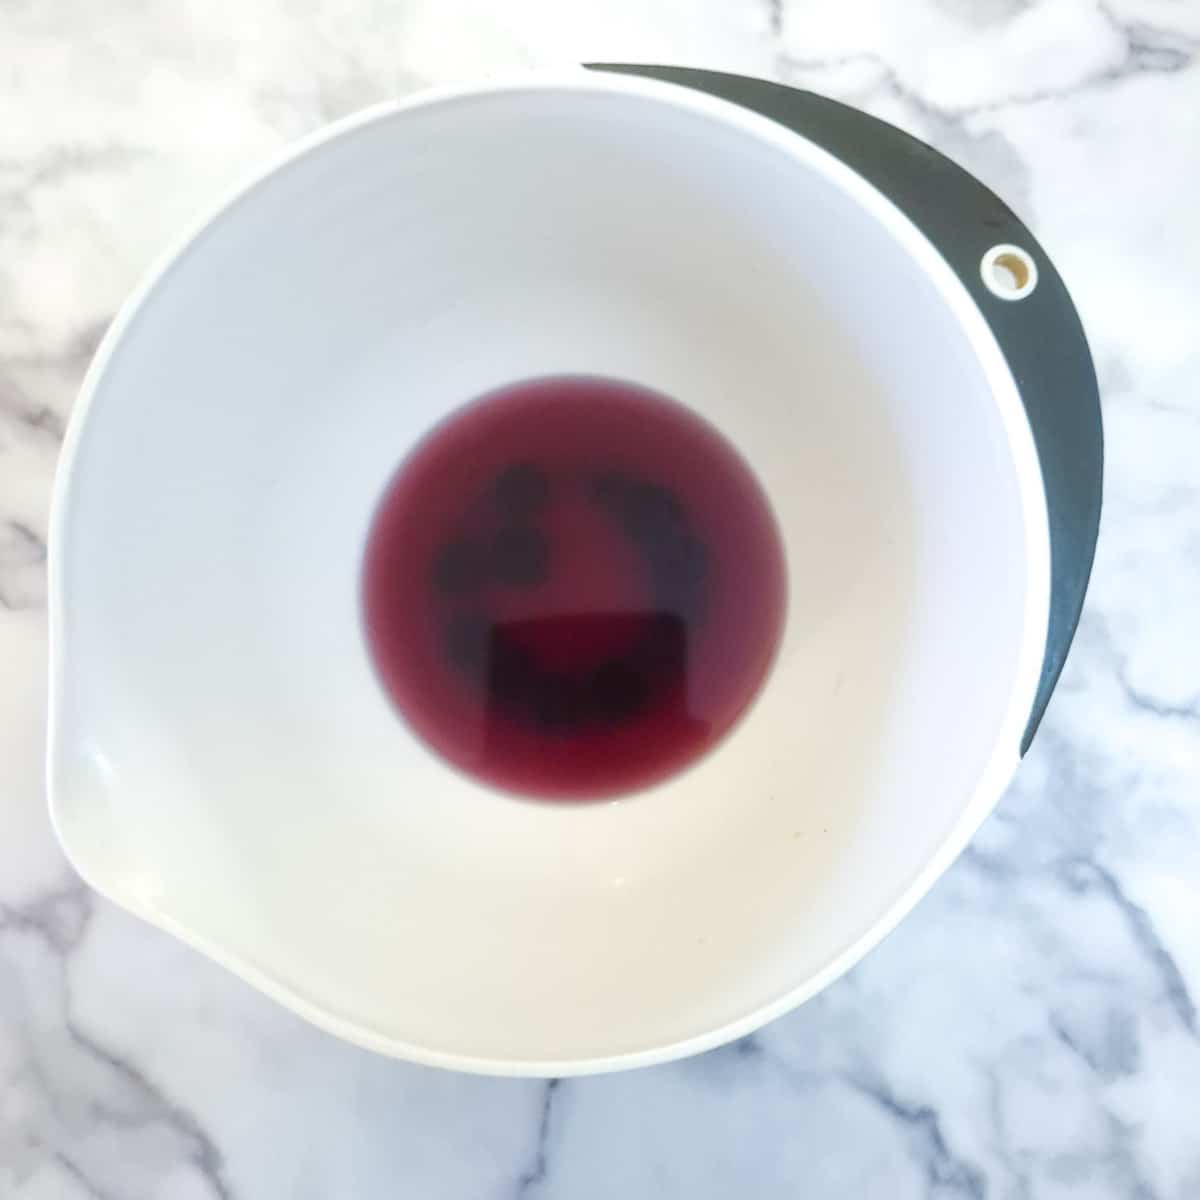
Step 1: Dissolve the jelly in half a cup of boiling water. Set aside to cool.
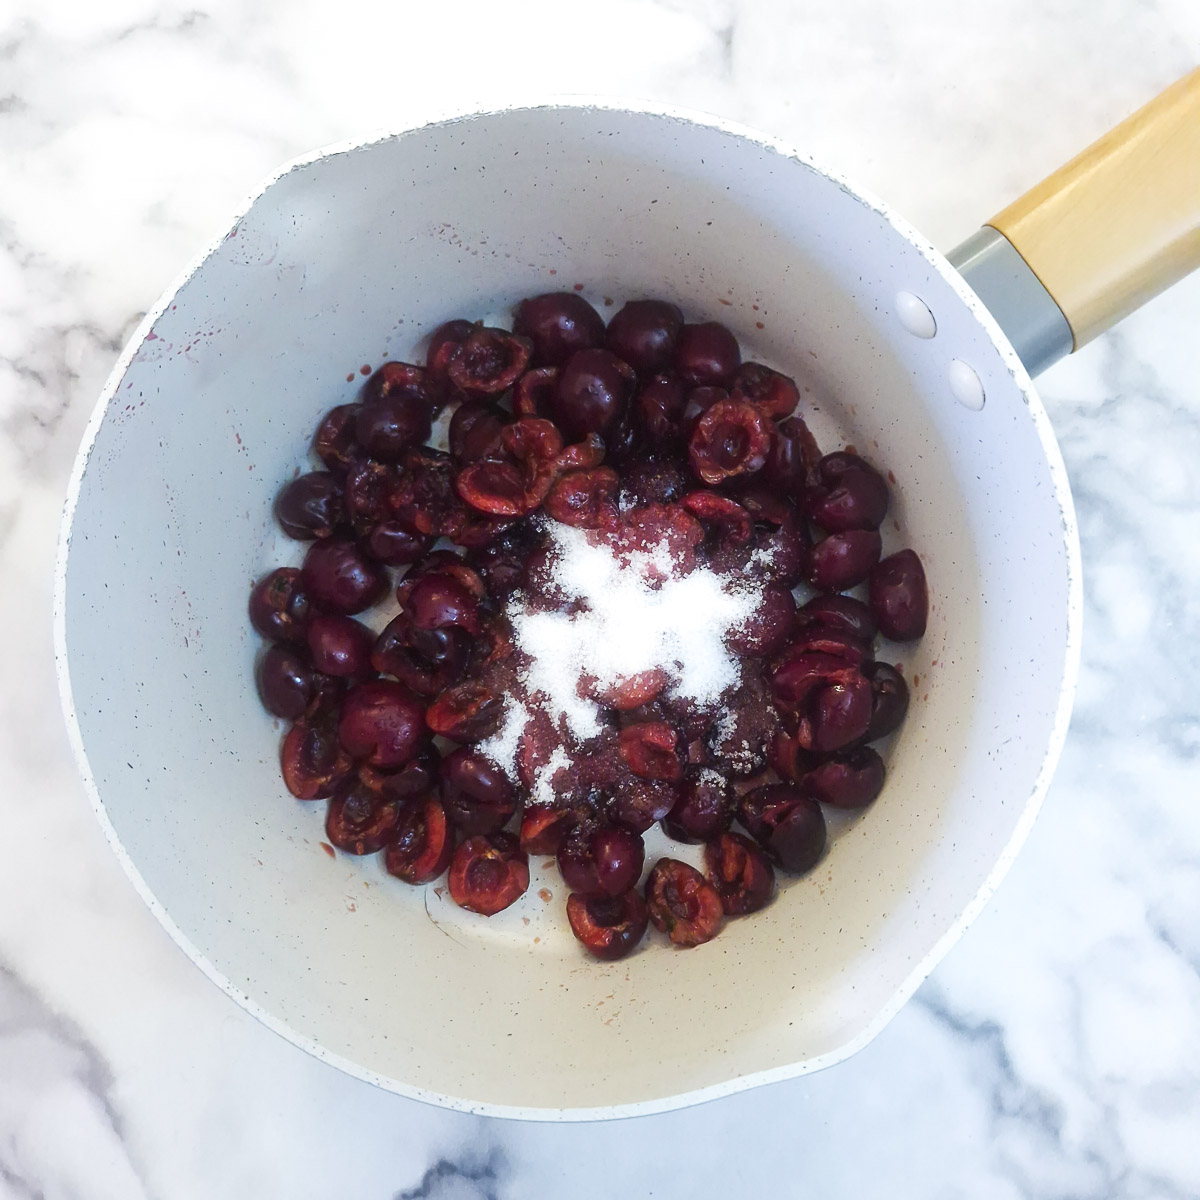
Step 2: Remove the pips from the fresh cherries and place the cherries in a saucepan with the sugar (if using) and 1 tablespoon of water.
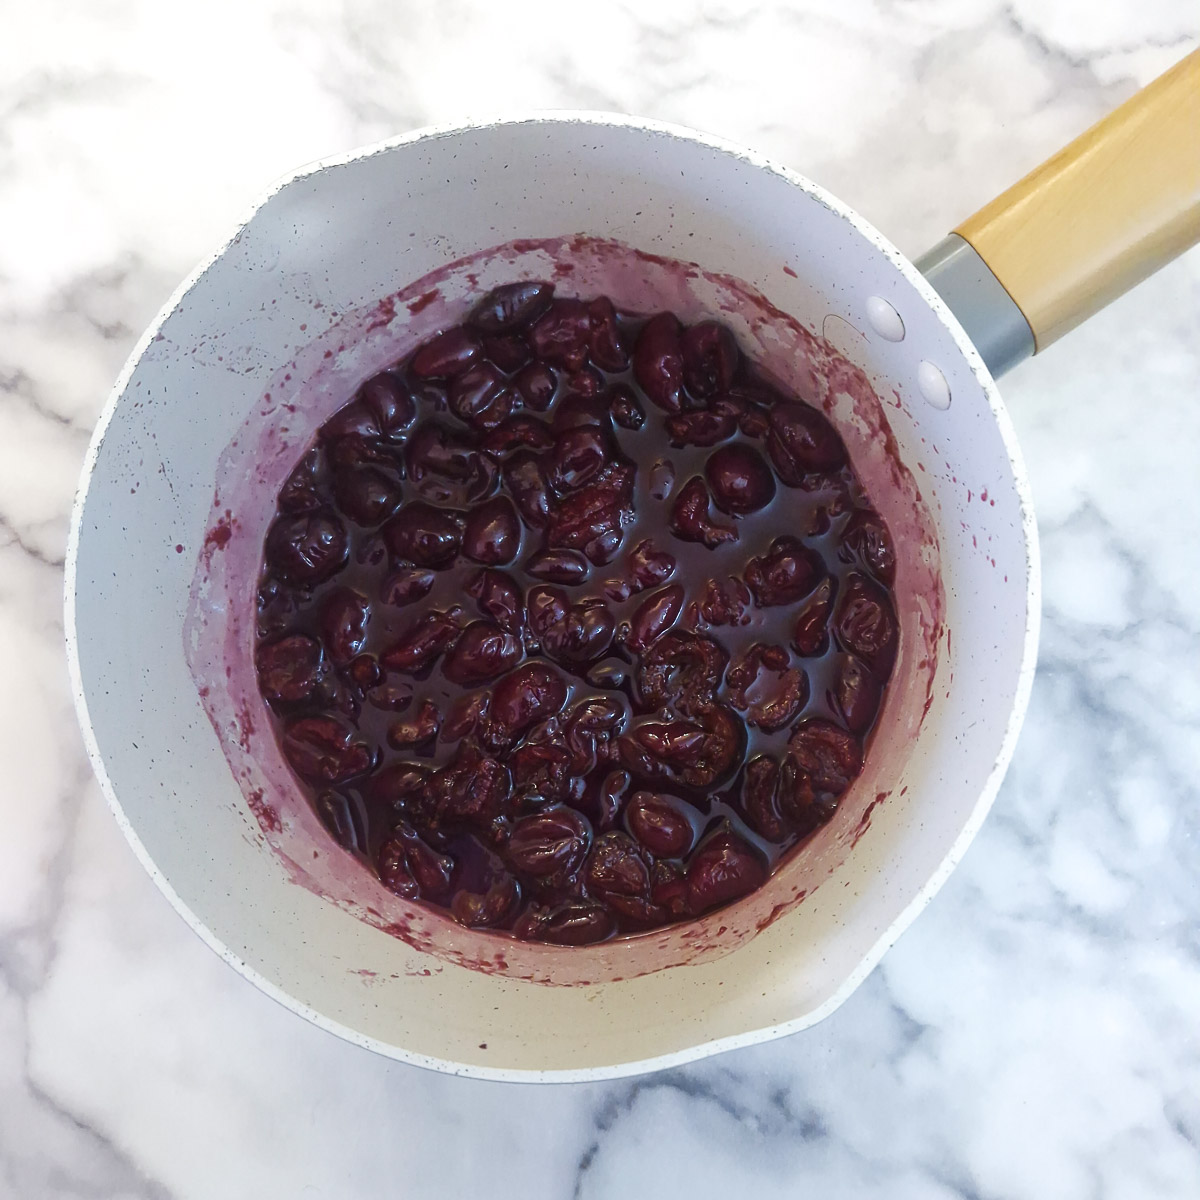
Step 3: Bring to a boil, then turn the heat down and simmer for 5 minutes to allow the cherries to soften slightly. Set aside to cool.
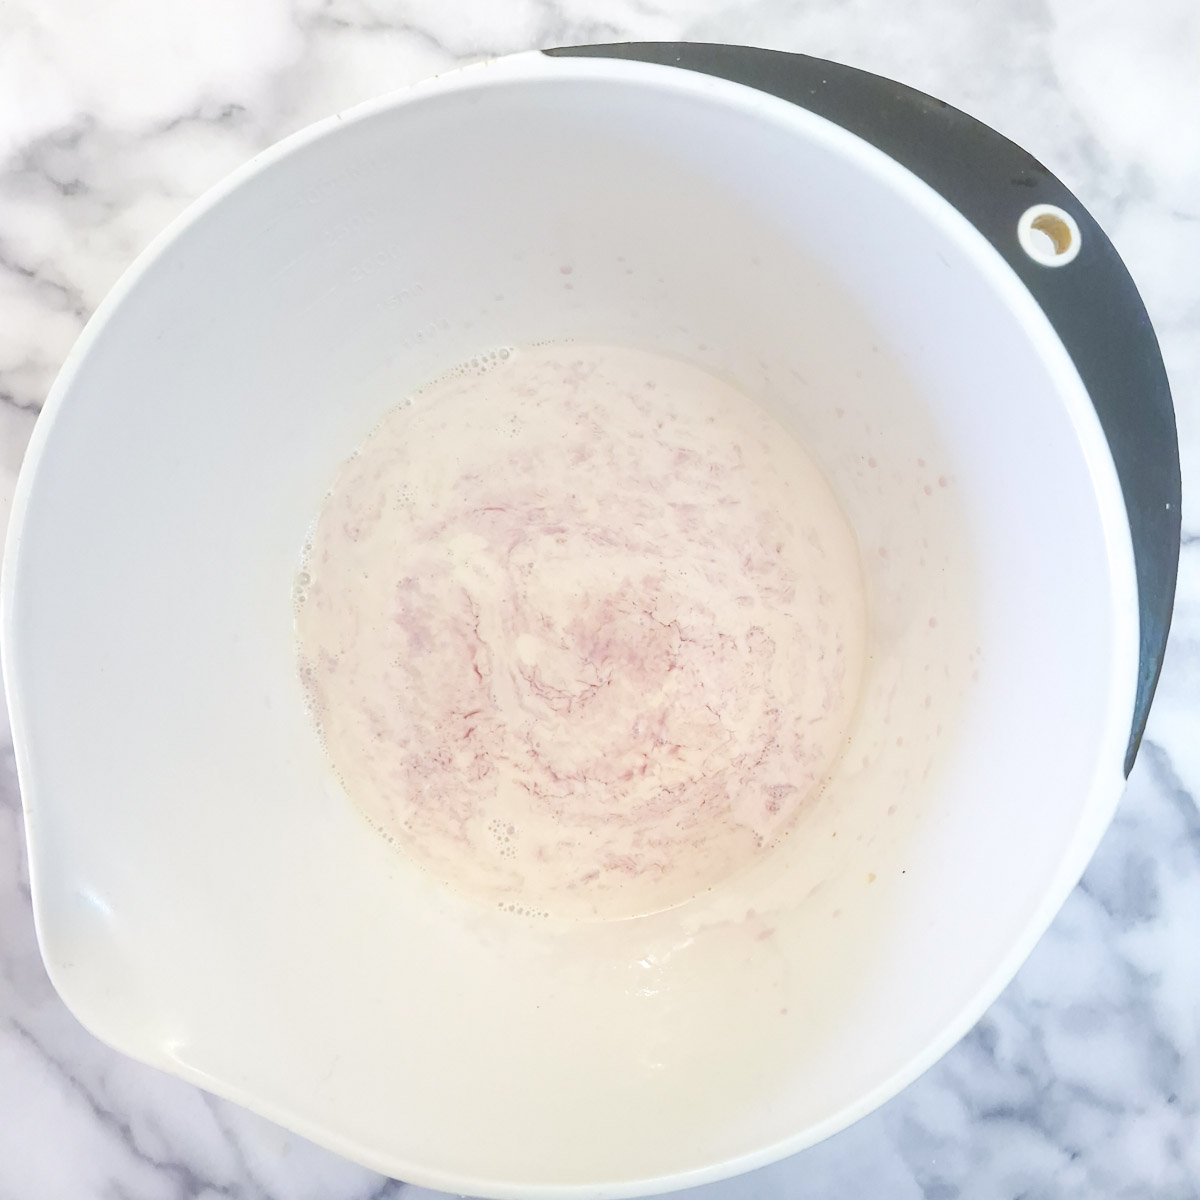
Step 4: Place the evaporated milk and the cooled jelly mixture into a large mixing bowl.
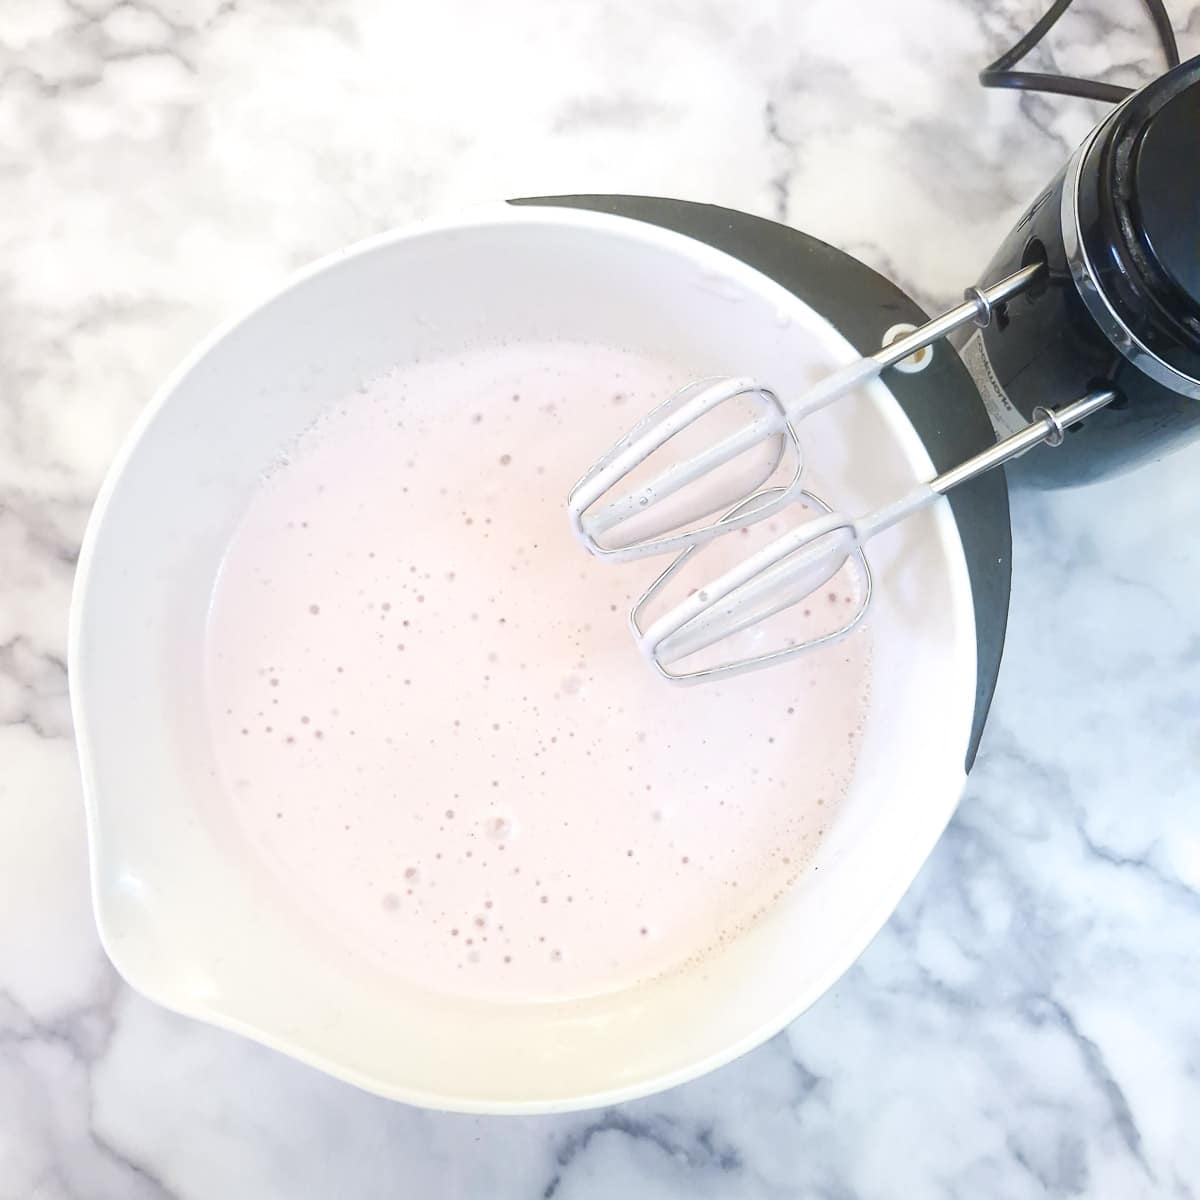
Step 5: Beat with an electric hand mixer for about 5 minutes, or until tripled in volume. The mixture should leave a trail on the surface when you draw the whisk through it and have a mousse-like consistency.
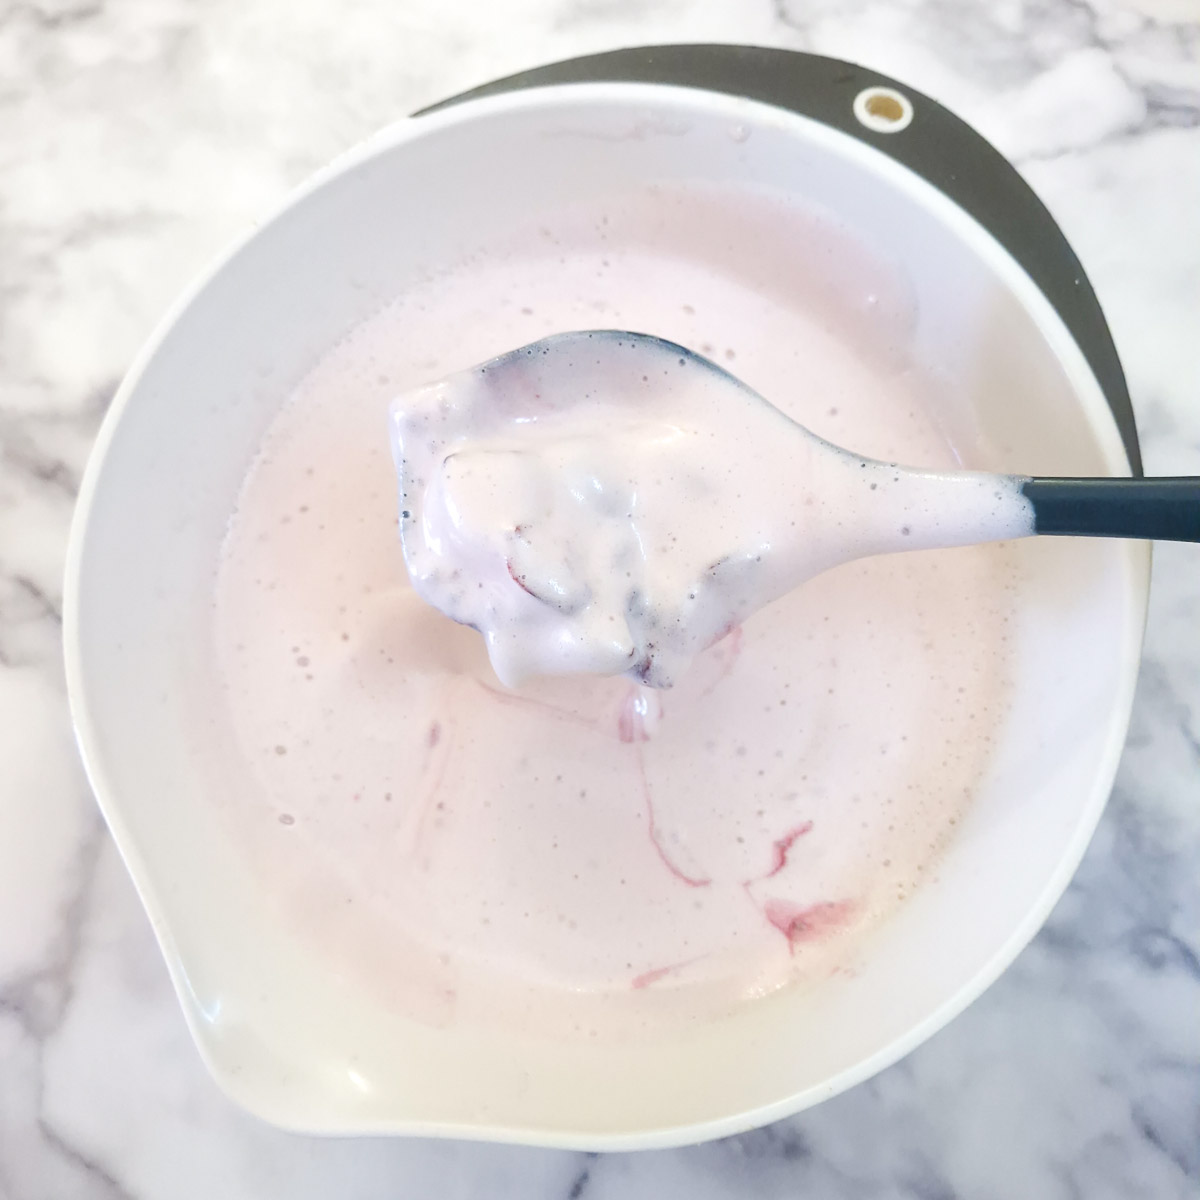
Step 6: Stir in the cooled cherries, along with any liquid from the pan.

Step 7: Arrange a single layer of biscuits in a serving dish.
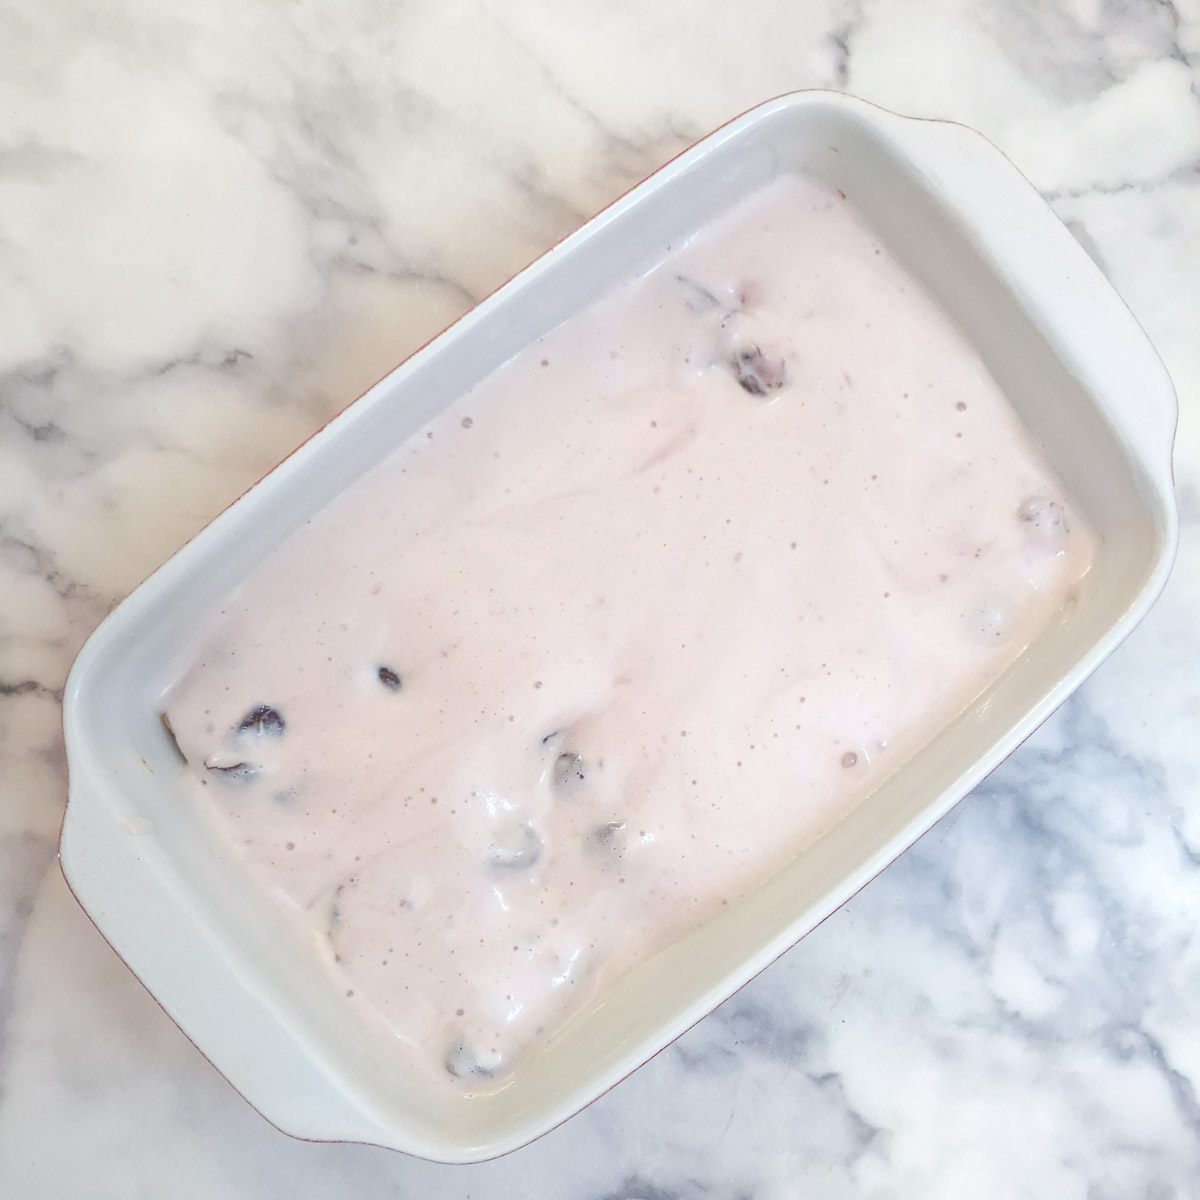
Step 8: Top with half of the cherry mixture.
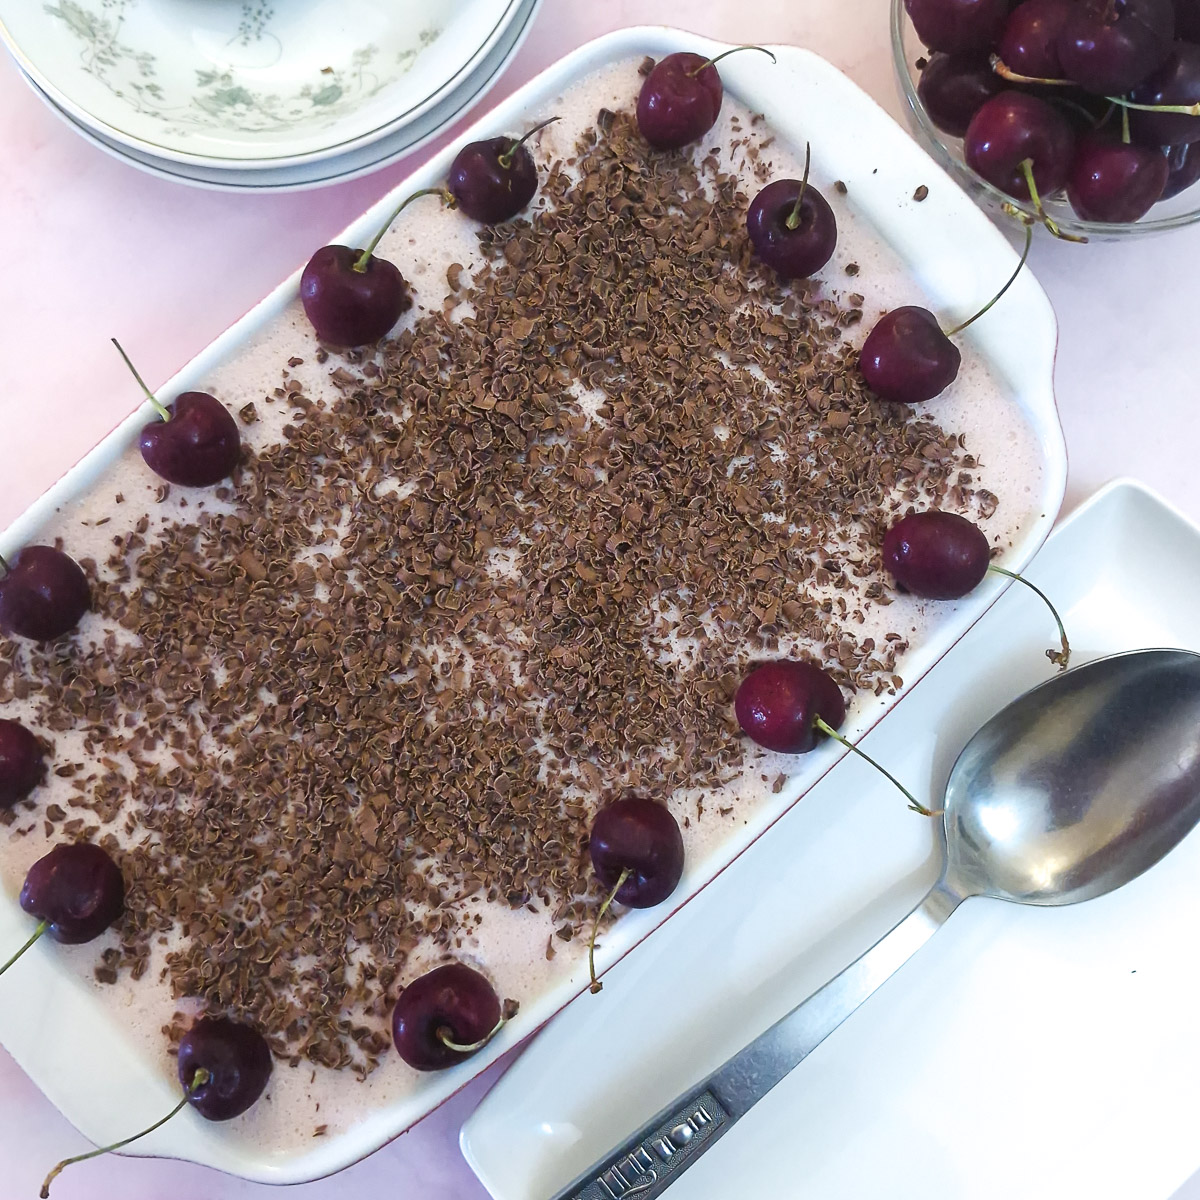
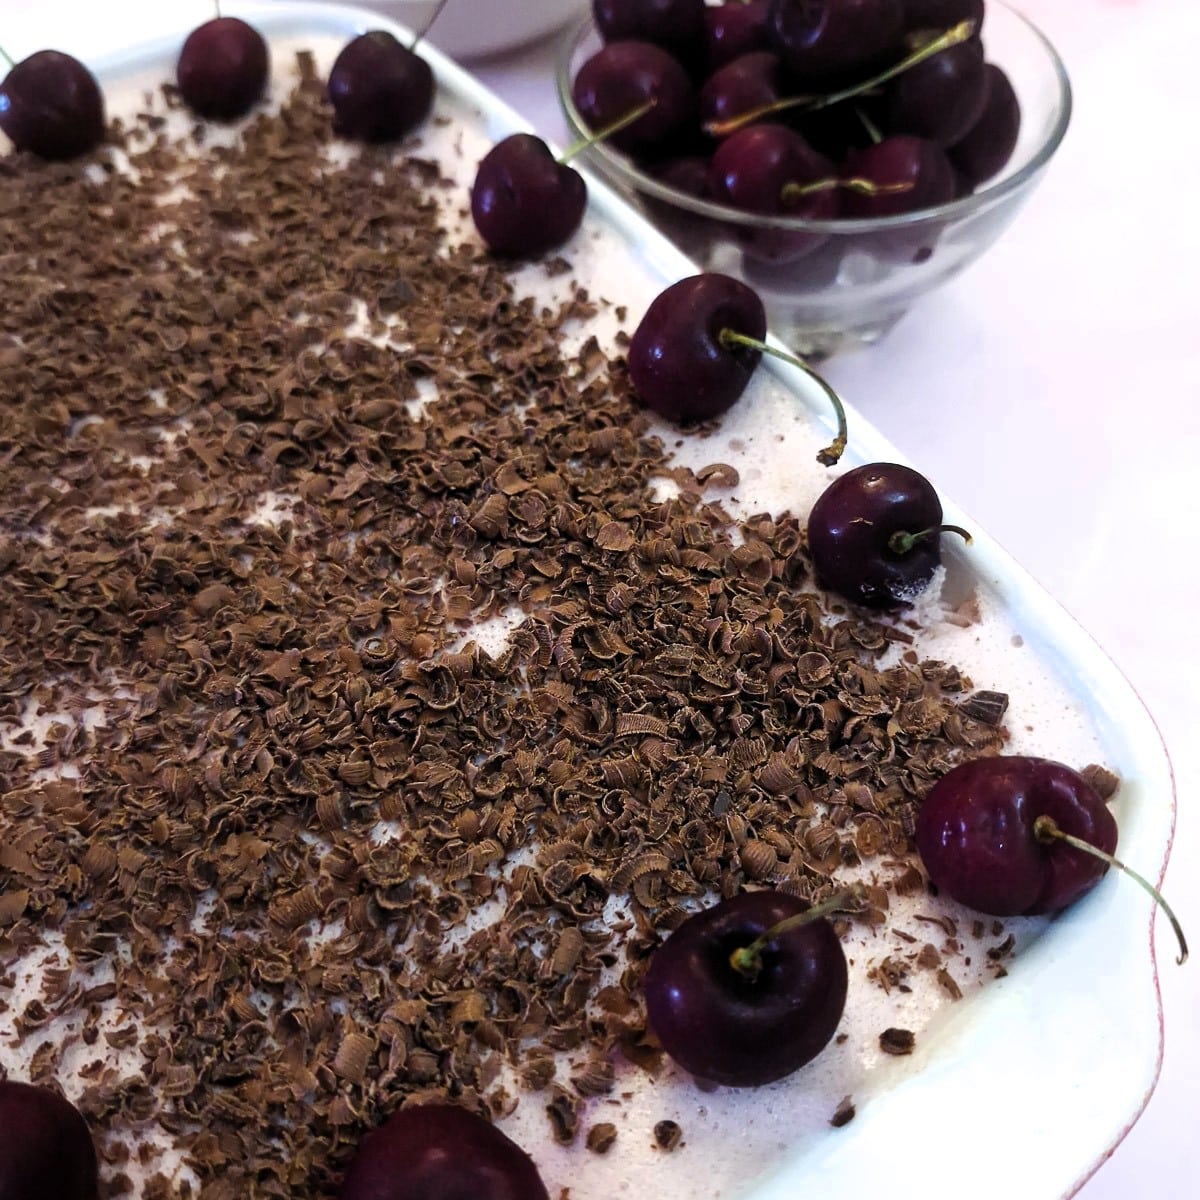
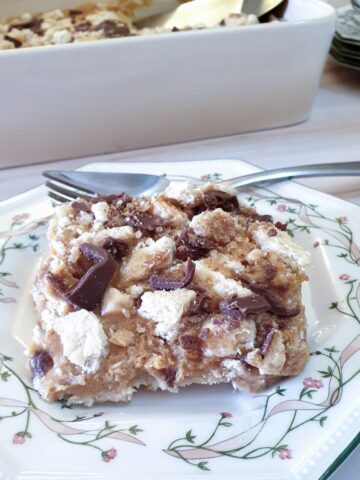
Step 9: Repeat with a second layer of biscuits and the remaining cherry mixture. Optionally decorate with grated chocolate and a few extra cherries. Leave it in the refrigerator for 4 hours, or preferably overnight, to set. Serve chilled.
Tips for a successful outcome
Here are my top tips to ensure your summer cherry dessert turns out perfectly every time:
- Chill the evaporated milk before starting to whip it - you'll get a much better volume from chilled milk.
- Don't allow the jelly to set - as soon as the jelly is lukewarm, add it to the cold evaporated milk. If you leave the jelly for too long, it will set, and you won't be able to whip it with the milk.
- Use a large mixing bowl. The evaporated milk more than triples in volume need a large enough bowl to hold it.
- Use an electric mixer if possible. An electric hand mixer or a stand mixer is best for whipping the evaporated milk. I remember standing for hours back in the day with one of those old-fashioned rotary beaters that you had to turn by hand - they certainly gave your arm muscles a good workout. I honestly don't know whether a balloon whisk would do the job, and I'm not prepared to try. It probably would work, but it would take a long time. and a lot of effort.
- When spooning the cherry mousse over the biscuits, try to keep the cherries more or less evenly spaced in the layers.
Make it without biscuits
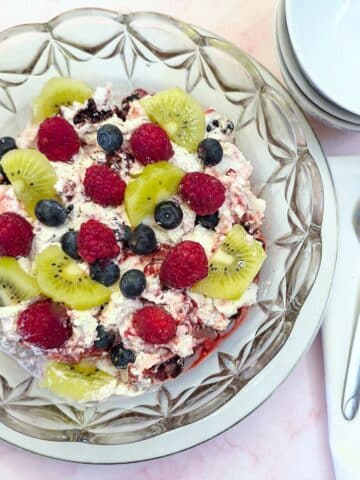
You don't have to use biscuits for this cherry mousse dessert if you don't want to. Simply transfer the mixture into a serving dish, decorate with chocolate shavings and cherries if you want to and let it chill in the refrigerator. It will set to a firm light consistency that holds its shape - a bit like a really thick custard or a chocolate mousse.
Turn it into a black forest type dessert
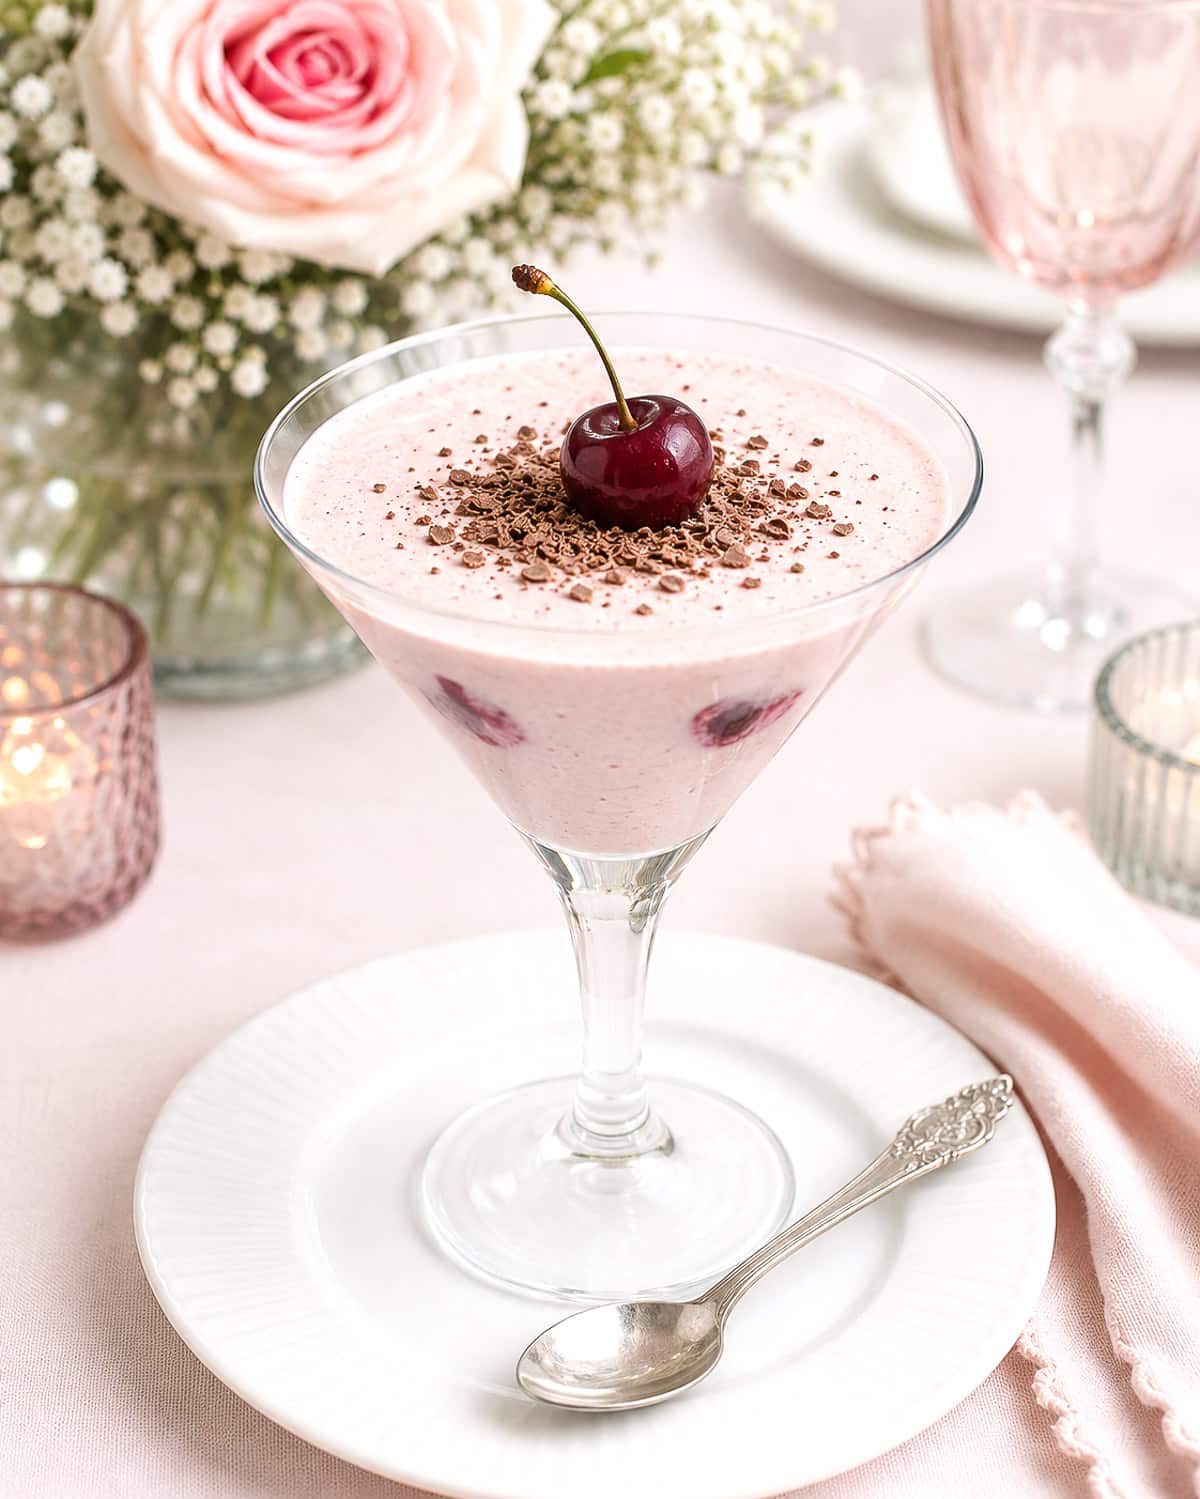
Made without biscuits, you can easily turn this into a sumptuous black forest-type cherry dessert for a dinner party.
- Add a splash of Kirsch or cherry brandy to the cherry mousse, then spoon the mixture into martini glasses.
- Decorate with chocolate shavings and add a cherry on top, with a few more on the plate next to the glass.
- If you want to make it richer, add a scoop of whipped cream before sprinkling with chocolate and adding the fresh cherry.
I have to admit I only thought of this option after I'd scoffed the entire dish, so I had to get AI to generate an image for me. In the interests of keeping my waistline (sort of) under control, I didn't feel that I should make another batch just to get another photo!
Storage and freezing
- Refrigerator. Store covered in the refrigerator for up to 4 days. The biscuits will soften over time, making the dessert even more cake-like.
- Freezer. I don't recommend freezing this dessert. The light, airy texture is created by whisking air into the evaporated milk before the jelly sets. Freezing and thawing can cause the jelly to release moisture, leaving the mousse grainy and watery. For best results, keep it in the refrigerator and serve chilled.
FAQ
It's called milk jelly because of the ingredients - evaporated milk and jelly. You may also hear it referred to as 'Flummery' or 'jelly fluff'. In South Africa, we used to call it 'Ideal Milk Tart', Ideal milk being a popular brand of evaporated milk.
Not quite. Traditional milk jelly is usually made by dissolving jelly directly into the milk and allowing it to set. This version is made by whisking chilled evaporated milk with the jelly to incorporate a lot of air and create a lighter, fluffier dessert.
You whisk the evaporated milk to incorporate as much air as possible into the mixture. As you whisk, the milk and the cooled jelly become light and foamy, often trebling in volume. Once chilled, the jelly sets, trapping the tiny air bubbles and giving the dessert its soft, mousse-like texture.
No, the recipe has been developed specifically for evaporated milk, which whips into a light, airy mousse when combined with cooled jelly. Whipped cream will simply thicken and produce an entirely different texture.
Save for later
If you would like to try this milk jelly cherry dessert, why not save the recipe to one of your Pinterest boards so you can find it easily? Just click the image below.
Alternatively, you can save the recipe by clicking on the floating heart icon on the right-hand side of the screen.
Related recipes
Visit my cake, biscuit and dessert recipes page for other tasty treats. Here are a few you might enjoy:
📋The recipe

Milk jelly cherry dessert
(Click the stars to rate this recipe)
Equipment
- Saucepan
- Serving dish 8" x 12" or 20 x 30 cm
- Large mixing bowl
- Electric hand mixer
Ask a Question
If you have a question about this recipe that has not been answered, please use the box below to ask it.
Use this with care. This is an AI-generated result and may contain errors or inaccuracies. I cannot be held responsible for the information returned.
Ingredients
- 14 ounces / 400 grams fresh cherries seeds removed.
- 1 tablespoon / 15 grams white sugar optional
- 1 tablespoon water
- 1 black cherry jelly or use raspberry or strawberry
- ½ cup /120 ml boiling water
- 14½ ounces / 410 gram can evaporated milk
- 7 ounces / 200 grams malted milk biscuits or similar plain biscuits
Topping (optional)
- 2 ounces / 60 grams fresh cherries
- 2 ounces / 60 grams dark chocolate grated
Instructions
- Dissolve the jelly in half a cup of boiling water. Set aside to cool.1 black cherry jelly, ½ cup /120 ml boiling water
Prepare the cherries
- Remove the pips from the fresh cherries and place the cherries in a saucepan with the sugar (if using) and 1 tablespoon of water.14 ounces / 400 grams fresh cherries, 1 tablespoon water, 1 tablespoon / 15 grams white sugar
- Bring to a boil, then turn the heat down and simmer for 5 minutes to allow the cherries to soften slightly. Set aside to cool.
- If using frozen cherries, allow them to defrost and drain the juice.If using canned cherries drain the juice
Make the cherry mousse
- Place the evaporated milk and the cooled jelly mixture into a large mixing bowl.14½ ounces / 410 gram can evaporated milk
- Beat with an electric hand mixer for about 5 minutes, or until tripled in volume. The mixture should leave a trail on the surface when you draw the whisk through it and have a mousse-like consistency.
- Stir in the cooled cherries (or defrosted or canned cherries), along with any liquid from the pan.
- Arrange a single layer of biscuits in a serving dish.7 ounces / 200 grams malted milk biscuits
- Top with half of the cherry mixture.
- Repeat with a second layer of biscuits and the remaining cherry mixture.
Decorate (optional)
- Optionally decorate with grated chocolate and a few extra cherries.2 ounces / 60 grams fresh cherries, 2 ounces / 60 grams dark chocolate
- Leave the dessert in the refrigerator for 4 hours, or preferably overnight, to set. Serve chilled.
Notes
- Chill the evaporated milk before starting to whip it - you'll get a much better volume from chilled milk.
- Don't allow the jelly to set - as soon as the jelly is lukewarm, add it to the cold evaporated milk. If you leave the jelly for too long, it will set, and you won't be able to whip it with the milk.
- Use a large mixing bowl. The evaporated milk more than triples in volume need a large enough bowl to hold it.
- Use an electric mixer if possible. An electric hand mixer or a stand mixer is best for whipping the evaporated milk. I remember standing for hours back in the day with one of those old-fashioned rotary beaters that you had to turn by hand - they certainly gave your arm muscles a good workout. I honestly don't know whether a balloon whisk would do the job, and I'm not prepared to try. It probably would work, but it would take a long time. and a lot of effort.
- When spooning the cherry mousse over the biscuits, try to keep the cherries more or less evenly spaced in the layers.
- Refrigerator. Store covered in the refrigerator for up to 4 days. The biscuits will soften over time, making the dessert even more cake-like.
- Freezer. I don't recommend freezing this dessert. The light, airy texture is created by whisking air into the evaporated milk before the jelly sets. Freezing and thawing can cause the jelly to release moisture, leaving the dessert grainy and watery. For best results, keep it in the refrigerator and serve chilled.
Nutrition
I am not a nutritionist. The nutrition information has been calculated using an on-line calculator, and is intended for information and guidance purposes only. If the nutrition information is important to you, you should consider calculating it yourself, using your preferred tool.
If you made this recipe and enjoyed it, I'd love it if you could give me a star rating in the comments below. And if you'd like to get in touch, you can email me at [email protected]. I'd love to hear from you. And don't forget to subscribe to my mailing list so you can grab yourself a copy of my FREE COOKBOOK!
If you'd like to continue browsing, just click on this link to all my recipes.

Did you make this recipe? Let me know!