
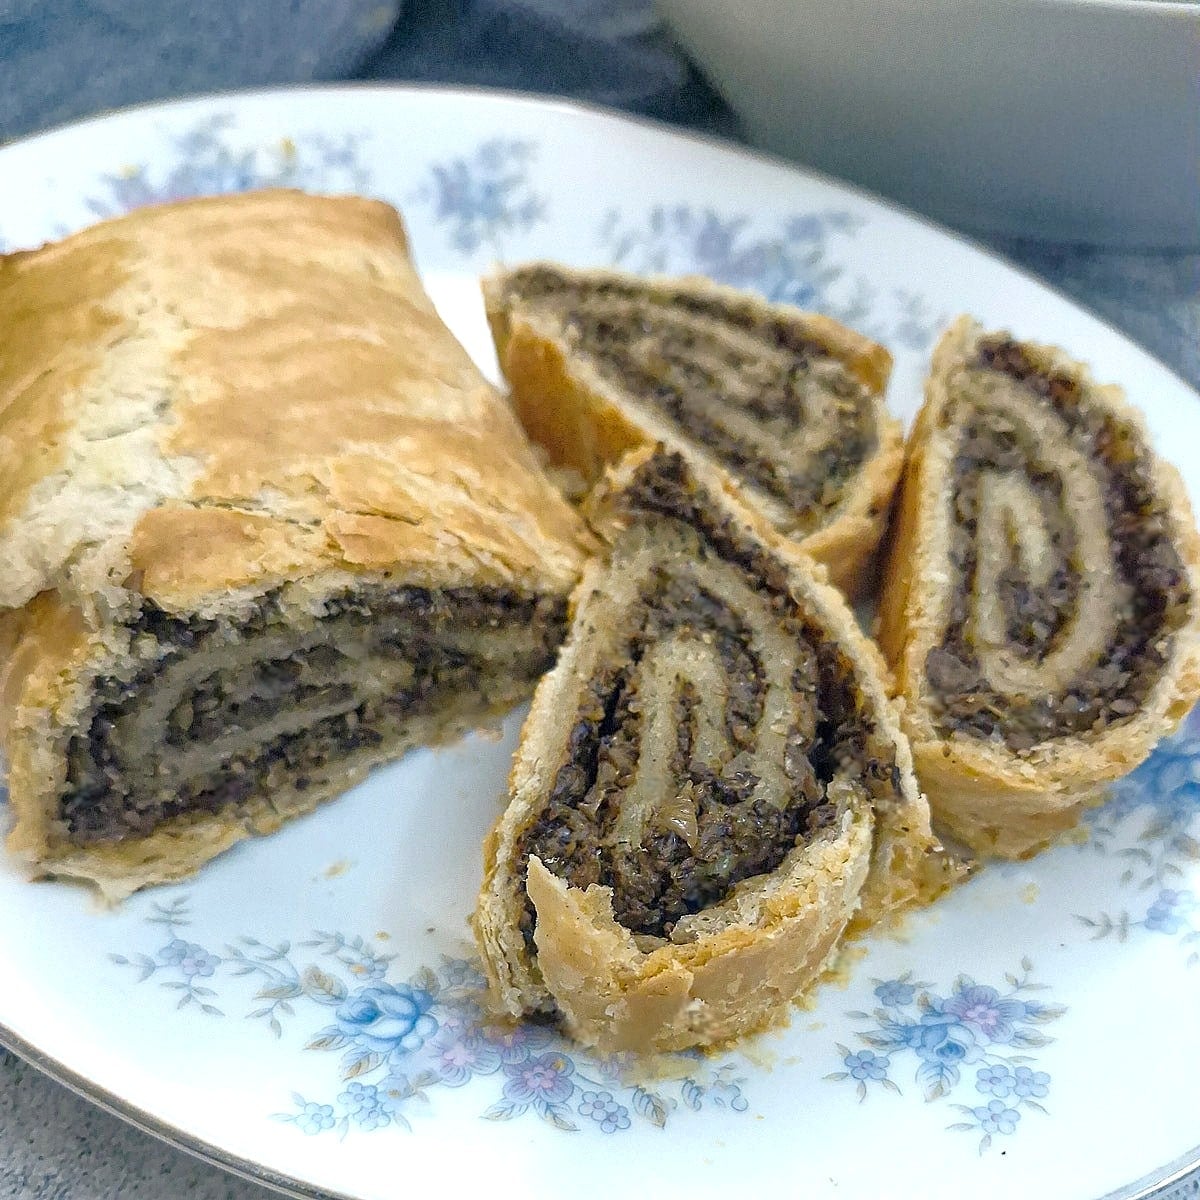
With a thyme-flavoured mushroom and onion filling encased in crispy suet pastry, this oven-baked mushroom and onion roly poly makes the perfect side dish for sausages or roast chicken pieces. Smother it with a generous helping of my South African tomato stew for a delicious and easy midweek meal.
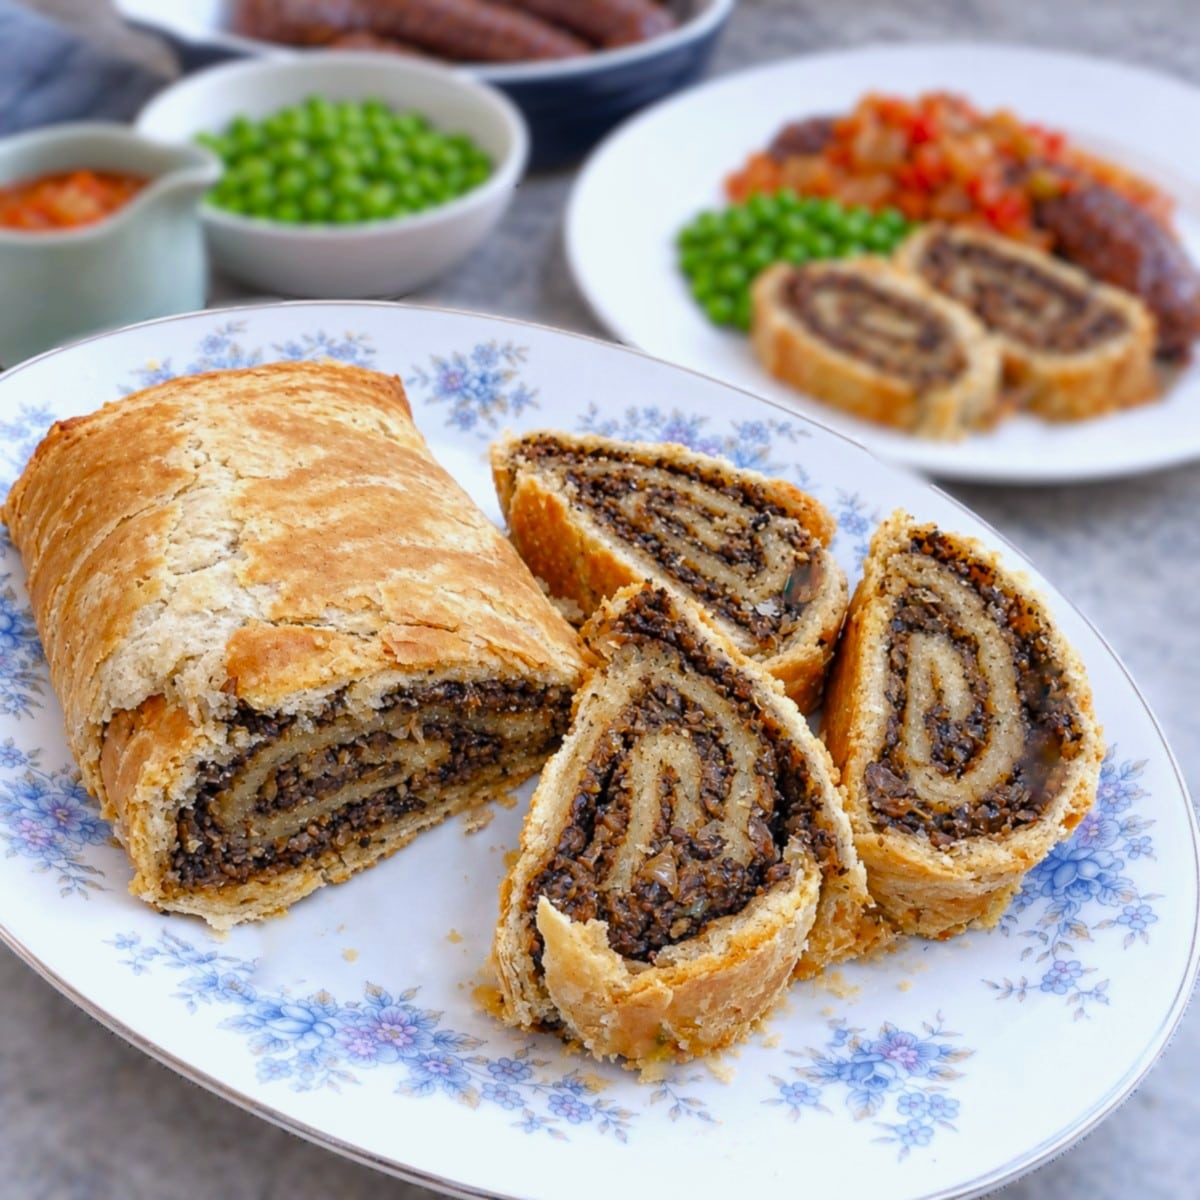
This mushroom and onion roly poly is made with suet pastry which has been baked rather than steamed, giving it a crisp, golden crust, with softer pastry inside. It makes a lovely change from potatoes when you fancy something different to serve alongside your dinner.
The filling is a simple mixture of finely chopped mushrooms and onions, seasoned with thyme and a little salt, sautéed separately until the onions are soft and the mushroom juices have evaporated. Cooking off the excess moisture, then allowing the filling to cool before rolling it in the pastry, helps prevent the layers from becoming soggy.
Serve thick slices of the mushroom roly poly pudding alongside sausages, chicken or even a piece of steak, with onion gravy spooned over the top. Or try it with my South African tomato and onion stew, known as tamatie smoor-the tangy tomato sauce goes beautifully with the rich pastry and savoury mushroom filling.
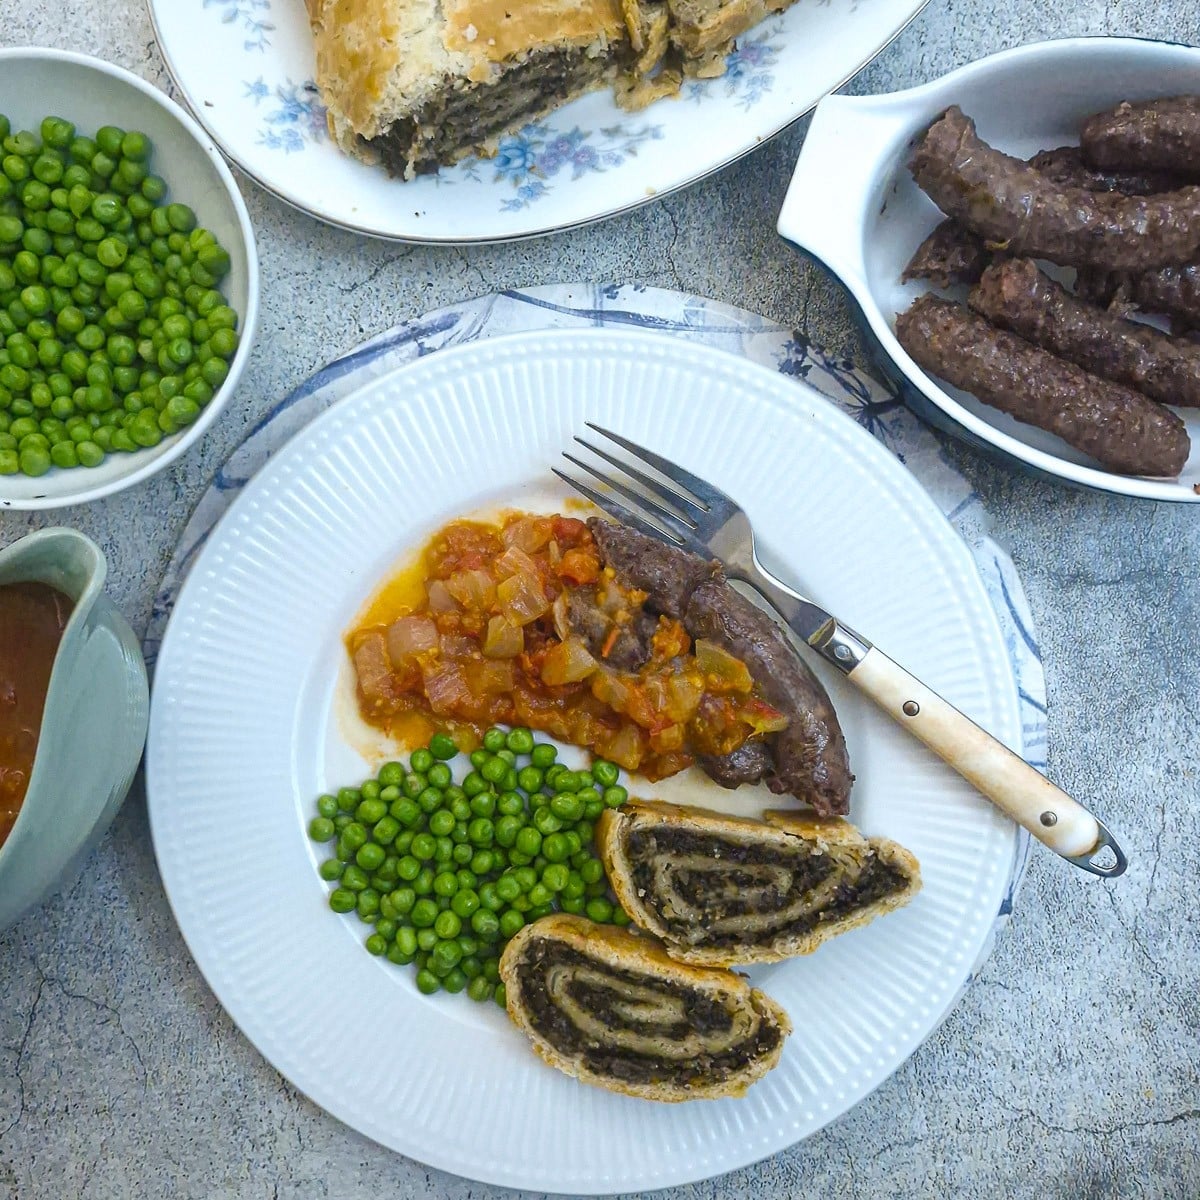
Table of Contents
Why I love this mushroom and onion roly poly
- Easy pastry. There's no rubbing in or complicated folding. Simply stir the suet into the flour and add enough cold water to bring it together. And there's no need to rest it - this pastry is ready to use immediately. I'll put the recipe in the recipe card, but if you want to see the step-by-step photos, you can find them in this post - how to make suet pastry.
- Bake or steam. I bake mine for a crisp, golden crust, but you can steam it if you prefer softer pastry.
- Versatile filling. The savoury mushroom and onion filling goes beautifully with sausages, chicken or steak, making this a handy side dish for all sorts of meals.
- A change from potatoes. Much as I love my potatoes, it's nice to serve something different occasionally - and a thick slice of mushroom roly poly makes a lovely alternative.
- Lovely with a sauce. Serve it with onion gravy or my South African tamatie smoor.
- Tastes good cold too. The flavours of the mushroom and onion roly poly are great when cole. The filling is the same one I used for my mushroom sausage rolls in puff pastry.
Ingredients for this savoury baked roly poly
**This is just an overview to explain why I used a particular ingredient. The complete list of ingredients and the exact measurements are on the printable recipe card at the end of this post.**
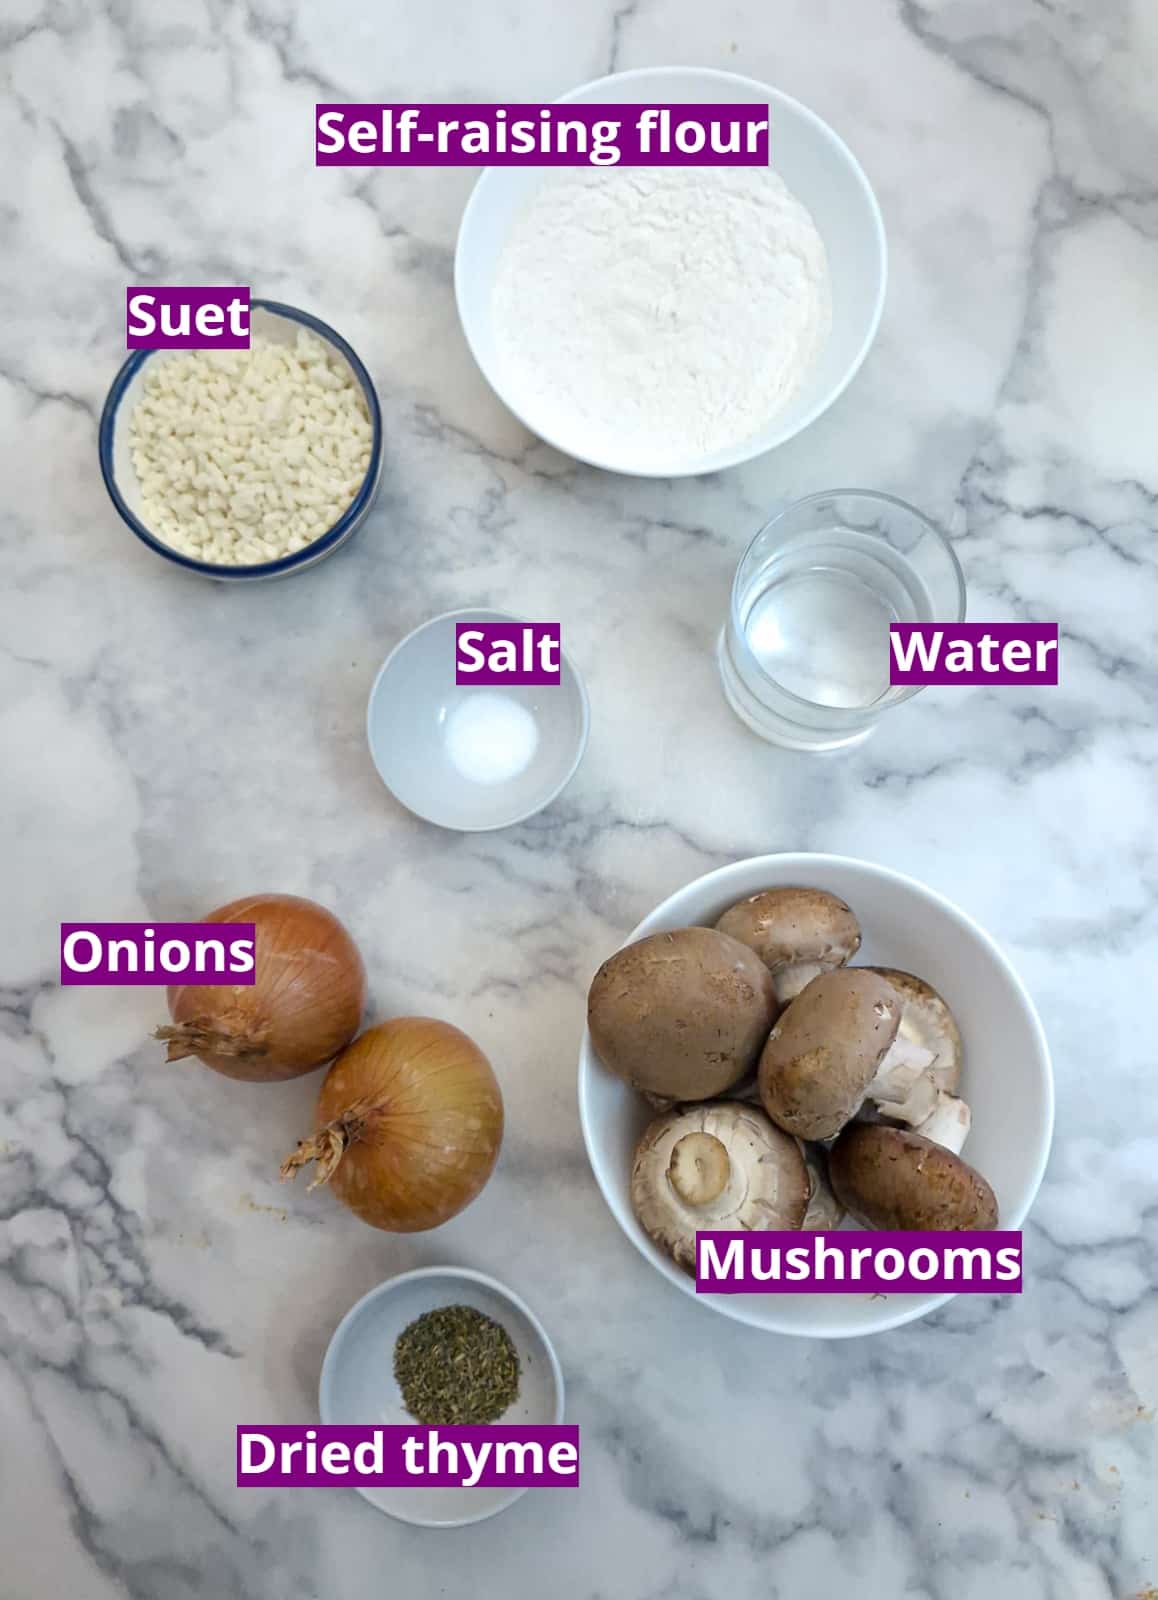
Flour. Use self-raising flour, or plain flour with baking powder added to help the pastry rise. For the 175 grams of flour in this recipe, add 1¼ teaspoons of baking powder to the plain flour.
Suet. I use commercially prepared shredded suet, such as Atora, which is ready to stir straight into the flour. Either beef or vegetable suet will work; choose vegetable suet if you want to keep the roly poly vegetarian.
Onions. Ordinary brown or white onions are ideal. I used my food processor to chop them, but you could chop them as finely as possible with a sharp knife. They will be cooked until soft so there are no crunchy pieces inside the finished roll.
Mushrooms. Chestnut mushrooms add a lovely savoury flavour, but white mushrooms work too. Once again, I used a food processor to chop them, but you could use a knife on a chopping board instead. Chop them finely so the filling spreads evenly and the pastry is easy to roll into a log. They will be cooked with the mushrooms until their released liquid has evaporated to prevent a soggy filling.
Thyme. Dried thyme adds flavour to the mushroom and onion filling. You can substitute fresh thyme leaves, using approximately three times as much fresh as dried. Strip the leaves from the woody stalks before adding.
Salt. A little salt seasons the pastry and brings out the flavour of the filling. Add it to taste, and take care not to add too much, particularly if you plan to serve the roly poly with a salty gravy.
How to make a mushroom roly poly
Make the suet pastry. The recipe is in the recpie card below, but for visual step-by-step photos, see this post - how to make suet pastry.
Make the mushroom and onion filling
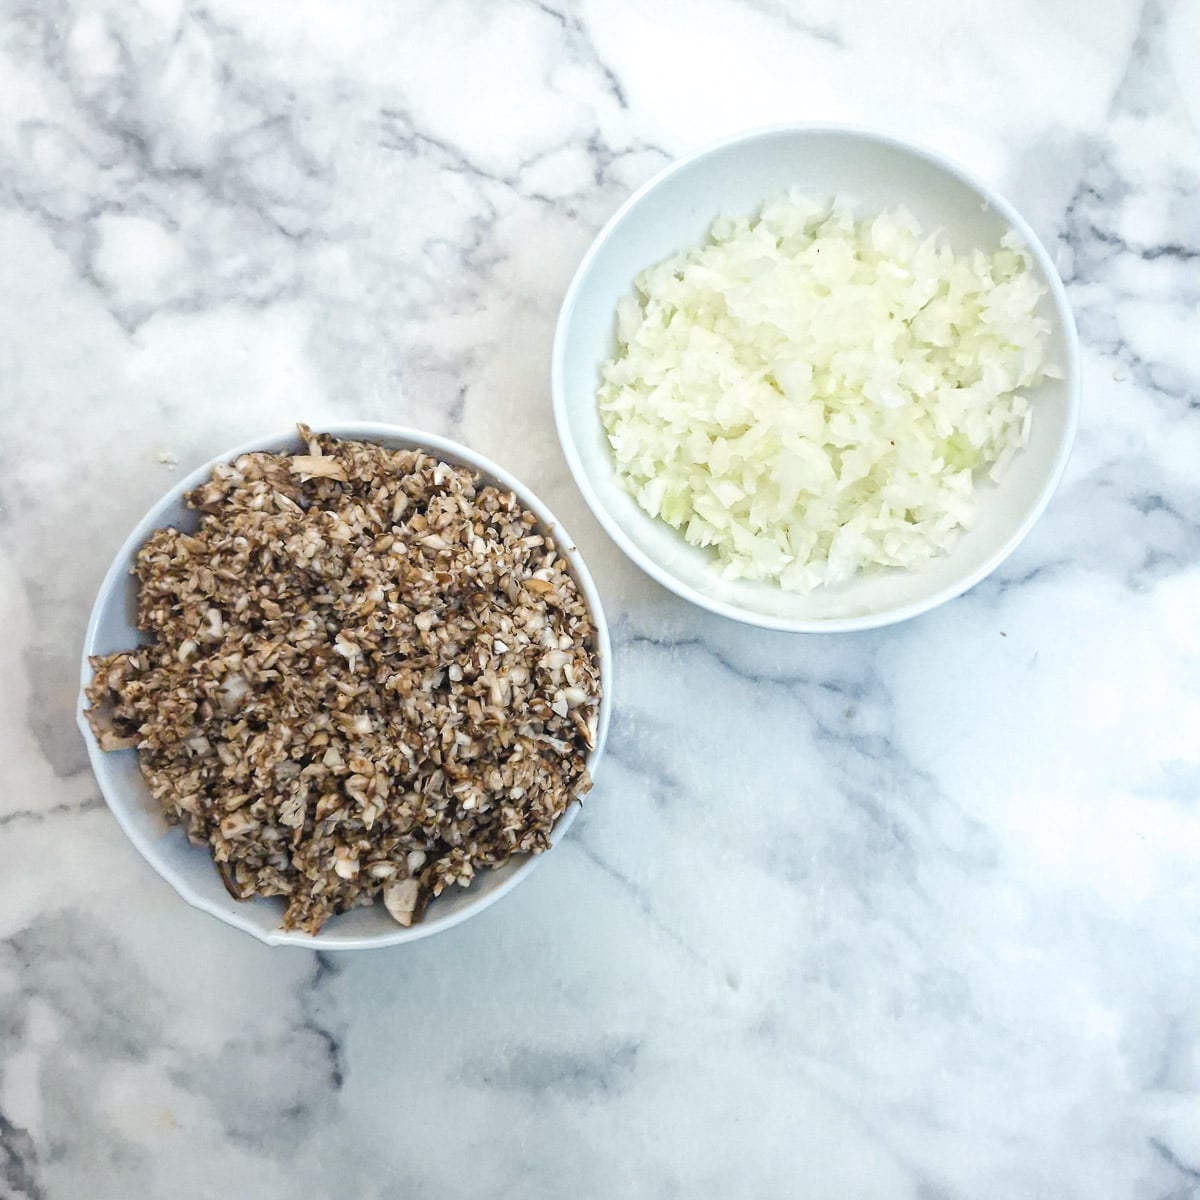
Step 1: Chop the mushrooms and onions as finely as possible.
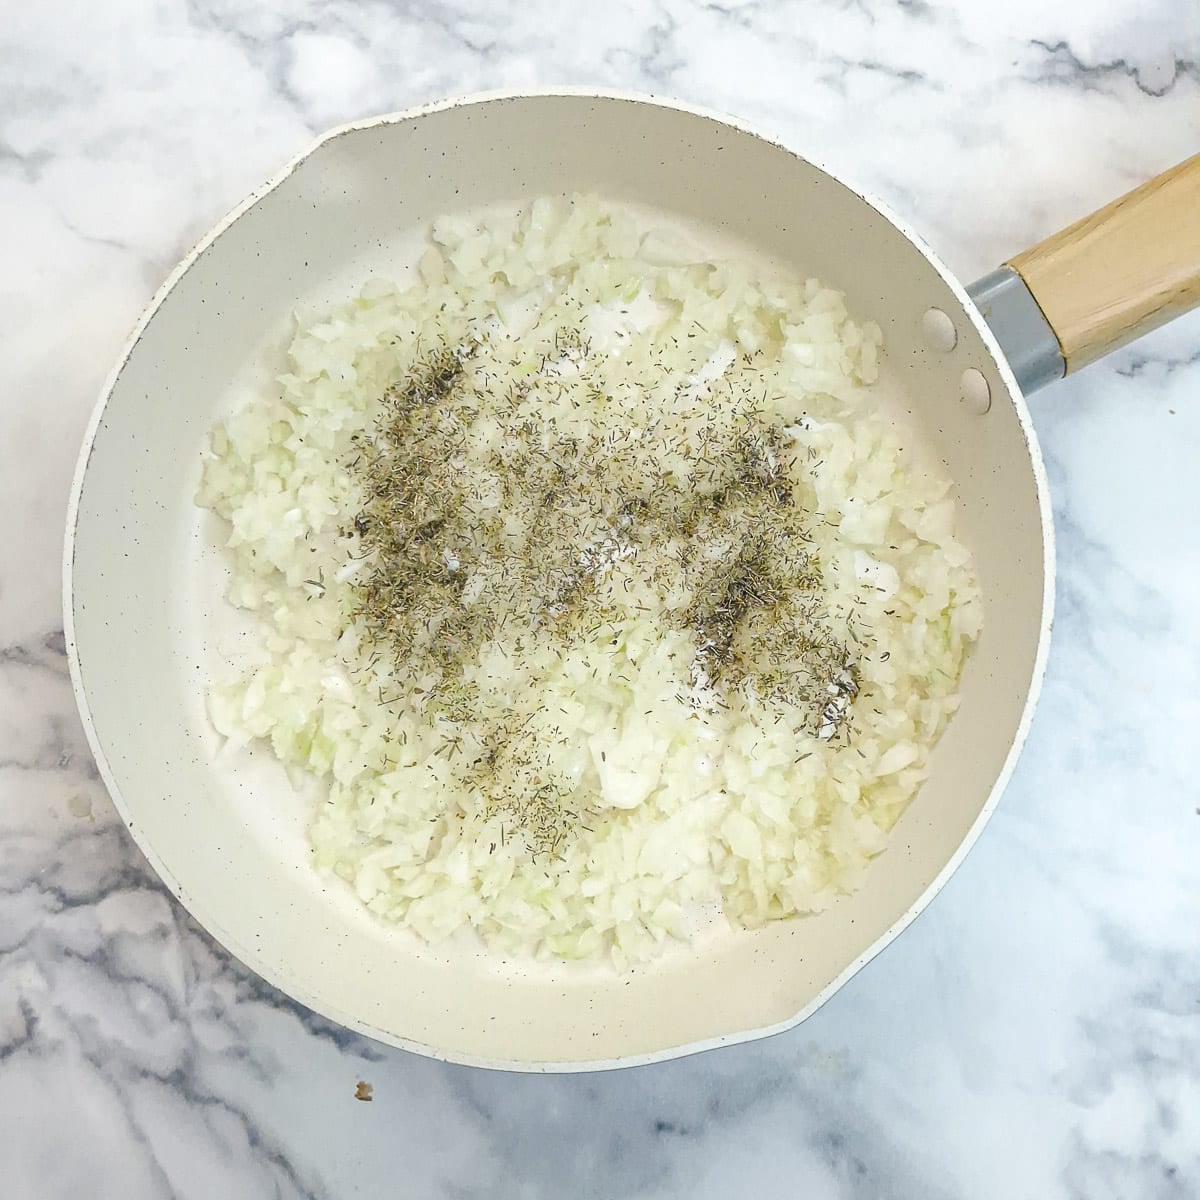
Step 2: Heat the oil in a frying pan on low to moderate heat and add the chopped mushrooms and thyme. Stir well to coat them with the oil.
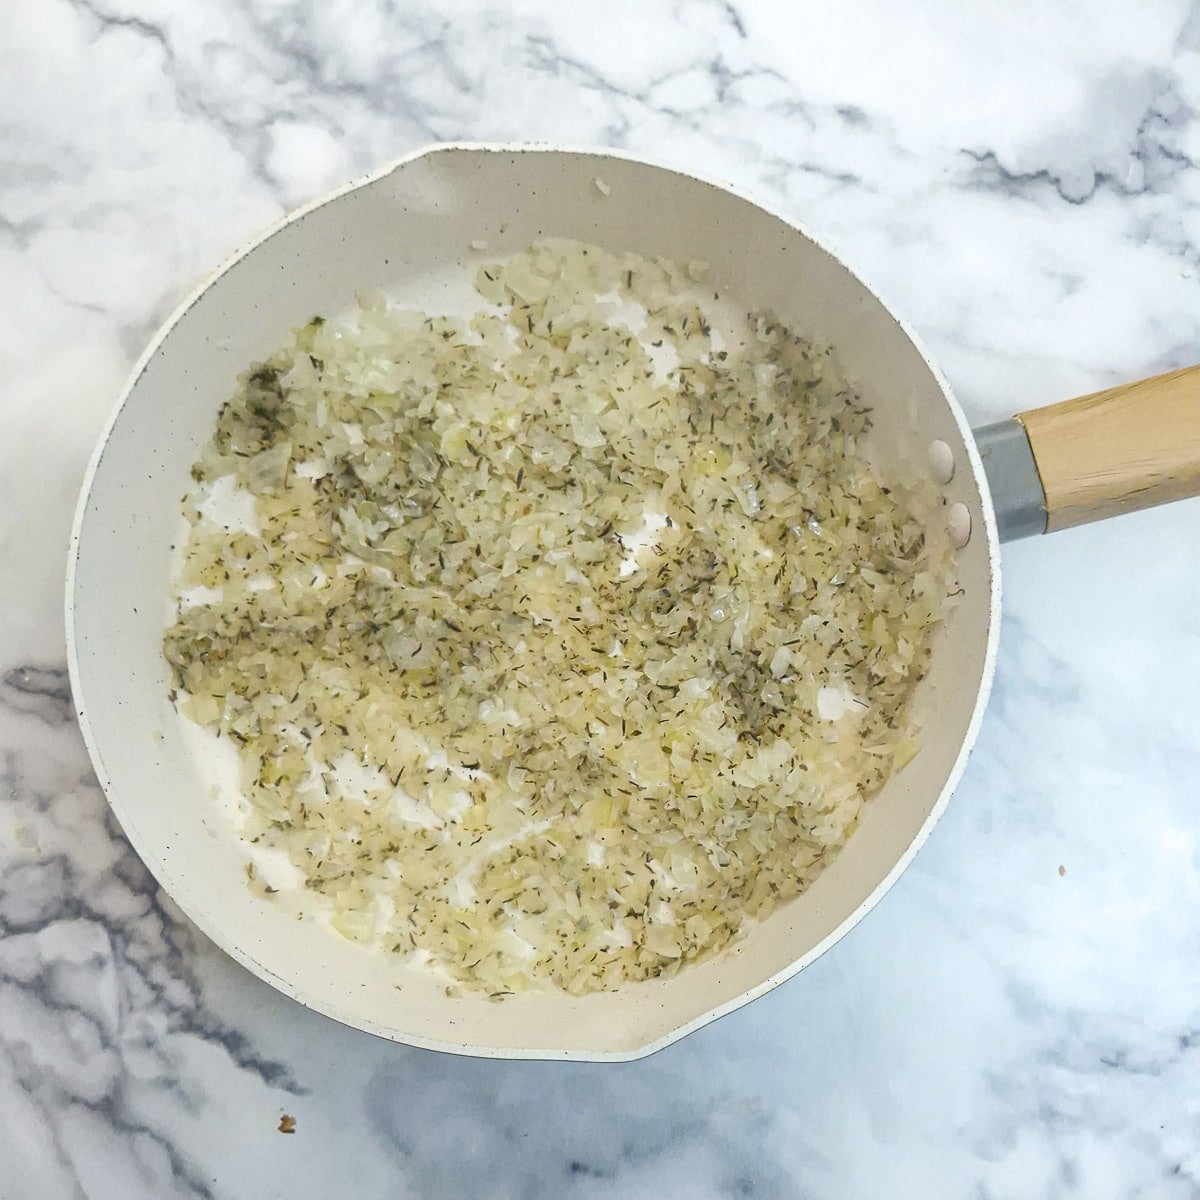
Step 3: Cover the pan with a lid and sauté the mushrooms for 4 to 5 minutes. Keep an eye on them; if they seem to be browning, turn the heat down.
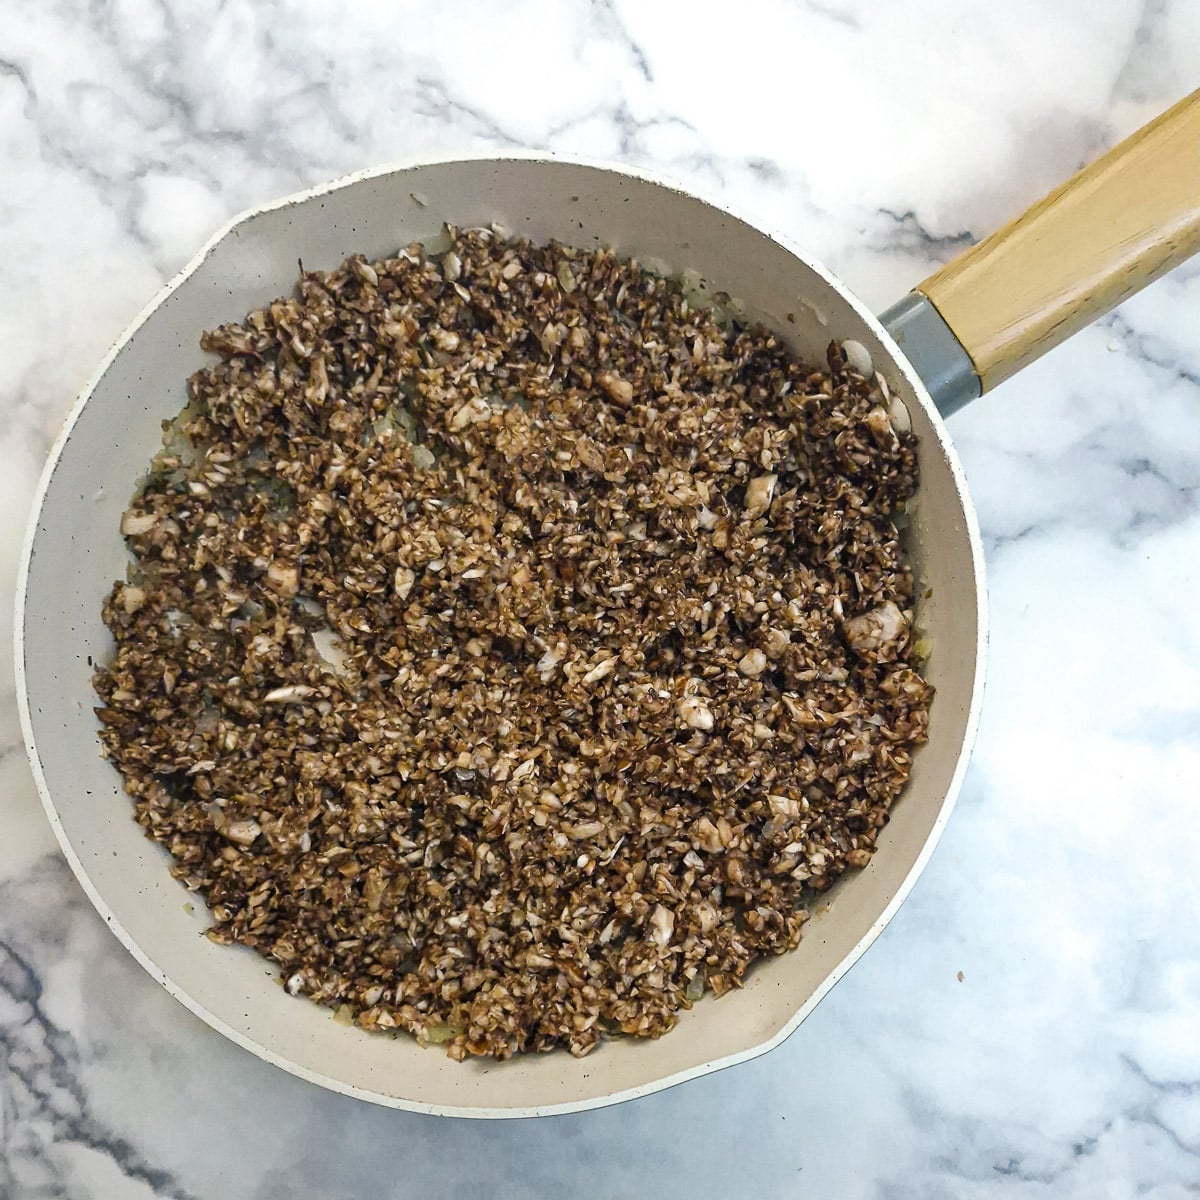
Step 4: Add the chopped mushrooms, replace the lid and sauté for a further 2 - 3 minutes.
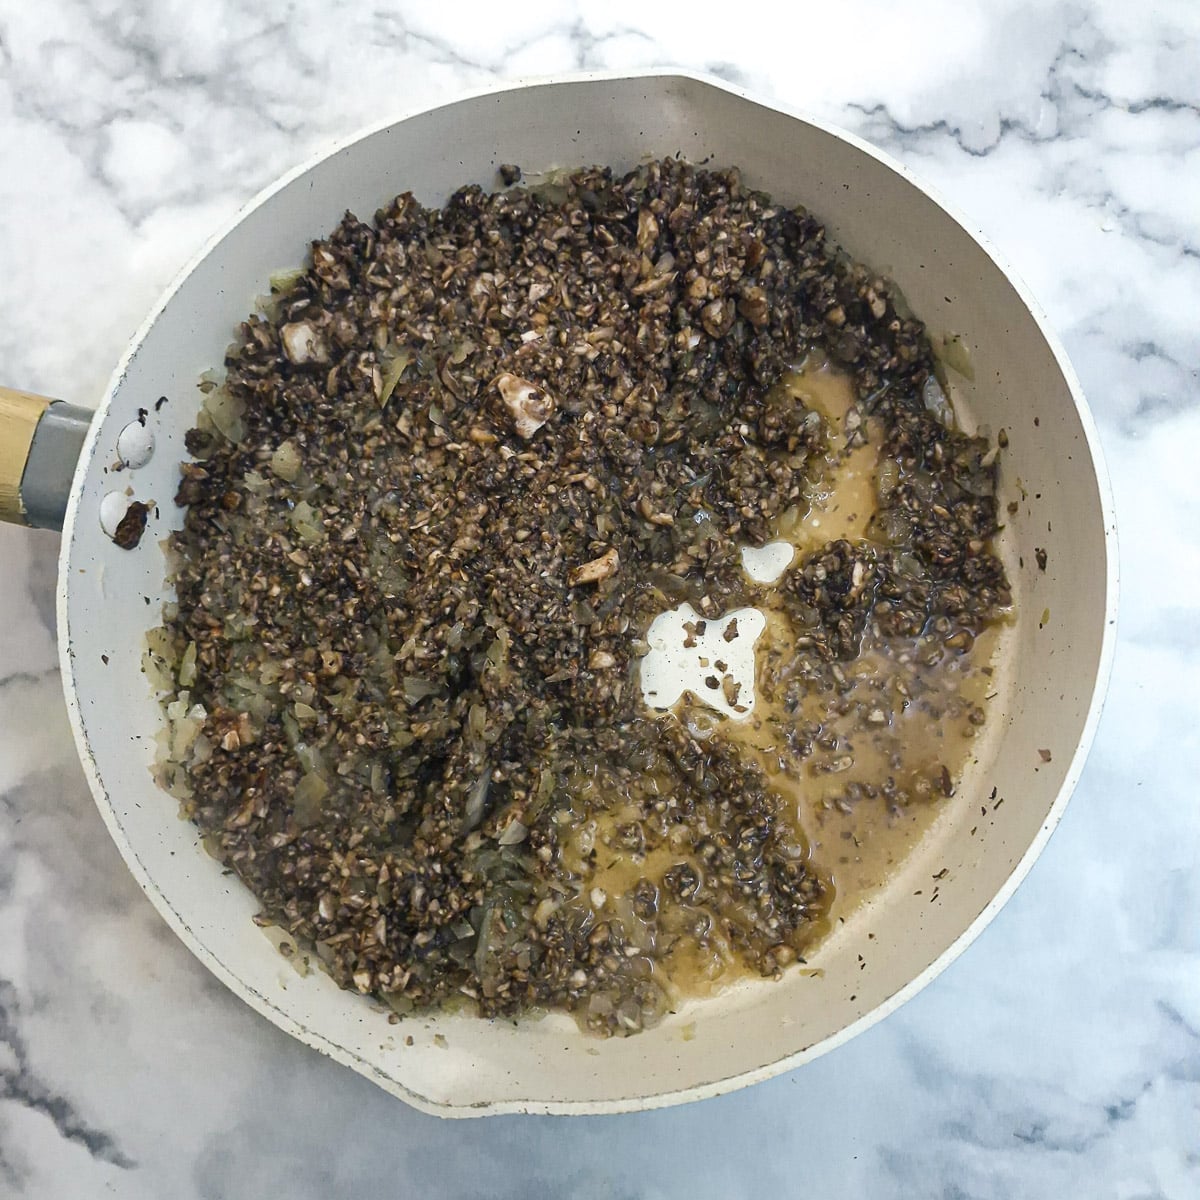
Step 5: You should see the mushrooms have started to release their moisture.
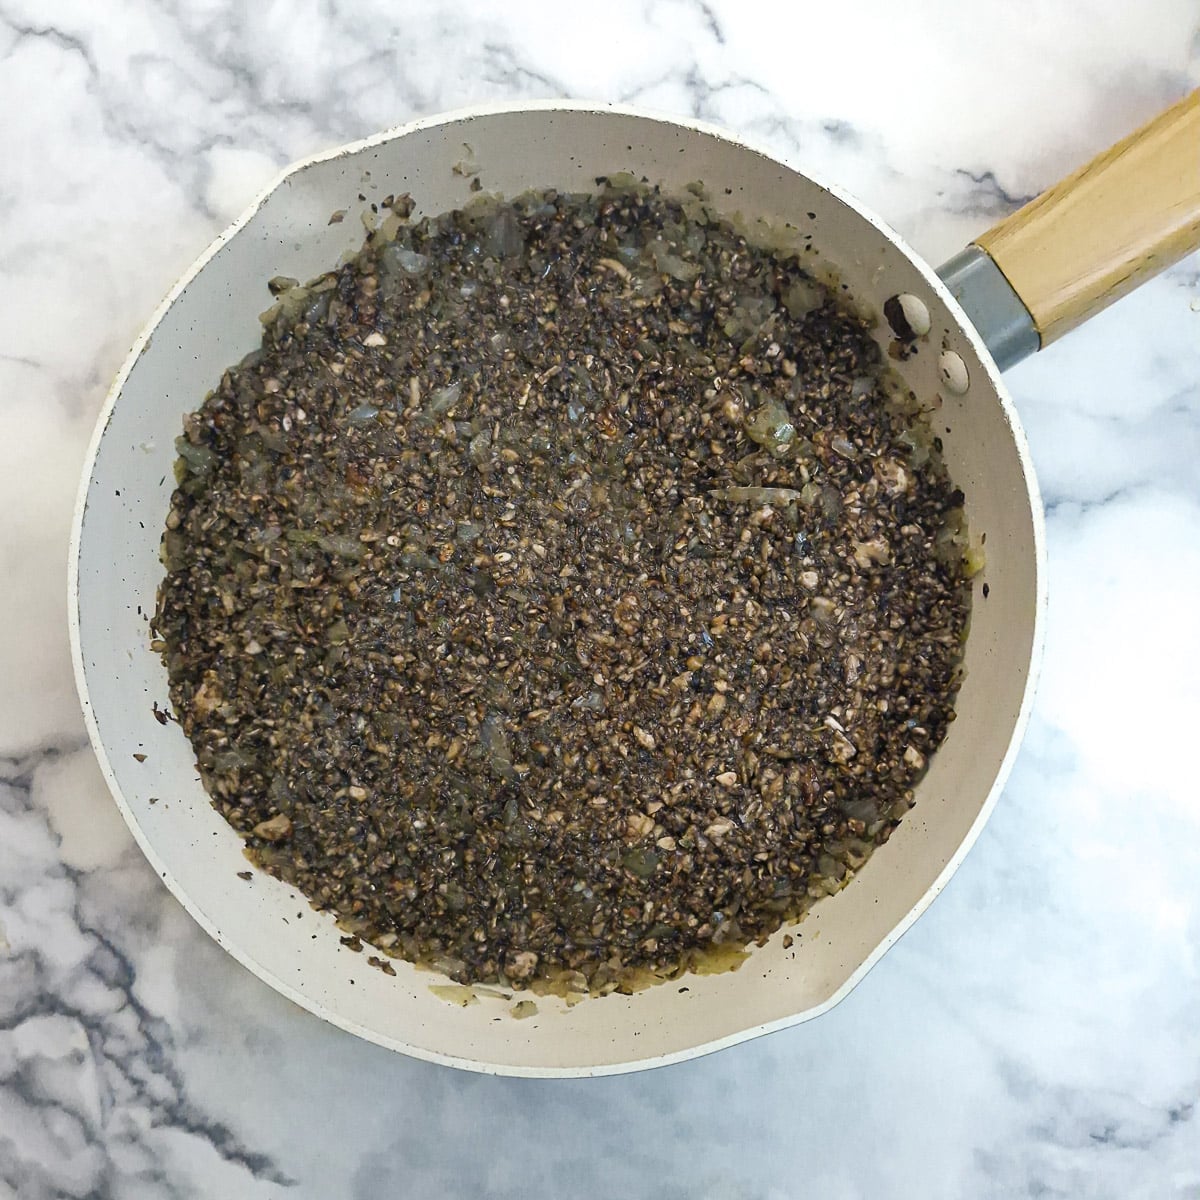
Step 6: Use a spatula to flatten the mushrooms in the pan and return them (uncovered this time) to a low heat to allow the liquid to evaporate. This will take between 7 and 10 minutes.
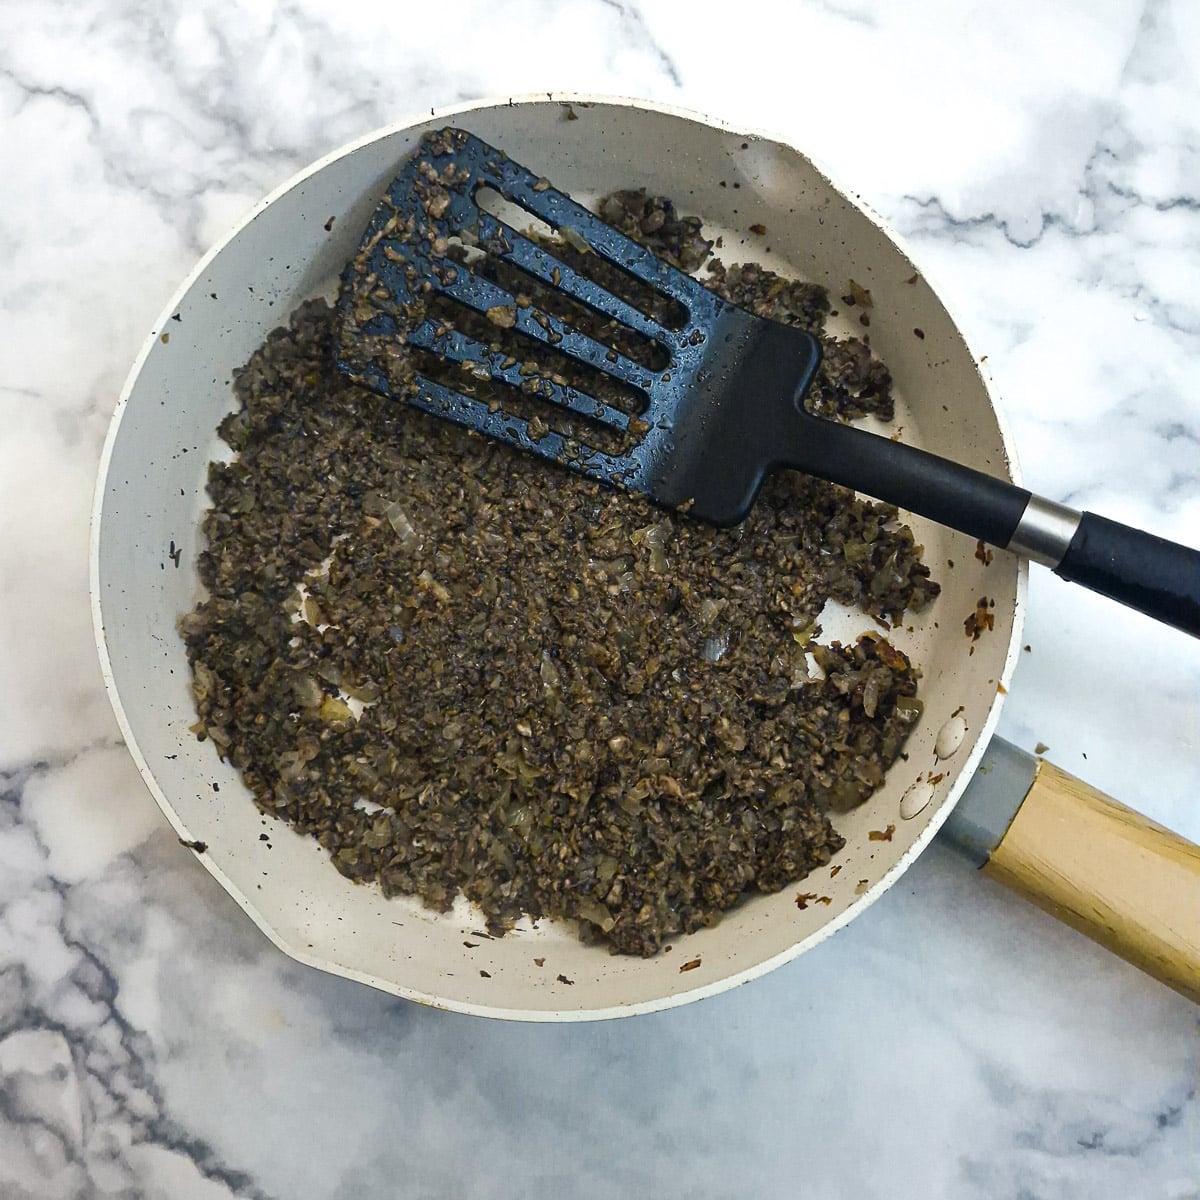
Step 7: The mushrooms will be ready when you can press them with a spatula without any liquid showing. Set the filling aside and allow it to cool.
Assemble the mushroom roly poly
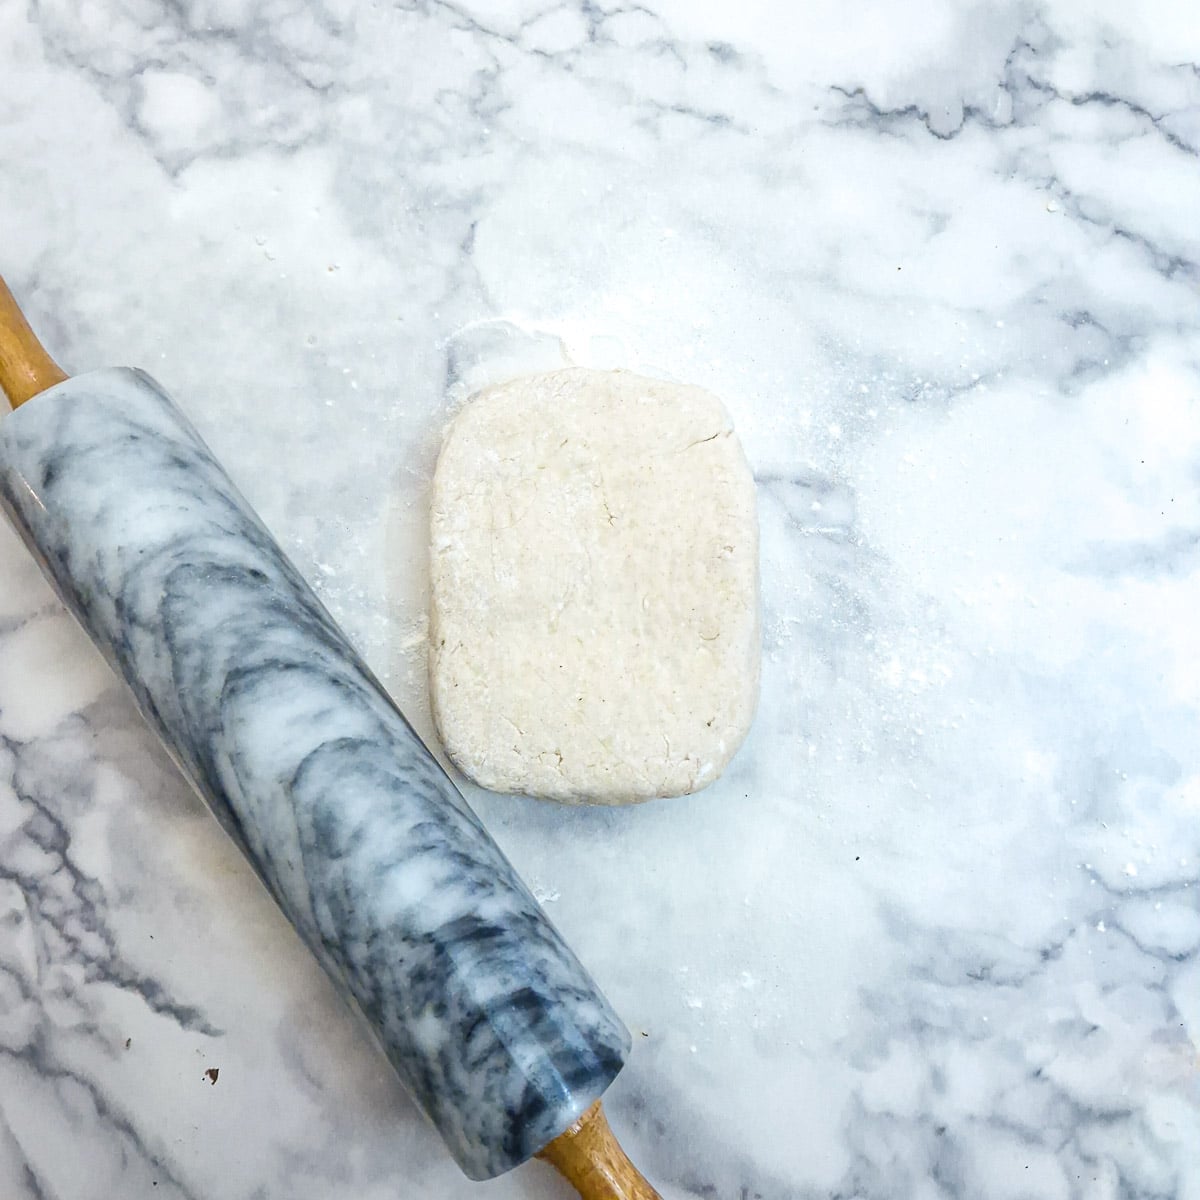
Step 8: Press the ball of pastry into a rectangular shape and place it on a lightly floured surface.
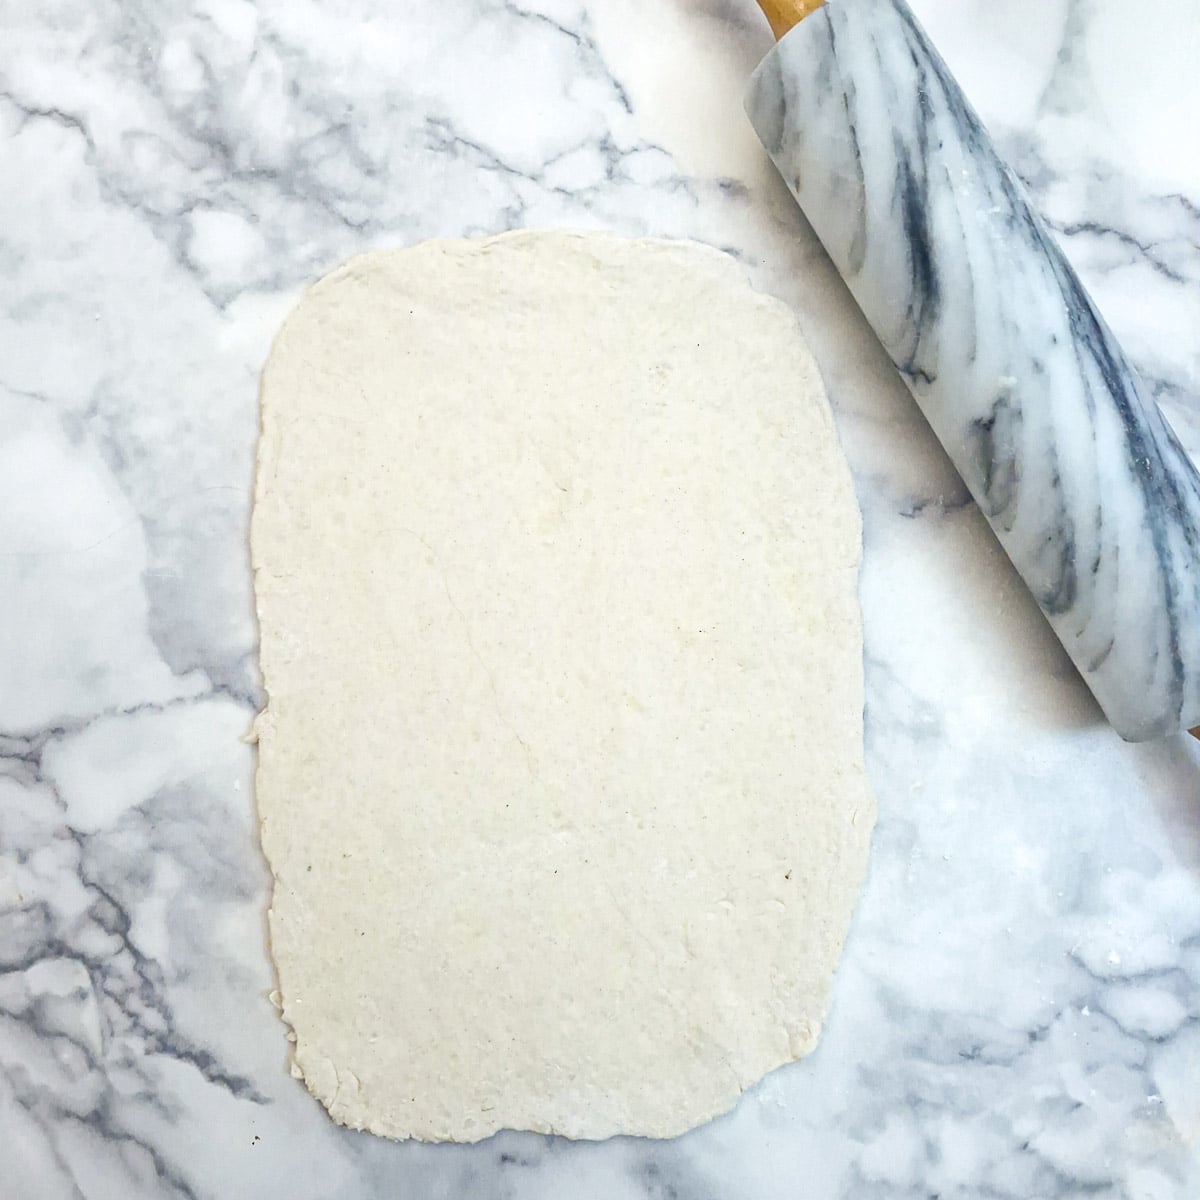
Step 9: Roll out the dough until it is around 8" wide by 12" long. It will be approximately an eighth of an inch in thickness.
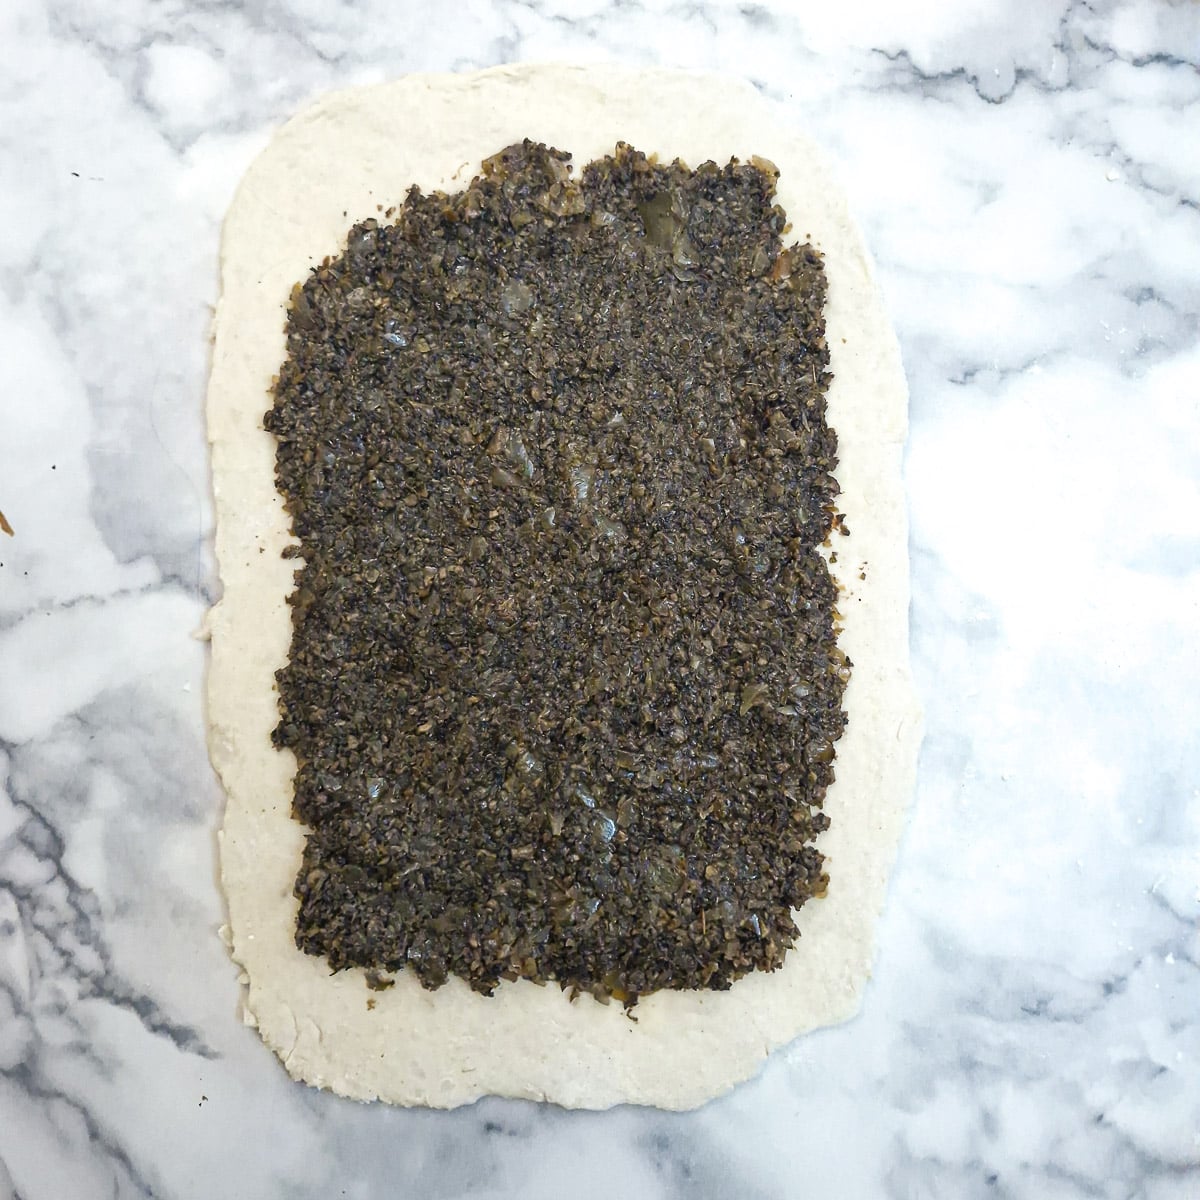
Step 10: Spread the cooled filling evenly over the pastry, leaving about an inch uncovered all around.
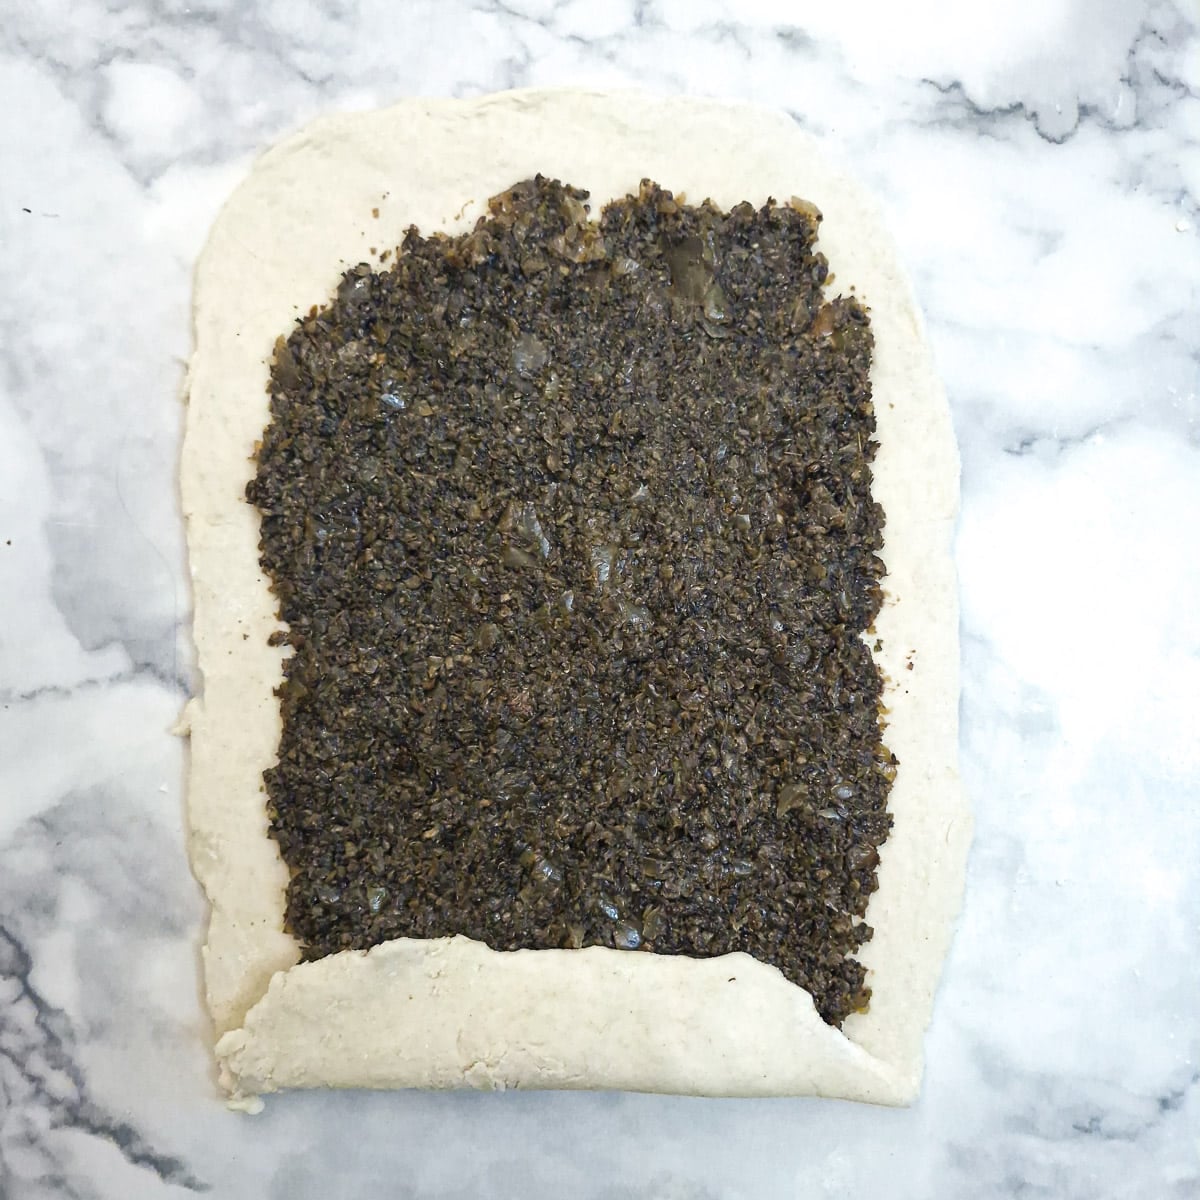
Step 11: Starting at one short end, fold the uncovered pastry over the bottom of the mushroom filling.
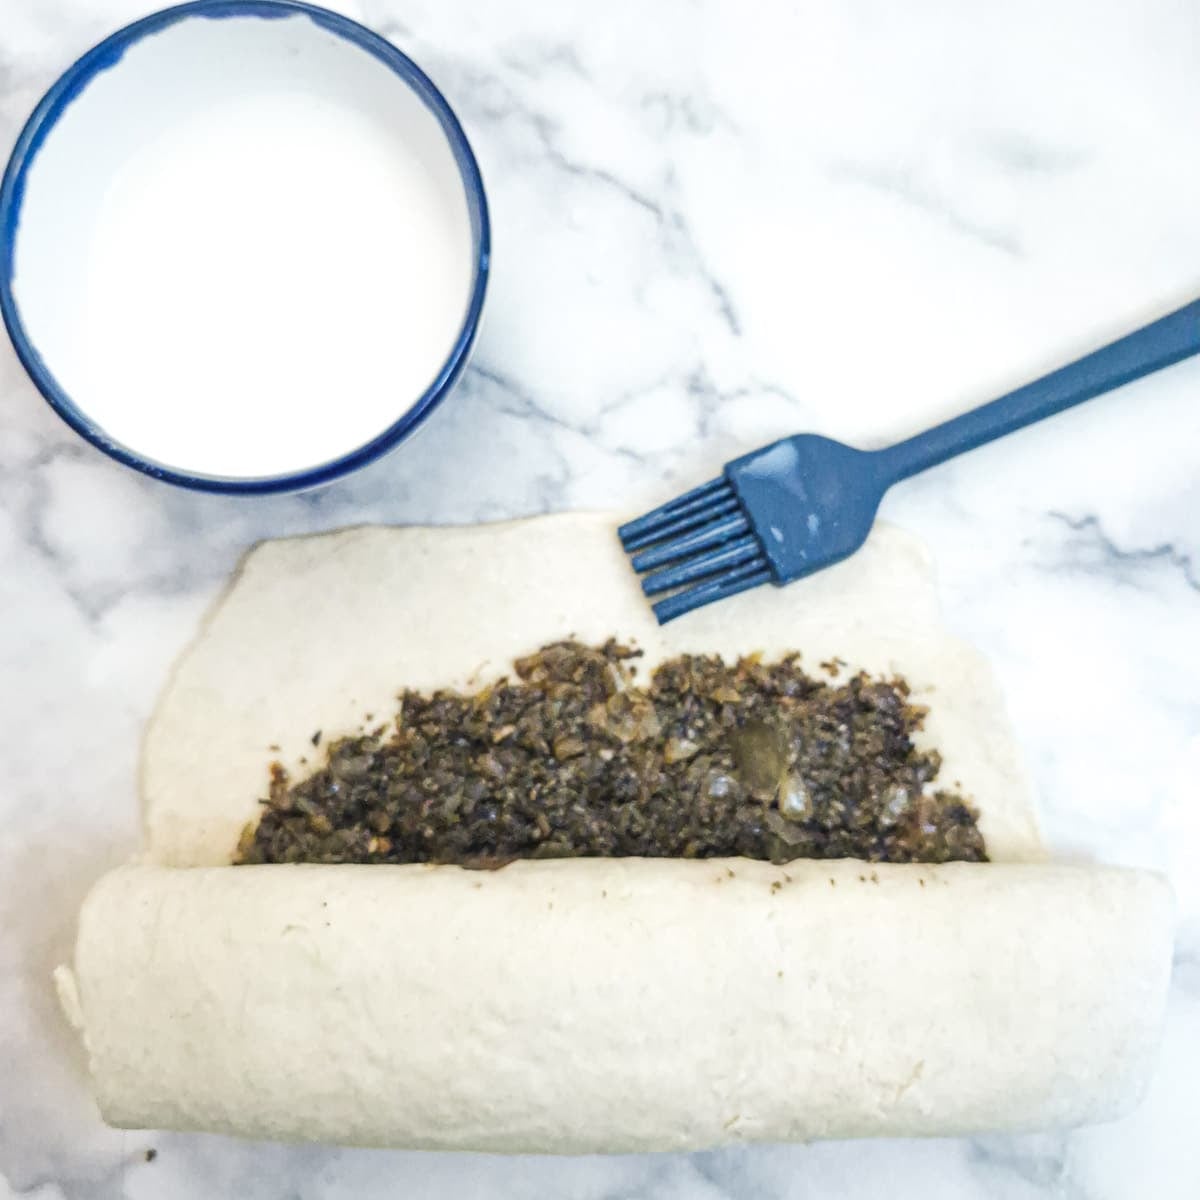
Step 12: Continue to roll, trying not to flatten the roll too much. Brush the top edge of the pastry with milk, fold it up over the roll and press gently to seal.
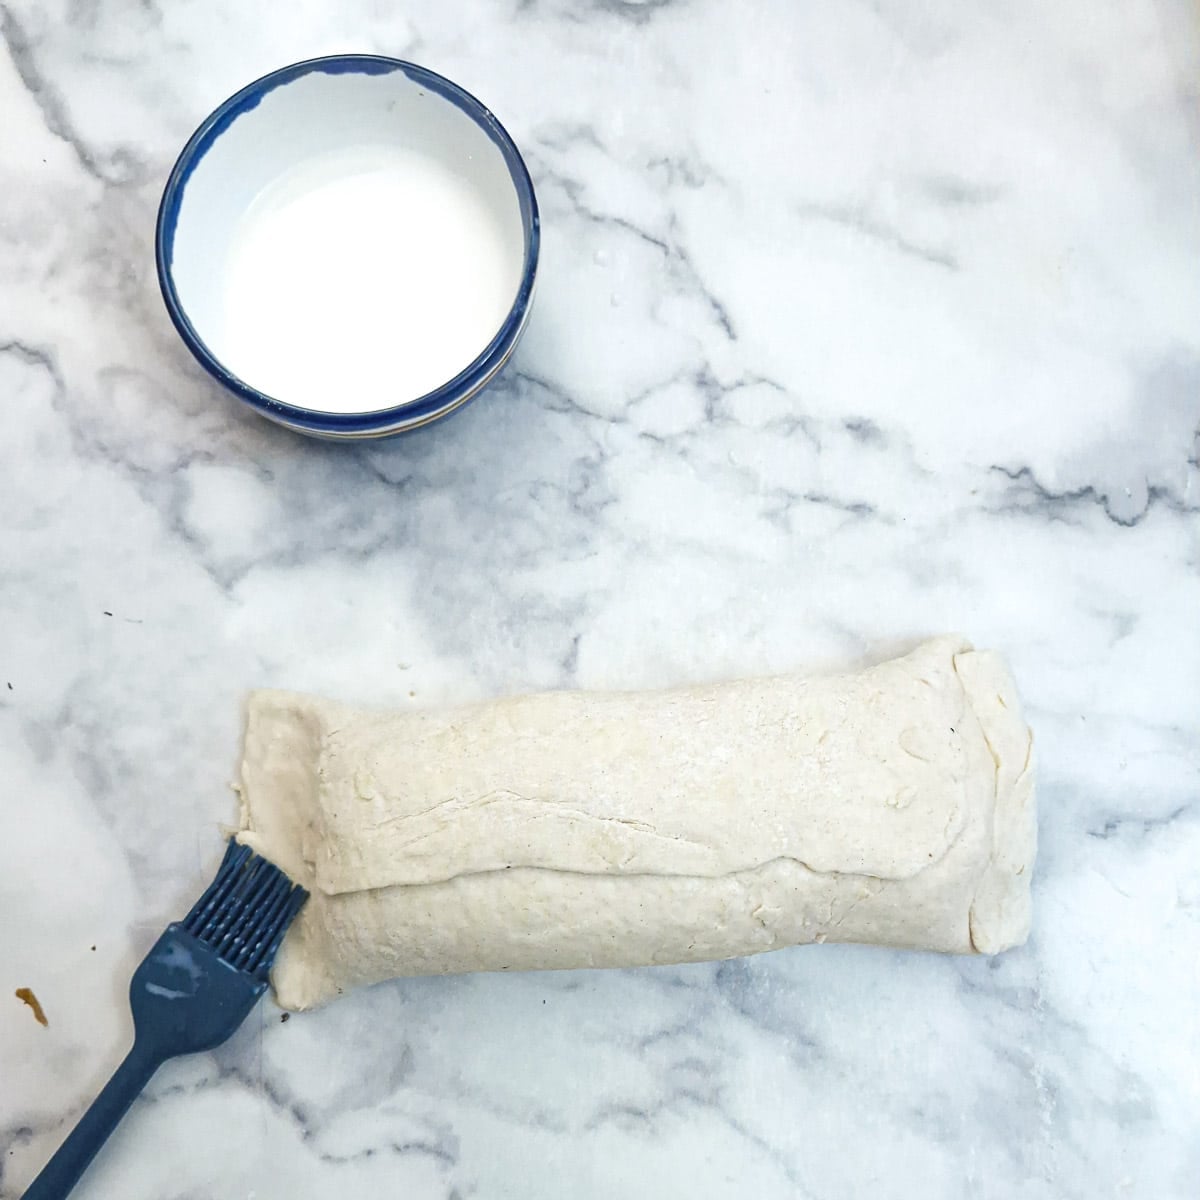
Step 13: Now enclose the sides. Press the pastry on the side to close it. Brush the top of the seal with milk and fold the pastry up against the side of the roll. Repeat on the other side.
Bake
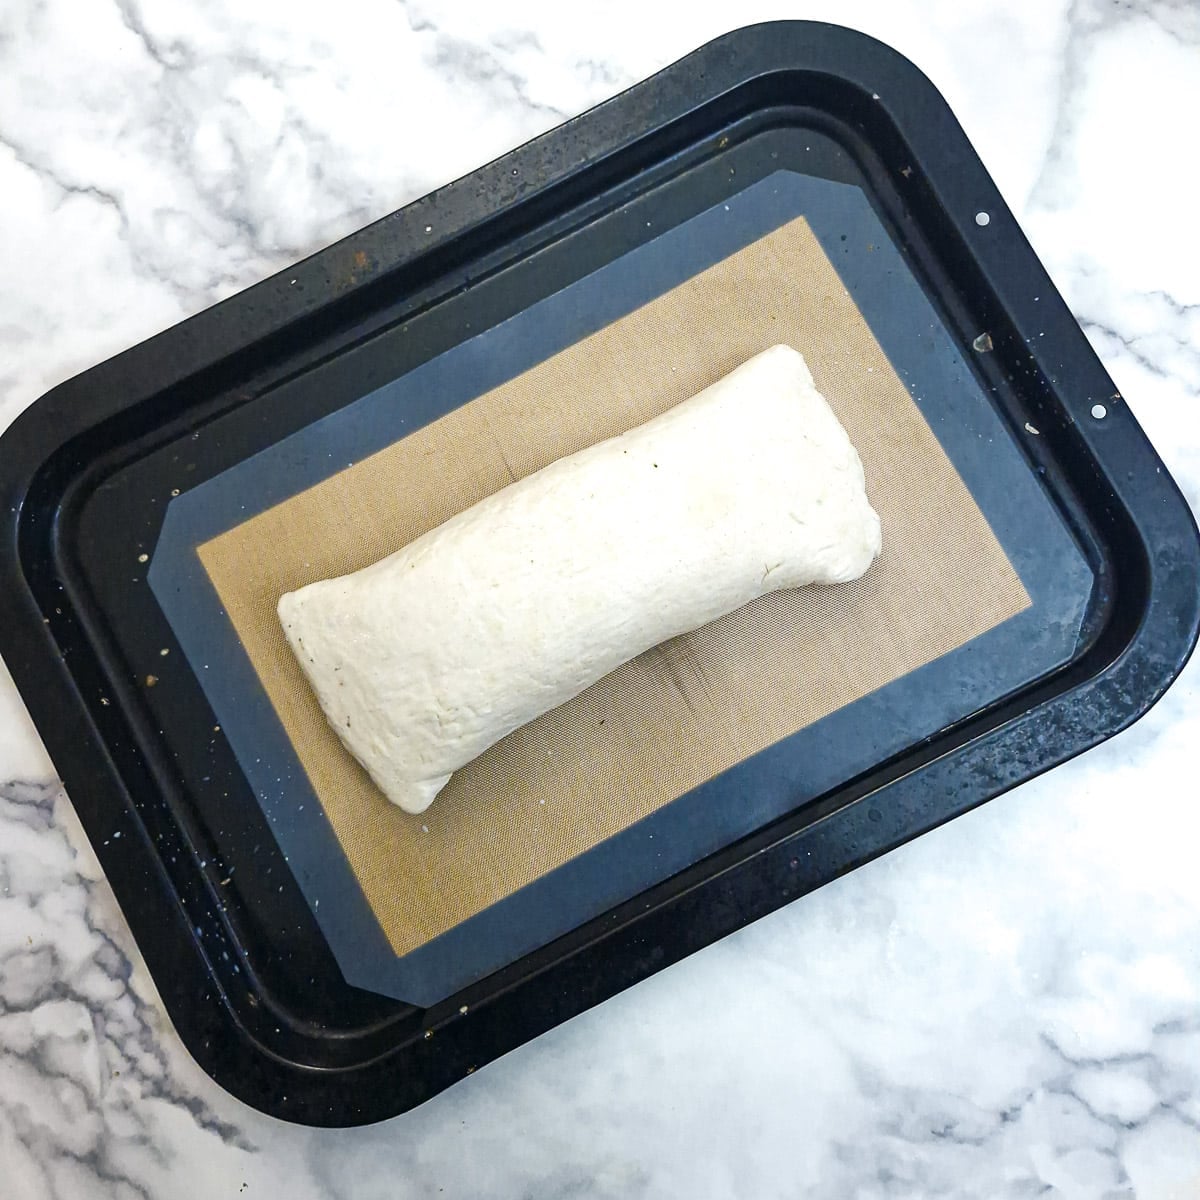
Step 14: Place the roly poly (seam side down) on a baking tray lined with baking parchment or a silicone mat. Brush the top and sides of the pastry with milk to encourage browning.
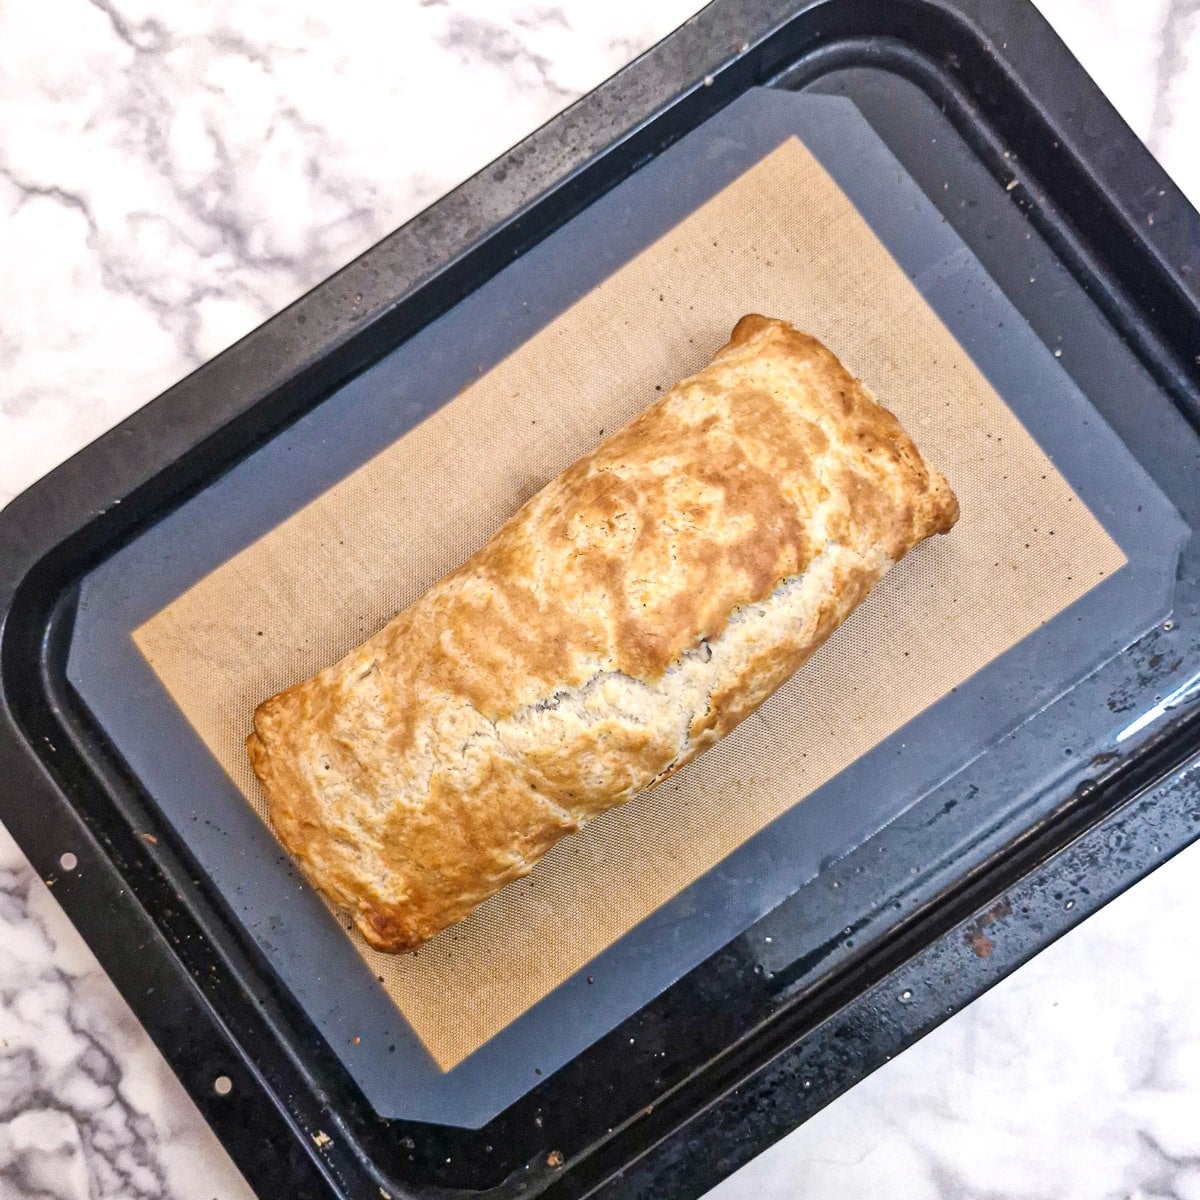
Step 16: Bake the roly poly in a preheated oven at 180C/355F (conventional) or 160C/ 350F (fan) for 40 to 45 minutes or until the exterior of the roly poly is crisp and golden. Allow the roly poly to rest for 5 to 10 minutes before slicing.
The following 2 images are not part of the process, but I wanted to show you the top and bottom of the baked mushroom roly poly so you can see how nicely it has browned.
My mushroom roly poly was in the oven for 50 minutes, and it browned and crisped to perfection!
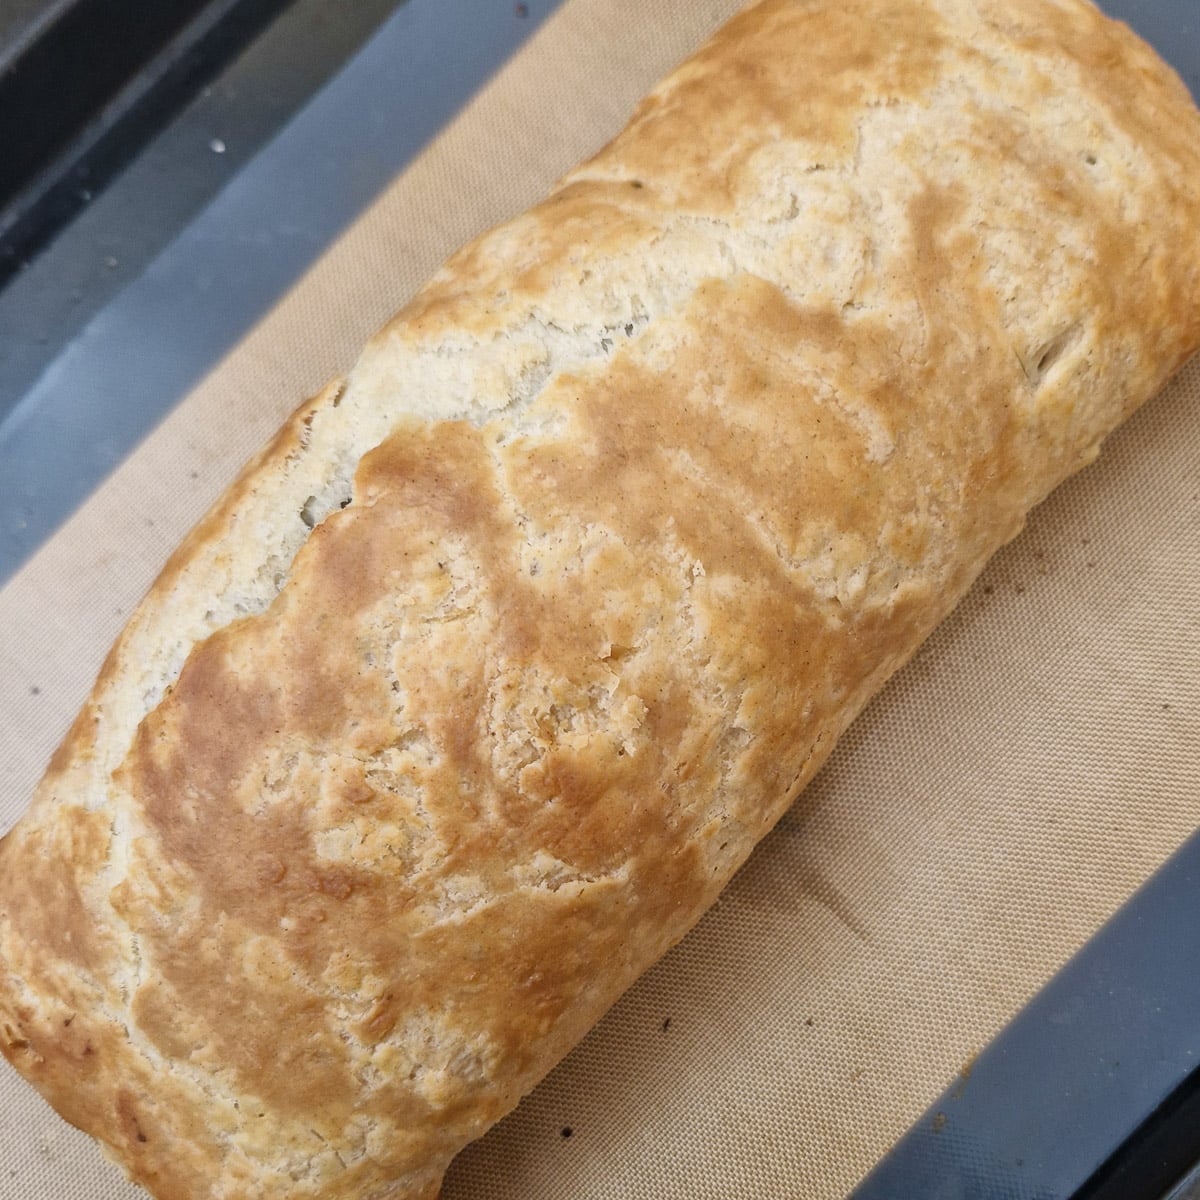
This is the top.
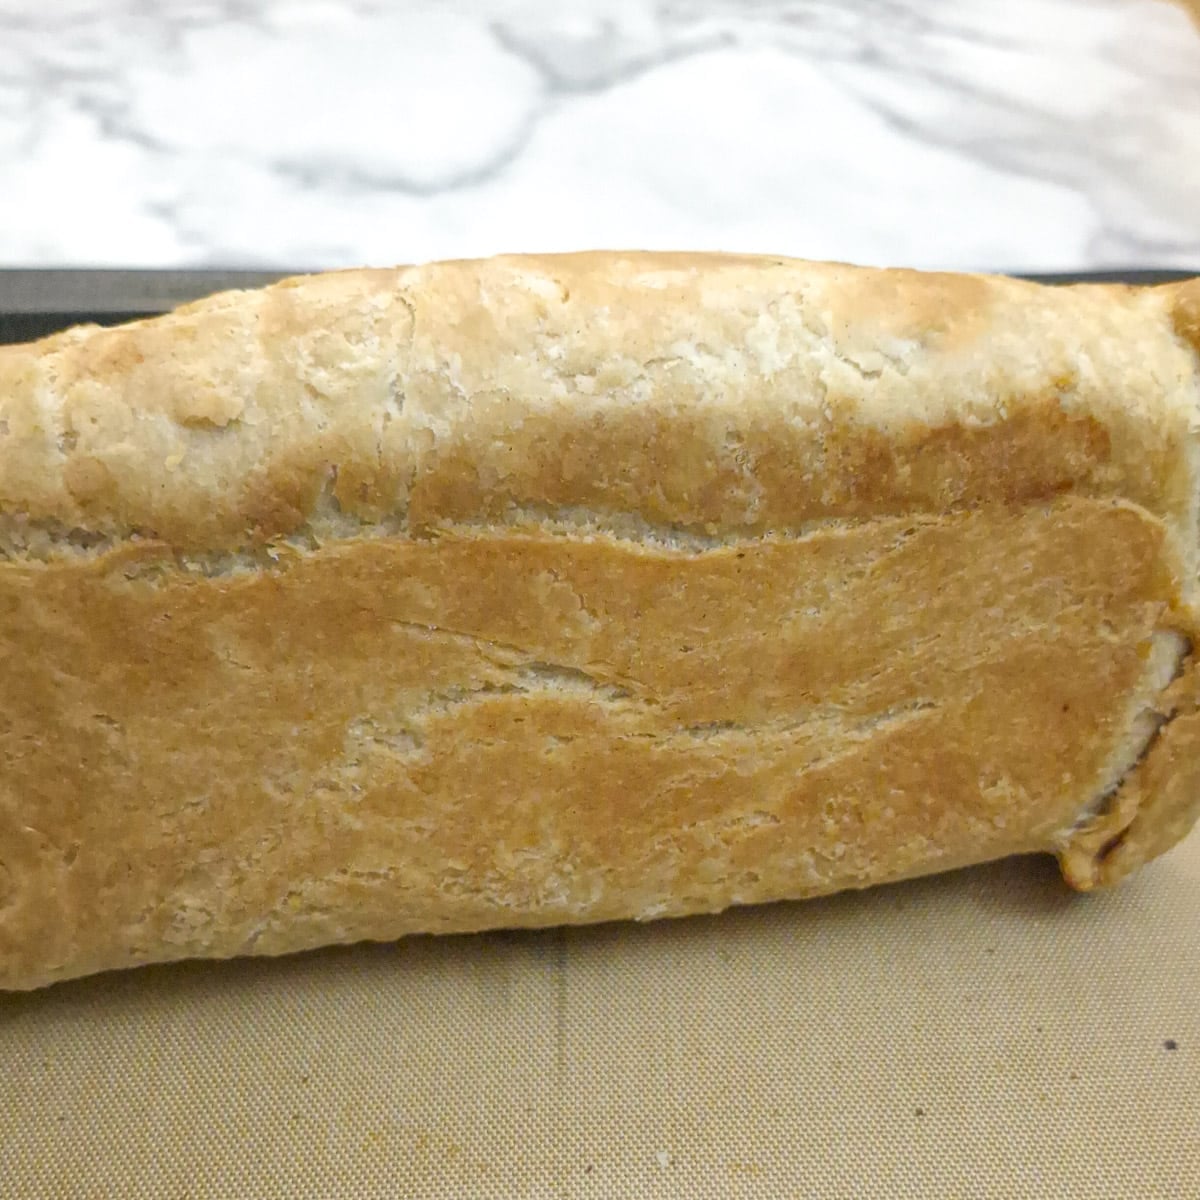
This is the bottom.
Please note - these times are a guide only; the actual cooking time will depend on the thickness of the pastry and the amount of filling.
Insert a wooden skewer into the centre of the roll (diagonally from the top of one side to the centre so you go through the pastry inside). A little filling on the skewer is fine, but if there is any raw dough on the skewer, bake it for a few minutes longer. Cover with foil if it has browned before the centre is properly cooked.
Foodle Club top tips
Follow these handy tips to ensure your mushroom and onion roly poly always turns out perfectly:
- Take care when adding water to the pastry. Don't add all the water at once - you want just enough to form a soft, non-sticky dough. Remember, you can put it in, but you can't take it out.
- Handle the pastry lightly. This pastry is not as fussy as shortcrust, so a little kneading won't hurt; just be gentle. Too much overworking can cause the pastry to become tough.
- Chop the mushrooms and onions as finely as possible. A finely chopped filling is much easier to spread and roll.
- Cook off the moisture. Spend a few extra minutes making sure the filling is completely dry. You'll thank my when you have crispy rather than soggy pastry!
- Cool the filling before using. Warm filling can soften the suet, making the pastry greasy and difficult to handle.
- Leave a border. The border enables you to seal the pastry without getting bits of filling stuck in it, which may cause leakage when the roly poly cooks.
- Roll gently and seal well. Roll snugly without squeezing out the filling, pinch the ends closed, and place seam-side down on your prepared baking sheet.
- Check the centre. Test the roly poly near the centre with a wooden skewer. It should come out without sticky raw dough. Cook for a few minutes longer if necessary and loosely cover with foil if the outside browns before the centre is cooked.
- Rest before slicing. Let the baked roll stand for 5 to 10 minutes to help it hold together when cut. This will help prevent the pastry from breaking apart.
Equipment tips
- Kitchen scales. Weighing the flour and suet gives more consistent results than measuring in cups, particularly with shredded suet, as this can settle or pack down.
- Food processor. Use short pulses to finely chop the mushrooms without turning them to a paste. Chop the onions separately so you can control their texture. Aim for mushrooms and onions about the size of grains of uncooked long-grain rice.
- Frying pan. A wide pan allows the mushroom liquid to evaporate more easily.
- Baking sheet. Line it with baking parchment or use a silicone baking mat to prevent sticking and catch any drips.
- Serrated knife. A serrated knife (or bread knife) helps you cut through the roly poly without squashing it.
Storage and freezing
- Refrigerating. Cool any leftovers promptly and refrigerate within 2 hours. Store in an airtight container and eat within 48 hours. Keep any gravy or tamatie smoor separately to prevent the pastry from becoming soggy.
- Freezing. Wrap the cooled roll, or individual slices, tightly and place in a freezer bag or airtight container. I'd recommend using within 2-3 months for the best texture.
- Defrosting. Defrost overnight in the refrigerator and use within 24 hours of fully thawing.
- Reheating. Place on a baking tray in a preheated oven at 180°C / 350°F conventional or 160°C / 320°F fan. Allow approximately 15-20 minutes for slices, longer for a whole roll, until piping hot throughout. Cover loosely with foil if it browns too much, removing it towards the end to crisp the crust. Reheat only once.
For making ahead, you can prepare the filling a day beforehand and refrigerate once cooled. Make the pastry (it only takes minutes) and assemble just before baking.
Pastry tips and guides
If you enjoy making pastry, or if you're a beginner wanting to discover a few tips and techniques, you might find the following links helpful:
- If you've ever wondered how much pastry you need to line a particular dish, my shortcrust pastry calculator will work it out for you. Simply enter the dimensions of your dish (either in inches or centimeters) and select whether you want to line the dish, add a lid, or make enough pastry for a lid only. The calculator will work out how much flour and fat you will need.
- The ultimate guide to pastry explains how ingredients and techniques affect the results you get when making homemade pastry. Find out why pastry sometimes goes wrong, which pastry to use for different recipes, and the simple rules that will help you make light, crisp pastry.
- How to make shortcrust pastry provides you with lots of tips for making shortcrust pastry for pies, tarts and more. Once you've tasted your own pastry, you might find yourself reaching for the ready-made kind a lot less often.
- How to make suet pastry shows you how to make this easy, versatile pastry without any rubbing in or complicated folding. With tips for ingredients, mixing and handling, you'll be ready to make everything from savoury pie crusts and dumplings to sweet or savoury roly polys.
FAQ
Yes, vegetable suet works just as well. Use it instead of beef suet, and serve the roly poly with vegetarian accompaniments.
Yes, you can. For each cup of plain flour, add one teaspoon of baking powder.
Yes - depending on how you intend to serve the roly poly, you could add finely chopped (fried and crispy) bacon and/or cheese. Spread the pastry with a layer of cream cheese before adding the filling, or sprinkle a layer of grated cheddar cheese and/or bacon over the filling before rolling.
These days we tend to think of puddings as desserts, but in medieval Britain the word described a sausage-like mixture of meat and fat and other ingredients stuffed into animal intestines and boiled. Over time, the name extended to other mixtures, including those made with flour and suet, cooked in a cloth instead of an animal casing. A roly poly belongs to this pudding tradition, whether its filling is sweet or savoury.
This rather gruesome nickname refers to a traditional suet jam roly poly. Before modern kitchen wrapping materials were available, the pudding could be wrapped in a cloth or an old, clean shirt sleeve to hold its shape during cooking. The sleeve-shaped pudding gave rise to the names 'shirt-sleeve pudding' and 'dead man's arm' - perhaps not the most appetising names for something served with custard!
Save for later
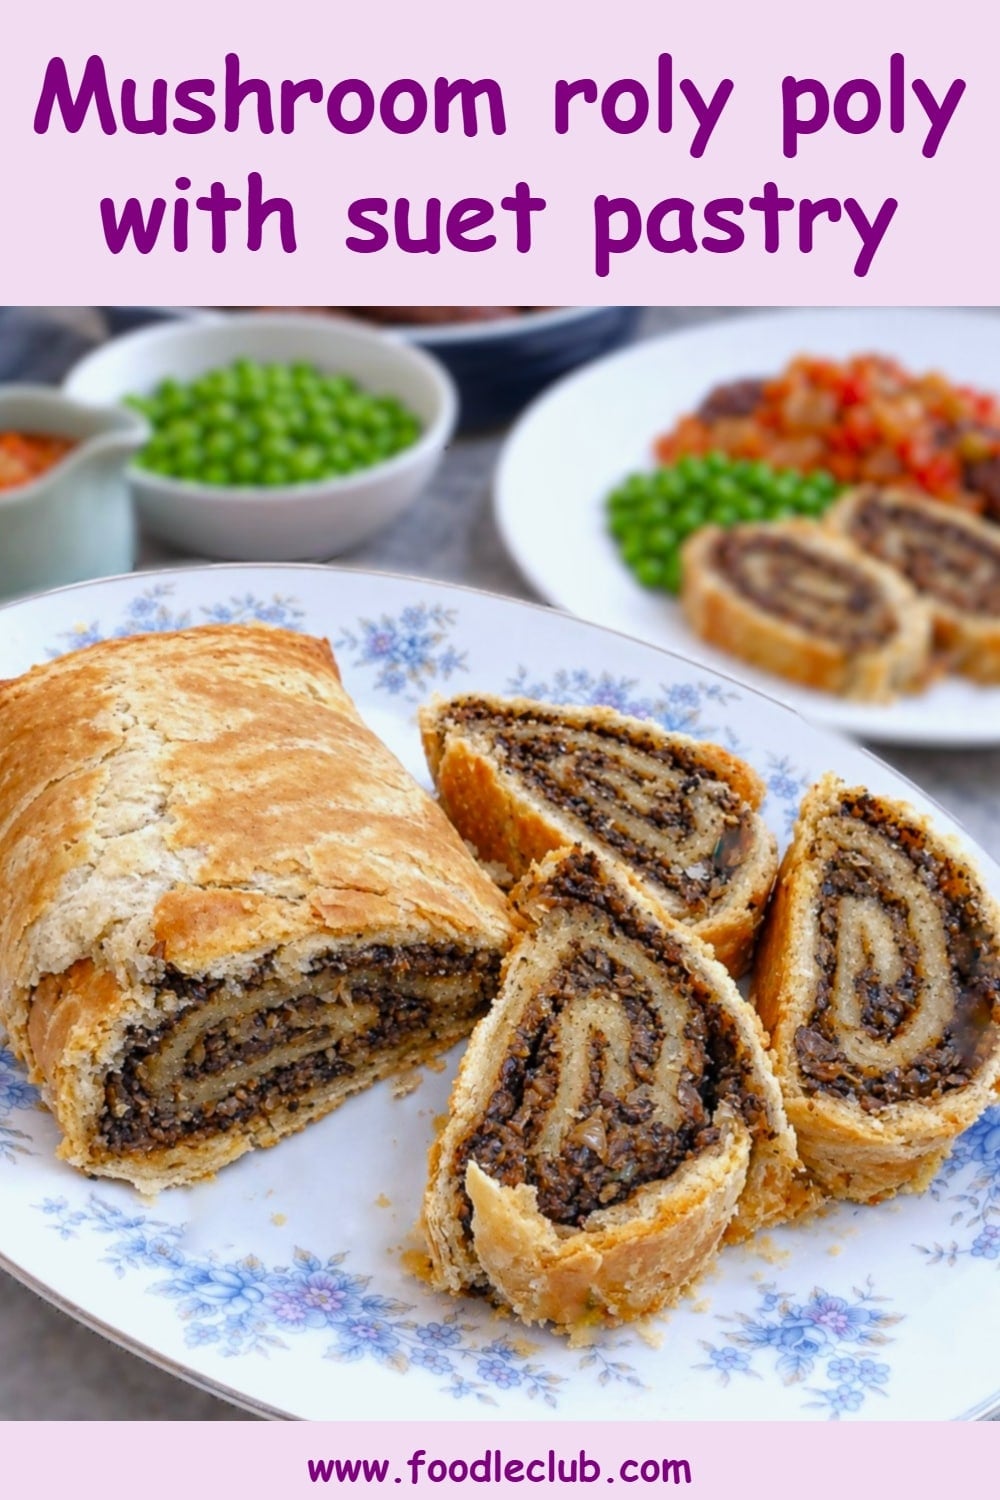
If you would like to make this mushroom and onion roly poly with suet pastry, why not save the recipe to one of your Pinterest boards so you can find it easily? Just click on the image below.
Alternatively, you can save the recipe by clicking on the floating heart icon on the right-hand side of the screen.
Related recipes
Visit my mushroom recipes page for more ways to use mushrooms in your cooking. Here are a few that you might enjoy:




The recipe

Oven-baked mushroom and onion roly poly
(Click the stars to rate this recipe)
Equipment
- Food processor For chopping the mushrooms and onions. Use a sharp knife and chopping board if you don't have a processor, but cut the vegetables as finely as possible.
- Frying Pan For frying the mushrooms and onions.
- Silicone spatula For stirring the filling
- Baking sheet Line it with a silicone mat or baking parchment to prevent sticking and catch any drips
- Serrated knife Helps to cut the roly poly without squashing it.
- Mixing bowl For the pastry
- Rolling Pin
Ask a Question
If you have a question about this recipe that has not been answered, please use the box below to ask it.
Use this with care. This is an AI-generated result and may contain errors or inaccuracies. I cannot be held responsible for the information returned.
Ingredients
Suet pastry
- 1¾ cups / 250 grams self-raising flour Substitute with plain or all-purpose flour mixed with 1¾ teaspoons of baking powder.
- 1 cup / 125 grams suet
- ⅓ cup / 60 ml water Or more if needed to make a soft non-sticky dough.
- ½ teaspoon salt optional
- 2 - 3 tablespoons milk to brush on the pastry before baking
Mushroom and onion filling
- 8 ounces / 225 grams white or chestnut mushrooms wiped
- 5¼ ounces / 150 grams brown or white onions approximately 1 3-inch diameter onion
- 1 teaspoon thyme substitute with one tablespoon fresh thyme leaves (stripped from the stalk)
- 2 tablespoons vegetable oil for frying
Instructions
Suet pastry
- Place the flour, suet and salt into a large mixing bowl and stir lightly to combine.1¾ cups / 250 grams self-raising flour, 1 cup / 125 grams suet, ½ teaspoon salt
- Add the water and use your fingers to combine. Add extra water one teaspoon at a time until the mixture comes together in a soft, non-sticky dough.⅓ cup / 60 ml water
- Tip out onto a lightly floured surface and knead briefly (no more than 90 seconds) until you have a smooth ball of dough.
- Cover with plastic wrap to prevent it from drying out and set aside while you make the filling.
Mushroom and onion filling
- Using a food processor, chop the mushrooms and onions (separately) until they are approximately the size of grains of rice.8 ounces / 225 grams white or chestnut mushrooms, 5¼ ounces / 150 grams brown or white onions
- Heat the oil in a frying pan on low to moderate heat and add the chopped mushrooms and thyme. Stir well to coat them with the oil.1 teaspoon thyme, 2 tablespoons vegetable oil
- Cover the pan with a lid and sauté the mushrooms for 4 to 5 minutes. Keep an eye on them; if they seem to be browning, turn the heat down. You just want the onions to turn translucent and start to soften.
- Add the chopped mushrooms, replace the lid and sauté for a further 2 - 3 minutes. You should see the mushrooms have started to release their moisture into the pan.
- Use a spatula to flatten the mushrooms in the pan and return them (uncovered this time) to a low heat to allow the liquid to evaporate. This will take between 7 and 10 minutes.
- The mushrooms will be ready when you can press them with a spatula without any liquid showing. Set the filling aside and allow it to cool.
Assemble and bake
- Preheat the oven to 180°C/355°F (conventional) or 160°C/ 350°F (fan)
- Press the ball of pastry into a rectangular shape and place it on a lightly floured surface, then roll it out until it is around 8" wide by 12" long. It will be approximately an eighth of an inch thick.
- Spread the cooled filling evenly over the pastry, leaving about an inch uncovered all around.
- Starting at one short end, fold the uncovered pastry over the bottom of the mushroom filling. Continue to roll, trying not to flatten the roll too much. Brush the top uncovered edge of the pastry with milk to help it stick, fold it up over the roll, and press gently to seal.
- Now enclose the sides. Press the pastry on the side to close it. Brush the top of the seal with milk and fold the pastry up against the side of the roll. Repeat on the other side.
- Place the roly poly (seam side down) on a baking tray lined with baking parchment or a silicone mat. Brush the top and sides of the pastry with milk to encourage browning.2 - 3 tablespoons milk
- Bake the roly poly in a preheated oven at 180C/355F (conventional) or 160C/ 350F (fan) for 40 to 45 minutes or until the exterior of the roly poly is crisp and golden. Allow the roly poly to rest for 5 to 10 minutes before slicing.
Notes
- Take care when adding water to the pastry. Don't add all the water at once - you want just enough to form a soft, non-sticky dough. Remember, you can put it in, but you can't take it out.
- Handle the pastry lightly. This pastry is not as fussy as shortcrust, so a little kneading won't hurt; just be gentle. Too much overworking can cause the pastry to become tough.
- Chop the mushrooms and onions as finely as possible. A finely chopped filling is much easier to spread and roll.
- Cook off the moisture. Spend a few extra minutes making sure the filling is completely dry. You'll thank my when you have crispy rather than soggy pastry!
- Cool the filling before using. Warm filling can soften the suet, making the pastry greasy and difficult to handle.
- Leave a border. The border enables you to seal the pastry without getting bits of filling stuck in it, which may cause leakage when the roly poly cooks.
- Roll gently and seal well. Roll snugly without squeezing out the filling, pinch the ends closed, and place seam-side down on your prepared baking sheet.
- Check the centre. Test the roly poly near the centre with a wooden skewer. It should come out without sticky raw dough. Cook for a few minutes longer if necessary and loosely cover with foil if the outside browns before the centre is cooked.
- Rest before slicing. Let the baked roll stand for 5 to 10 minutes to help it hold together when cut. This will help prevent the pastry from breaking apart.
- Refrigerating. Cool any leftovers promptly and refrigerate within 2 hours. Store in an airtight container and eat within 48 hours. Keep any gravy or tamatie smoor separately to prevent the pastry from becoming soggy.
- Freezing. Wrap the cooled roll, or individual slices, tightly and place in a freezer bag or airtight container. I'd recommend using within 2-3 months for the best texture.
- Defrosting. Defrost overnight in the refrigerator and use within 24 hours of fully thawing.
- Reheating. Place on a baking tray in a preheated oven at 180°C / 350°F conventional or 160°C / 320°F fan. Allow approximately 15-20 minutes for slices, longer for a whole roll, until piping hot throughout. Cover loosely with foil if it browns too much, removing it towards the end to crisp the crust. Reheat only once.
Nutrition
I am not a nutritionist. The nutrition information has been calculated using an on-line calculator, and is intended for information and guidance purposes only. If the nutrition information is important to you, you should consider calculating it yourself, using your preferred tool.
If you made this recipe and enjoyed it, I'd love it if you could give me a star rating in the comments below. And if you'd like to get in touch, you can email me at veronica@foodleclub.com. I'd love to hear from you. And don't forget to subscribe to my mailing list so you can grab yourself a copy of my FREE COOKBOOK!
If you'd like to continue browsing, just click on this link to all my recipes.




Did you make this recipe? Let me know!