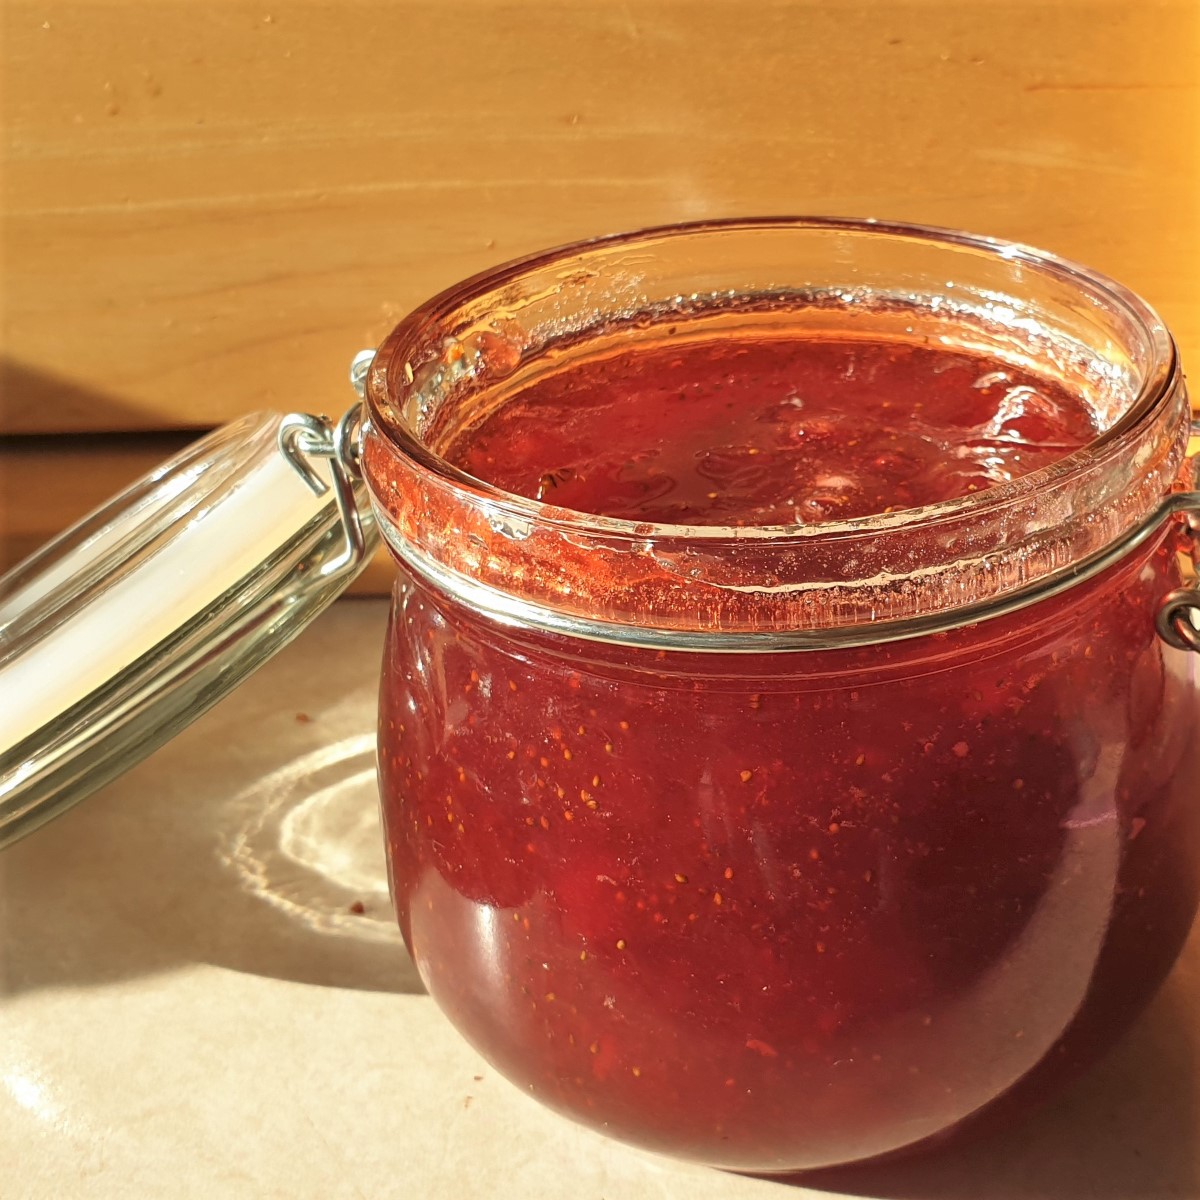
If you are looking for something to do this weekend, why not boil up a batch of fruity homemade strawberry jam? If you've never made your own jam before you will be amazed at how easy this recipe is. It only takes 3 ingredients and half an hour of your time. And when the compliments come pouring in you can say 'Thank you - I made it myself'!
Jump to:
Homemade strawberry jam
I don't know about you, but I get such a sense of achievement from making my own jams and preserves. I've made loads over the years, and even shared some of them on my blog:
They are all pretty simple to make, but the one I'm sharing today is the easiest by far. You only need 3 ingredients, and within half an hour you have yourself a jar of the tastiest homemade strawberry jam, crammed with fruit, that will leave you licking your fingers and coming back for more.
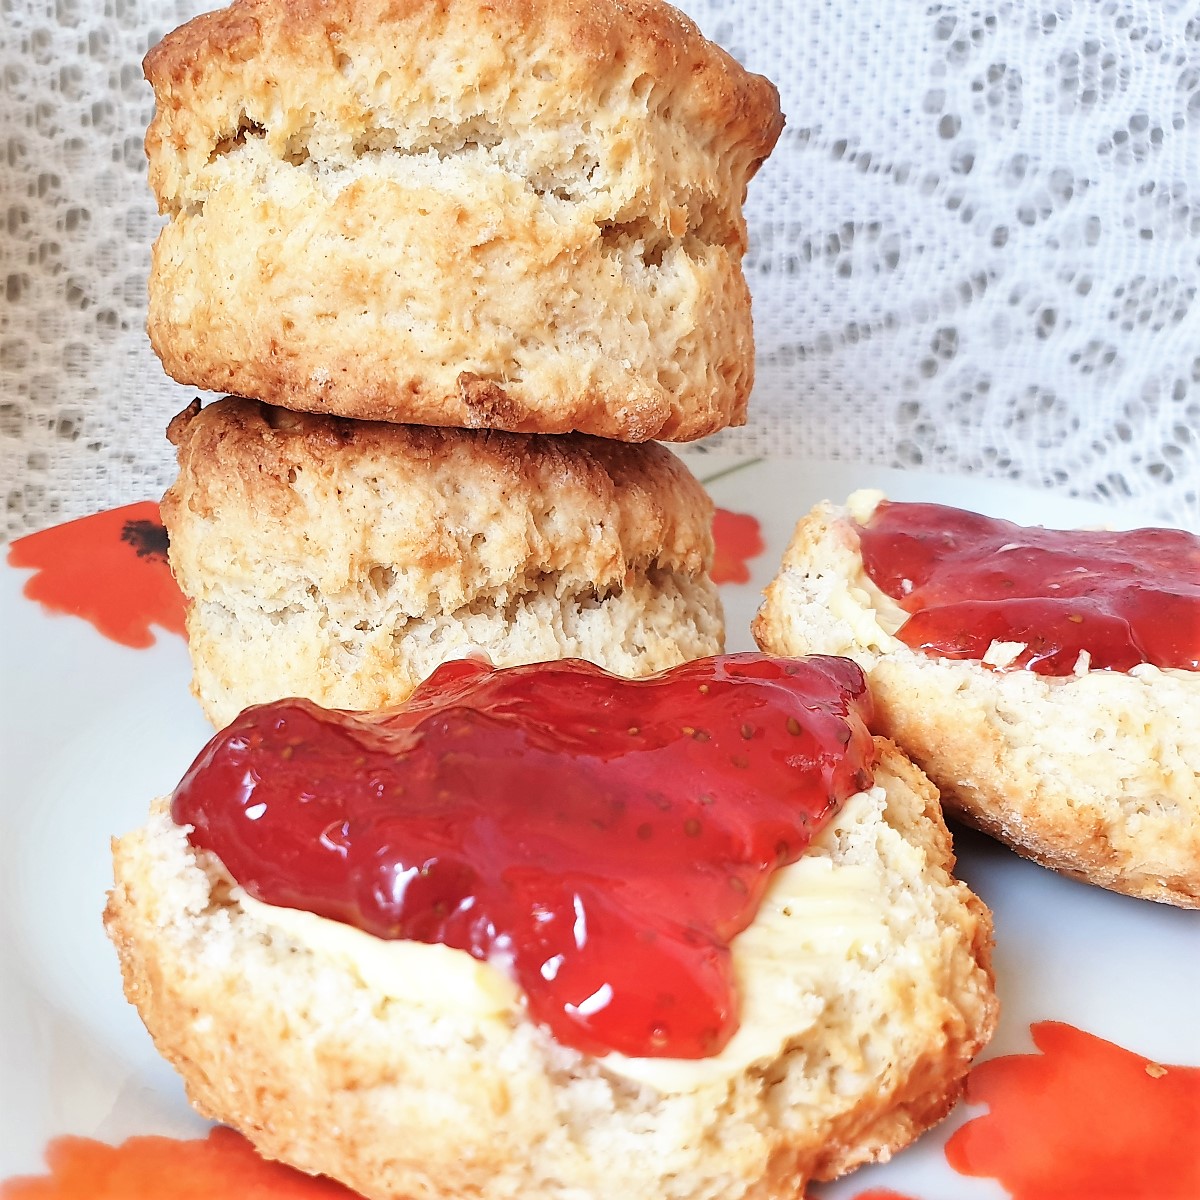
It's thick and fruity - nothing like the runny syrup that sometimes gets passed off as jam in the supermarkets. This is the real deal. Just look at the texture of the jam piled on the scone!!!
How to make strawberry jam at home
**You can get the complete list of ingredients and full instructions on how to make this strawberry jam on the printable recipe card at the end of this post**
To make the strawberry jam you will need equal quantities of strawberries and sugar, and a few tablespoons of lemon juice - that's all.
There is no need to add any pectin to this jam. The lemon juice helps the jam to set, along with a longer boiling period.
This recipe calls for granulated sugar. If you can get jam sugar (which is specially made for making jam, and contains pectin) then you can reduce the boiling time to 10 minutes.
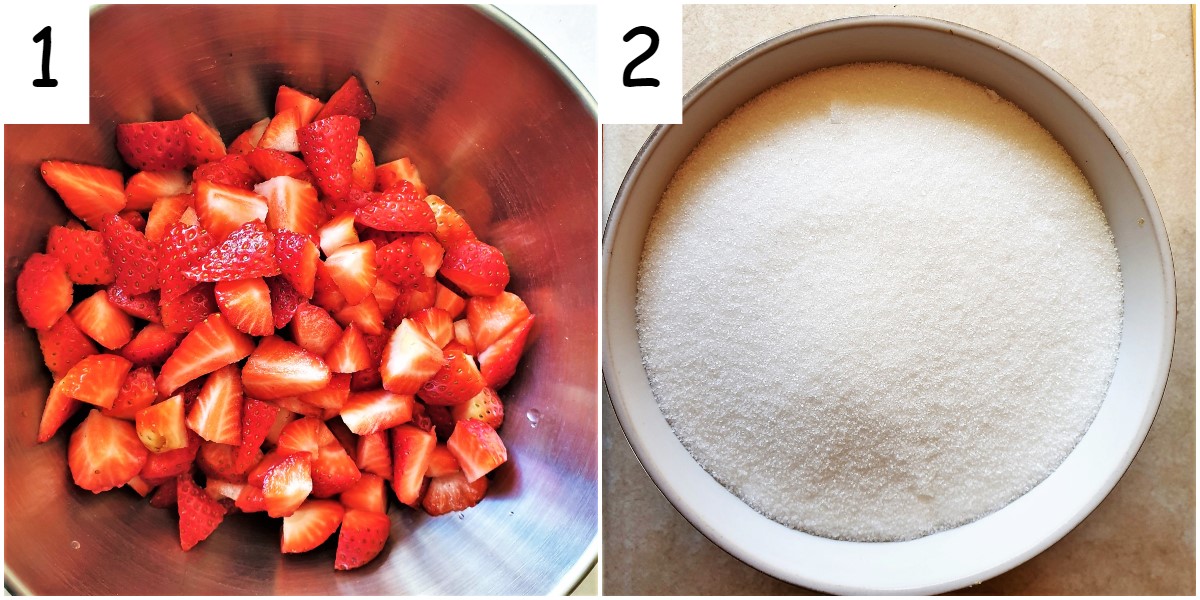
- Wash and hull the strawberries and chop them into smallish pieces.
- Weigh them and measure out the same amount of sugar.
- My chopped strawberries weighed 600g (21 ounces) and made sufficient jam to fill a 1-pint jar (that's 2 cups, or 16 fluid ounces or 500 ml depending on where in the world you live).
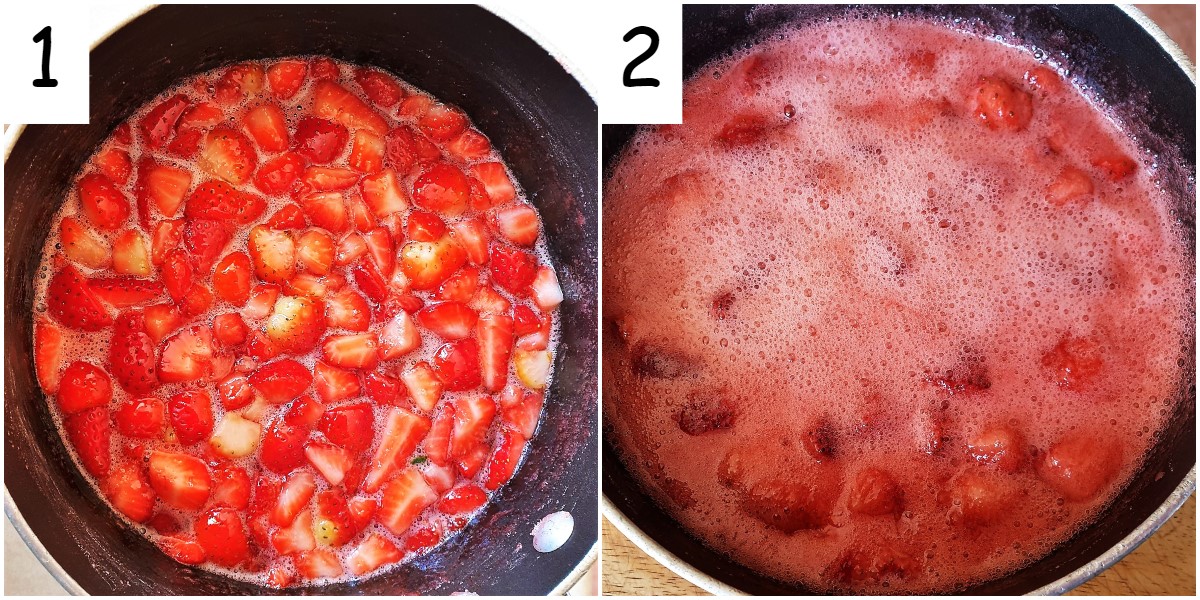
- Place the strawberries, sugar and lemon juice into a saucepan and heat gently, stirring continuously, until the sugar has melted.
- Increase the heat and bring to a rolling boil.
- Allow to boil for about 25 minutes, stirring occasionally. Do not cover it with a lid as this may cause the jam to boil up and overflow.
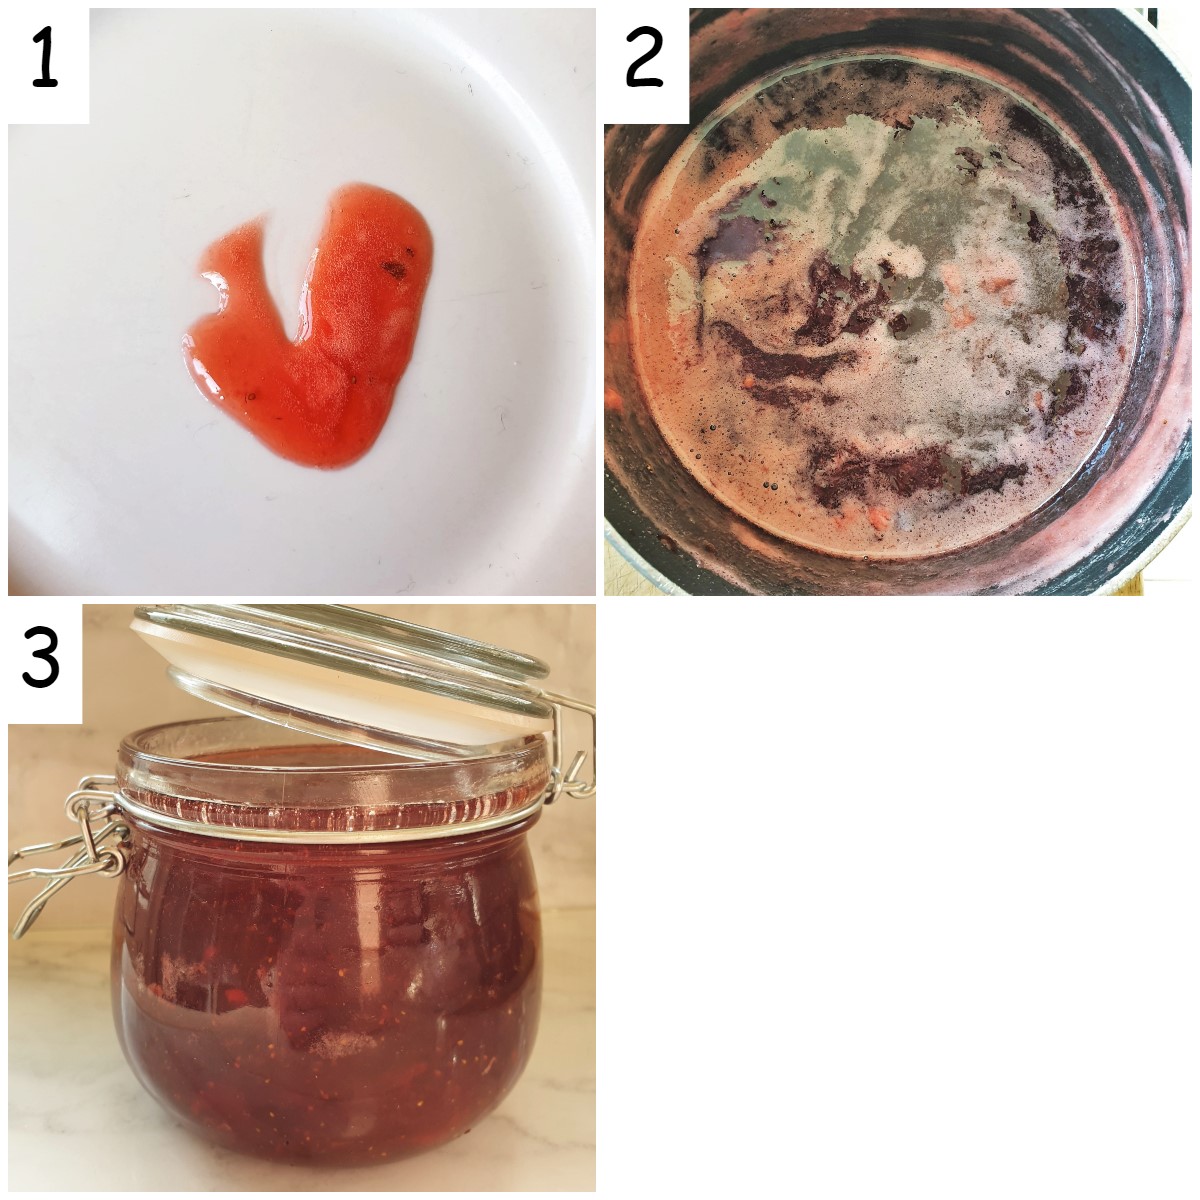
Test to see if the jam is thick enough
- While the jam is boiling, place a small plate in the freezer to chill.
- After 25 minutes remove the plate from the freezer and spoon a small amount of jam onto the cold plate.
- Let it cool and then run your finger through the jam. The jam will still be runny, but it should hold its shape and not flow back together when you run your finger through it. Don't put your finger into the hot jam - give it time to cool down first.
- If the jam seems too runny, let it boil for another few minutes and test again.
- Note that this jam will thicken further once it has cooled down completely.
- Skim any residue from the top of the jam, then pour into a sterilised jar (see below for instructions on sterilising jars) and cover with a lid.
- You can store this jam, unopened, in your pantry for up to 6 months, but once opened you should store it in the refrigerator.
Can I adjust the quantities?
You can easily make a larger or smaller batch of this strawberry jam by either doubling or halving the ingredients. The cooking time should remain the same.
How can I use homemade strawberry jam?
There are loads of ways you can serve this jam. Here are a few of them:
- Spread it on toast for breakfast.
- Layer it in a Victoria sponge cake.
- Spoon it over homemade waffles.
- Liven up a rice pudding with a spoonful of strawberry jam
- Mix with some plain yoghurt for an instant dessert
- Make jam tarts or jam doughnuts
- And of course, don't forget to put some on your homemade scones or lemonade scones with a dollop of cream!
What's your favourite way of using strawberry jam - let me know in the comments below.
How to sterilise jars
To sterilise jars in the oven:
- Wash the jars and the lids in hot soapy water, rinse, but do not dry them.
- Stand them upside down on a baking tray while they’re still wet.
- Place the tray of clean, wet jars and lids into a preheated oven at 180ºC / 350ºF for 15 mins.
To sterilise jars in the microwave:
- Wash the jars and the lids in hot soapy water, rinse, but do not dry them.
- Place them in the microwave whilst still wet.
- Microwave on full power for 2 minutes
- If the lids are made of metal DO NOT MICROWAVE. Instead, place the lids in a pot of boiling water and boil for 5 minutes.
If you'd like to be notified of new recipes, why not subscribe to my newsletter? To say thank you, you will receive a free recipe e-book containing some of my most popular cakes and desserts.
Save for later
Why not pin this recipe for strawberry jam to one of your Pinterest boards so you can find it easily? Just click the image below.
Alternatively, you can save the recipe by clicking on the floating heart icon on the right-hand side of the screen.
Related recipes
Visit my sauces, dips and marinade recipes page for similar recipes. Here are a few you might enjoy:
📋The recipe
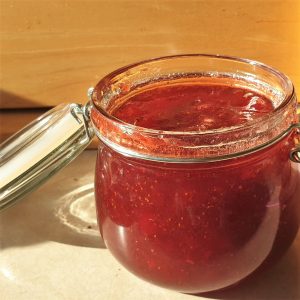
Strawberry Jam
(Click the stars to rate this recipe)
Equipment
- Kitchen scales
- Sharp Knife
- Chopping Board
- Saucepan
- Jars for storage
Ingredients
- 21 ounce (600g) strawberries chopped
- 3 cups (600g) sugar
- 4 tablespoons lemon juice
Instructions
- Wash and hulll the strawberries, then chop them roughly.
- Place the strawberries and lemon juice in a saucepan and heat gently.
- Add the sugar and continue to heat, stirring continuously until the sugar melts.
- Place a small plate in the freezer. This will be used to test the consistency of the jam.
- Lower the heat slightly and allow to boil for 30 minutes
- Remove the plate from the freezer and place a teaspoon of jam on the cold plate.
- Allow to cool and then run your finger through the jam on the plate.
- The jam will be ready when the jam on the plate doesn't flow back together when running your finger through it.
- If the jam isn't thick enough, boil for a few minutes longer and test again.
- Allow to cool and then remove any residue from the top of the jam.
- Pour into a large sterilised jar.
- This jam will stay fresh if stored in the fridge for 4 to 6 weeks.
Notes
Nutrition
I am not a nutritionist. The nutrition information has been calculated using an on-line calculator, and is intended for information and guidance purposes only. If the nutrition information is important to you, you should consider calculating it yourself, using your preferred tool.
If you made this recipe and enjoyed it, I'd love it if you could give me a star rating in the comments below. And if you'd like to get in touch, you can email me at [email protected]. I'd love to hear from you. And don't forget to subscribe to my mailing list so you can grab yourself a copy of my FREE COOKBOOK!
If you'd like to continue browsing, just click on this link to all my recipes.





Donne
So far it looks great 👍🏼 thank you for such an accurate recipe
VJ
Hope it turned out well for you!