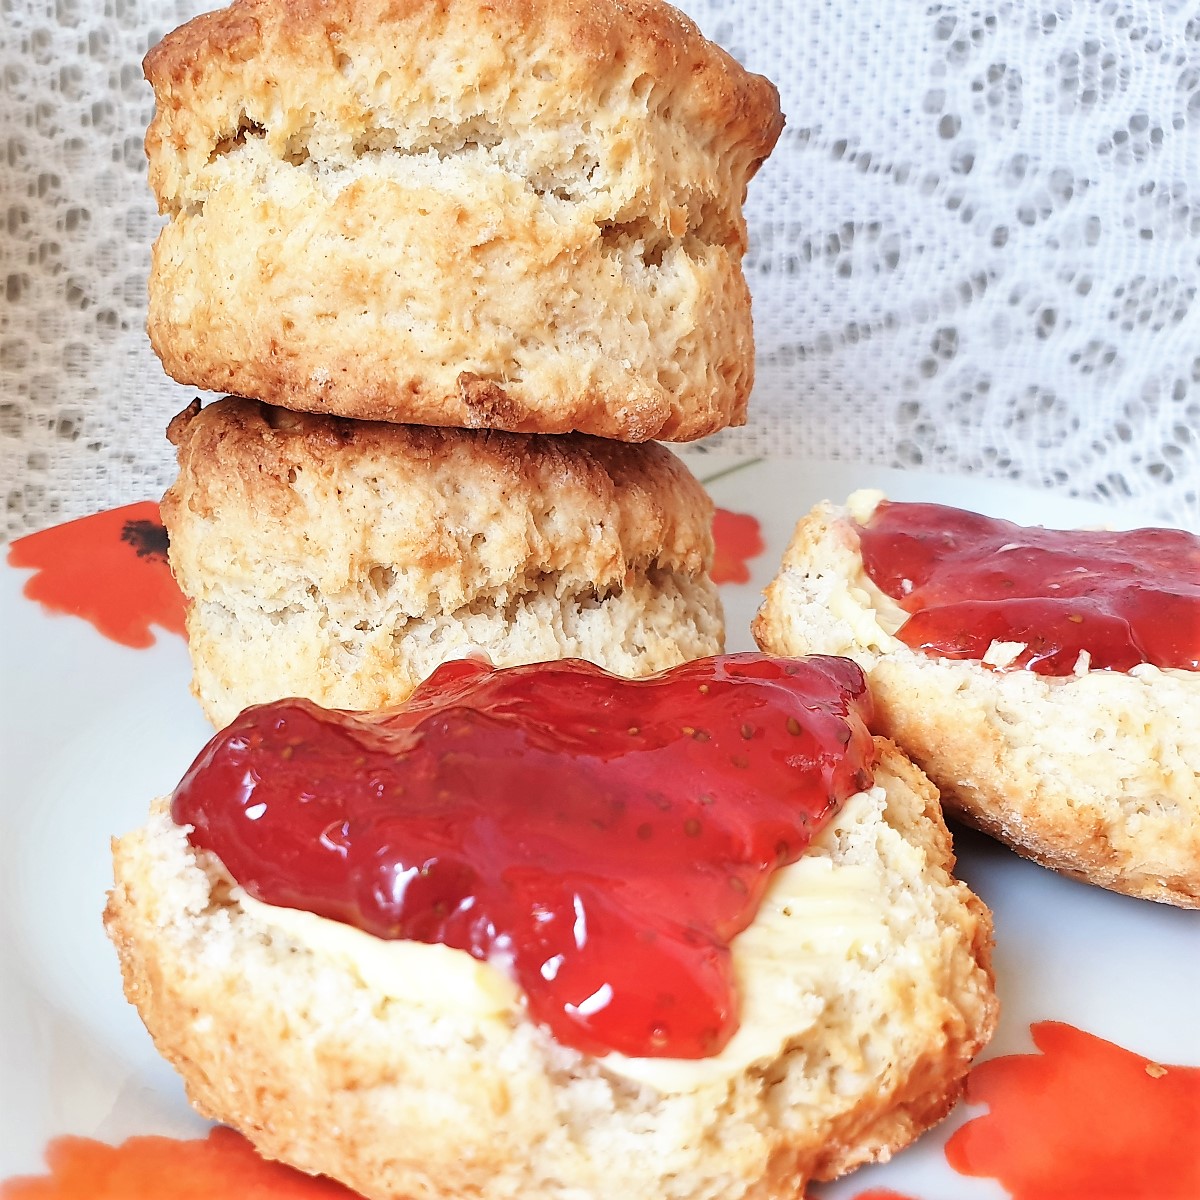
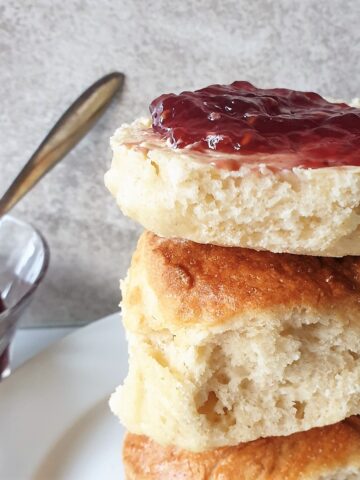
Homemade scones, dripping with strawberry jam, are a favourite British tea-time treat. I've been making this quick and easy recipe for years, and it never fails. The scones are fluffy and delicious, and with only 4 basic store cupboard ingredients and 10 minutes of prep time, you could be enjoying your own homemade scones today!
Jump to:
Homemade scones
I remember my mother, who must have had the patience of a saint, trying to teach me to make scones at home when I was six or seven years old. She'd place me in front of a bowl of flour and butter, with instructions to 'rub it all together until it looks like breadcrumbs'. And I'd stand there rubbing away for what seemed like hours until the butter had been rubbed with the flour to my mother's satisfaction and the kitchen and I were both covered in flour.
Then she'd mix in the milk and I'd measure out the currents from a brown paper bag (because they were sold loose, by weight, in those days) and we'd get on to my favourite bit - the rolling out.
I'm sure I rolled them out too thinly 'but mummy if I roll them thinner we'll get more out' and handled the dough far too much. And they probably turned out more like crispy currant biscuits than light, fluffy scones. But I do remember the sense of achievement when they were removed from the oven and I could see the results of what I'd made. I think the fact that I was allowed to make a 'scone man' out of the trimmings, with currants for eyes and buttons, added to the enjoyment.
These days though, my technique has improved somewhat. My homemade scones are gently pressed out, rather than being vigorously attacked with a rolling pin. The dough is handled as little as possible and left much thicker, to give the scones a fair chance of rising. And my trimmings are carefully pressed back together to form a final delicious scone 🙂 (albeit a bit lopsided).
How to make homemade scones
You only need 4 main ingredients to make scones at home. See the printable recipe card at the end of this post for exact measurements and instructions.
Flour -you will need self-raising flour. If you don't have self-raising flour you can make your own. Add 1 teaspoon of baking powder to each cup (140g) of all-purpose or plain flour.
Butter - you can get away with using brick margarine instead, but butter gives a much better flavour.
Sugar - not too much sugar, you don't want the scones to be too sweet. 1 tablespoon per cup of flour will be sufficient.
Milk - It doesn't make any difference whether you use full-fat or semi-skimmed milk. I've allowed three-quarters of a cup of milk in the recipe, but depending on the strength of your flour you may need to increase this slightly.
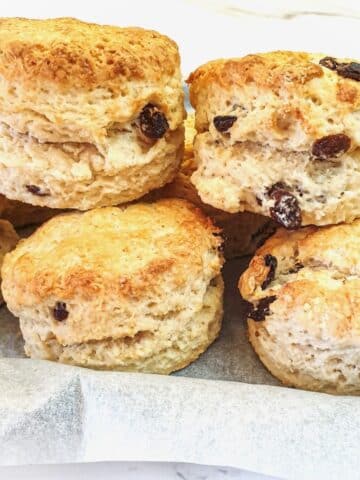
Currants, raisins or sultanas - these are optional. If you want to make fruit scones you can just add a handful of dried fruit before adding the milk.
Salt - also optional
Mix the scones
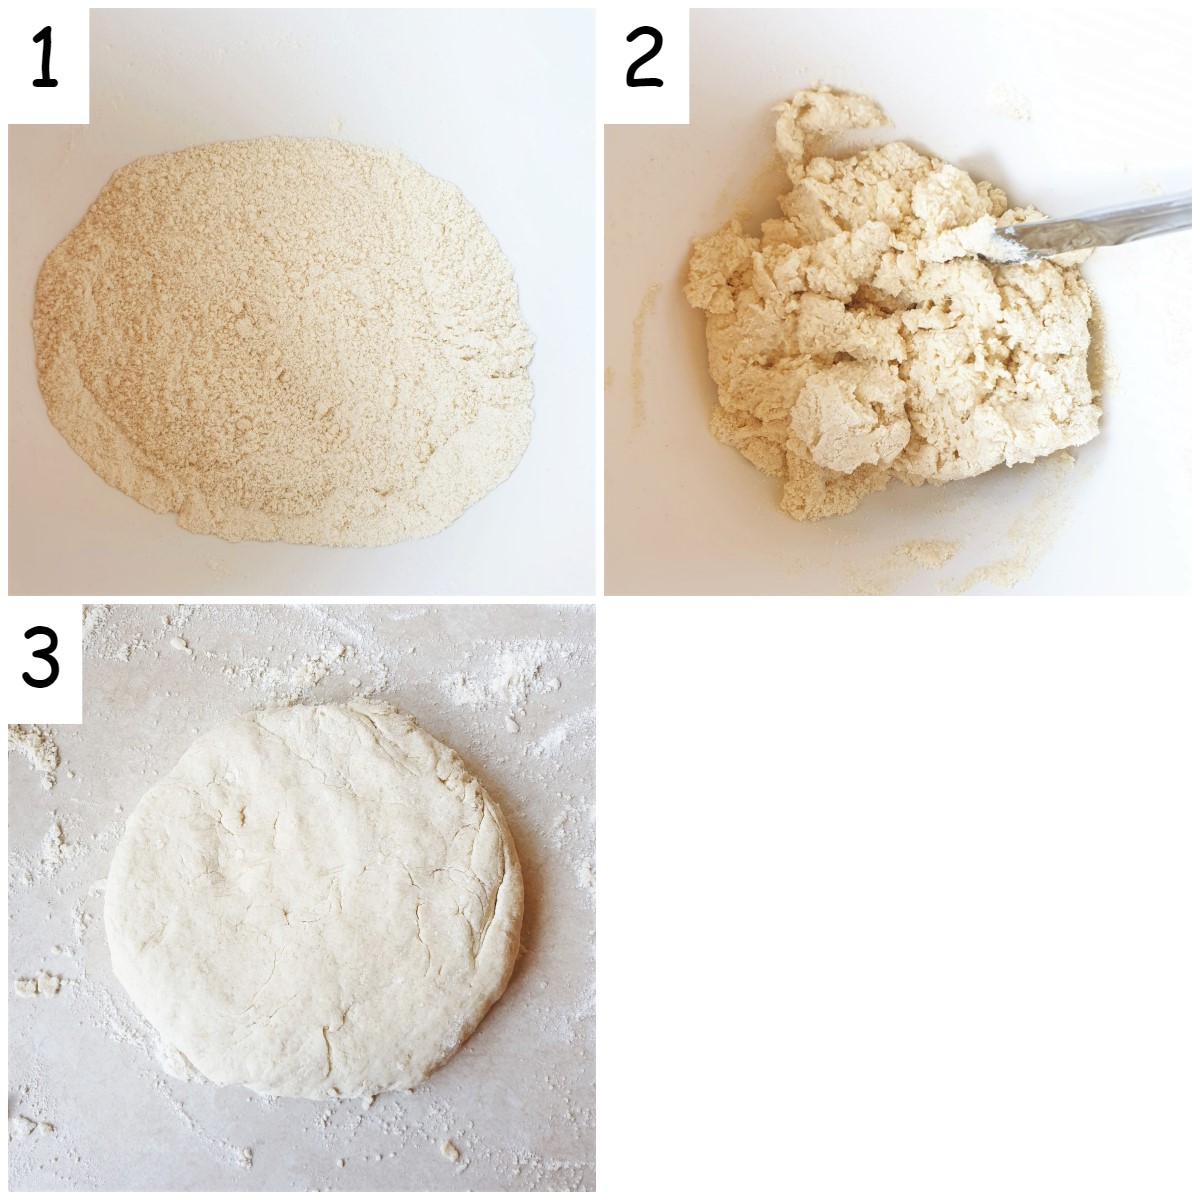
- Place the butter into a mixing bowl, add salt if using. Add the butter and rub with fingertips until the butter is all incorporated and the mixture resembles fine breadcrumbs. Lift your hands above the bowl as you do this to allow as much air as possible to be incorporated.
- Mix in the sugar.
- If using fruit or cheese, add it at this point.
- Add the milk and mix lightly with a flat-bladed knife until just combined. If the mixture doesn't come together, add extra milk one tablespoon at a time.
- Tip out onto a work surface, and press together lightly until it just comes together in a soft ball. Don't knead the dough.
- Press out to flatten, approximately 2cm in thickness. You can use a rolling pin if you prefer, but I find that just pressing out with my hands works perfectly well.
- Try to handle the dough as little and as lightly as possible.
Cut out and bake
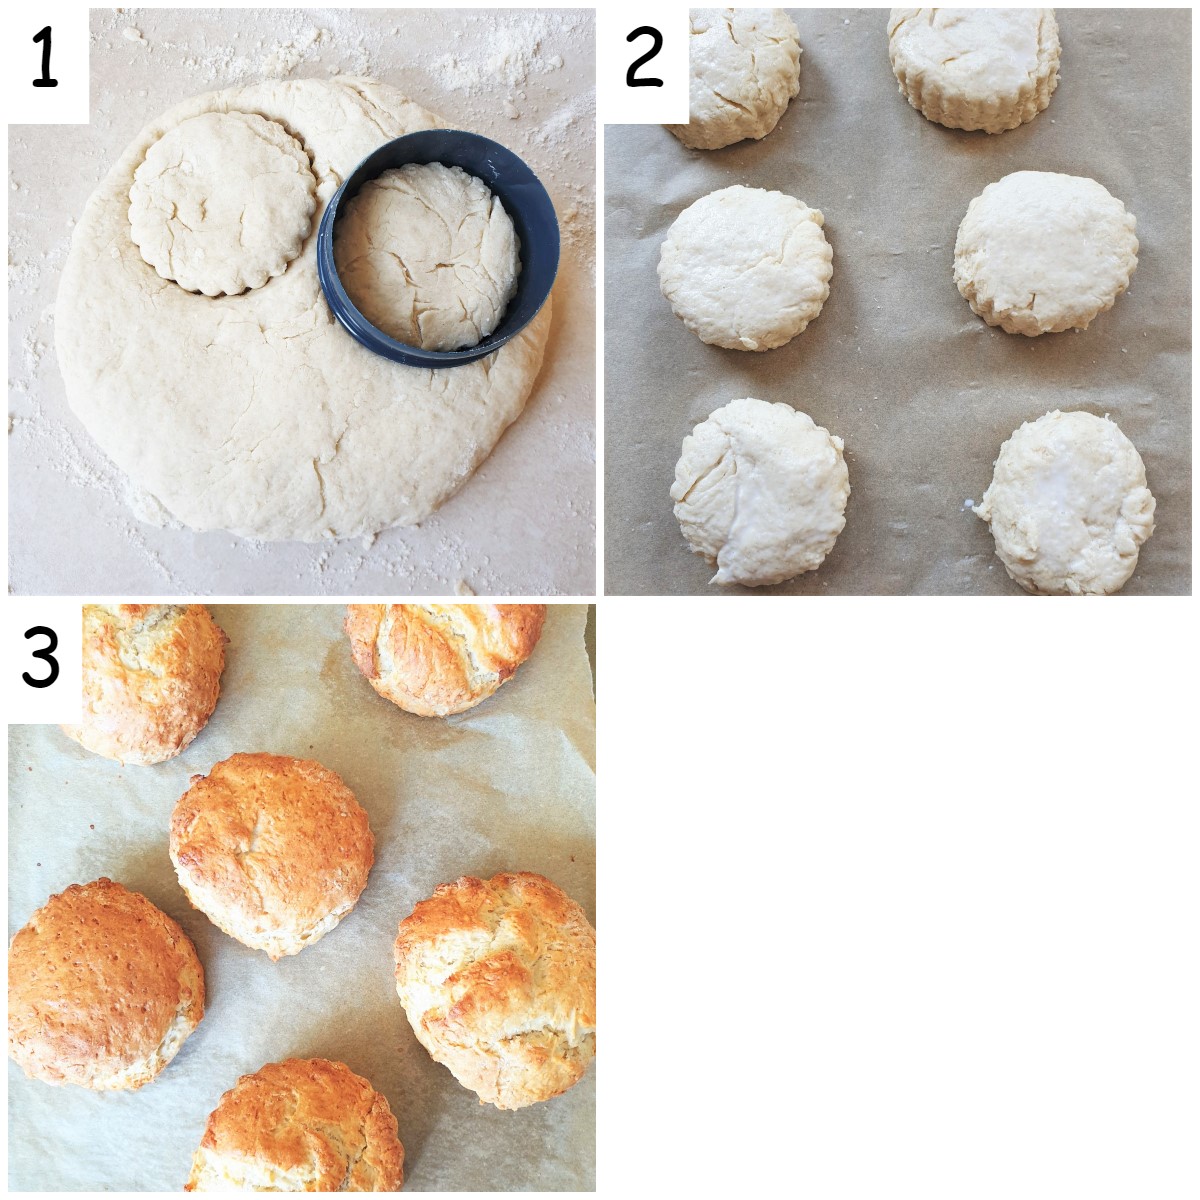
- Using a fluted cutter, cut rounds from the dough. If you don't have a cutter you can use a glass or a cup.
- Do not twist the cutter. This is important. If you twist the cutter you will tear the edges of the scones and they will not rise evenly.
- Once you have cut out as many scones as you can, gather the trimmings together and press out again. You should be able to get another 2 or 3 scones from the trimmings.
- Place the scones on a baking sheet lined with baking parchment. If you don't have baking parchment, grease the baking tray lightly with oil or margarine, or spray lightly with a cooking oil spray.
- Brush the top of the scones with milk
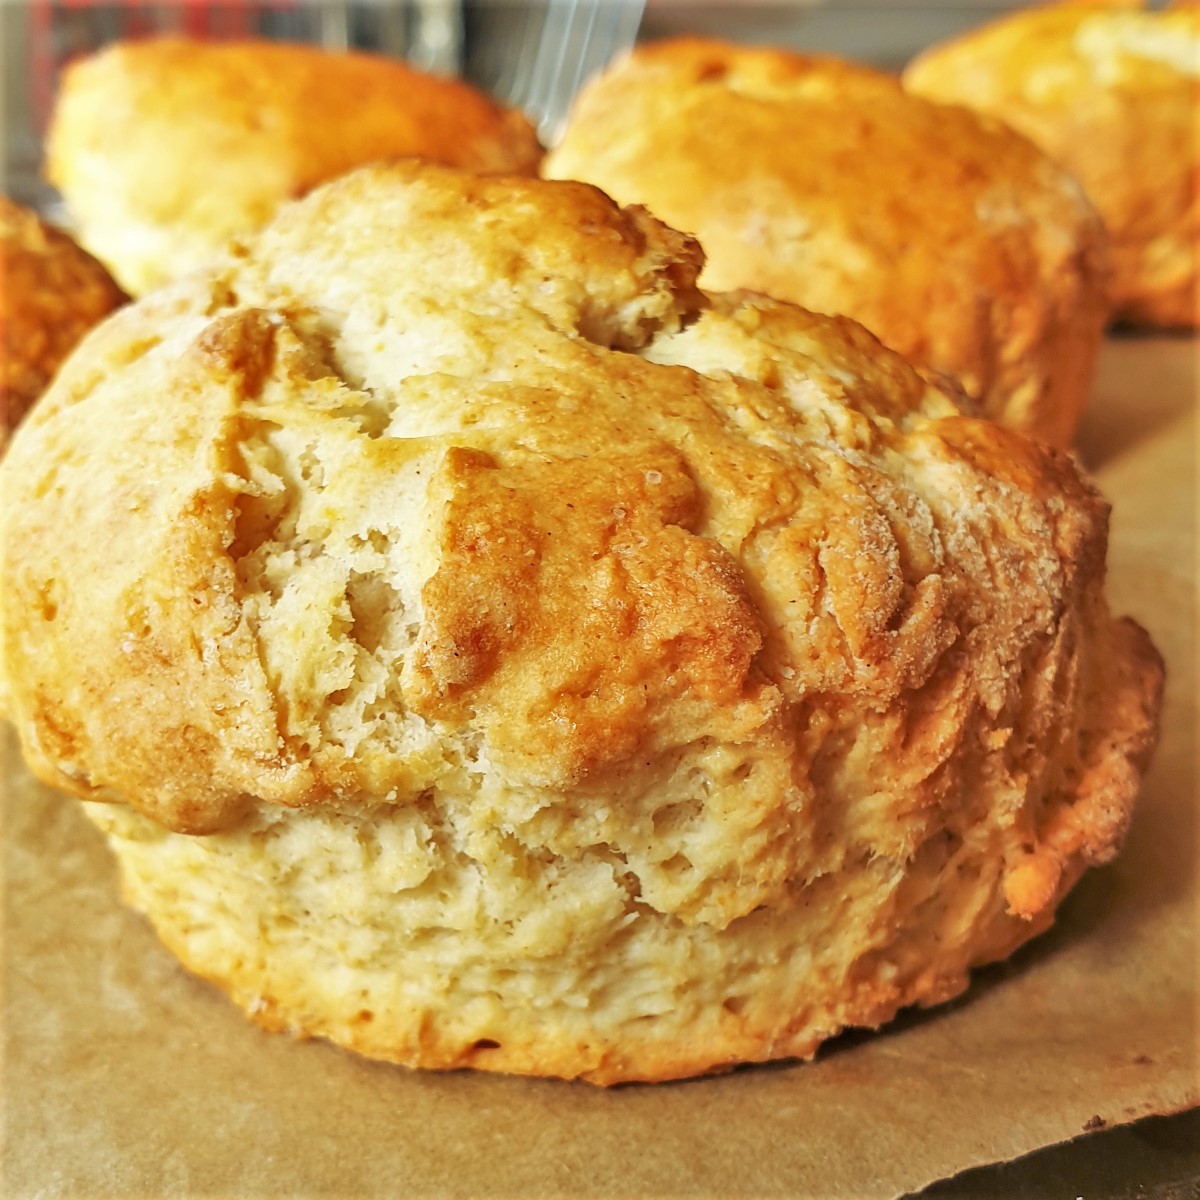
- Bake in a preheated oven (200C / 400F) for 20 minutes until well-risen and golden.
- Remove from the oven and allow to cool.
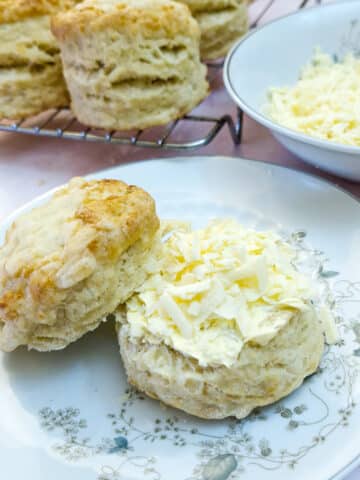
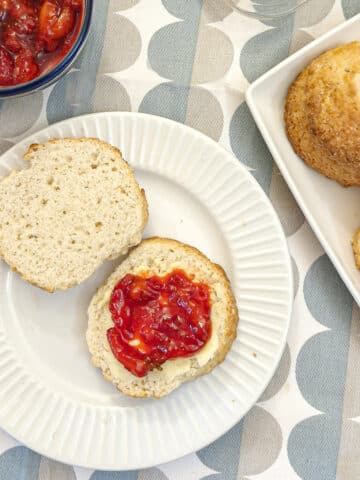
- To serve, split the scones, spread with butter and your favourite jam, and optionally top with a spoonful of thick whipped cream.
- Try topping them with homemade strawberry jam or this easy microwave lemon-curd.
- These scones are best eaten fresh. You can keep them in an airtight container for up to 3 days.
- You can also freeze these scones. When you are ready to eat them, defrost them in a hot oven until they are warmed through.
 for a delicious teatime treat. #foodleclub #homemade #easybakes #classicscones")
If you'd like to be notified of new recipes, why not subscribe to my newsletter? To say thank you, you will receive a free recipe e-book containing some of my most popular cakes and desserts.
Variations
You can turn these homemade scones into fruit scones by adding a handful of sultanas, currants or raisins to the dry mixture before adding the milk.
Or if you would prefer cheese scones add a handful of grated cheese before adding the milk and sprinkle a little grated cheese on top before baking.
Your questions answered
Making homemade scones always brings to mind two questions - how do you pronounce the word scone, and what goes onto the scone first, jam or cream? I think the answer to both of these questions depends on where you live.
How do you pronounce scone?
If you come from the north of England, as I did, you will know there is only one way to pronounce scone, and that is sc-on, to rhyme with gone.
However, if you are a bit more posh, and grew up in London and the surrounding areas, you are more likely to pronounce it as sc-own - to rhyme with own.
And to add even more confusion to the mix, I was on a touring holiday in Scotland a few years ago and arrived in a little town called (you've guessed it) - Scone. The locals pronounced it Sc-oon - to rhyme with tune.
So there you have it, three possible pronunciations! How do you pronounce Scone? Let me know in the comments.
What goes first, the cream or the jam?
This is an age-old debate - do you spread your scones with jam and then add the cream, or do you do it the other way around and spread the cream on first?
After much research (ie a bit of Googling) I can tell you that the majority of people prefer to put jam on first and then top it with cream.
I have to say that I go along with the majority here. Have you ever tried to spread jam on top of cream? The cream goes everywhere!
Save for later
Why not pin this recipe for homemade scones to one of your Pinterest boards so you can find it easily? Just click the image below.
Alternatively, you can save the recipe by clicking on the floating heart icon on the right-hand side of the screen.
Related recipes
If you enjoy baking scones and muffins you may like to try some of my other easy recipes too:
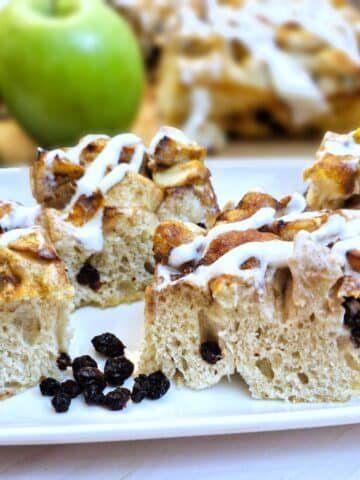
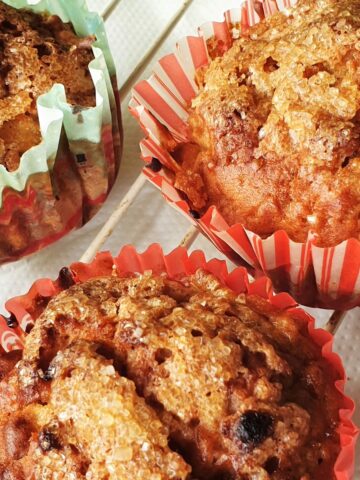
You can find these and many more recipes on my bread and scones recipes page.
📋The recipe

Quick and easy homemade scones
(Click the stars to rate this recipe)
Equipment
- Mixing bowl
- Spatula
- Baking sheet
- Baking parchment
Ask a Question
If you have a question about this recipe that has not been answered, please use the box below to ask it.
Use this with care. This is an AI-generated result and may contain errors or inaccuracies. I cannot be held responsible for the information returned.
Ingredients
- 3½ cups / 490 grams self-raising flour
- ⅓ cup / 75 grams butter
- 3½ tablespoons / 50 grams caster sugar
- ½ teaspoon salt
- ¾ cup / 180 ml milk + extra if needed
Instructions
- Pre-heat oven to 200°C / 400°F
- Sift flour into a mixing bowl and add the salt.3½ cups / 490 grams self-raising flour, ½ teaspoon salt
- Rub the butter into the flour until it resembles fine breadcrumbs⅓ cup / 75 grams butter
- Mix in the sugar.3½ tablespoons / 50 grams caster sugar
- Add the milk and stir with a knife until just incorporated. Add extra milk, one tablespoon at time, if the mixture is too dry.¾ cup / 180 ml milk
- Tip out onto a lightly floured surface and knead lightly until the mixture comes together in a soft ball.
- Press out into a flat circle or rectangle to roughly 2 cm thickness.
- Cut circles with a fluted cookie cutter and place on a baking tray lined with baking parchment
- Brush the top of the scones lightly with milk
- Place the tray into the centre of a pre-heated oven and bake for 20 minutes until nicely browned.
- Remove from the oven and allow to cool.
- Serve spread with butter and strawberry jam. You could also top with a spoonful of whipped cream.
- Best eaten fresh.
Notes
Nutrition
I am not a nutritionist. The nutrition information has been calculated using an on-line calculator, and is intended for information and guidance purposes only. If the nutrition information is important to you, you should consider calculating it yourself, using your preferred tool.
If you made this recipe and enjoyed it, I'd love it if you could give me a star rating in the comments below. And if you'd like to get in touch, you can email me at [email protected]. I'd love to hear from you. And don't forget to subscribe to my mailing list so you can grab yourself a copy of my FREE COOKBOOK!
If you'd like to continue browsing, just click on this link to all my recipes.
Lizzie says
I can't seem to make scones properly - until today!! Thank you for a simple recipe that works, I made fruit ones and they were honestly delicious. I think that the lack of a rolling pin and forming with your own hands is perfect for scones. Will be trying cheese and cherry next. Not together though!!!!
VJ says
Brilliant - I'm so pleased they worked out well for you. Thank you for letting me know- I love to hear that people like my recipes!
Patricia says
Lovely recipe and very easy! I made exactly as directed, except I added a tiny bit of vanilla extract to my batter as well as to the milk brushed on top. It adds more aroma than taste, might experiment with that next time. 20 minutes was definitely too long in my oven, but now I know for next time. These turned out beautifully and I will be adding to a regular rotation. Thanks for a great, simple recipe! 🙂
VJ says
Glad you enjoyed the recipe. Thanks for letting me know!
Elisabeth says
Full marks for the scone recipe…that’s how we make them in Devon: no eggs and just four ingredients. And of course it rhymes with gone. But I take issue with the jam first - Devon produces the best clotted cream ever, in glorious abundance, so we would spread a thick layer of cream first with just a small dollop of jam on top, never spread, to make sure the main thing - the cream - remains the main thing. After all, the only reason scones exist is to support the cream….
VJ says
My issue with putting cream on first is that it runs everywhere if you try and spread jam on top. But that's just my opinion 🙂
Alla says
Dear Veronica,
There is no yeast, baking soda or baking powder in the recipe. What makes the buns rise?
VJ says
Hi Alla, I've used self-raising flour to make these scones so there's no need for baking powder. In the body of the post I do mention that you can add 1 teaspoon of baking powder for each cup of flour if you want to use plain flour. I've updated the notes section of the recipe card to reflect this. Thanks for pointing it out!
Alla says
Hi VJ,
Thank you very much for such a quick response. I'll try to read more carefully in the future))
VJ says
🙂
Julie says
Made these scones today at first I couldn't get the mixture to go into a ball as it was too crumbly so had to had a bit more milk but they look nice now they are cooked. Can I use a rolling pin.
VJ says
Oh dear - I wonder why the mixture was dry. I've made these many times and not had that problem. Did you use a proper measuring cup for the milk, or just a tea-cup? That might be the problem. All my recipes are made using a standard 240ml measuring cup.
You can certainly use a rolling pin to roll these out if you prefer.
I D Evernden says
Made these scones today with cheese, never made scones before and was very surprised by the result, absolutely gorgeous warm with butter takes it to another level, wife said they are even better than hers, will definitely make again thank you for such an easy to make recipe.
Ian
VJ says
Wow - thank you for such a lovely comment. I'm so glad you enjoyed them.
VJ x
Malcolm Young says
Halved the batch and made cheese as well as fruit scones. Superb texture and rise. ??
VJ says
Thank you for the comment Malcolm. I'm so please they turned out well for you.