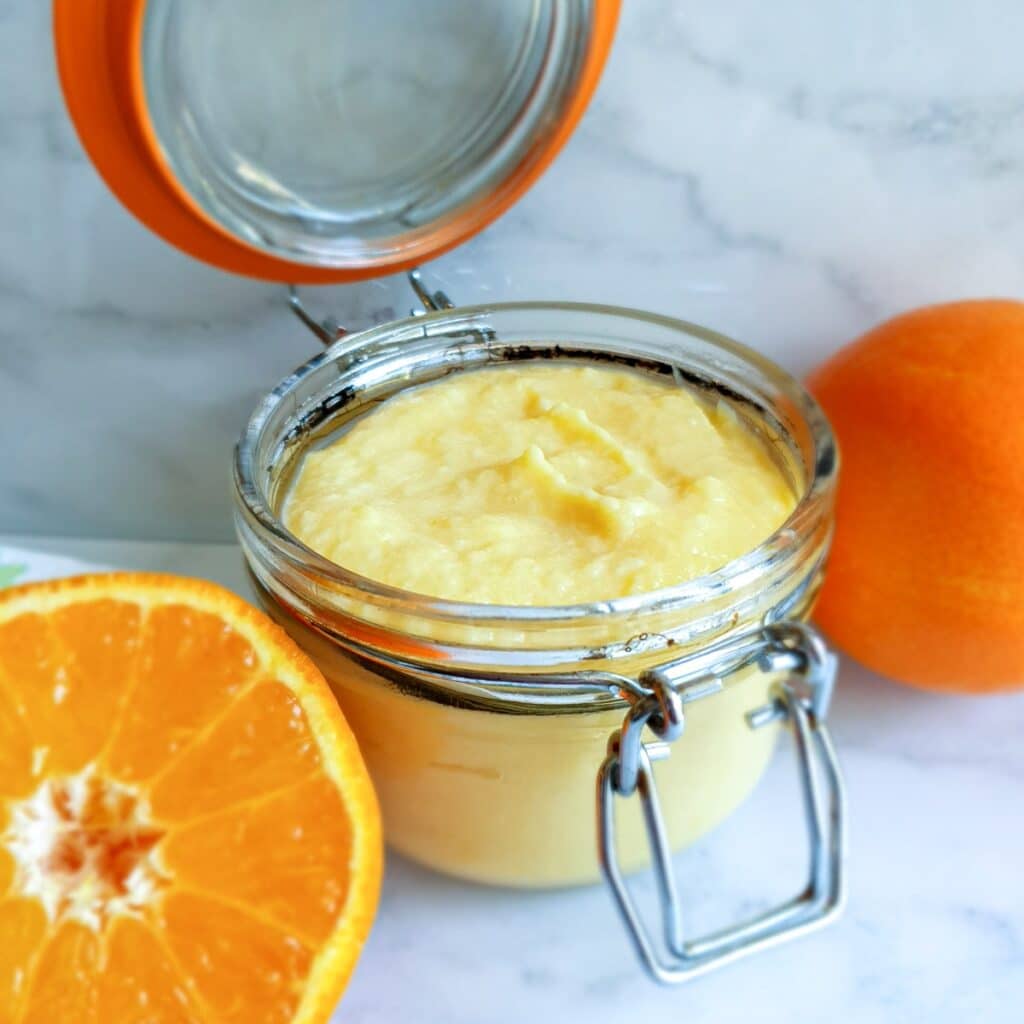
Follow my easy instructions where I show you how to make orange curd and you can be tucking into this delicious delicacy in no time. The hardest part is waiting for it to cool before you can eat it! It's delicious spread on scones or used as a filling in cakes and tarts. You'll even find yourself eating it straight out of the jar!!!
**As an Amazon affiliate, I earn from qualifying purchases.**
Jump to:
Homemade orange curd
I was browsing our local supermarket the other day looking for inspiration for a new recipe when I noticed a display of juicy oranges.
The sight of them brought back memories of my childhood in South Africa. Our neighbours had a huge lemon tree in their back garden which was always covered in bright yellow plump juicy lemons. The neighbours were always passing bags full of fruit to us over the fence. I remember my mother cooking up batches of homemade lemon curd and then turning it into the tastiest jam tarts - some of which made their way back over the fence!
I thought it would be interesting to see how well oranges would work in an orange curd recipe, rather than using lemons, so I bought a bagful of oranges and took them home to experiment.
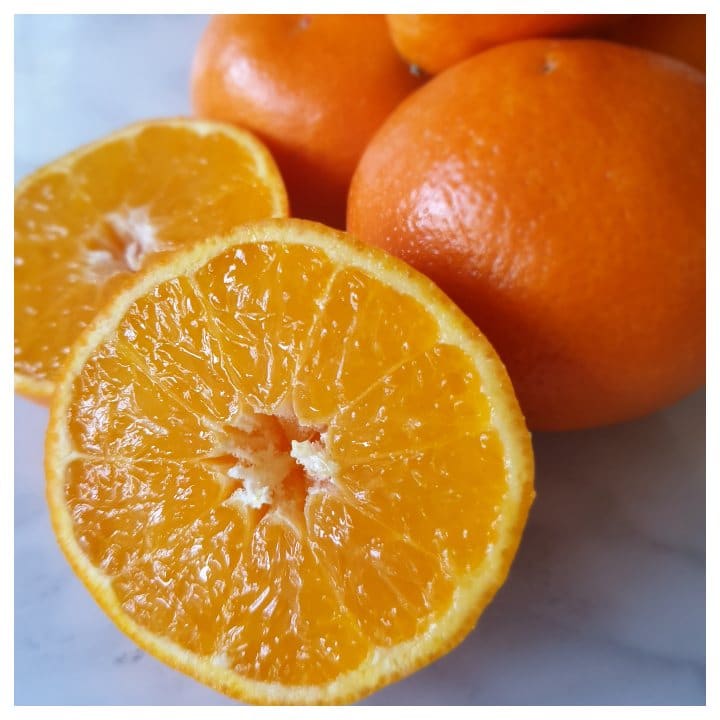
The first batch of orange curd turned out reasonably well, although it was slightly runny, and I found it a bit too sweet, which actually overpowered the flavour of the oranges. So I made another batch. This time I cut down on the amount of sugar and added an extra egg for thickening.
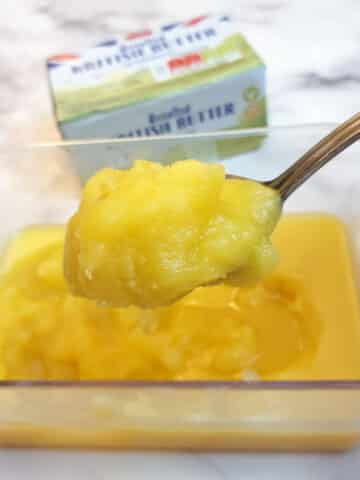
What a difference that made! The flavour of the orange really came to the fore, and while the curd was still sweet, it wasn't overpoweringly so. The consistency was also much more spreadable, more like jam than the thick custard consistency of the first batch.
I layered some of the orange curd onto a scone, piled whipped cream on top and passed it over to Graham for the taste test. The result? 'Oh that was nice - have you got any more?'. I think we can safely say my experiment was a success.

What you will need
It's easier to make than you might think. Once you have assembled all your ingredients it only takes about 15 minutes to make.
**You can find the complete list of ingredients and full instructions for making orange curd on the printable recipe card at the end of this post**
Equipment
You will need a double-boiler for making the curd, but don't worry if you don't have one. A small pyrex bowl placed over a saucepan of simmering water does the job just as well.
You will also need a balloon whisk - this recipe calls for you to whisk continuously as the curd is cooking so as to avoid scrambling the eggs.
To grate the zest of the oranges you will need either a box (or cheese) grater with small holes, or an orange zester. To be honest I find a box grater works just fine.
You will also need some mason jars for storing the curd. Once again don't worry if you don't have any - you can use old jam jars that have been washed out and sterilised. See below for instructions on how to sterilise them.
Ingredients
For this orange curd recipe, you only need 5 ingredients which will make about 300 ml orange curd. If you want to make more you can just double the quantities.
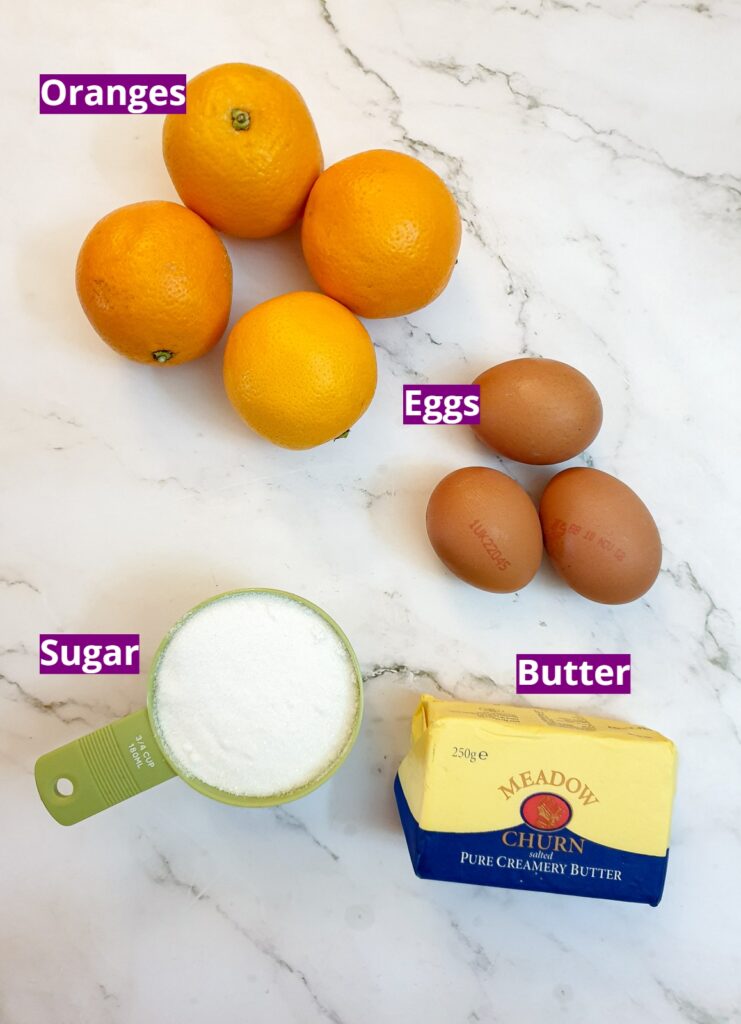
- Freshly squeezed orange juice - don't cheat and try to use shop-bought orange juice - you really won't get the same taste. I also like to grate about a tablespoon of zest from the oranges before squeezing them and add that with the orange juice for extra flavour. The number of oranges you will need depends on how juicy your oranges are.
- Sugar - this depends entirely on how sweet your oranges are. I would add half of the sugar in the beginning and taste halfway through the cooking process to see whether you need all of it. Remember, you can put it in, but you can't take it out again.
- Eggs - these are used to thicken the orange curd. For this recipe, you will need 2 egg yolks and 2 whole eggs.
- Butter - you can use salted or unsalted butter. I don't think it makes any difference to the taste.
What to do
Only a few easy steps:
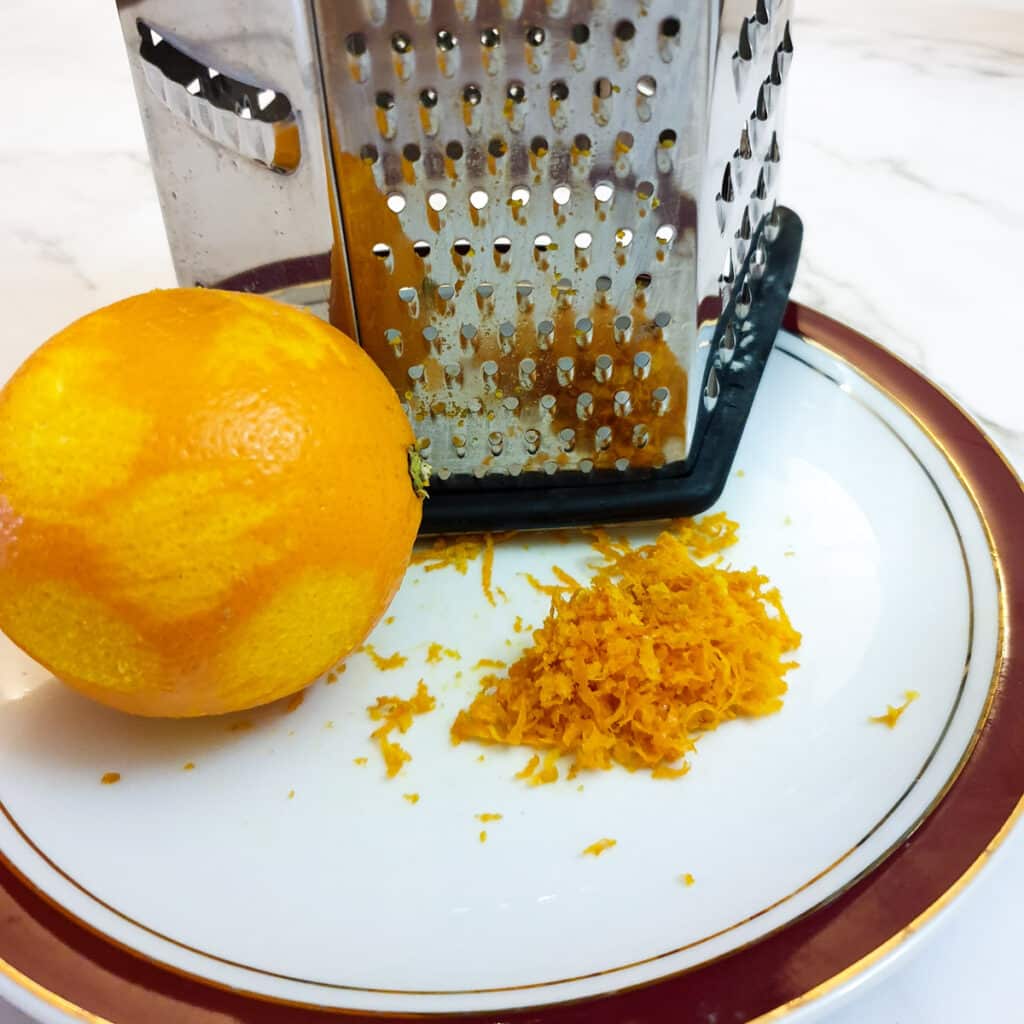
Start off by zesting about a tablespoon of orange zest. Make sure you only take the outer coloured layer as the inner white layer is quite bitter.
If your oranges have been waxed, make sure you wash them well in hot soapy water to remove the wax and then rinse them in clean water before zesting them.
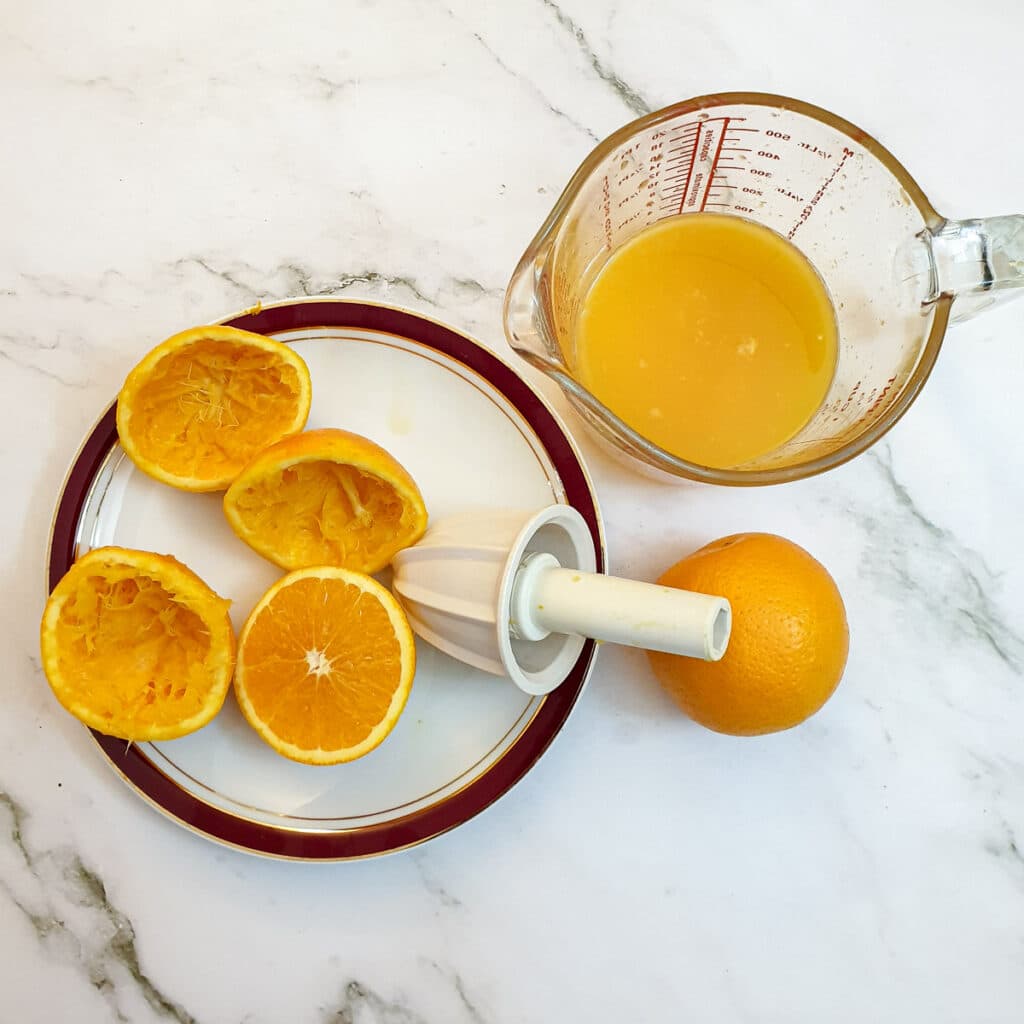
Squeeze the juice from the oranges until you have a cupful.
The number of oranges you will need depends on both the size of the oranges and how juicy they are. I needed 4 oranges.
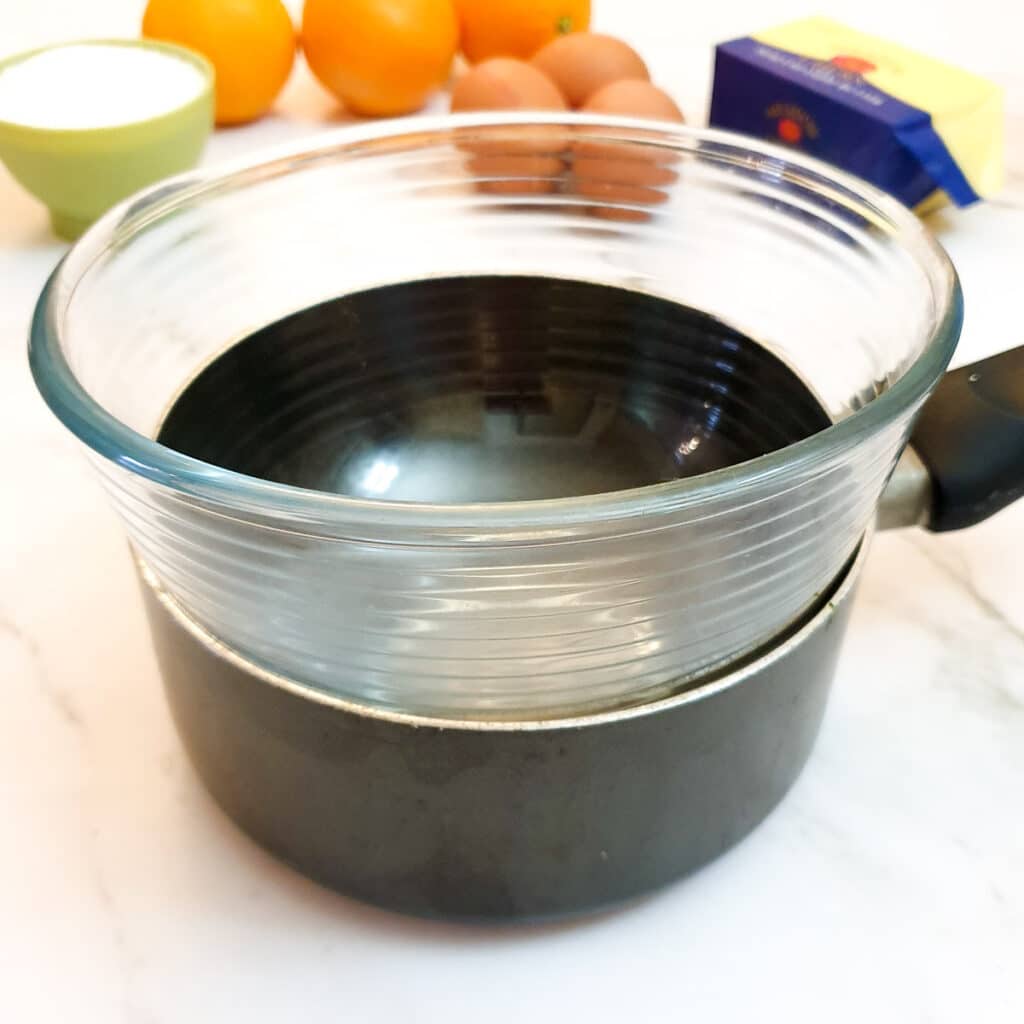
If you don't have a double boiler, improvise by placing a glass bowl over a saucepan of simmering water. Make sure the bottom of the bowl doesn't touch the water.
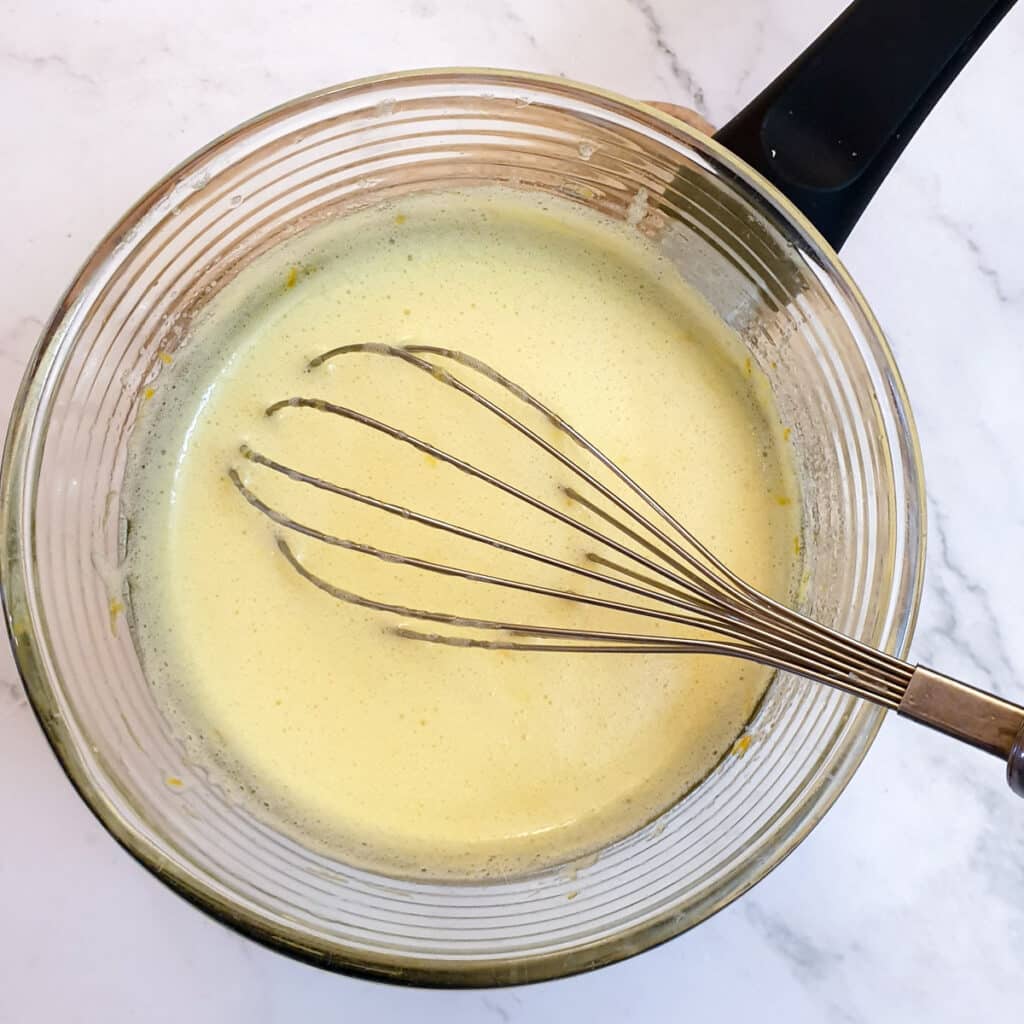
Place the eggs, egg yolks, sugar and orange juice into the glass bowl and whisk to combine.
Then place the bowl over the pan of simmering water and continue to whisk until the mixture thickens. This can take anything from 10 to 15 minutes.
Note - start off by adding only three-quarters of the sugar, and taste the orange curd as it cooks. Add the remaining sugar only if necessary. The exact amount of sugar you will need depends on how sweet your oranges are.
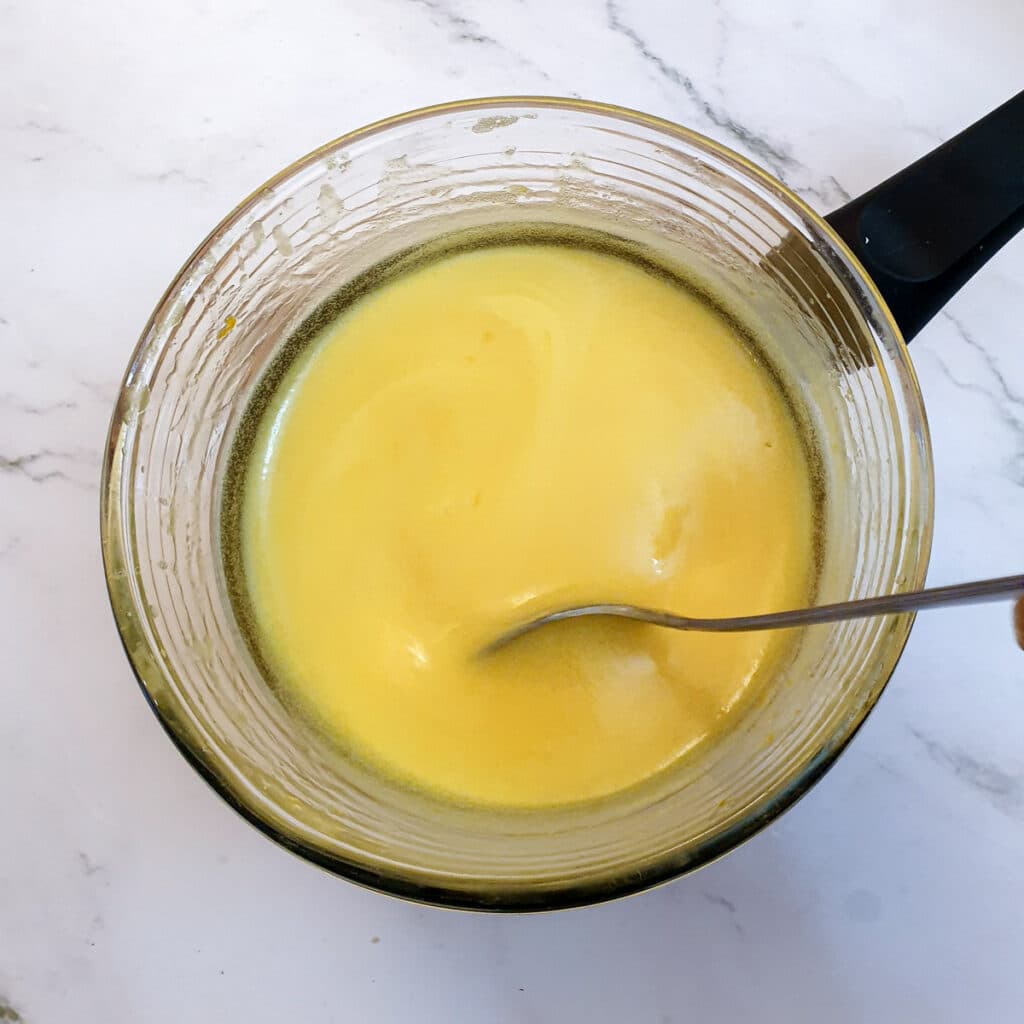
Cut the butter into 6 pieces and mix each piece into the orange curd, letting each piece of butter melt before adding the next one.
Remove the orange curd from the heat and leave to cool slightly before pouring into sterilised glass jars.
The orange curd with thicken more as it cools.
Store the orange curd in the refrigerator. It will stay good for up to 2 weeks.
If you'd like to be notified of any new recipes, why not subscribe to my newsletter? As a thank-you gift, you will receive a free recipe e-book containing some of my most popular cakes and desserts.
How to sterilise jars
To sterilise jars in the oven:
- Wash the jars and the lids in hot soapy water, but do not dry them.
- Stand them upside down on a baking tray while they're still wet.
- Place the tray of clean, wet jars and lids into a preheated oven at 160-180ºC for 15 mins.
To sterilise jars in the microwave:
- Wash the jars and the lids in hot soapy water, but do not dry them.
- Place them in the microwave whilst still wet.
- Microwave on full power for 2 minutes
- If the lids are made of metal DO NOT MICROWAVE the lids. Instead, place the lids in a pot of boiling water and boil for 5 minutes.
Save for later
Why not pin this homemade orange curd recipe recipe to one of your Pinterest boards so you can find it easily? Just click on the image belowl
Alternatively, you can save the recipe by clicking on the floating heart icon on the right-hand side of the screen.
Other recipes
Do you enjoy making jams and preserves? I do. I think it is so satisfying to make something from scratch rather than buying a jar in the supermarket. Perhaps you'd like to try these other homemade recipes:
- Mrs Balls Chutney - South Africa's favourite chutney, made with dried apricots and sultanas.
- Sweet Chilli Sauce - make your own sweet chilli sauce at home - it's easy to do and you can control the level of heat to your own taste.
- Strawberry jam - a quick and easy way to use up summer strawberries.
- Green tomato chutney- put your end-of-season green tomatoes to good use with this delicious chutney.
📋The recipe
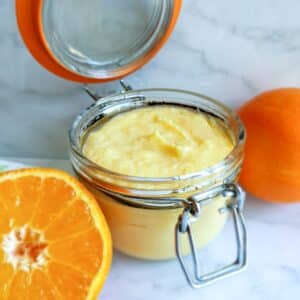
How to make Orange Curd
(Click the stars to rate this recipe)
Equipment
- Citrus juicer
- Citrus zester
- Saucepan and
- Glass bowl or
Ingredients
- 1 tablespoon orange zest from the oranges before squeezing
- 1 cup orange juice freshly squeezed
- ¾ cup / 180 grams white sugar
- 2 large eggs yolks lightly beaten
- 2 large eggs
- 2 ounce 60 grams butter
Instructions
- Whisk the eggs, sugar, orange juice and orange zest together in a glass boil or the top of a double boiler.1 tablespoon orange zest, 1 cup orange juice, ¾ cup / 180 grams white sugar, 2 large eggs yolks, 2 large eggs
- Place over a pan of simmering water and whisk continuously for 10 to 15 minutes until the mixture thickens.
- Cut the butter into 6 pieces and stir piece by piece into the orange curd, letting each piece melt before adding the next piece.2 ounce 60 grams butter
- Allow to cool. It will thicken more as it cools.
- Pour into a sterilised jar and store in the refrigerator. It can be stored or up to 2 weeks.
Notes
- Wash your jars and the lids in hot soapy water, but do not dry them.
- Stand them upside down on a baking tray while they're still wet.
- Place the tray of clean, wet jars and lids in to a preheated oven at 160-180ºC for about 15 mins.
- Wash your jars and the lids in hot soapy water, but do not dry them.
- Place them in the microwave whilst still wet.
- Microwave on full power for 2 minutes
- If the lids are made of metal DO NOT MICROWAVE. Instead, place the lids in a pot of boiling water and boil for 5 minutes.
Nutrition
I am not a nutritionist. The nutrition information has been calculated using an on-line calculator, and is intended for information and guidance purposes only. If the nutrition information is important to you, you should consider calculating it yourself, using your preferred tool.
If you made this recipe and enjoyed it, I'd love it if you could give me a star rating in the comments below. And if you'd like to get in touch, you can email me at [email protected]. I'd love to hear from you. And don't forget to subscribe to my mailing list so you can grab yourself a copy of my FREE COOKBOOK!
If you'd like to continue browsing, just click on this link to all my recipes.












Cat | Curly's Cooking
Your orange curd looks so delicious, the perfect use when I have oranges to use!
VJ
So glad you liked it!
Katherine Erwin
This is the most divine orange curd I have tasted ever!! Thank you for this and so very easy!!! 🙂