Traditional British mushy peas (made with marrowfat peas) - as British as fish and chips, or bangers and mash. Add them to a plate of homemade pie and you have a meal fit for a king! Let me show you how to make them yourself at home. It's easier than you think.
Jump to:
Traditional mushy peas - a British classic
I can't remember the first time I ate mushy peas. Growing up in the north of England in the late 50s, mushy peas were just a staple part of the diet. What I do remember, is that they were one of my favourite things to eat. Coming home from school on a dark winter afternoon and finding a plate of fish fingers and mushy peas waiting for me was absolute heaven.
I've always loved peas. My Dad used to grow them in the back garden and in pea season I was always out there popping the pods and gorging myself on the sweet deliciousness inside. I'm sure my Dad always wondered why his expected pea harvest was so meagre, although I would imagine the pile of empty peapods I left behind on the ground might have given him some idea 🙂
But garden peas and mushy peas are definitely not the same things. Some people cheat and make mushy peas with frozen peas. This is not what traditional mushy peas are all about. Mushy peas made with frozen peas are just a posh pea puree and bear no resemblance to the real thing.
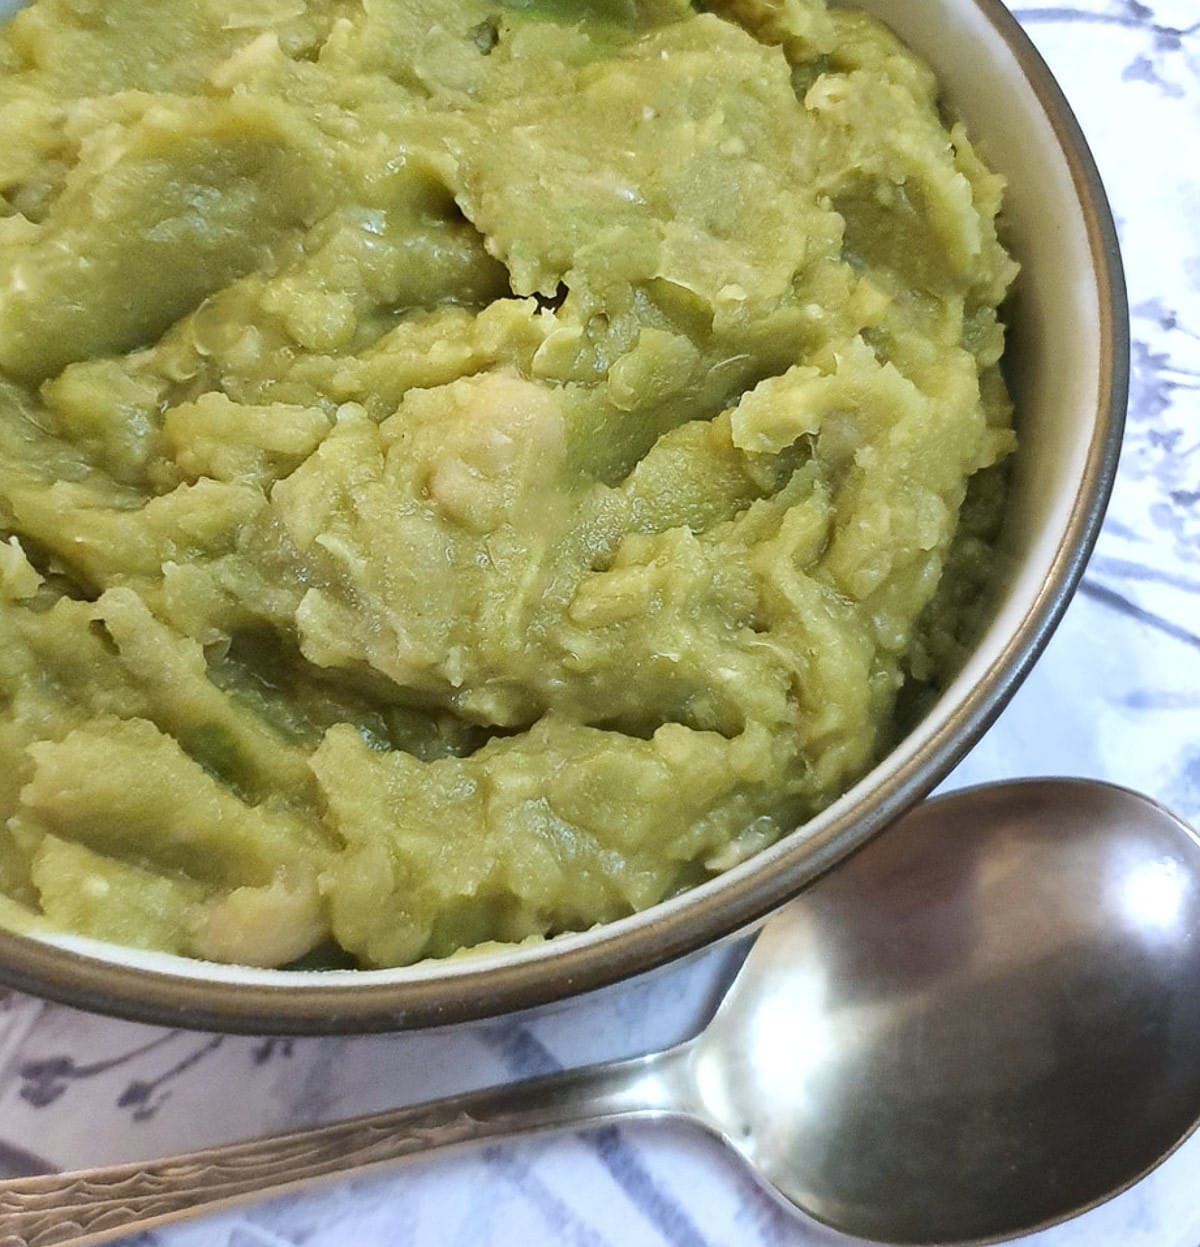
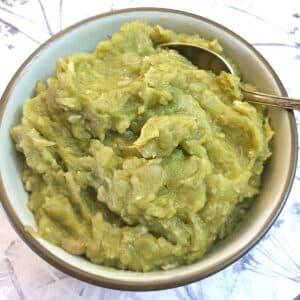
Traditional British mushy peas are made with dried marrowfat peas, which are soaked overnight in a mixture of water and bicarbonate of soda until the hard little bullets soften and swell. Then they are boiled in fresh clean water until the peas explode and turn mushy, releasing their distinctive flavour and texture.
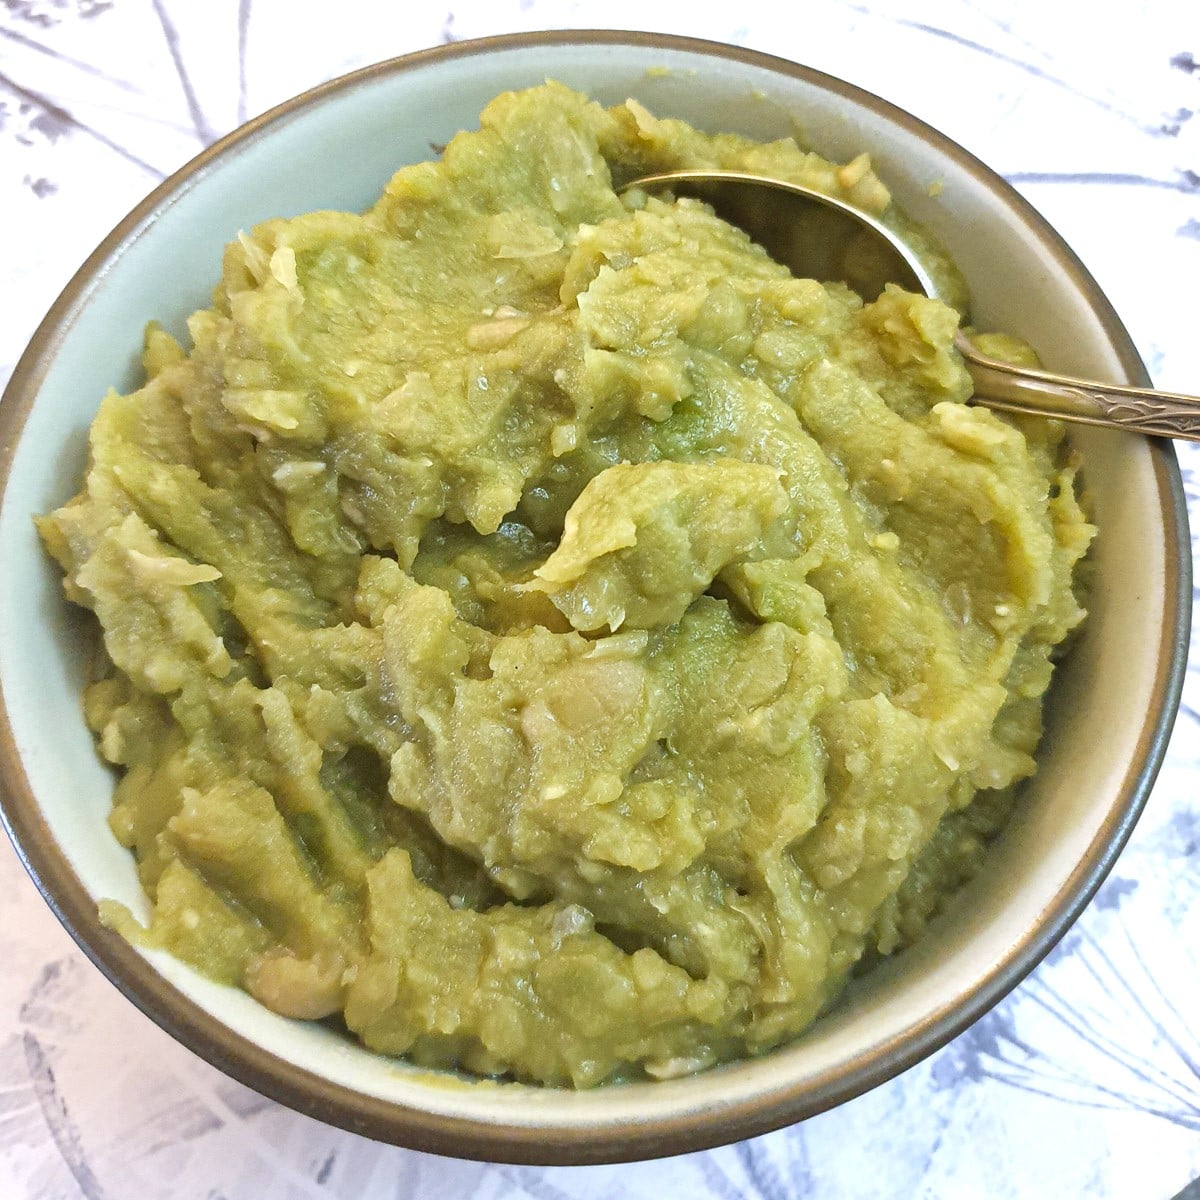
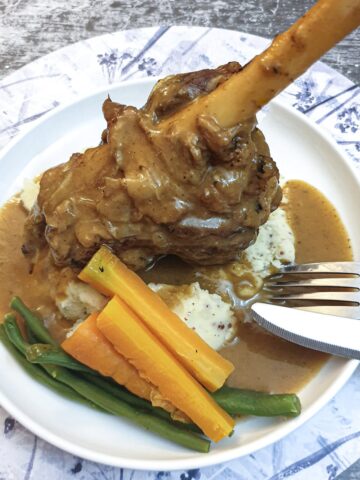
The texture is similar to a very thick pea soup (or a very thin mashed potato) with bits of pea mixed into it, and it has a very strong and sweet, pea flavour. These mushy peas are absolutely delicious when served with battered fish and chips or alongside a good old Yorkshire meat and potato pie.

It's amazing how a few hours in water can transform a bowl of hard little dried peas into a bowl of sweet creamy goodness.
Recipe information
- Prep time - 5 minutes
- Soaking time - 12 hours
- Cooking time - 25 minutes
- Yield - 4 large servings
- Calories - 46 per serving
- Main equipment - you will need a nice large saucepan with a lid to make mushy peas.
Ingredients
**You can find the complete list of ingredients and full instructions for making mushy peas on the printable recipe card at the end of this post**
You will need the following ingredients to make traditional British mushy peas:
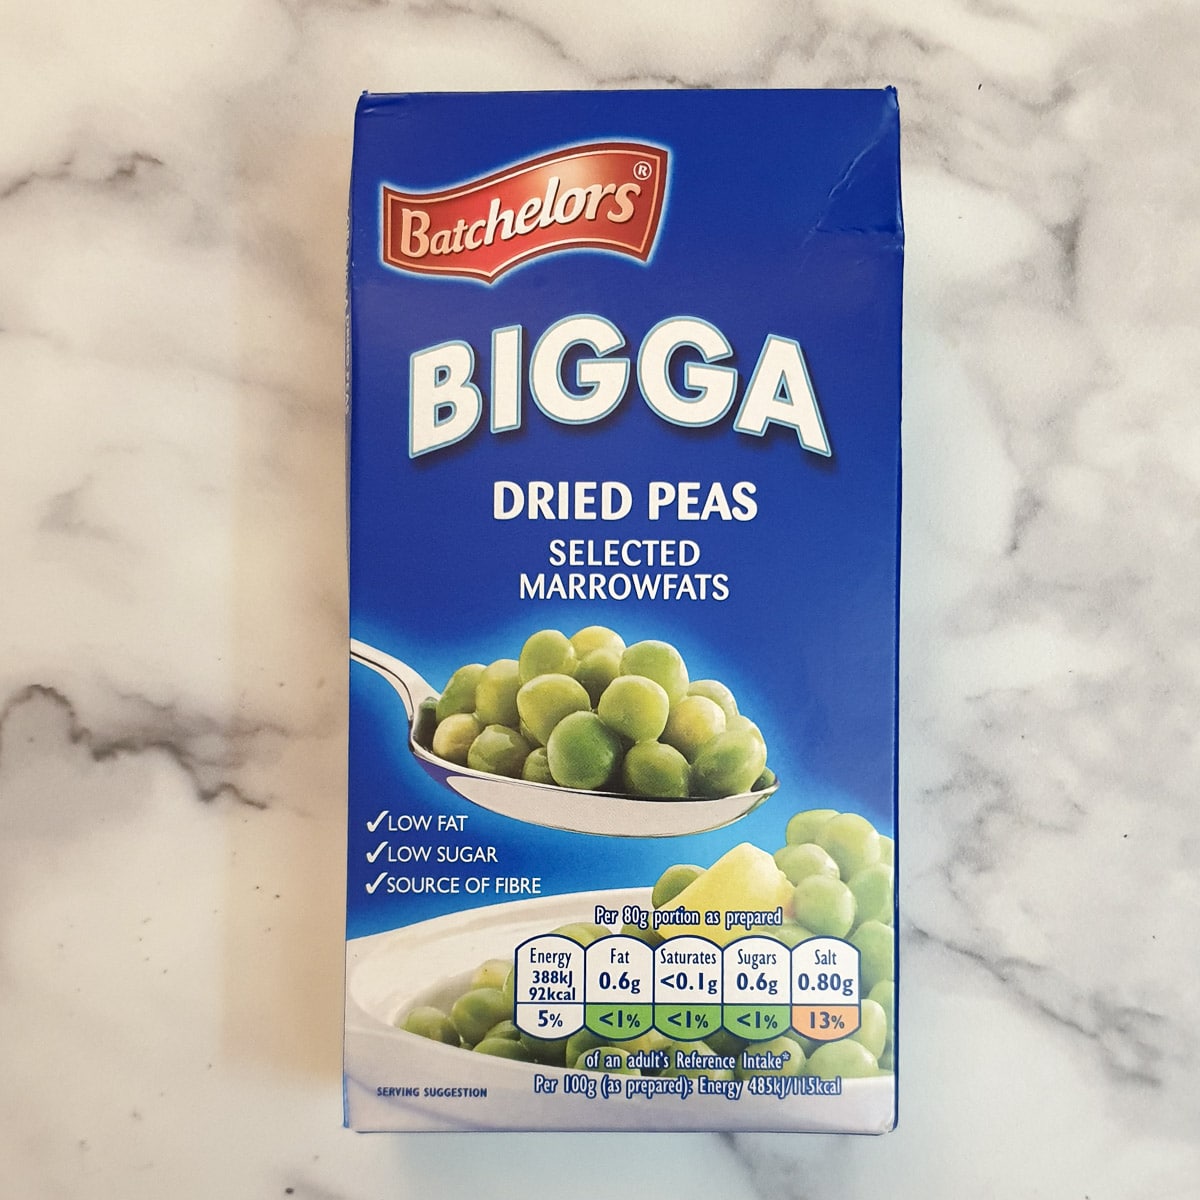
Dried marrowfat peas
This is the brand I use. These are specially prepared for making mushy peas and they come with a little packet of pre-measured bicarbonate of soda for soaking the peas.
You can also buy packets of dried marrowfat peas alongside the lentils and dried beans in your supermarket. There is no difference in the peas (or in the final result), but you will have to add your own bicarbonate of soda when you soak the peas.
- Bicarbonate of Soda - used for soaking and softening the peas. Do not confuse it with baking powder. They are not the same thing. In the United States, bicarbonate of soda is known as baking soda. Bicarbonate of soda softens the outer skin of the pea, allowing water to be more easily absorbed.
- Water - You will need two lots of boiling water - one lot for soaking and the other for cooking.
- Salt and sugar to taste.
What to do
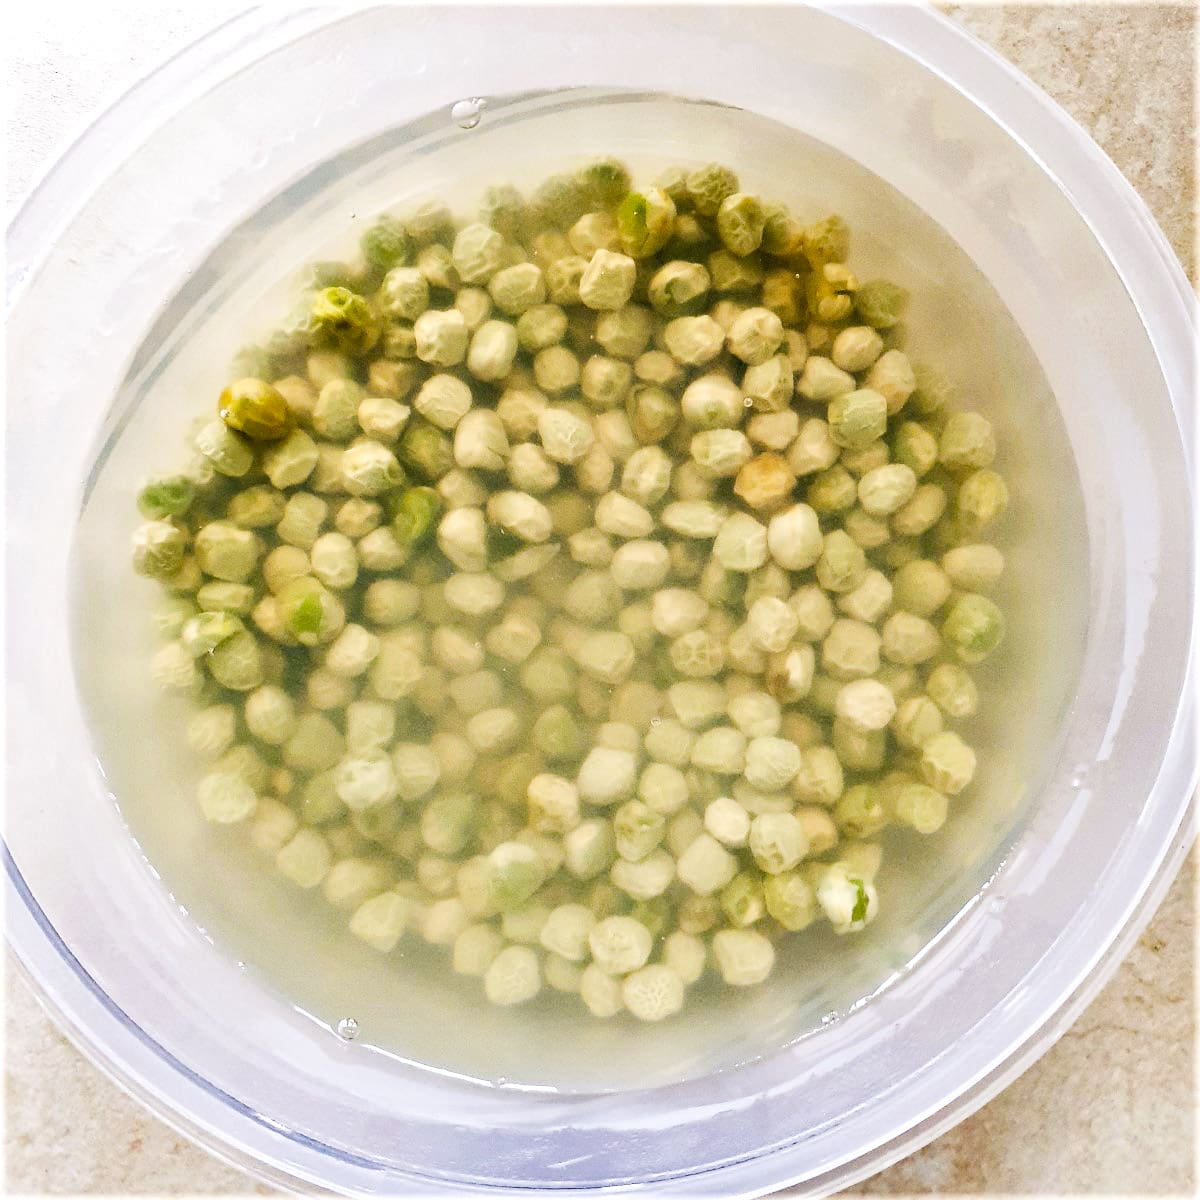
Step 1 - Prepare the peas
- Place 1 cup (250g) dried marrowfat peas in a mixing bowl.
- Dissolve 1 teaspoon bicarbonate of soda in 2 cups of boiling water and pour over the peas.
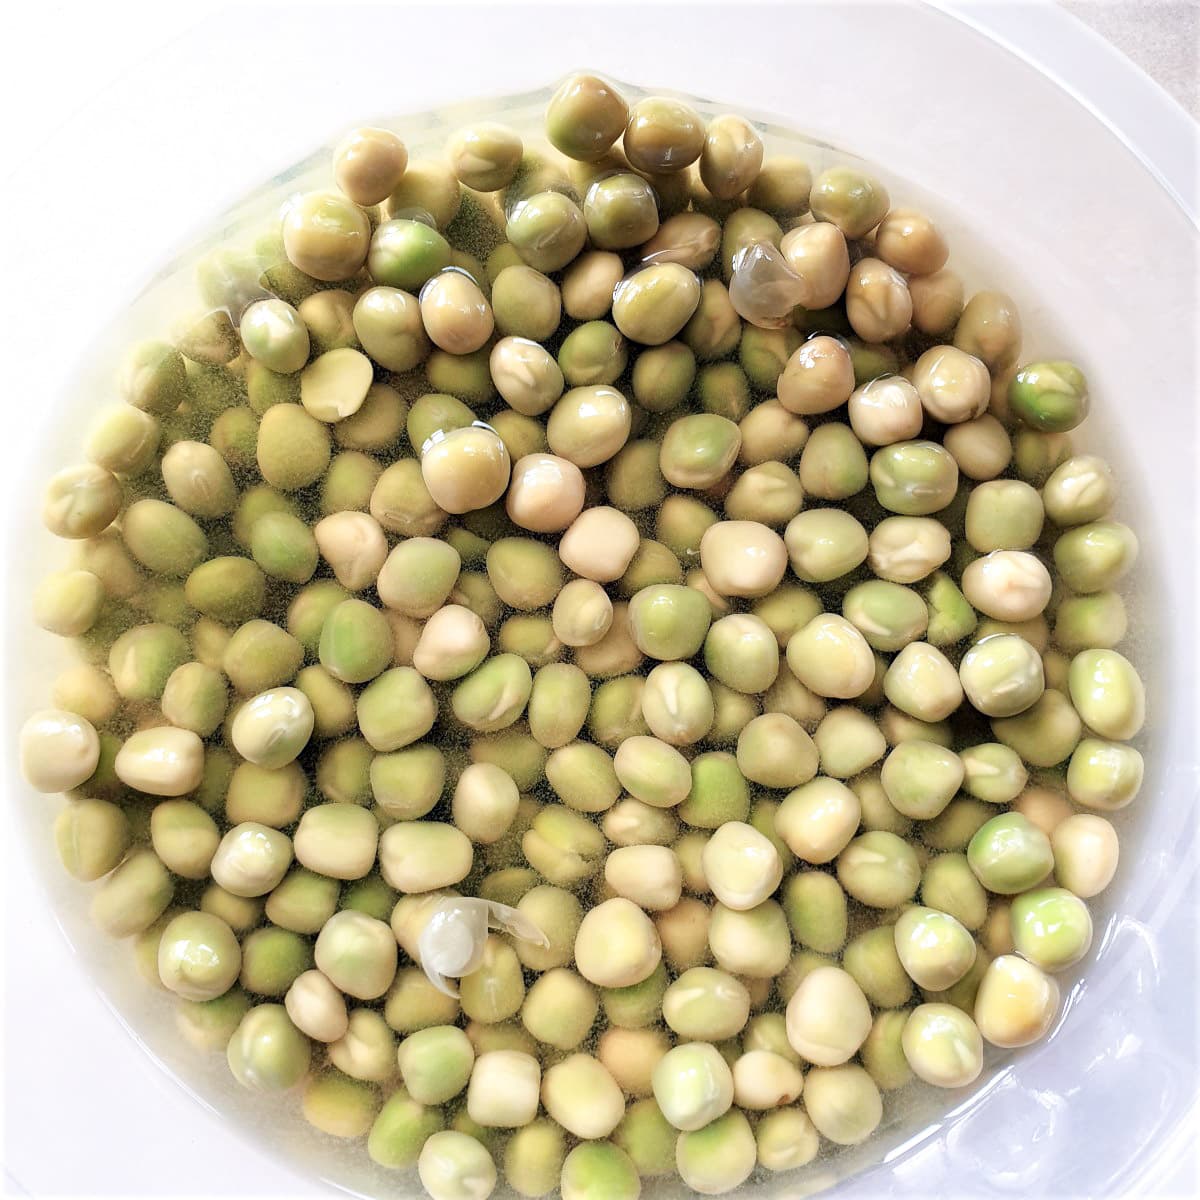
Step 2 - Soak the peas
- Leave the peas to soak for at least 12 hours, or overnight. They will swell up quite a lot, so use a large mixing bowl.
- Next day, when you are ready to cook them, drain the peas in a colander and rinse them under cold running water to get rid of the bicarbonate of soda.

Step 3 - Cook the peas
- Tip the peas into a large saucepan and cover with 2 cups (1 pint) of fresh boiling water. Add 1 teaspoon salt and 1 or 2 teaspoons sugar to taste and bring to a boil.
- Cover with a lid, turn down the heat and simmer for 25 to 30 minutes. Stir occasionally, until the peas have turned mushy and the water has been absorbed.
You should not need to drain any excess water. If you use my measurements, the water should all have been absorbed. Keep your eye on the peas while they are cooking and don't allow them to dry out too much. If they do start to dry out, top them up with a small amount of water.
Remove from the heat, transfer to a serving bowl and serve hot.
If you'd like to be notified of new recipes, why not subscribe to my newsletter? To say thank you, you will receive a free recipe e-book containing some of my most popular cakes and desserts.
Mushy peas FAQ
Oh yes - in fact I always make far more than I need and freeze some for another meal. It saves on the overnight soaking, and it's nice to have ready-made mushy peas to hand in the freezer.
To freeze the peas, allow them to cool, pack them in meal-sized portions in Ziploc bags or plastic containers, and store them in the freezer for up to six months.
To defrost, tip the contents into a saucepan and heat very gently until defrosted, then bring it to a boil. As soon as the peas start to boil remove from the heat and serve.
You could also defrost the peas in the microwave before heating them on the stove.
The large amount of starch in the peas will cause them to thicken on cooling. If your peas are too thick, thin them down with a splash of water.
This is a matter of taste.
I tend to cook mine with salt and a small amount of sugar for added sweetness and flavour.
Some people like to sprinkle their mushy peas with vinegar.
If you enjoy the taste of minted peas, you may like to mix in a teaspoon of mint sauce or mint jelly. Minted mushy peas make a tremendous accompaniment to roast lamb.
Stored in a covered container, these peas will last for up to 4 days in the refrigerator.
Marrowfat peas were introduced into England over 100 years ago by the Japanese because the English climate was so well suited to growing peas.
The Japanese brought a strain of pea called 'Maro' and they wanted to grow fat peas, or 'fat Maros'. This term eventually evolved into 'marrowfat'.
The seeds of the marrowfat pea are large and starchy, and the peas are not harvested when they are ripe. Instead, they are left on the plant until they have dried and only then are they harvested.
Apart from being used for traditional mushy peas, marrowfat peas are also used in making wasabi peas, which is a crunchy snack made from roasted dried marrowfat peas and coated with Japanese horseradish, or wasabi.
Marrowfat peas are packed with nutrients, including vitamins A, C, B1 and B5. They are also rich in iron and potassium. They are an excellent source of fibre. One bowl of mushy peas provides 12% of your recommended daily fibre allowance.
Save for later
If you would like to try these traditional British mushy peas yourself, why not pin the recipe to one of your Pinterest boards so you can find it easily? Just click on the image below.
Alternatively, you can save the recipe by clicking on the floating heart icon on the right-hand side of the screen.
What should I serve with mushy peas?
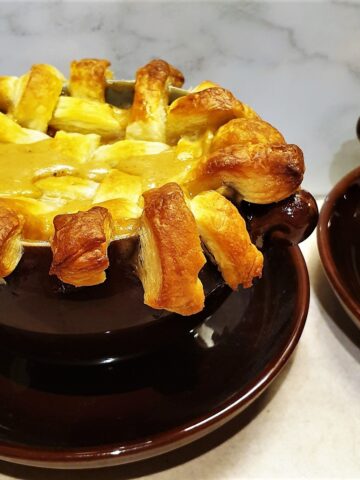
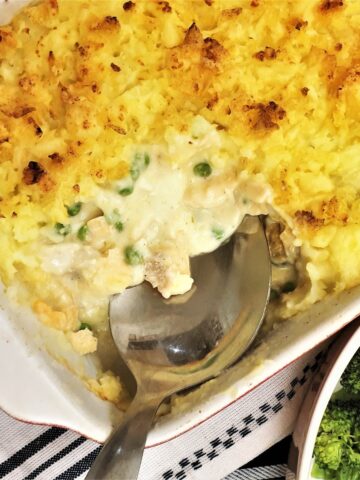
Mushy peas are traditionally served with fish and chips, or Yorkshire meat and potato pie. You can find more traditional British recipes on my British recipes page.
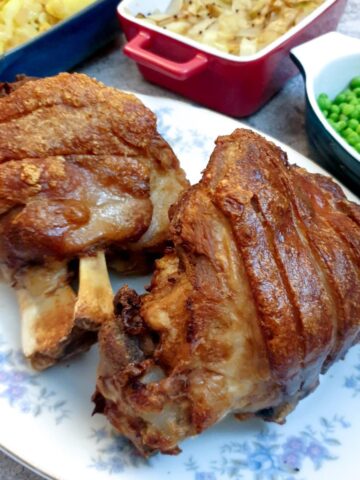
You can also serve mushy peas as a side vegetable with a roast. In fact, you can serve them anywhere you would normally serve fresh garden peas.
Why not try mushy peas with one of these recipes:
📋The recipe
Traditional British Mushy Peas
(Click the stars to rate this recipe)
Equipment
- Mixing bowl
- Colander
- Saucepan
Ask a Question
If you have a question about this recipe that has not been answered, please use the box below to ask it.
Use this with care. This is an AI-generated result and may contain errors or inaccuracies. I cannot be held responsible for the information returned.
Ingredients
- 1 cup / 250 grams dried marrowfat peas
- 1 tablespoon bicarbonate of soda (baking soda)
- 2 cups / 500 ml boiling water for soaking the peas
- 2 cups / 500 ml boiling water for cooking the peas
- 1 to 2 teaspoons sugar to taste
- ½ teaspoon salt to taste
Instructions
- Place the peas in a large bowl and add 1 tablespoon bicarbonate of soda (baking soda)1 cup / 250 grams dried marrowfat peas, 1 tablespoon bicarbonate of soda (baking soda)
- Cover with boiling water2 cups / 500 ml boiling water
- Leave to stand for 12 hours (or overnight)
- Drain and rinse the peas in a colander
- Place the peas in a large saucepan and cover with fresh boiling water2 cups / 500 ml boiling water
- Add the salt and sugar.1 to 2 teaspoons sugar, ½ teaspoon salt
- Place on the stove, cover with a lid and bring to the boil
- Turn the heat down to a simmer, cover the pan with a lid and leave for 25 - 30 minutes, stirring occasionally, until all the liquid has been absorbed and the peas are thick and mushy.
- Serve with fish and chips or a homemade meat pie.
Notes
Nutrition
I am not a nutritionist. The nutrition information has been calculated using an on-line calculator, and is intended for information and guidance purposes only. If the nutrition information is important to you, you should consider calculating it yourself, using your preferred tool.
If you made this recipe and enjoyed it, I'd love it if you could give me a star rating in the comments below. And if you'd like to get in touch, you can email me at [email protected]. I'd love to hear from you. And don't forget to subscribe to my mailing list so you can grab yourself a copy of my FREE COOKBOOK!
If you'd like to continue browsing, just click on this link to all my recipes.


Janine Schoenfisch says
Hi there, I live in regional South Australia and I can’t find Marrowfat Peas in any supermarket can u advise me where I can get them please, or if I can substitute any other dried peas please? Thank you
VJ says
Hi Janine
Thanks for the query. I've done a quick search on Amazon Australia and unfortunately they don't seem to stock marrowfat peas.
The closest alternative would be to use dried split peas instead.
Hope this helps!
Update - apparently you can buy dried marrowfat peas in Australia from the Best of British website.
VJ x
Alex says
Hi Janine, you can use green dried peas (Blue boilers) from Coles. That's what I use and they turn out great. They are also good for pea soup.
Jawst says
Thanks for sharing this and making it more well known!
BTW you can't eat them without adding vinegar ideally balsamic vinegar!!! A knob of butter makes a great addition too! They taste great cold on there own and in sandwiches 😋😋😋😋😋
VJ says
My daughter adds sugar to her mushy peas!
Mike says
Made this recipe, Traditional British Mushy Peas, for the first time, but had to use Gaganis brand Green Dried Peas (Blue Boilers) here in Queensland Australia, the only dried peas we could get locally, today 6th June 2023.
Well done, Veronica, it's fantastic !
VJ says
You are more than welcome! So pleased you enjoyed them 🙂
Dee says
Can I use a tin of marrowfat peas as a shortcut?
VJ says
Hi Dee,
Yes you can. I've used a tin of marrow fat peas before (they were Bachelors brand and I thought I was buying ready made mushy peas 🙂 ). However, the marrow fat peas are ready cooked so all you really have to do with them is heat them up and mash them. You don't need to add any water. I normally add a small amount of sugar (half a teaspoon maybe or to your own taste) and then depending on what they taste like, I might add a scant teaspoon of white vineger to up the taste a bit.
Sonny says
Thank you so much. Only took 20m of cooking and turned out great. Credit to your efforts and excellent instructions. Can be hard to find good veggie recipes but this was a hit. I might try chickpeas this way...
I wonder how much of a difference the soda makes? Interested in trying a longer soak (36 hours, maybe) without the soda.
Really enjoyed this. I added chopped mint and bit of butter too. Thanks again
Sonny
VJ says
Glad you enjoyed them. The bicarb helps to soften the skin so they absorb the cooking liquid more easily. I've made them without using bicarb and they just take longer to cook. Love the idea of adding mint - love minted peas!!!
HiDMaster says
What if you can't find marrowfat peas in the U.S.A. we sometimes only have frozen or dried but they are split with skin removed
VJ says
Techcnically you *could* use split peas to make mushy peas but I believe the texture would be different (I haven't tried it myself). Marrowfat peas contain a very high percentage of starch, and it is the starch that gives the distinctive mushy texture. Have you tried looking on Amazon? You may be able to source them there.
If you do want to make this recipe using split peas, I would soak them in boiling water for about 2 hours and omit the bicarbonate of soda. Follow the recipe for boiling the peas, but let the peas boil until they are soft (you may need to cook them for longer than the 30 minutes specified in the recipe). Keep your eye on them and top up with extra water if they start to dry out.
Also, do make sure that your split peas are within the sell-by date. Older split peas tend not to soften so much as fresher ones.
Hope this helps
VJ x
Lynn says
Thanks so much for this recipe! I left my garden for over two weeks just as my first peas were ripening. When I returned, some were still sweet, but most were overripe and some had even hardened. I made this recipe with all the overripe and hard ones, hoping it would turn out. It was great! We all loved it. I have never cooked peas for as long as I had to, for this recipe and am not even sure how long it took, since I had to add water several times and never watched the clock, lol, but it was definitely worth it. Glad to know they freeze well too!
VJ says
Haha! Thanks for letting me know. I've only ever made this recipe with dried marrowfat peas. Good to know that it works with fresh ones too!
Elsa Snape says
Great recipe
Elsa Snape says
🙋♀️I love this recipe, I came from. North East England and we had them with our traditional roast beef and Yorkshire puddings cooked by my mother. In Australia I’ve always bought the tinned Bachelor brand, but since I made this recipe, I’ll be making my own now which are far superior.
Thank you so much, I’ve put portions in the freezer for future use.
Delicious 🤗
VJ says
Wow! thank you for the lovely comment. If you think they compare to Bachelors then I'm a happy girl (that's the brand I use when I run out of my own) 🙂
Angela Halpin says
Hi VJ thanks for this I adore fish chips and mushy peas, I am a born and bred east Londoner reared on mushy peas but I've lived in Ireland for the past 45 years and it's one of the things I dearly miss about England, just to add that my mum always added white pepper and a knob of butter - so tonight I shall eat like a queen!!.
VJ says
Thanks so much for letting me know. I must say I love these peas too - I always make a big batch and freeze them in meal-sized portions so I can enjoy them whenever I feel like it!
Choclette says
You know I adore pulses, but I've never made mushy peas. No idea why. Now I've seen yours and they look so appealing, I'm really going to have to give them a try.
VJ says
These are so delicious and so easy to make. You really should try them. The only difficult part is remembering to put the peas on to soak the night before 🙂