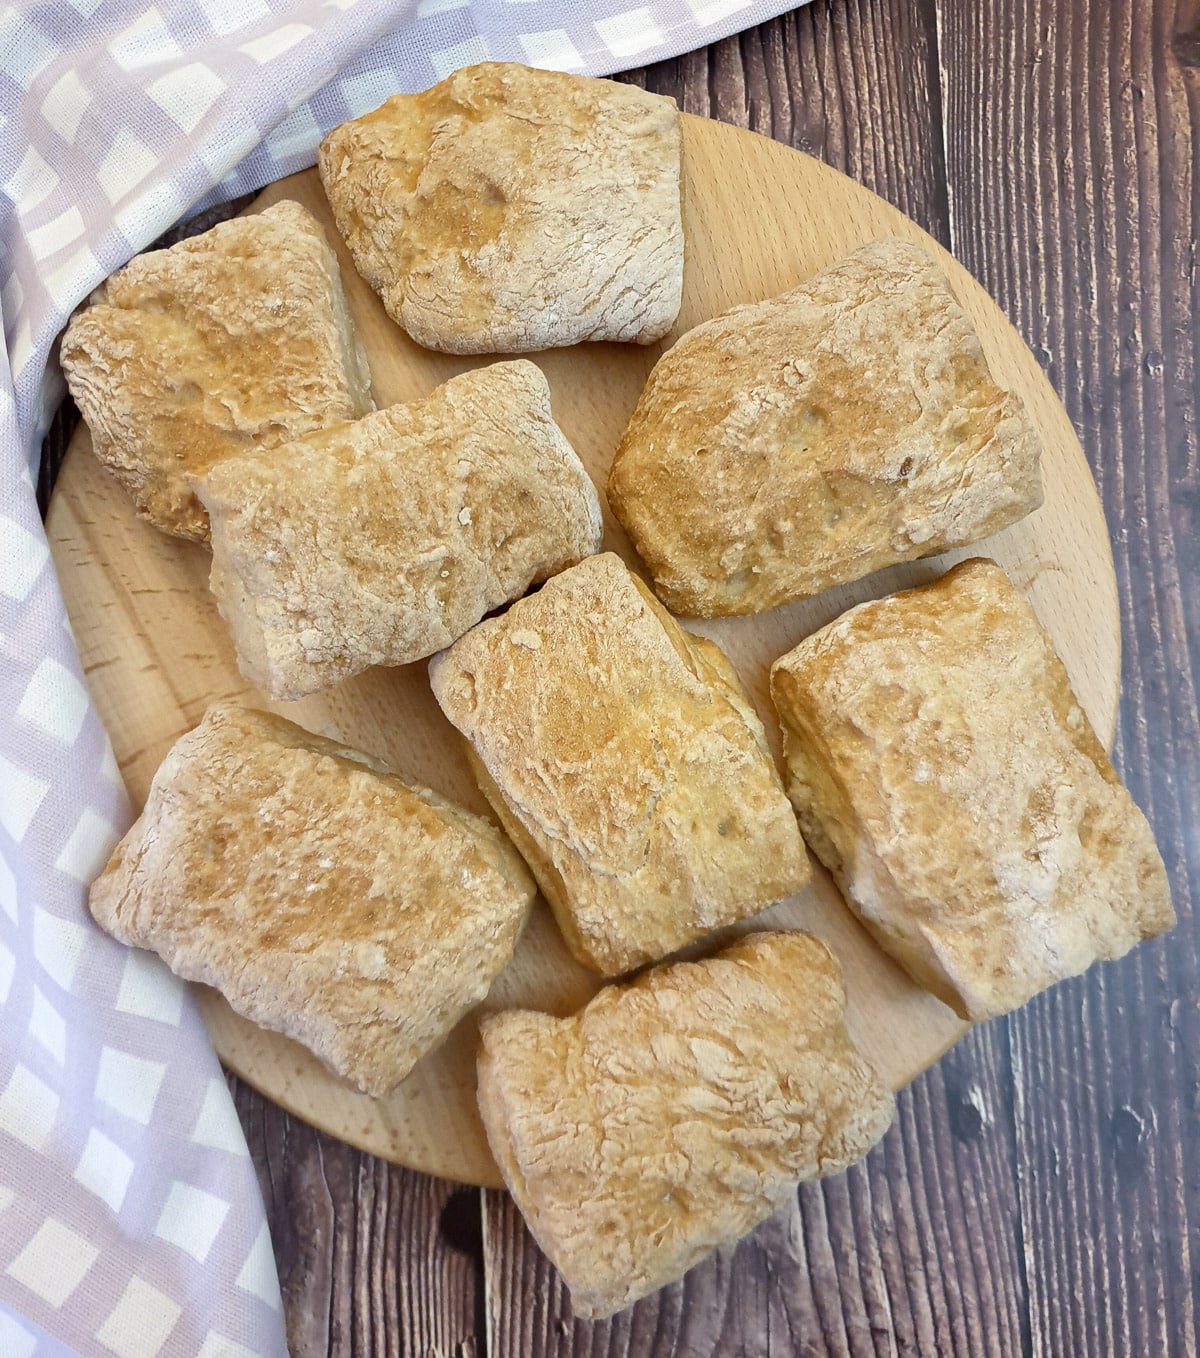
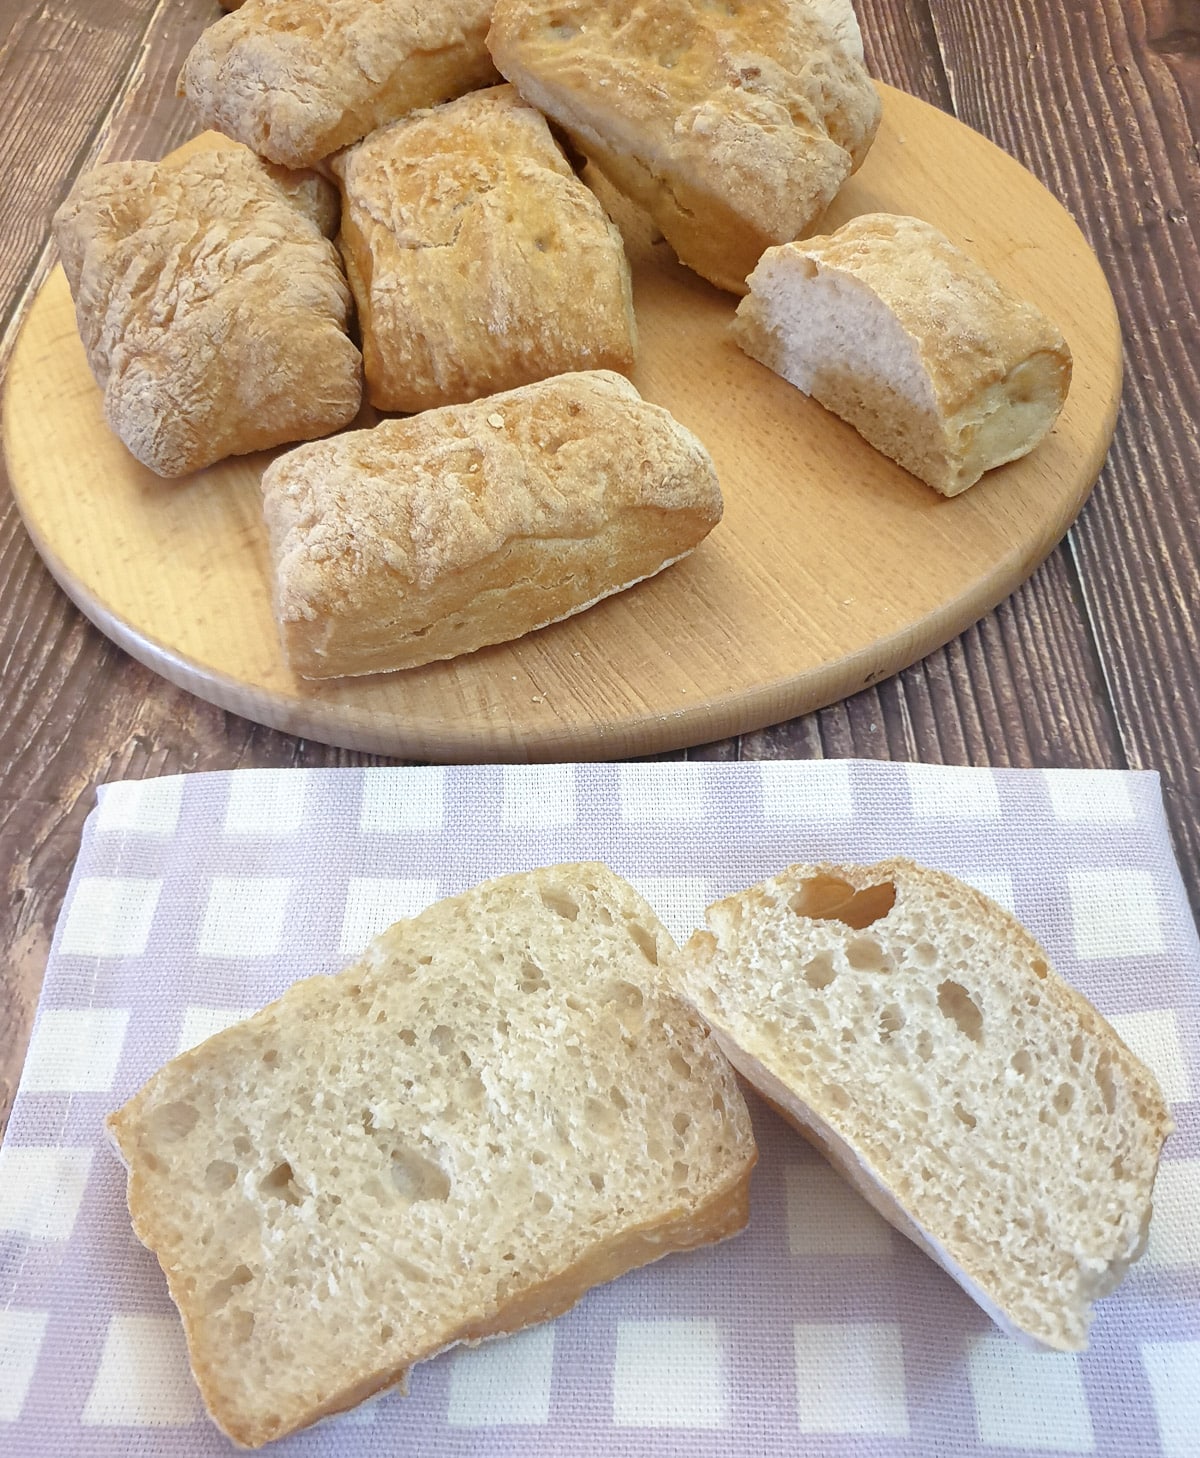
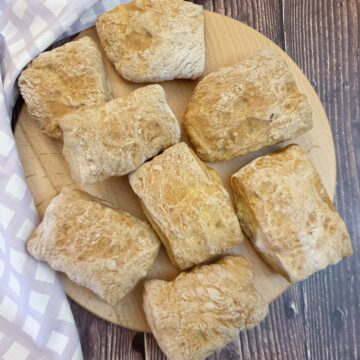
If you thought making Italian bread was difficult, think again! These easy ciabatta rolls take only 10 minutes to mix and require no kneading, making this the perfect recipe for beginners. The rolls have a thin crispy crust and a chewy airy interior and are ideal for sandwiches, bruschetta, or just dipping into a dish of olive oil and balsamic vinegar..
Jump to:
Crusty Italian bread
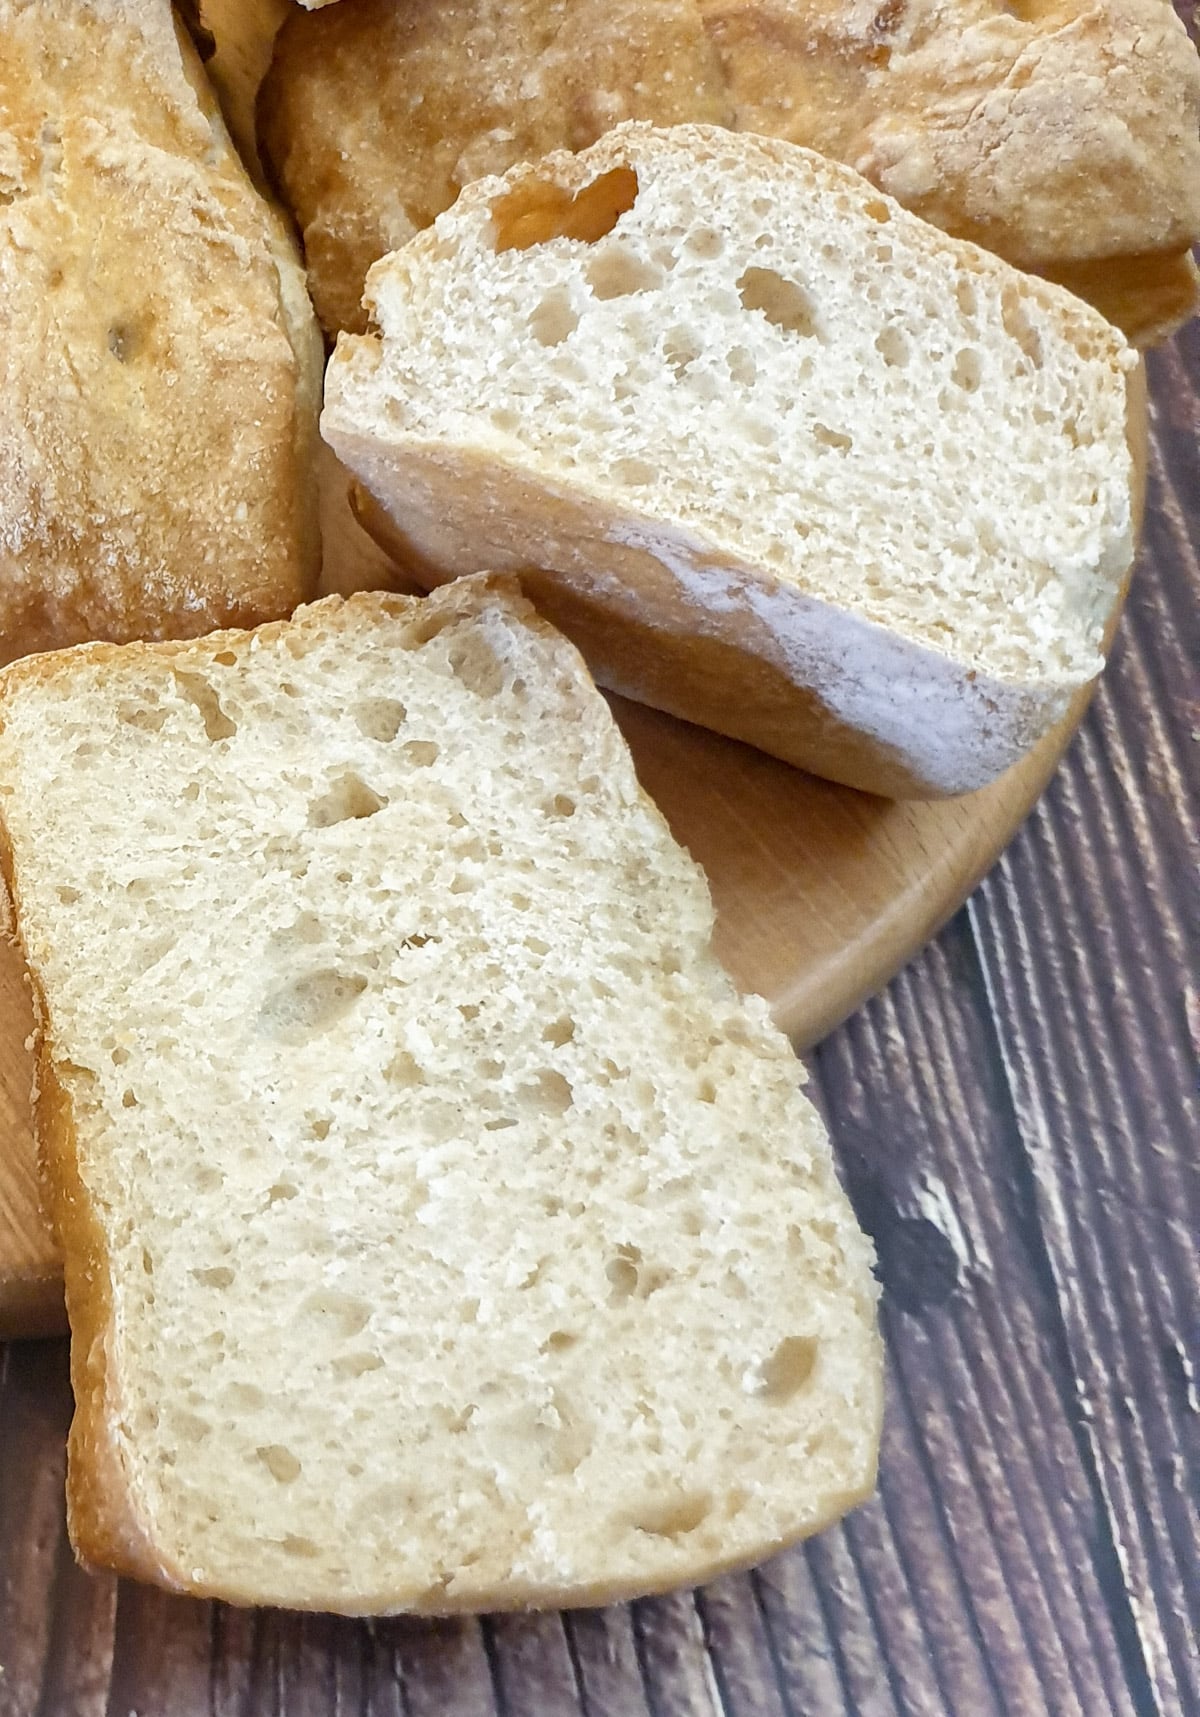
I can't think of much that's nicer than a crispy ciabatta bread roll. And with a perfectly crispy crust, and a soft, chewy crumb, these easy ciabatta rolls are some of the best.
What I love about them is how easy they are to make.
Honestly, you can mix up a batch of these bread rolls in minutes, then you just leave the dough to rise for an hour until it has doubled in size. Once it has doubled you need to spend 2 minutes folding the dough over onto itself, then leave it alone for another 30 minutes. You have to repeat this step twice more before shaping the rolls, letting them rest for another half an hour and then popping them into the oven for 20 minutes.
If you're planning on spending the day at home, and you have a few minutes to spend at various times throughout the day, you can whip up a batch of these ciabatta rolls and impress the family with your bread-making skills. 'I don't believe you made these - you must have bought them from the shop!'
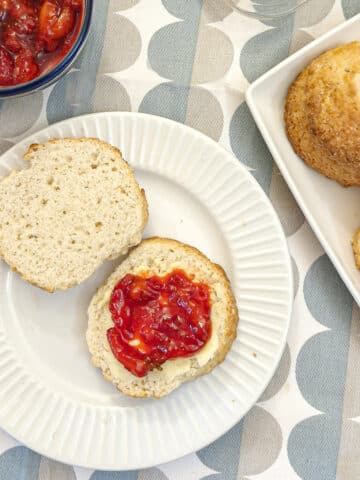
As these rolls are quite porous, they are ideal for mopping up soups and stews. Why not serve them with some homemade beef vegetable soup, a dish of spicy trinchado or even some peri peri chicken livers.
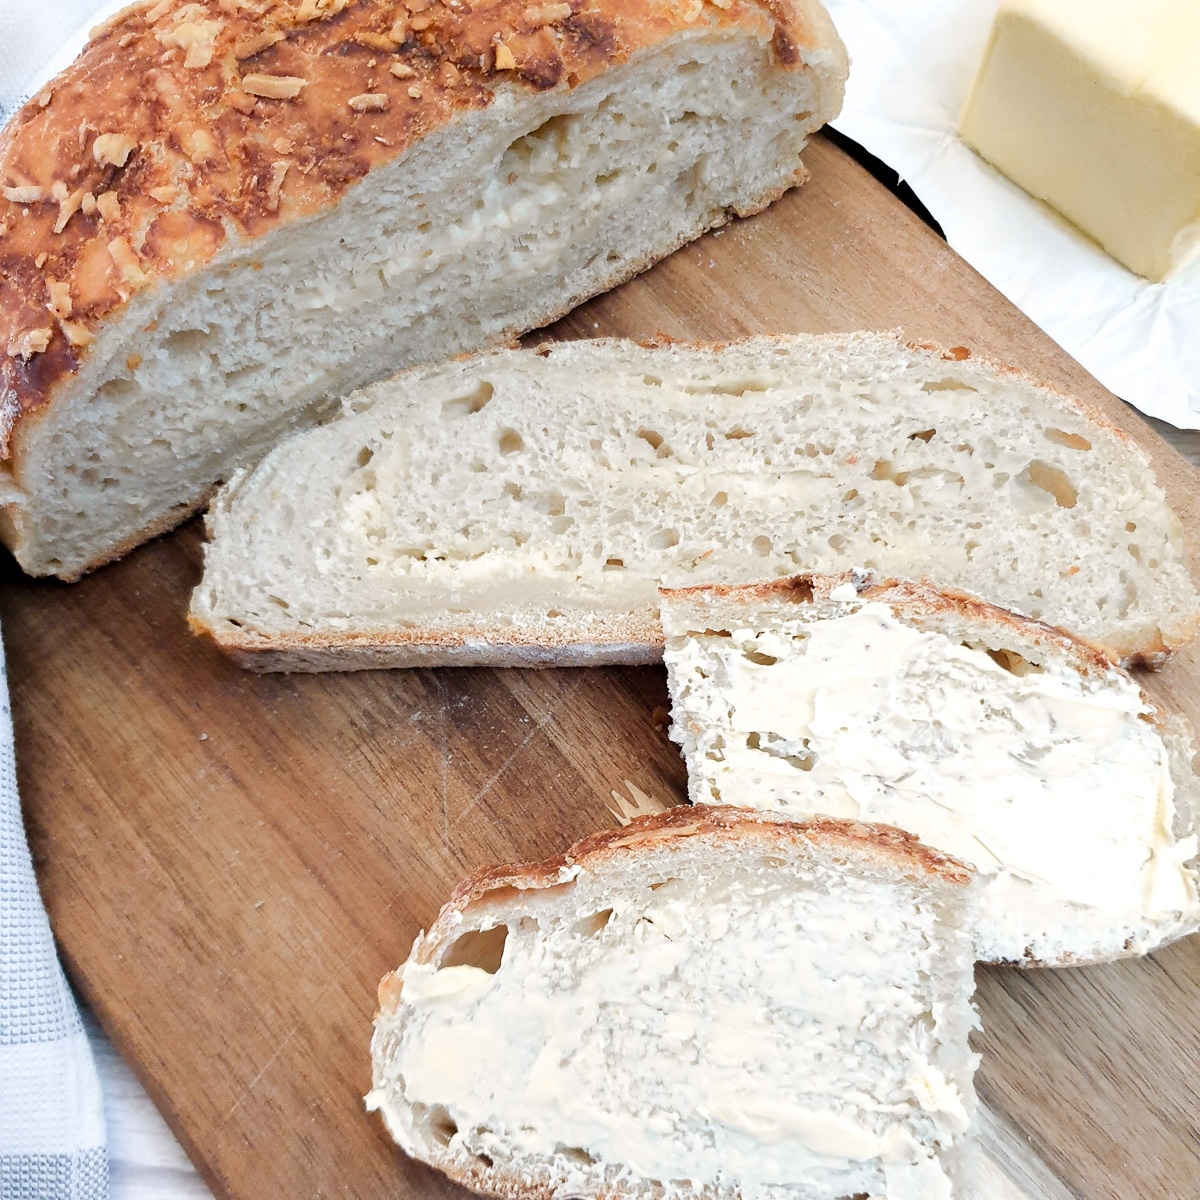
Ciabatta bread rolls are also perfect for sandwiches, toasted for bruschetta, or simply broken into chunks and dipped into a bowl of olive oil and balsamic vinegar for a tasty appetiser.
If you're worried about working with yeast - please don't be. Let me show you how easy these ciabatta rolls are to make.
What you will need
Equipment
You will need a large mixing bowl. I like to use a large earthenware bowl because it is large enough to hold all the ingredients without getting flour everywhere.
For baking the rolls you will need a baking sheet, and a roll of baking paper to prevent the rolls from sticking to the baking tray.
Ingredients
This recipe will make 8 ciabatta rolls. You can make a larger batch by simply doubling the ingredients.
**You can get the complete list of ingredients and full instructions for making these easy ciabatta rolls on the printable recipe card at the end of this post**
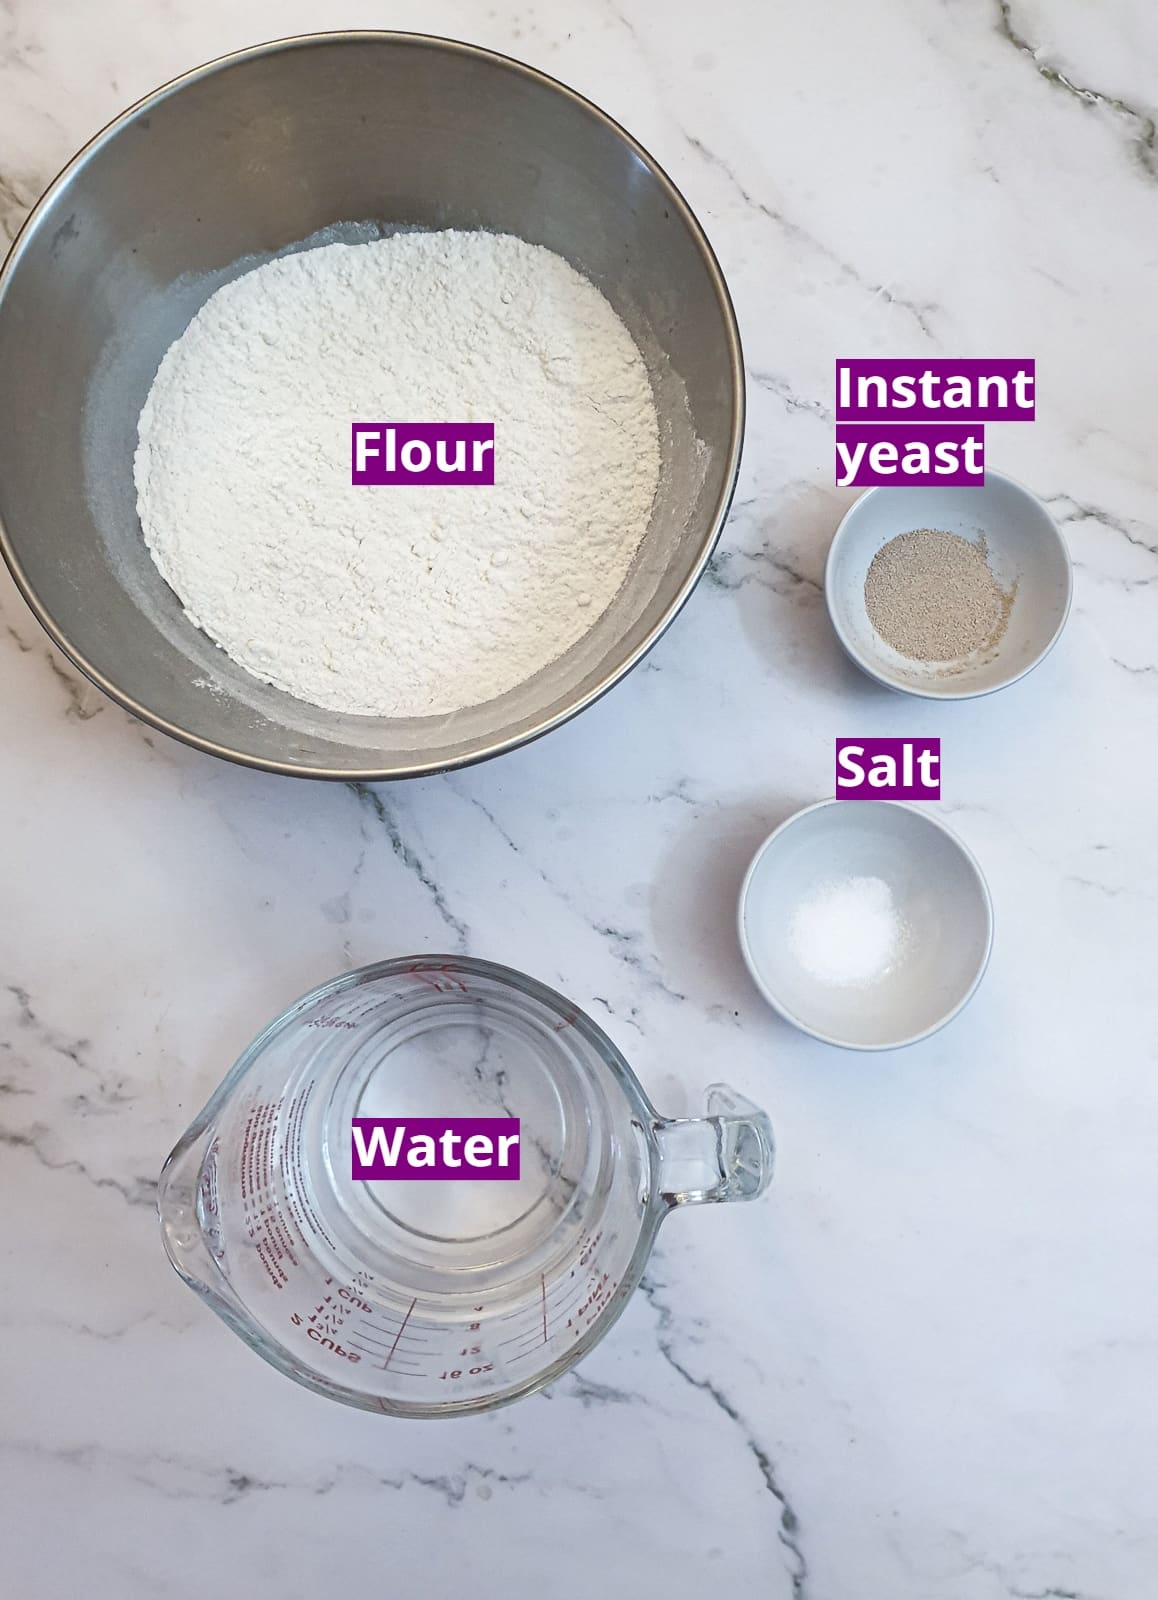
Flour - this is strong bread flour. You can use all-purpose flour but you won't get the same texture as you will get from the stronger bread flour. Don't use self-raising flour - the yeast in the recipe provides the 'rise'.
Instant yeast granules - these are sold in sachets of 7 grams or 2 teaspoons each. I used 2 teaspoons of instant yeast for this recipe, which is the equivalent of one sachet.
Salt - you can leave this out if you are on a salt-free diet, but it does improve the taste of the rolls so I would recommend using it if you can.
Water - the water should be just lukewarm, which is slightly above room temperature. Don't use boiling water or even hot water as this will kill the yeast and it won't rise.
What to do
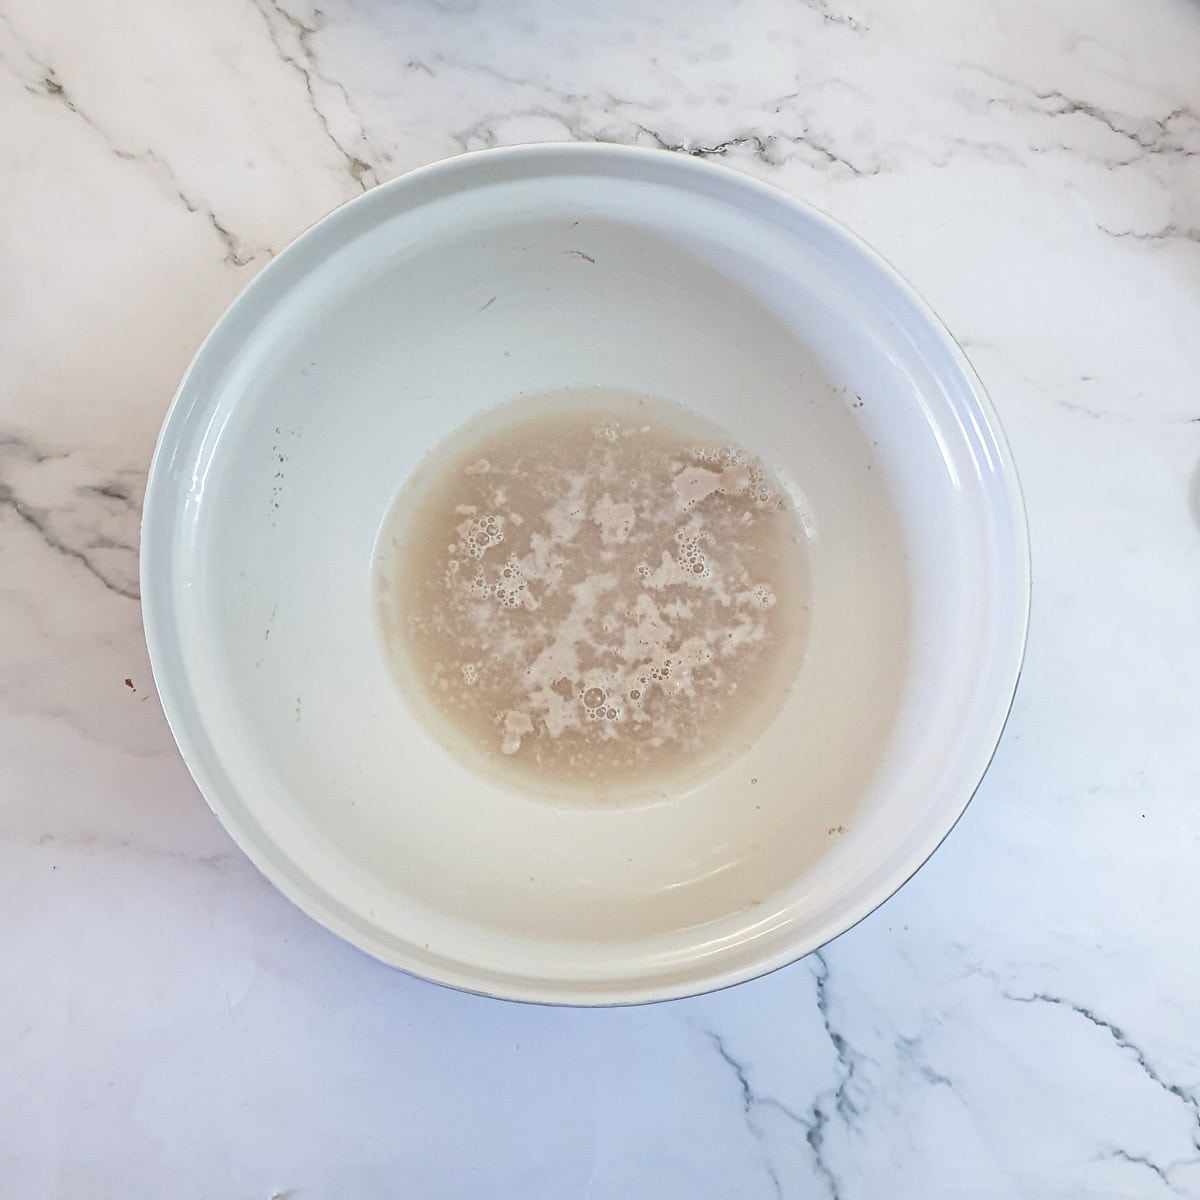
Put the yeast granules into your mixing bowl and cover them with lukewarm water. Leave for 5 minutes until they start to bubble. If no bubbles have formed, it means your yeast is dead and you should buy fresh yeast before continuing with the recipe or your rolls won't rise.
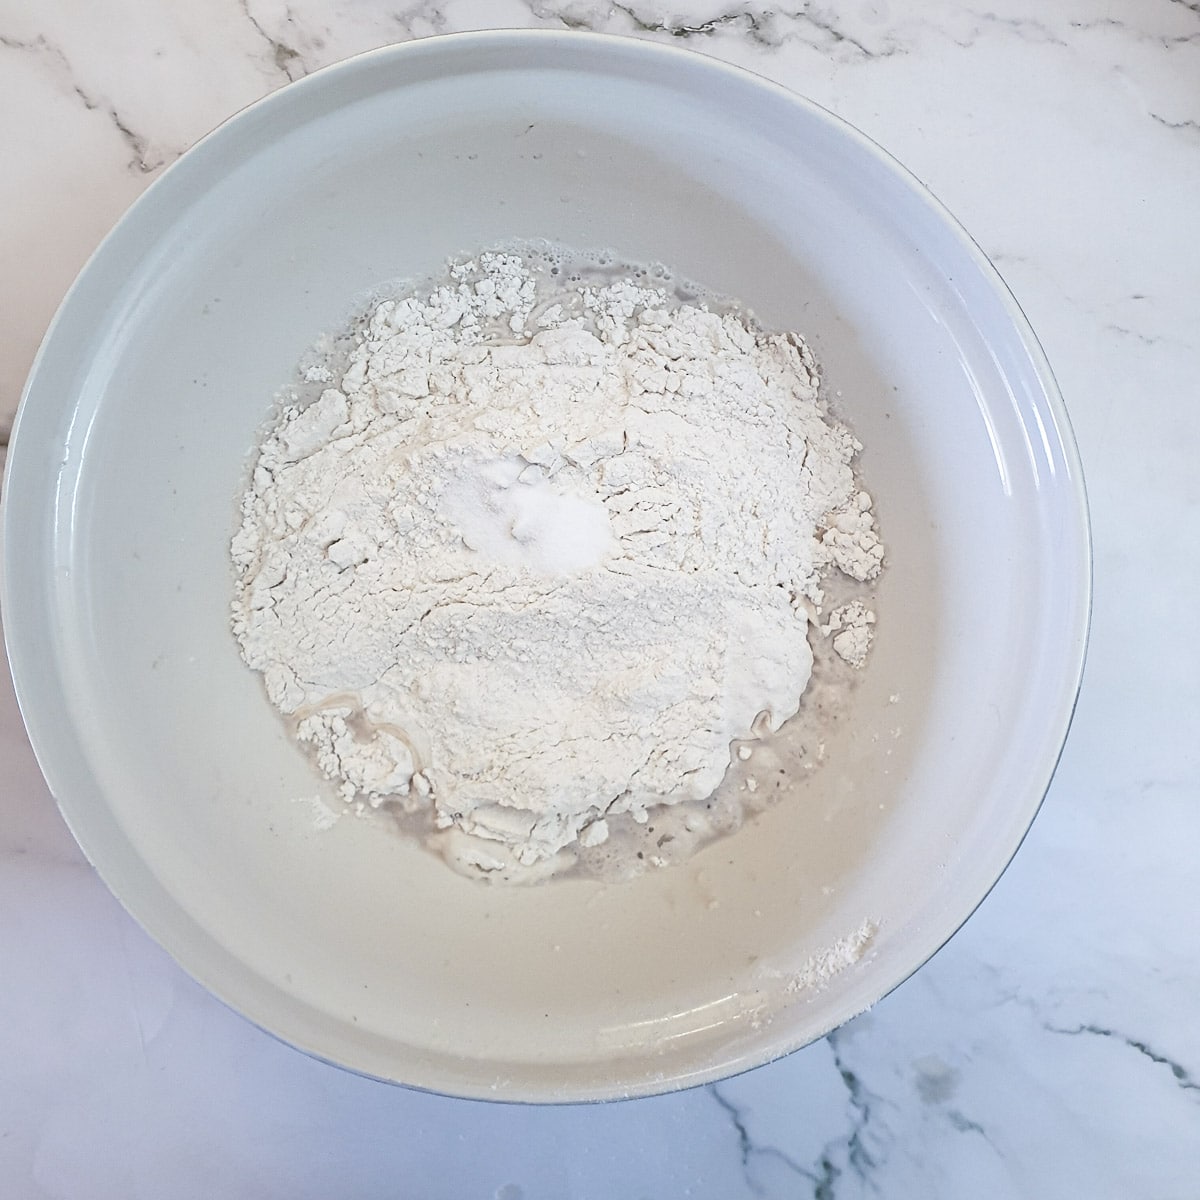
Tip the flour and salt into the yeast mixture.
Using a spatula, mix the flour and yeast mixture together to form a soft sticky dough. The dough should be sticky enough to stick to your fingers, but firm enough to form a ball.

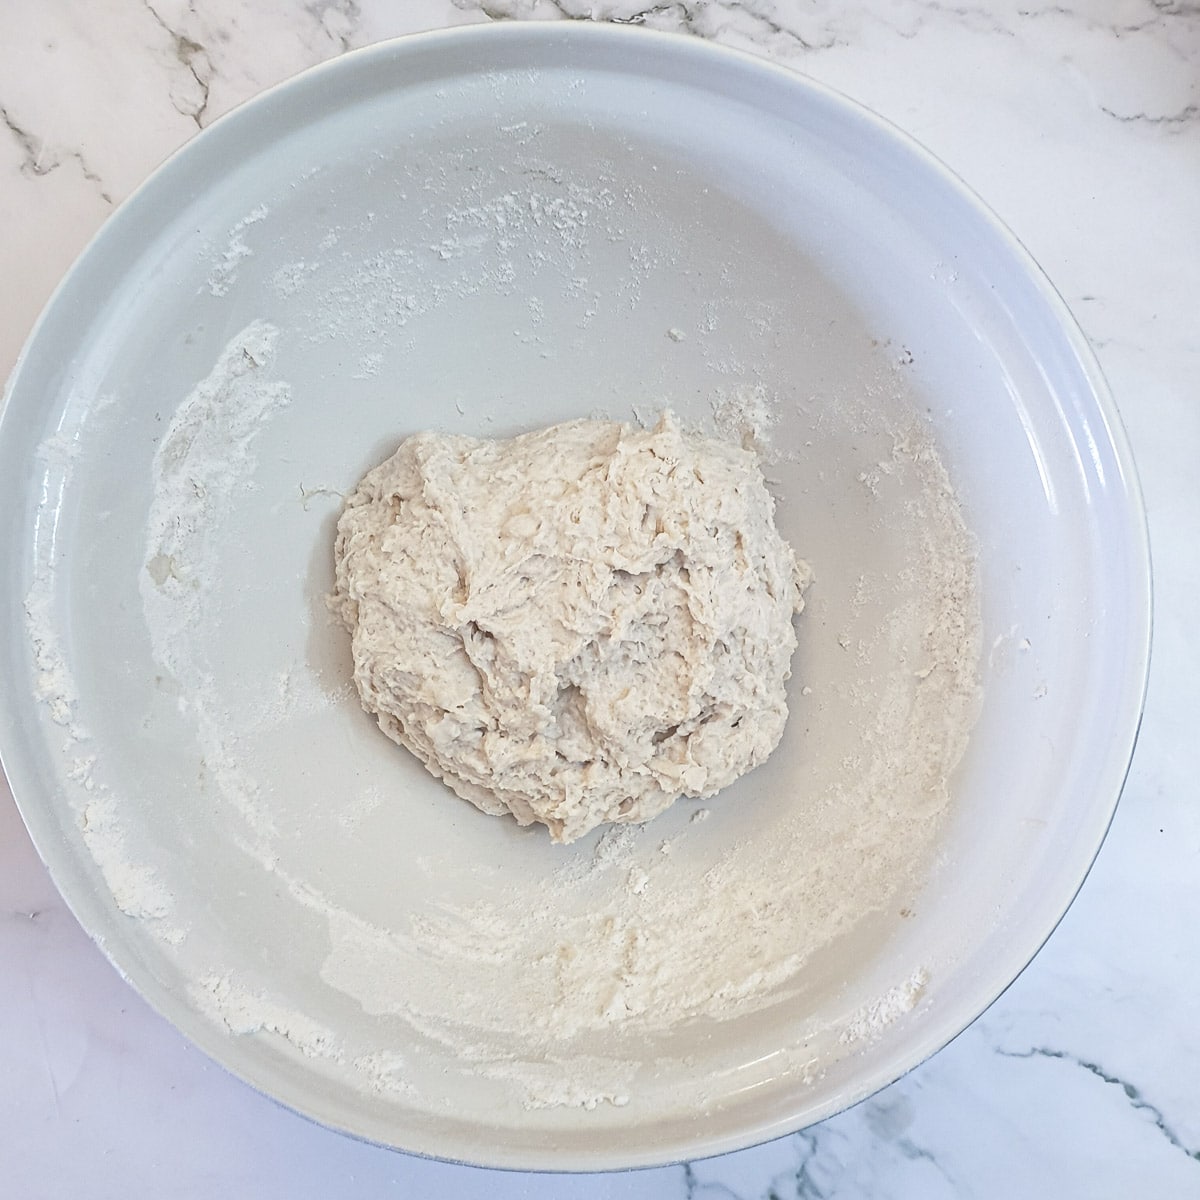
Cover the bowl with a clean towel and leave it in a warm, draught-free place for one hour. The dough should have doubled in size.
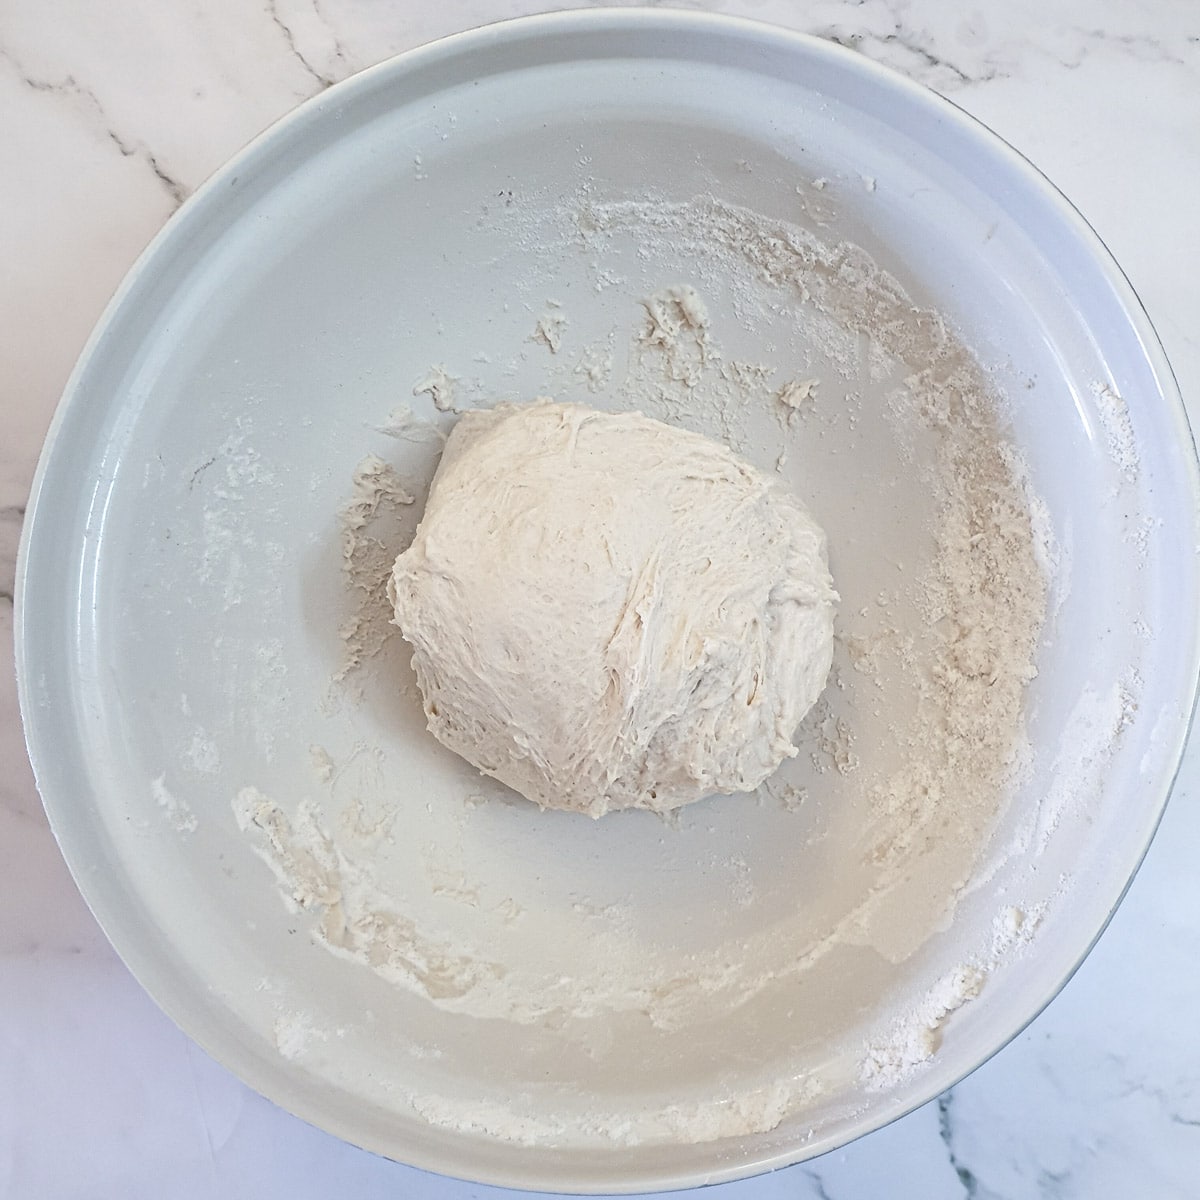
With wet hands, pull the dough out from under and fold it up and over itself. Give the bowl and quarter turn and repeat, giving 4 folds in total.
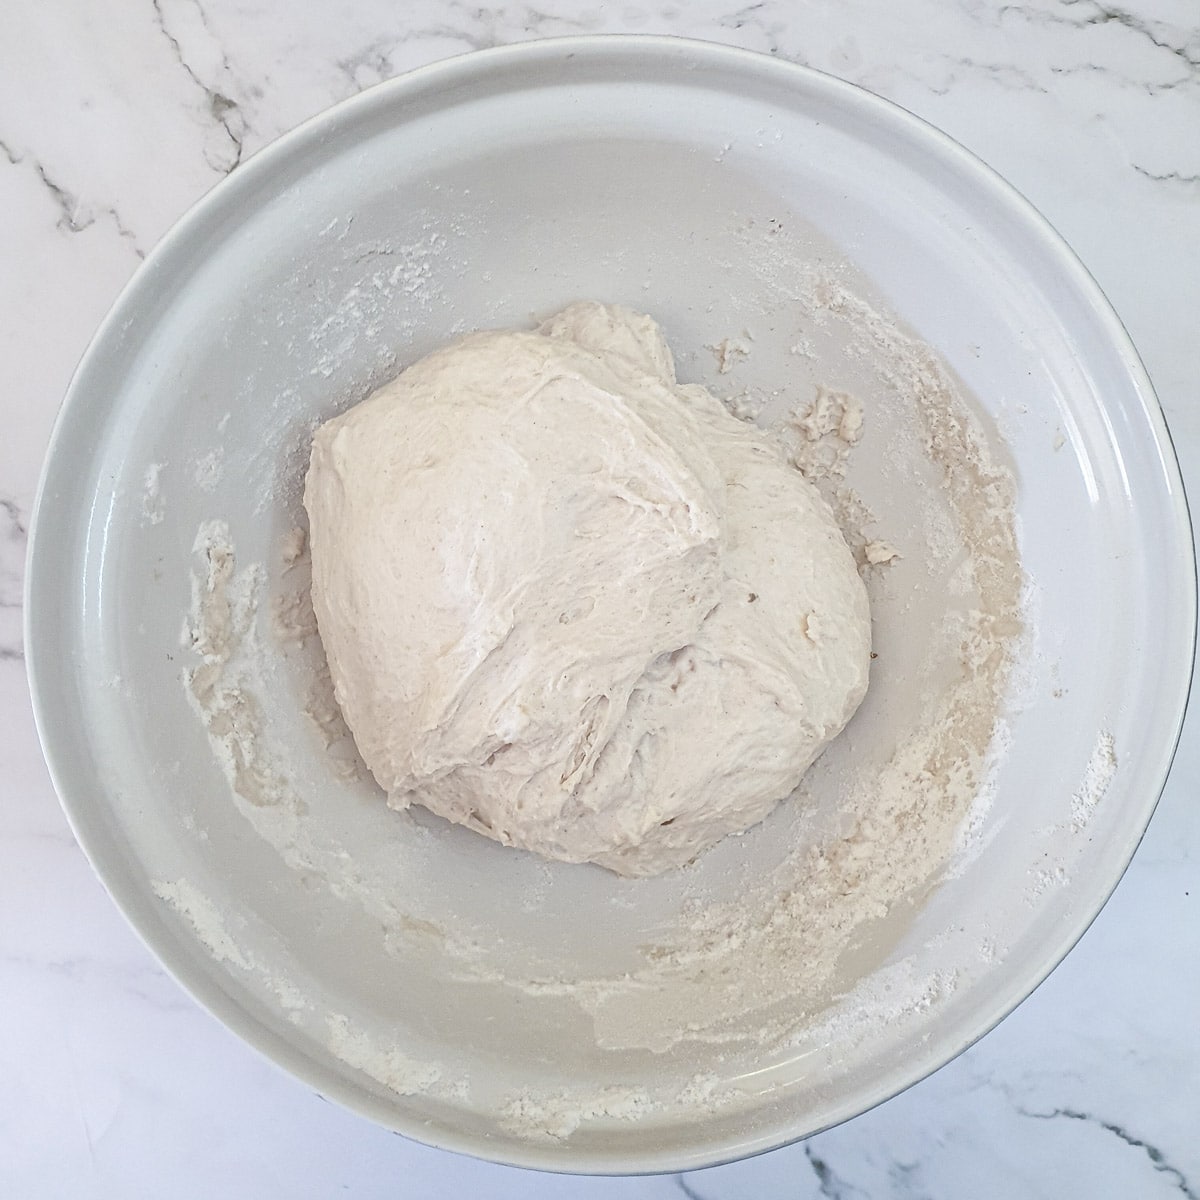
Leave for 30 minutes to rise, then repeat these 2 steps twice more.
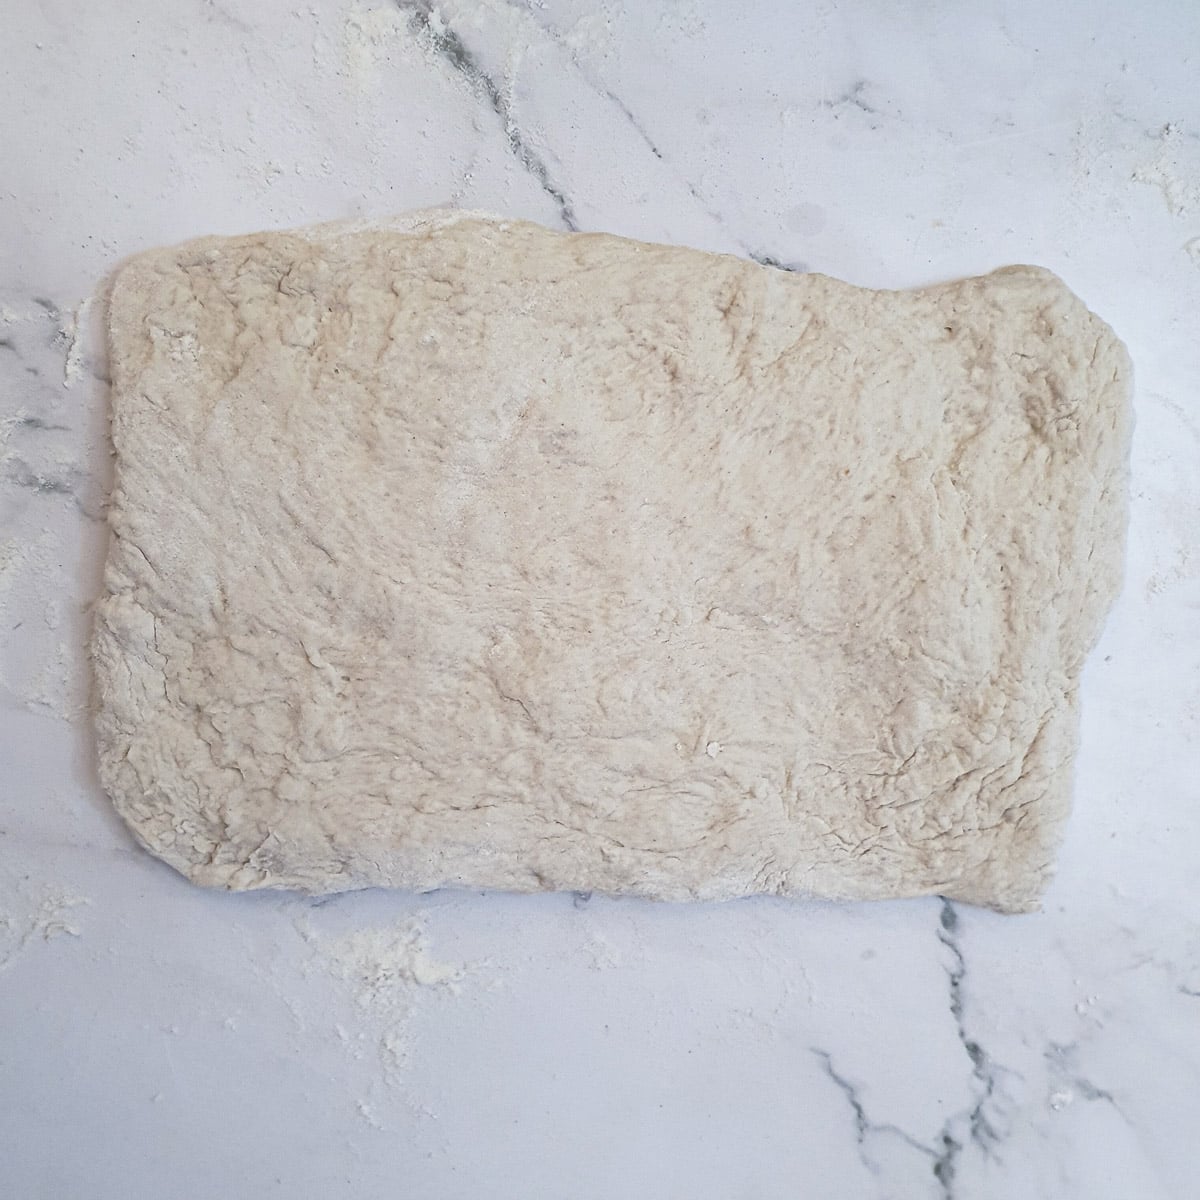
Sprinkle your work surface lightly with flour and press the dough gently out into a rectangle approximately 4" x 8" in size. You may need to sprinkle a little flour on top of the dough too. Handle the dough gently so you don't press out all the air that has been incorporated.
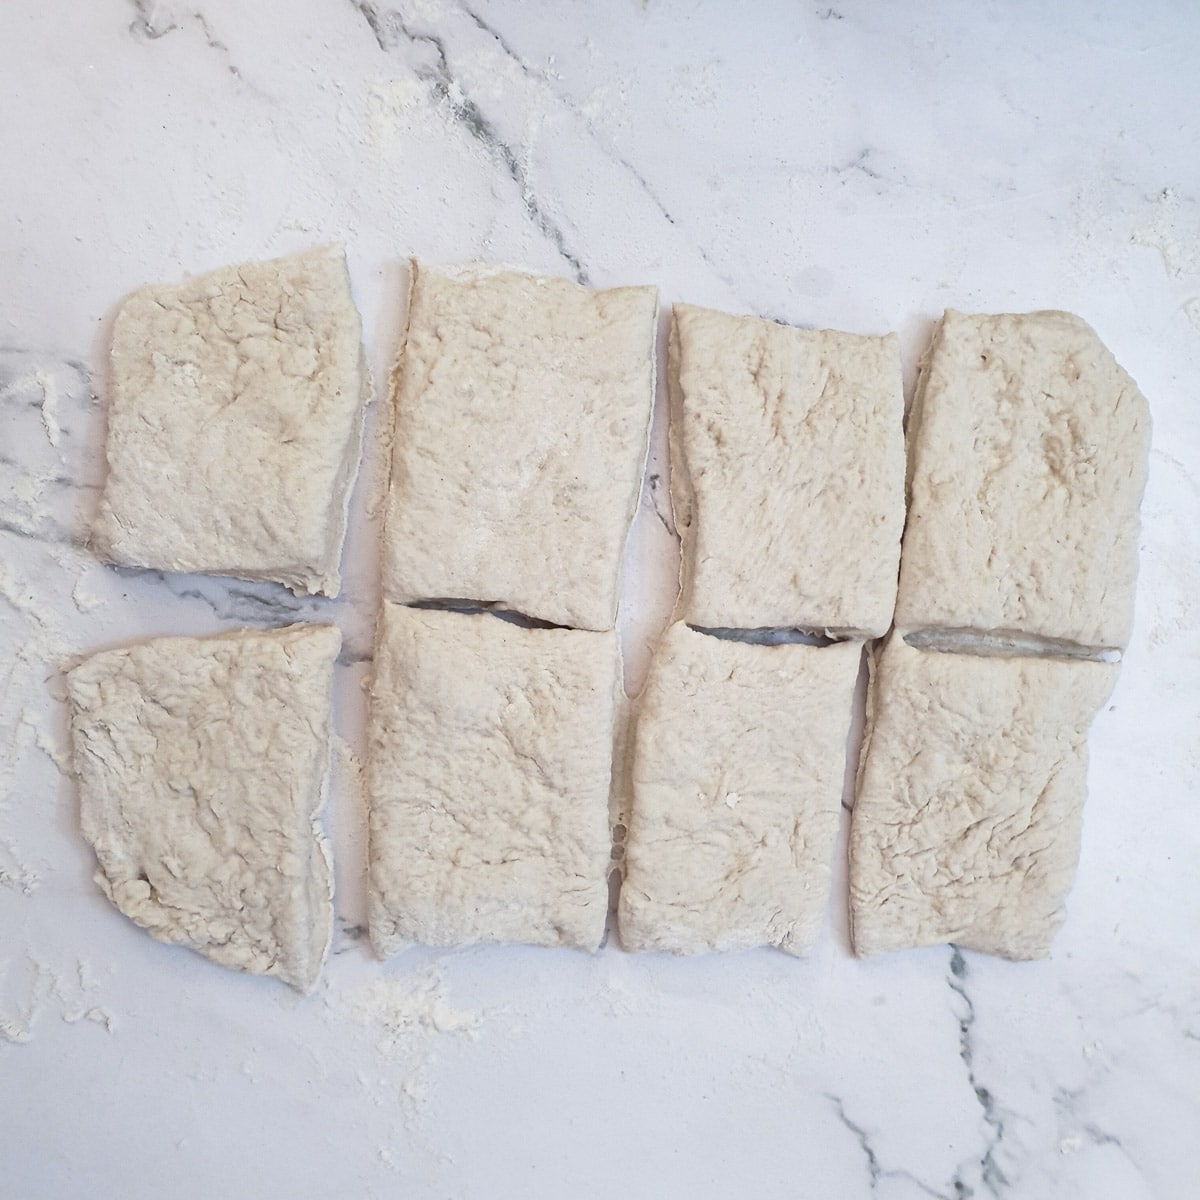
Using the back of a knife, or a pastry scraper, cut the dough into 6 or 8 pieces depending on how large you would like your ciabatta to be.
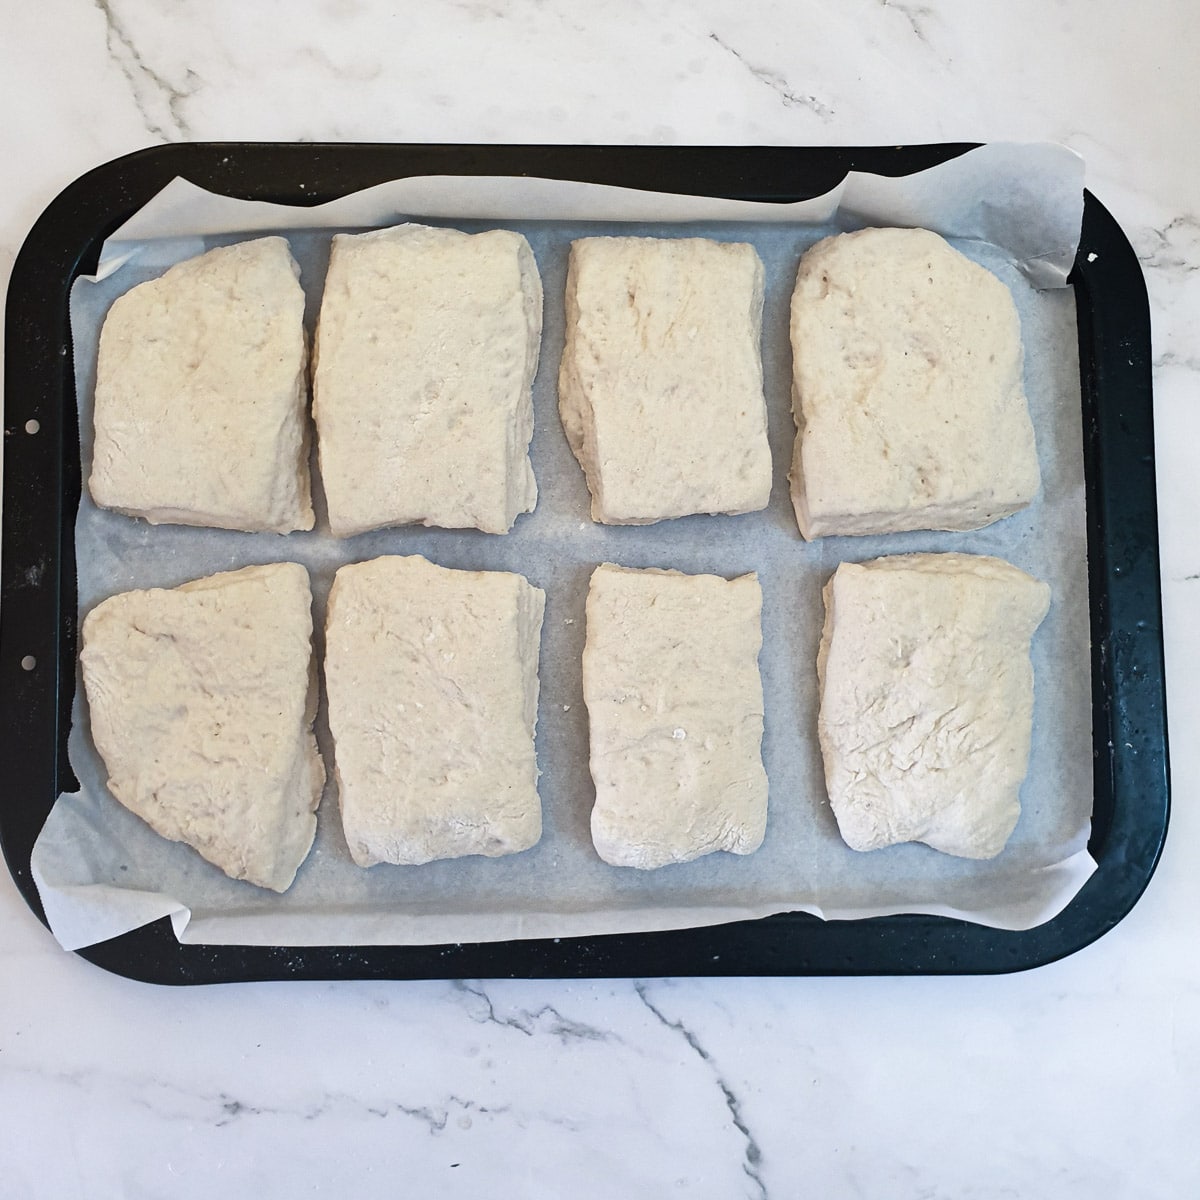
Place the rolls onto a baking tray lined with baking parchment. You may find it easier if you use a spatula to help you. This dough is very soft and stretches easily.
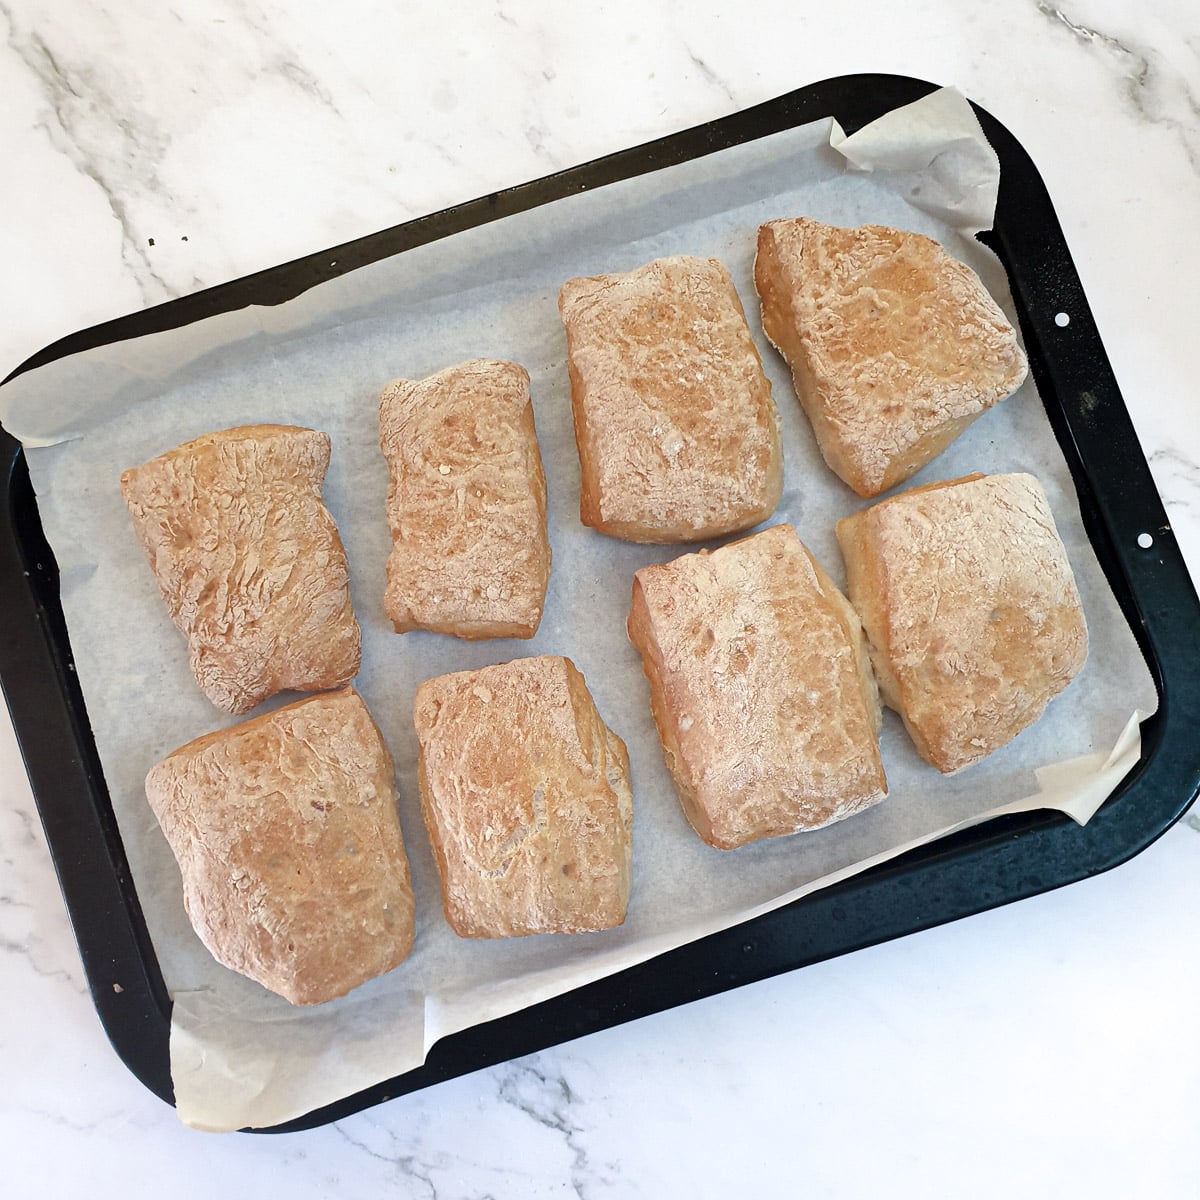
Place a shallow ovenproof dish of water on the bottom shelf of your oven and preheat the oven to 210C / 420F. Bake the rolls for 15 to 18 minutes until they are golden brown and cooked through.
Placing water in the oven create a steamy environment and helps the rolls to crisp.
Do take care when removing the rolls from the oven as there will be a lot of hot steam in there and it may burn you. Keep your face away from the oven door when you open the oven.

If you'd like to be notified of new recipes, why not subscribe to my newsletter? To say thank you, you will receive a free recipe e-book containing some of my most popular cakes and desserts.
Easy ciabatta rolls FAQ
Absolutely! These rolls freeze beautifully. Just let them cool and then pack them in a large plastic bag. You can freeze them for up to 6 months. When you are ready to eat the rolls, take as many as you need out of the freezer bag and put the frozen rolls into a hot oven for 5 to 7 minutes until they have warmed through and are crispy on the outside. They will taste exactly like freshly baked rolls.
These rolls are best eaten fresh out of the oven, or on the day you made them. You can store them in a plastic bag in the breadbin, but they will lose their crispiness and become very chewy. I normally freeze any leftover rolls and warm them up as and when I need them. See the previous paragraph.
There is an initial rise of 1 hour plus an additional 3 half-hour intervals where you stretch and fold the dough in between. The total rising time is 2 and a half hours, with a baking time of 20 minutes and a mixing time of approximately 5 minutes. You will also need 10 minutes to shape the rolls and get them onto the baking sheet.
The water boils and creates a steamy environment which is necessary for forming a crispy crust. It's an easy thing to do. Simply half-fill a roasting pan or another ovenproof dish with water and place it on the bottom shelf of your oven while it is preheating. The water will boil and create steam. Please remember to take care when opening the oven door - the steam is HOT!
For this recipe, the dough is supposed to have a loose and sticky consistency and it will be impossible to knead the dough by hand. Don't think you have to add extra flour to make it less sticky - your rolls will turn out hard.
The sticky dough will not stick to wet hands.
The easiest way to fold the dough is to wet your hands and take hold of the dough at the bottom. Pull it out, stretch it slightly towards yourself and fold it over the top of the doughball. Give the bowl a quarter turn and repeat the folding process until you have folded it 4 times. Rest for half an hour in between each set of 4 folds. Repeat twice more. You will find that the folding process deflates the dough somewhat, but it rises again in the half-hour rest period.
Save for later
If you would like to make these easy ciabatta rolls, why not save the recipe to one of your Pinterest boards so you can find it easily? Just click on the image below.
Alternatively, you can save the recipe by clicking on the floating heart icon on the right-hand side of the screen.
Related recipes
If you enjoy baking bread and rolls you may like to try some of these other easy bread recipes:

You can find these and many more recipes on my bread and scones recipes page.
📋The recipe
Easy ciabatta bread rolls
(Click the stars to rate this recipe)
Equipment
- Earthenware mixing bowl
- Baking sheet
- Baking parchment
Ask a Question
If you have a question about this recipe that has not been answered, please use the box below to ask it.
Use this with care. This is an AI-generated result and may contain errors or inaccuracies. I cannot be held responsible for the information returned.
Ingredients
- 2½ cups / 350 grams strong white bread flour
- 2 teaspoons / 7 grams instant yeast granules
- 1 teaspoon salt optional
- 1 cup lukewarm water
Instructions
- Put the yeast granules into your mixing bowl and cover them with lukewarm water. Leave for 5 minutes until they start to bubble. If no bubbles have formed, it means your yeast is dead and you should buy fresh yeast before continuing with the recipe or your rolls won't rise.1 cup lukewarm water, 2 teaspoons / 7 grams instant yeast granules
- Tip the flour and salt into the yeast mixture.2½ cups / 350 grams strong white bread flour, 1 teaspoon salt
- Using a spatula, mix the flour and yeast mixture together to form a soft sticky dough. The dough should be just sticky enough to stick to your fingers, but firm enough to form a ball.
- Cover the bowl with a clean towel and leave it in a warm, draught-free place for one hour. The dough should have doubled in size.
- With wet hands, pull the dough out from under and fold it up and over itself. Give the bowl and quarter turn and repeat, giving 4 folds in total.
- Leave for 30 minutes to rise, then repeat these 2 steps twice more.
- Place a dish of water in an ovenproof dish on the bottom shelf of your oven and preheat the oven to 210°C / 420°F.
- Sprinkle your work surface lightly with flour and press the dough gently out into a rectangle approximately 4" x 8" in size. You may need to sprinkle a little flour on top of the dough too. Handle the dough gently so you don't press out all the air that has been incorporated.
- Using the back of a knife, or a pastry scraper, cut the dough into 6 or 8 pieces depending on how large you would like your ciabatta to be.
- Place the rolls onto a baking tray that has been lined with baking parchment. You may find it easier if you use a spatula to help you. This dough is very soft and stretches easily.
- As soon as the oven has come up to temperature, place the baking tray in the oven. Take care, the steam will be HOT. Bake the rolls for 15 to 18 minutes until they are golden brown and cooked through.
- Remove the rolls from the oven and allow to cool.
Notes
Nutrition
I am not a nutritionist. The nutrition information has been calculated using an on-line calculator, and is intended for information and guidance purposes only. If the nutrition information is important to you, you should consider calculating it yourself, using your preferred tool.
If you made this recipe and enjoyed it, I'd love it if you could give me a star rating in the comments below. And if you'd like to get in touch, you can email me at [email protected]. I'd love to hear from you. And don't forget to subscribe to my mailing list so you can grab yourself a copy of my FREE COOKBOOK!
If you'd like to continue browsing, just click on this link to all my recipes.


Did you make this recipe? Let me know!