These no-knead soft dinner rolls are fantastically easy to make. They are made with yeast, but there's no kneading and no waiting around for them to proof! Just mix, shape, rest and bake. It couldn't be easier!

Jump to:
You really can make bread rolls without kneading
I know it's hard to believe, but even though there is yeast in this recipe for soft dinner rolls, you don't have to knead at all.
Once you've tried this recipe, I guarantee you'll be making these soft dinner rolls time and time again.
- You don't need a stand mixer or any other mixer for that matter. Just dump all the ingredients into the mixing bowl and give them a quick mix with a wooden spoon.
- There's absolutely no kneading involved.
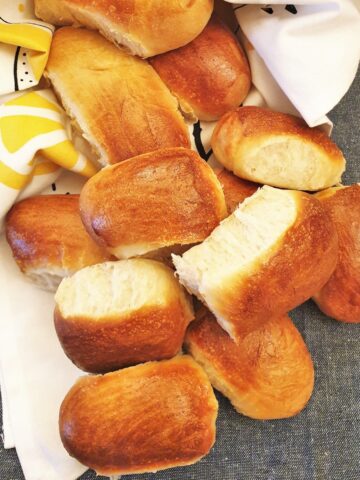
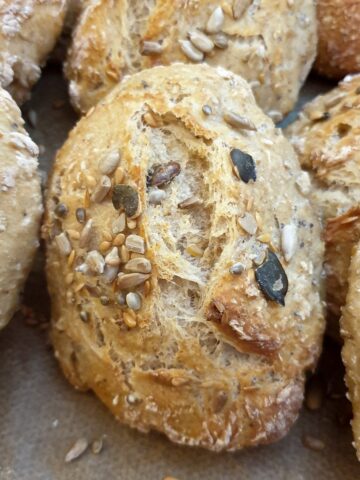
- These dinner rolls have a fluffy interior and a soft golden crust.
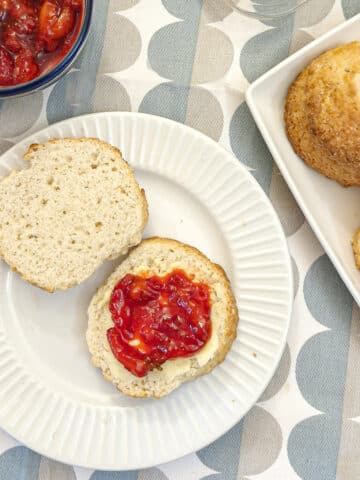
- Not only are they perfect for mopping up the last of the gravy, but they also make the perfect lunchtime sandwich.
- And best of all, they are incredibly quick to make - you don't have to wait for the dough to prove. Just mix, shape, rest and bake.
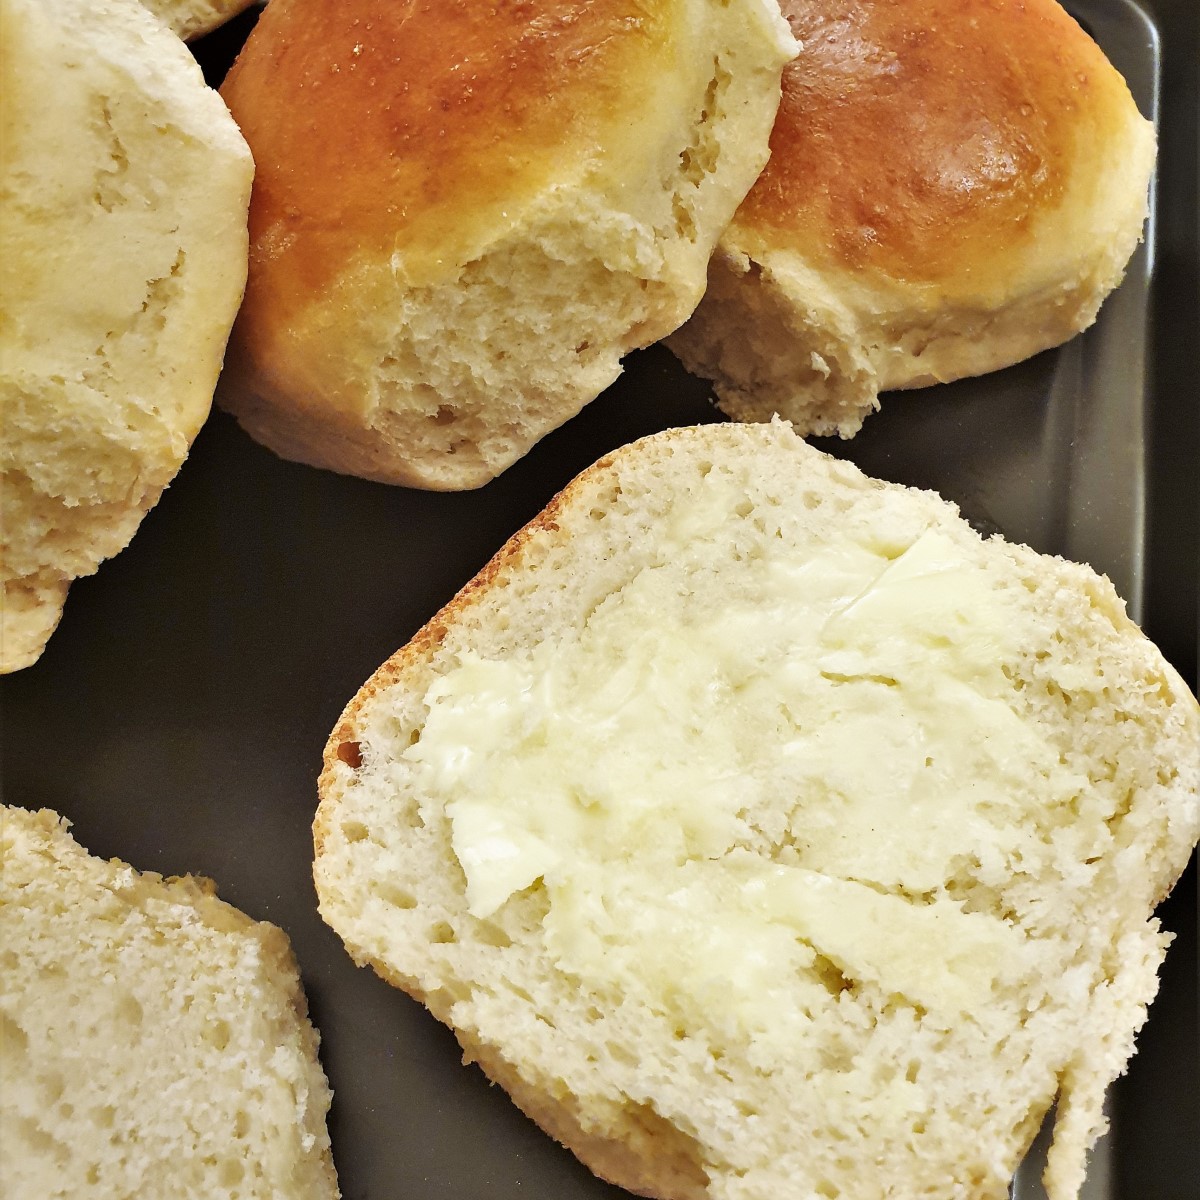
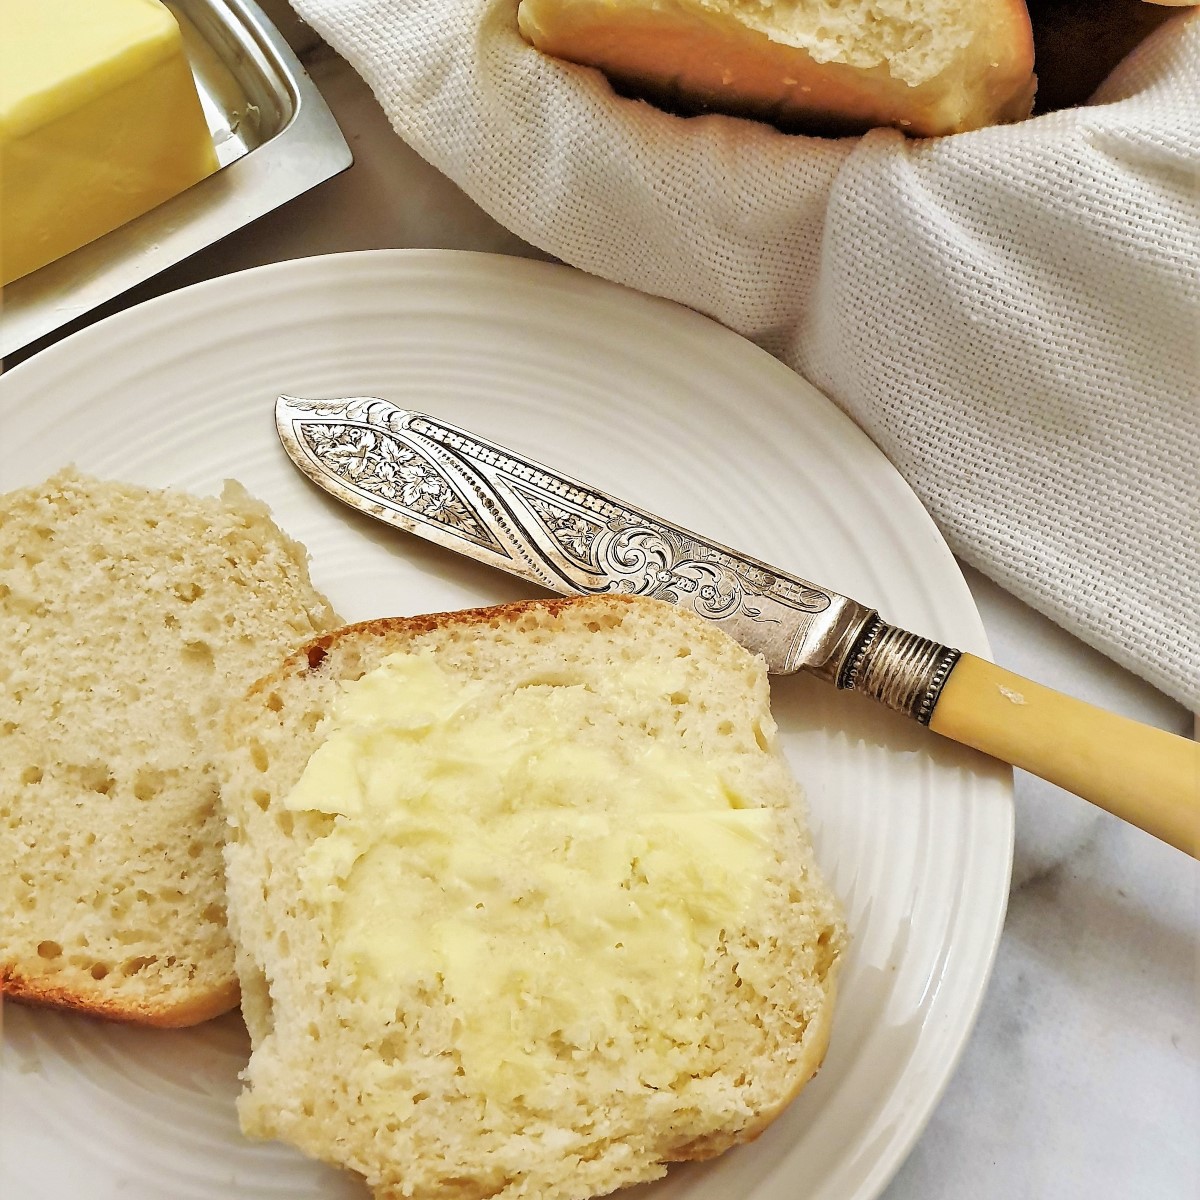
This is my go-to recipe for quick bread rolls. I love the texture. It's soft and spongy, perfect for soaking up gravy or dunking in a bowl of soup or stew.
And because the texture is so firm, you don't have to throw these rolls away when they go stale. Just cut them in half, and pop them under a hot grill or broiler. Then slather them with butter and enjoy - they make the perfect toasted bread roll!
Recipe notes
- Prep time - 20 minutes
- Rising time - 1 hour
- Cook time - 20 minutes
- Yield - 12 soft dinner rolls
- Calories - 230 per bread roll
- Main equipment -
- Mixing bowl - for mixing the dough. You will need a large one.
- Baking tray - for baking the rolls
- Silicone baking sheets - to line your baking tray - or you could use baking parchment. Failing that, brush the tray lightly with oil to prevent the rolls from sticking.
The ingredients
**Get the complete recipe for these soft dinner rolls on the printable recipe card at the end of this post.**
You don't need anything special and you probably have all the ingredients in your pantry anyway.
This recipe will make 1 dozen dinner rolls, about the diameter of a baseball, but you can make smaller rolls if you prefer.
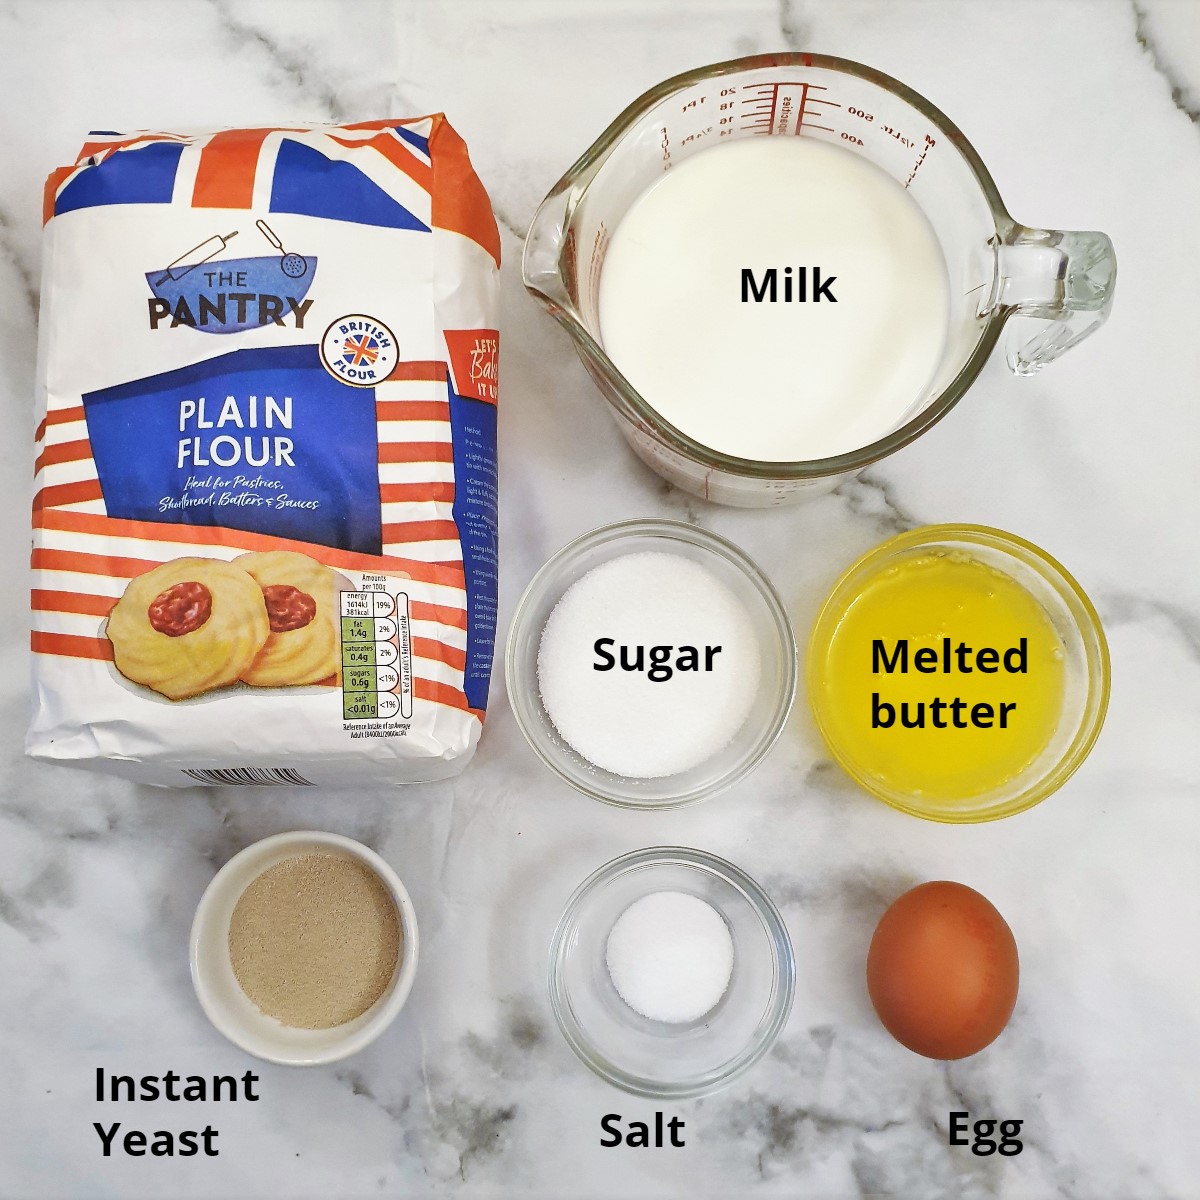
- Plain flour - don't use self-raising flour - we are going to add yeast to make the rolls rise.
- Instant yeast - this is dried instant yeast granules, not the blocks of fresh yeast.
- Milk - this helps create a soft texture. I use full-fat milk, but you can use semi-skimmed too. The milk should be lukewarm, as the warmth will help activate the yeast.
- Sugar - if you prefer a less sweet roll, you can use less sugar than the amount specified in the recipe.
- Melted butter - to make for easy mixing, the butter should be completely melted before being added to the rest of the ingredients.
- One egg - to enrich the dough.
- Salt - if you don't use salt in your diet you can leave this out.
How to mix the dough
This couldn't be simpler.
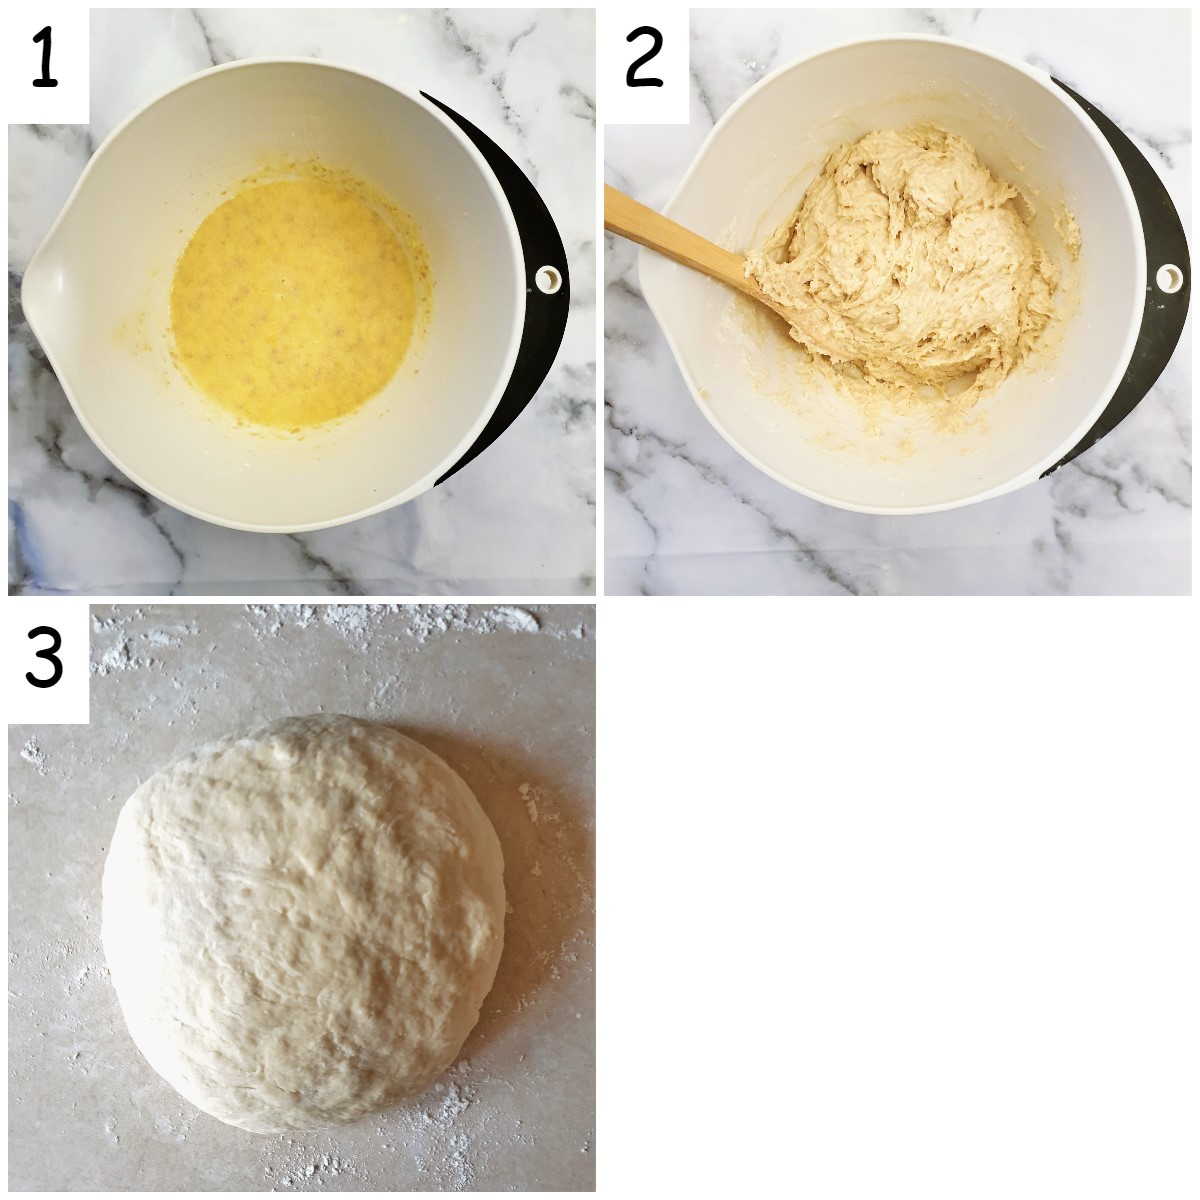
- Start by warming the milk in the microwave for a few seconds until it is barely lukewarm, then pour the milk into a mixing bowl.
- Stir in the yeast then add the egg, butter, sugar and salt.
- Whisk with a balloon whisk to combine (image 1 above).
- Add the flour and mix with a wooden spoon until you have a thick, slightly sticky dough (image 2 above).
- Turn the dough out onto a well-floured surface, and sprinkle the dough with a little extra flour. You won't need too much, about a tablespoon should be sufficient.
- Knead lightly until the dough comes together in a soft non-sticky ball (I know I said no kneading, but this isn't really proper kneading - you are just bringing the dough together). You can add an additional tablespoon of flour if the dough is very sticky, but you shouldn't have to.
- Note - the dough may still be slightly sticky inside, but don't worry - this is how it should be. When you shape the rolls you can use a little additional flour.
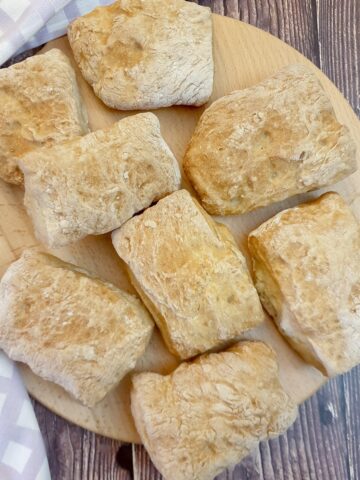
Shape the rolls
- Divide the dough in half and then in half again so you have 4 pieces. Then divide each piece into 3, giving you 12 equally sized pieces of dough. If you prefer slightly smaller dinner rolls, divide each quarter into 4, giving you 16 pieces.
- Prepare a baking sheet by lining it with baking parchment, or greasing it with a little oil to prevent the rolls from sticking.
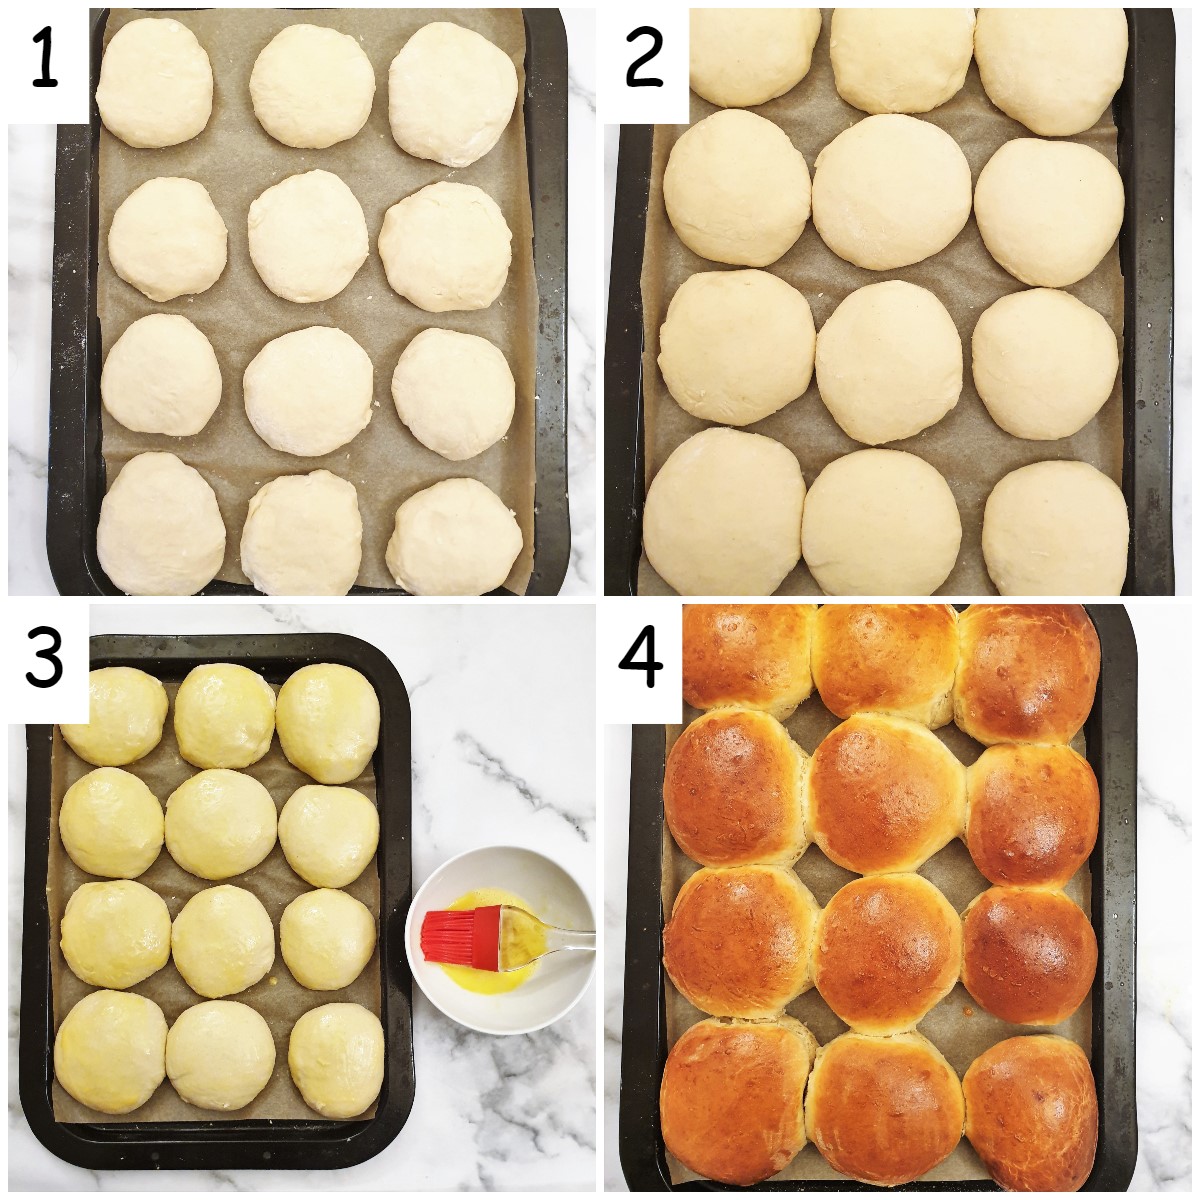
- Roll each piece of dough into a ball then flatten slightly to about half an inch thick and place on a baking sheet. My baking sheet measures 25cm x 36cm (or 10" x 15"). You may need to dust the dough with a little extra flour if it is too sticky to handle.
- Cover with a clean tea towel and leave in a warm place to rise for 1 hour.
- 5 minutes before the hour is up, preheat the oven to 180C / 350F.
- Brush the rolls with beaten egg and bake them for about 20 minutes until nicely browned on top.
How long do they last?
These soft dinner rolls will stay fresh for 2 days, and any rolls left over from dinner time can be turned into sandwiches for lunch the next day.
After 2 days they do tend to dry out somewhat.
However, because they are meant to be soft rolls, you can freshen them up by popping them into the microwave for about 15 seconds to rejuvenate them.
Store the rolls in a plastic bag to help keep them from drying out.
The cooled dinner rolls can be frozen in a plastic bag for up to 6 months. To use, allow them to defrost and warm them in the microwave or place them on a baking tray in a hot oven for about 5 minutes.
If you'd like to be notified of new recipes, why not subscribe to my newsletter? To say thank you, you will receive a free recipe e-book containing some of my most popular cakes and desserts.
Save for later
Why not pin this no-knead bread roll recipe to one of your Pinterest boards so you can make it later? Just click the image below.
Alternatively, you can save the recipe by clicking on the floating heart icon on the right-hand side of the screen.
Related recipes
If you enjoy baking bread and rolls you may like to try some of my other easy recipes too:
You can find these and many more recipes on my bread and scones recipes page.
📋The recipe

No-knead soft dinner rolls
(Click the stars to rate this recipe)
Equipment
- Mixing bowl
- Balloon whisk
- Wooden spoon
- 10" x 15" baking sheet
Ask a Question
If you have a question about this recipe that has not been answered, please use the box below to ask it.
Use this with care. This is an AI-generated result and may contain errors or inaccuracies. I cannot be held responsible for the information returned.
Ingredients
- 4 cups (560g) plain flour
- 1 tablespoon instant yeast granules
- 1½ cups milk lukewarm
- 3 tablespoons (40g) sugar
- 3 tablespoons (40g) butter melted
- 1 large egg
- 1 teaspoon salt optional
Instructions
- Prepare a baking sheet by lining it with baking parchment, or greasing with a little oil to prevent the rolls from sticking.
- Warm the milk in the microwave for a few seconds until it is just luke-warm, then pour the milk into a mixing bowl.
- Stir in the yeast.
- Melt the butter and add.
- Add the egg, sugar and salt.
- Whisk with a balloon whisk until combined.
- Add the flour and mix with a wooden spoon until you have a thick, slightly sticky dough.
- Turn the dough onto a well floured surface and sprinkle with a little exra flour (approximately 1 tablespoon)
- Knead lightly until the dough comes together in a soft non-sticky ball.
- Divide the dough in half and then in half again so you have 4 pieces. Then divide each piece into 3, giving you 12 equally sized pieces of dough.
- Roll each piece of dough into a ball then flatten slightly to about half an inch thick and place on a baking sheet.
- Cover with a clean tea towel and leave in a warm place to rise for 1 hour.
- 5 minutes before the hour is up, preheat the oven to 180C / 350F.
- Brush the rolls with beaten egg and then bake them for about 20 minutes until nicely browned on top.
Notes
Nutrition
I am not a nutritionist. The nutrition information has been calculated using an on-line calculator, and is intended for information and guidance purposes only. If the nutrition information is important to you, you should consider calculating it yourself, using your preferred tool.
If you made this recipe and enjoyed it, I'd love it if you could give me a star rating in the comments below. And if you'd like to get in touch, you can email me at [email protected]. I'd love to hear from you. And don't forget to subscribe to my mailing list so you can grab yourself a copy of my FREE COOKBOOK!
If you'd like to continue browsing, just click on this link to all my recipes.

Roger Stepper says
It went really well, soft and tasty.
Ldodds says
Sounds much easier
Mary Catherine Straka says
I've only recently started looking at and trying bread recipes. My main focus is easy and not too messy. These rolls are just fabulous! This is the second time I've made them, and
just took the pan out of the oven and took a picture of them, but I don't know how to send it. Anyway, I can't wait to cut into these amazing, and easy rolls. Thank you for the recipe.
VJ says
My pleasure - so pleased you enjoyed them.
Maz says
I love these rolls! We use them for sandwiches. After cooled, I put them in a big zip lock bag and keep in frig. They last me about a week because we slice in half and toast them. So happy about this great recipe.
VJ says
Thank you - what a lovely comment - you've made my day 🙂
Maz says
Can I bake these in a cupcake pan instead of free form ?
VJ says
I haven't tried making them that way, but I don't see why it shouldn't work.
If you do try and make them in a cupcake pan I'd be interested to hear how they turn out.
VJ x