This peppermint chocolate cake is rich, moist and utterly indulgent! Whether you bake it in a classic layer-style with buttercream, or as an easy traybake topped with chocolate ganache, this cake is perfect for either a special occasion or just as a treat for the family.
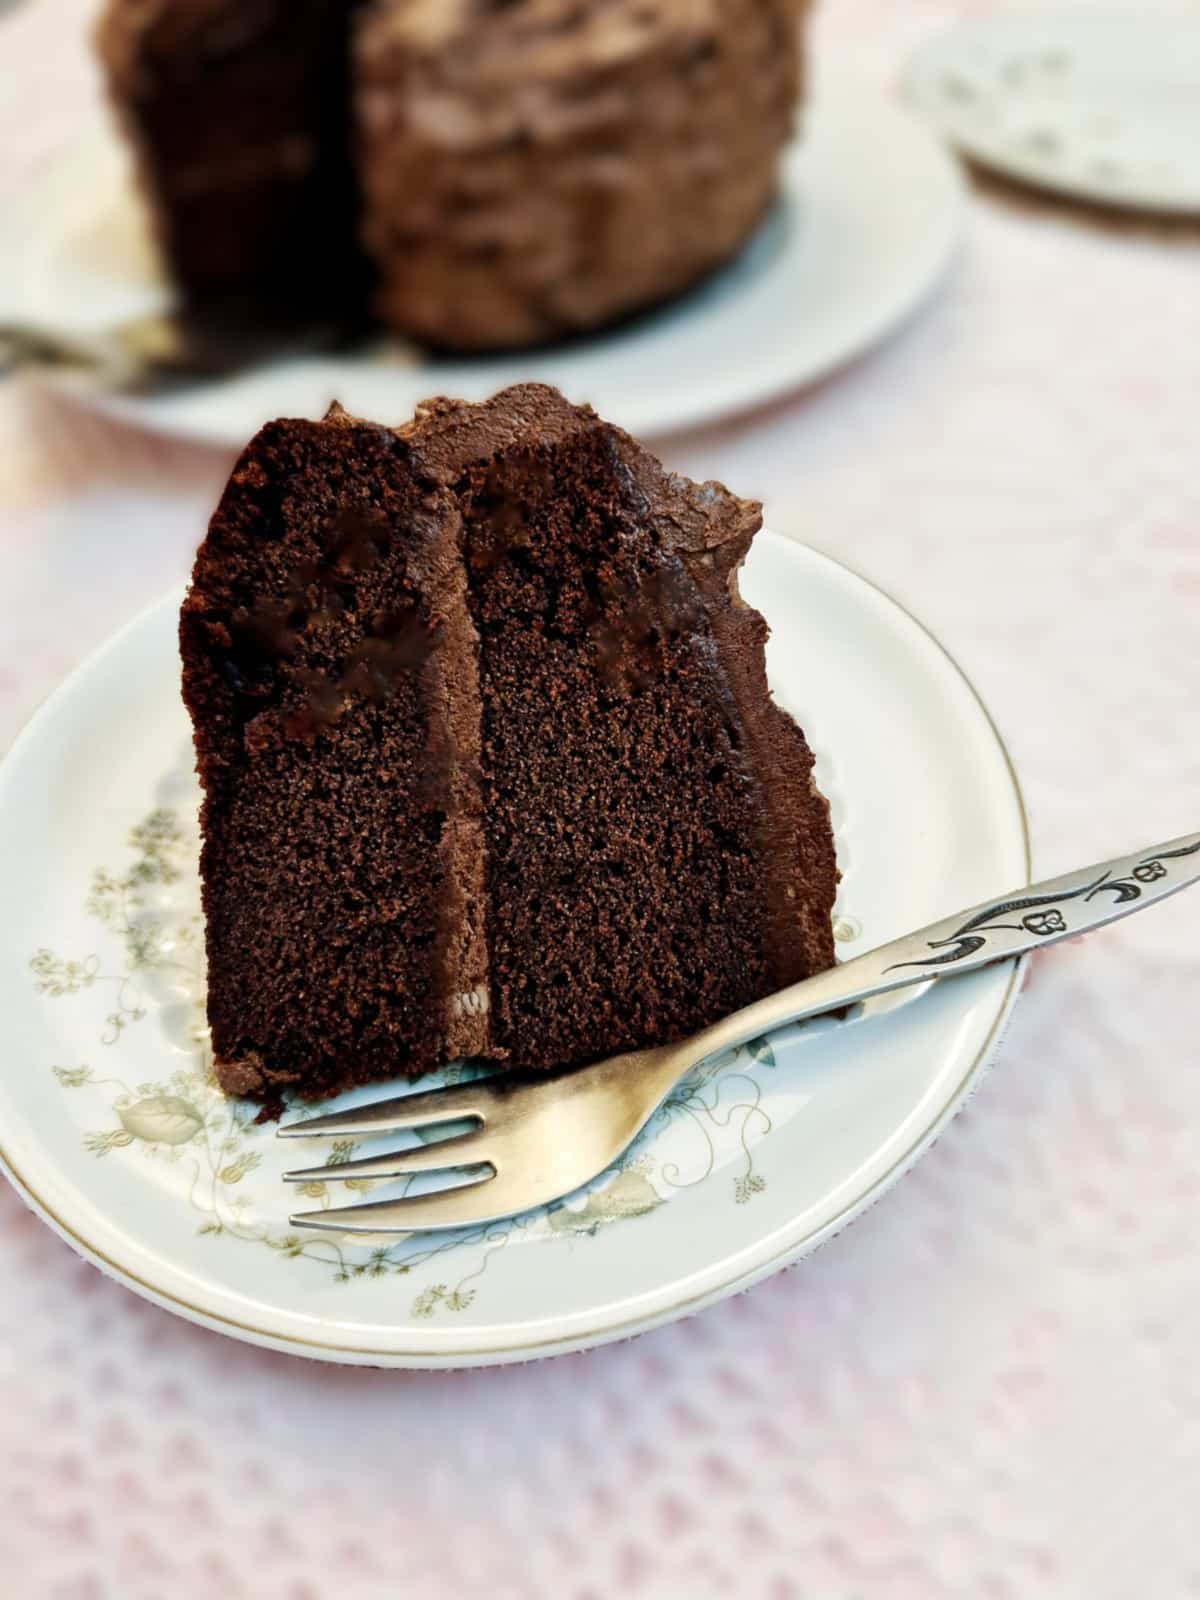
If memory serves me right, I first made this peppermint chocolate cake in the early 1980s, when I had three young children (plus their friends) who were always raiding the cake tin or biscuit barrel for treats! No matter how I made it (layered or traybake), this cake never lasted long - it always disappeared in record time!
And it's easy to see why! Peppermint and chocolate are a match made in heaven - think peppermint Aero, peppermint cream chocolates or even peppermint chocolate mousse. Pair these flavours with a soft, moist cake, and you know you're on to a winner.
One of the things I love about this cake is how easy it is to make. Simply whisk the dry ingredients in one bowl, and combine the wet ingredients in another. Mix the wet ingredients into the dry, and stir in boiling water. Divide the mixture into 2 cake pans, and it's ready for the oven.
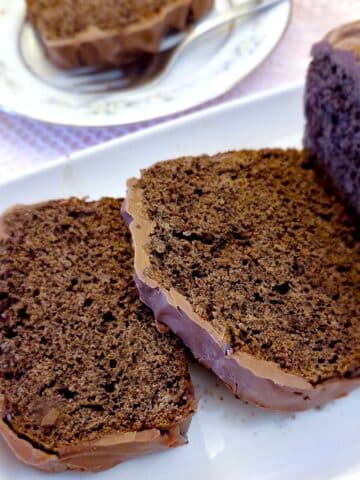
The versatility is another win. Bake it as a layered cake with peppermint buttercream for a family-sized sliceable cake, or bake it as a traybake with creamy chocolate ganache (see below for how to make it) for casual entertaining or gift-giving. Either way, you end up with a cake that's indulgent, chocolately and perfectly balanced with a hint of refreshing peppermint.
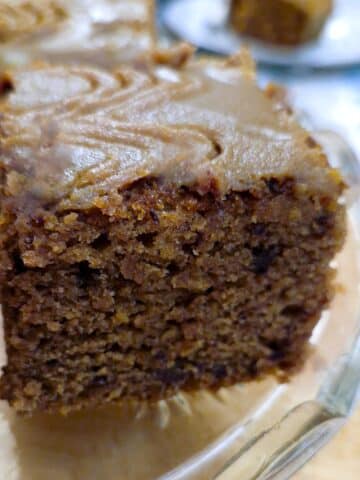
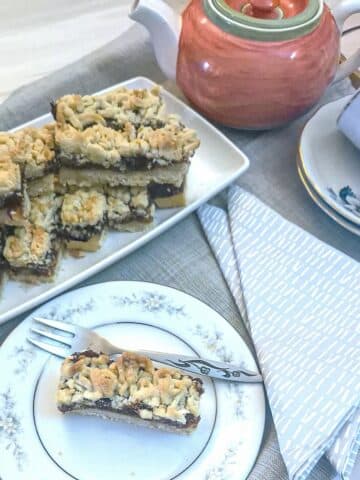
In a similar vein, another favourite (back in the day) was this delicious peppermint crisp fridge tart, originally made with a chocolate called Peppermint Crisp (which is unfortunately only available in South Africa and Australia), but which I've adapted to use Peppermint Aero instead!

Jump to:
Why you'll love this peppermint chocolate cake
Oh, where do I start?
- ⭐Perfect balance of rich chocolate and refreshing peppermint.
- ⭐Soft, tender, moist crumb that melts in your mouth.
- ⭐Works beautifully as a layered cake or as a traybake.
- ⭐Quick and simple to make - just 5 minutes to mix, then straight into the oven.
- ⭐Subtle peppermint flavour that pairs so well with chocolate.
- ⭐Loved by everyone - a crowd-pleaser every time.
Recipe information
- ⌚Prep time: (layer or traybake) 10 minutes - which includes time to line the cake tins.
- ⌛Baking time:
- Layer cake - 25 - 30 minutes
- Tray bake - 30 - 35 minutes
- 🍰Yield: Either an 8-inch 2-layer cake or an 8 x 12-inch traybake.
Ingredients
**You can find the exact ingredient quantities on the printable recipe card at the end of this post.**

- Flour. This is self-raising flour. You could use plain or all-purpose flour instead and add baking powder for the leavening agent.
- Sugar. Castor sugar is best to use because it dissolves more easily. Substitute with granulated sugar.
- Butter. You can use either salted or unsalted butter, which should be melted. If using unsalted butter, you might want to add a pinch of salt to the cake.
- Oil - this is neutral-flavoured vegetable oil and gives a lovely soft texture to the cake.
- Eggs. These are large eggs weighing around 60 grams or 2 ounces each.
- Milk. For the moisture content. You can use full-fat or semi-skimmed.
- Cocoa powder. This is unsweetened cocoa powder. Normally sold either in the baking aisle or alongside the coffee in the supermarkets.
- Peppermint essence. This adds the peppermint flavour. If you don't want the peppermint flavour, substitute with vanilla essence.
- Boiling water. The boiling water will be combined with the cake batter once it has been mixed.
Buttercream ingredients
These are the ingredients for the buttercream. I didn't photograph them because apart from the cream and icing sugar, they are the same ingredients as those used in the cake.
- Butter. At room temperature for easy mixing
- Icing sugar - which you may know as confectioner's sugar or powdered sugar. This should be sieved before use as it does have a tendency to form little hard lumps if it's been in the cupboard for any length of time.
- Cocoa powder.
- Peppermint essence. This is optional, but I enjoy the taste of peppermint essence both in the cake and in the buttercream.
- Cream. Just one or two spoonfuls to loosen the buttercream to give it a more spreadable consistency. You could use milk if you prefer.
Instructions
Line the cake tins

Step 1: Take an 8-inch square of baking parchment and fold it 3 times diagonally to form a triangle. Measure it from the centre of the baking pan to the edge and cut away any overhang.
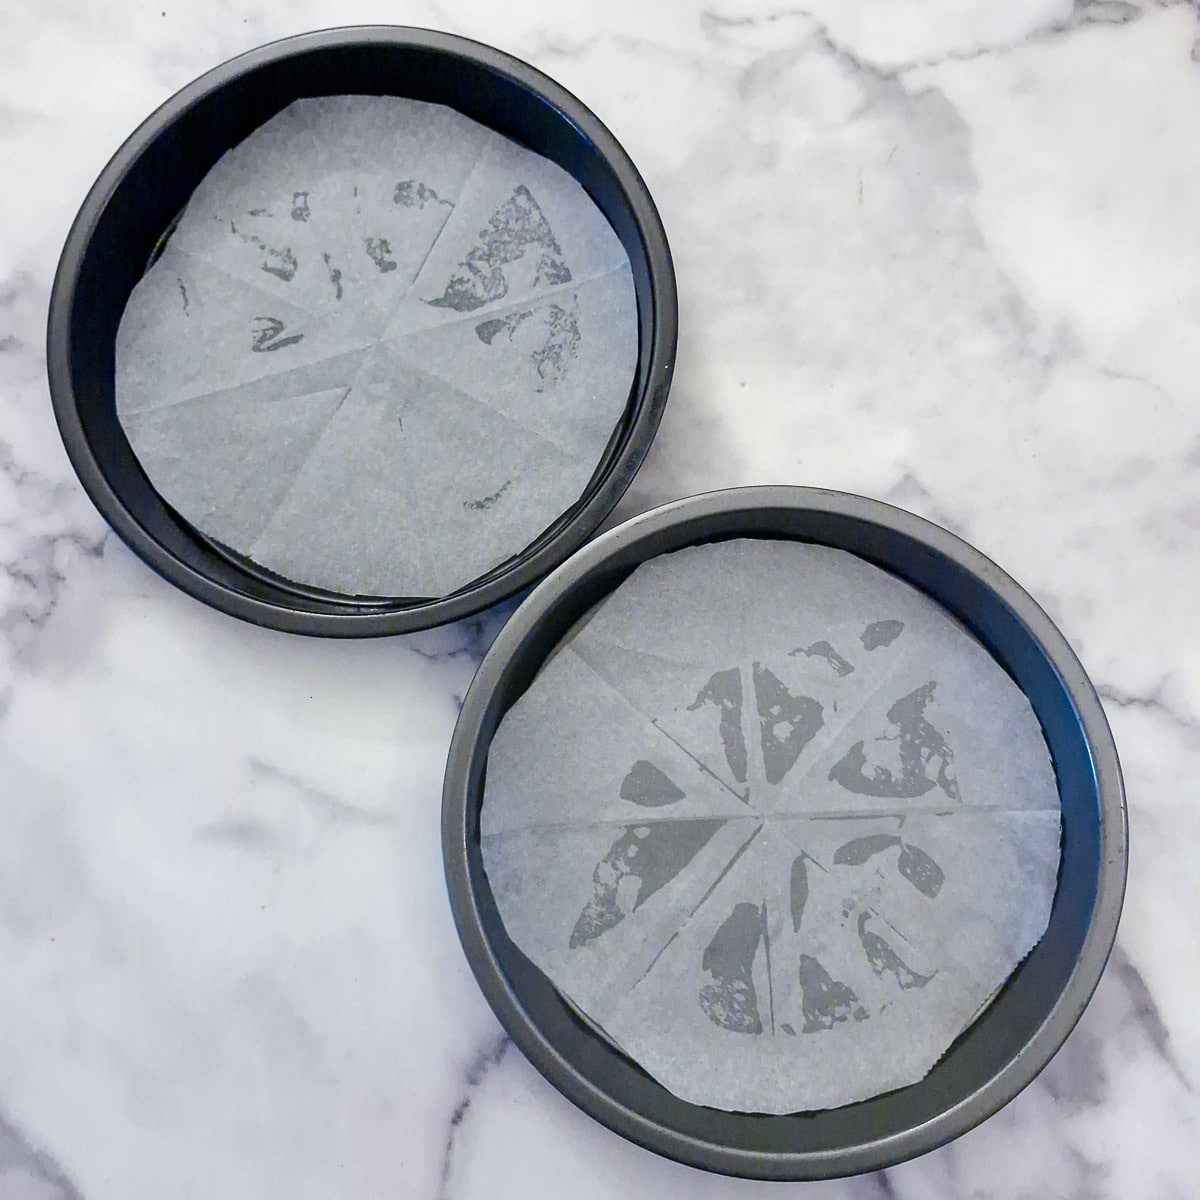
Step 2: Lightly grease 2 x 8-inch baking pans, then unfold the baking parchment and lay it on the bottom.
Make the cake batter

Step 3: Place the flour, sugar and cocoa into a mixing bowl. Optionally add salt and baking powder. Whisk lightly to combine.
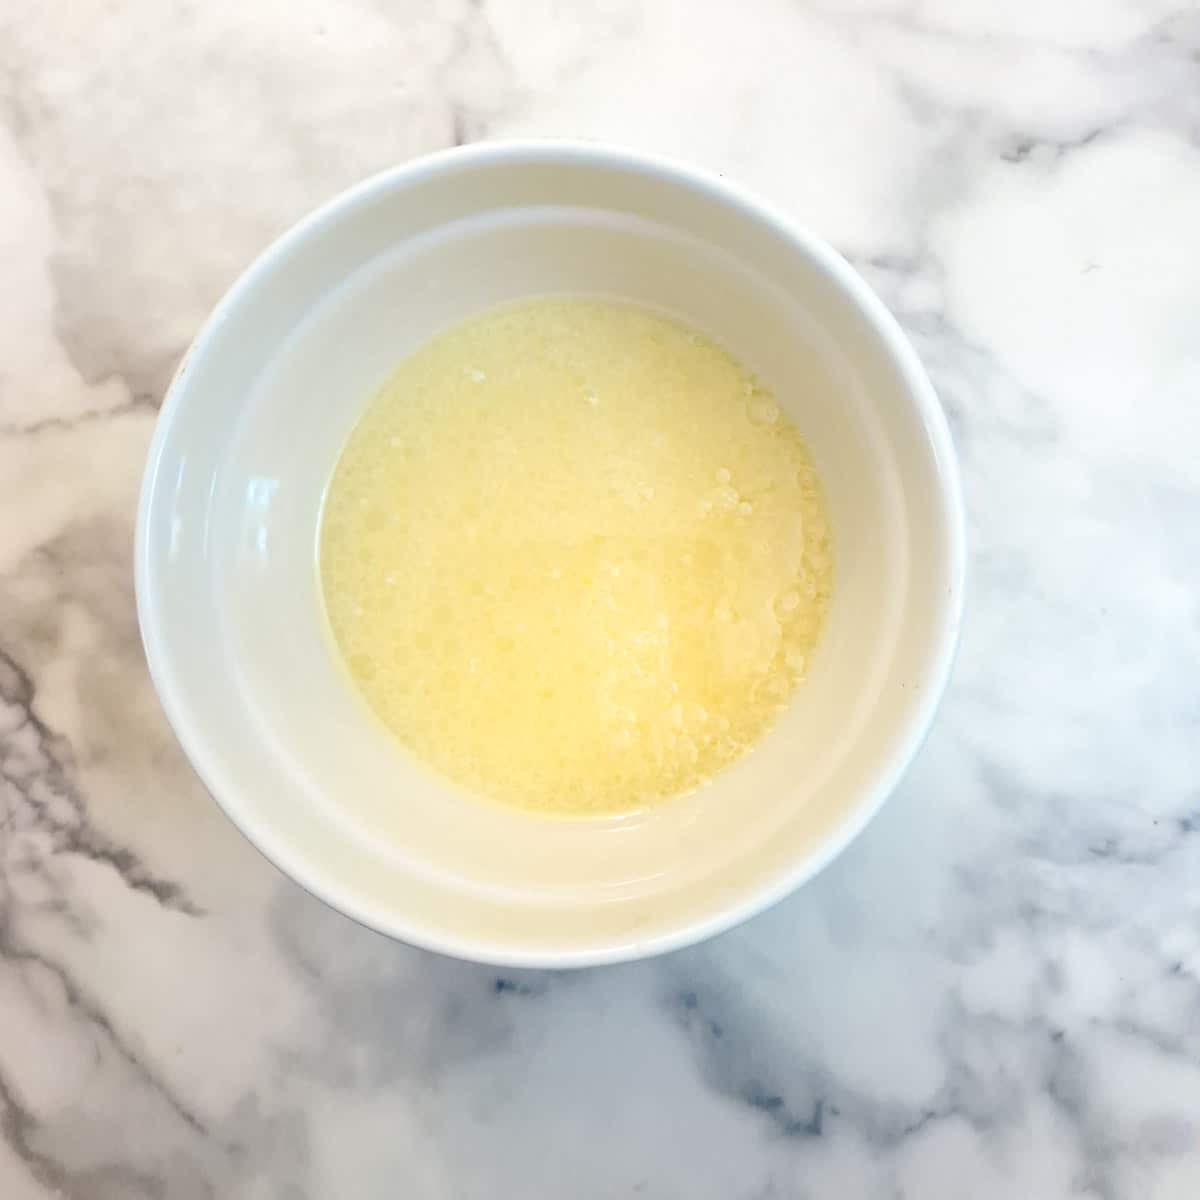
Step 4: Combine the milk, eggs, oil, melted butter and peppermint essence in a separate small bowl.
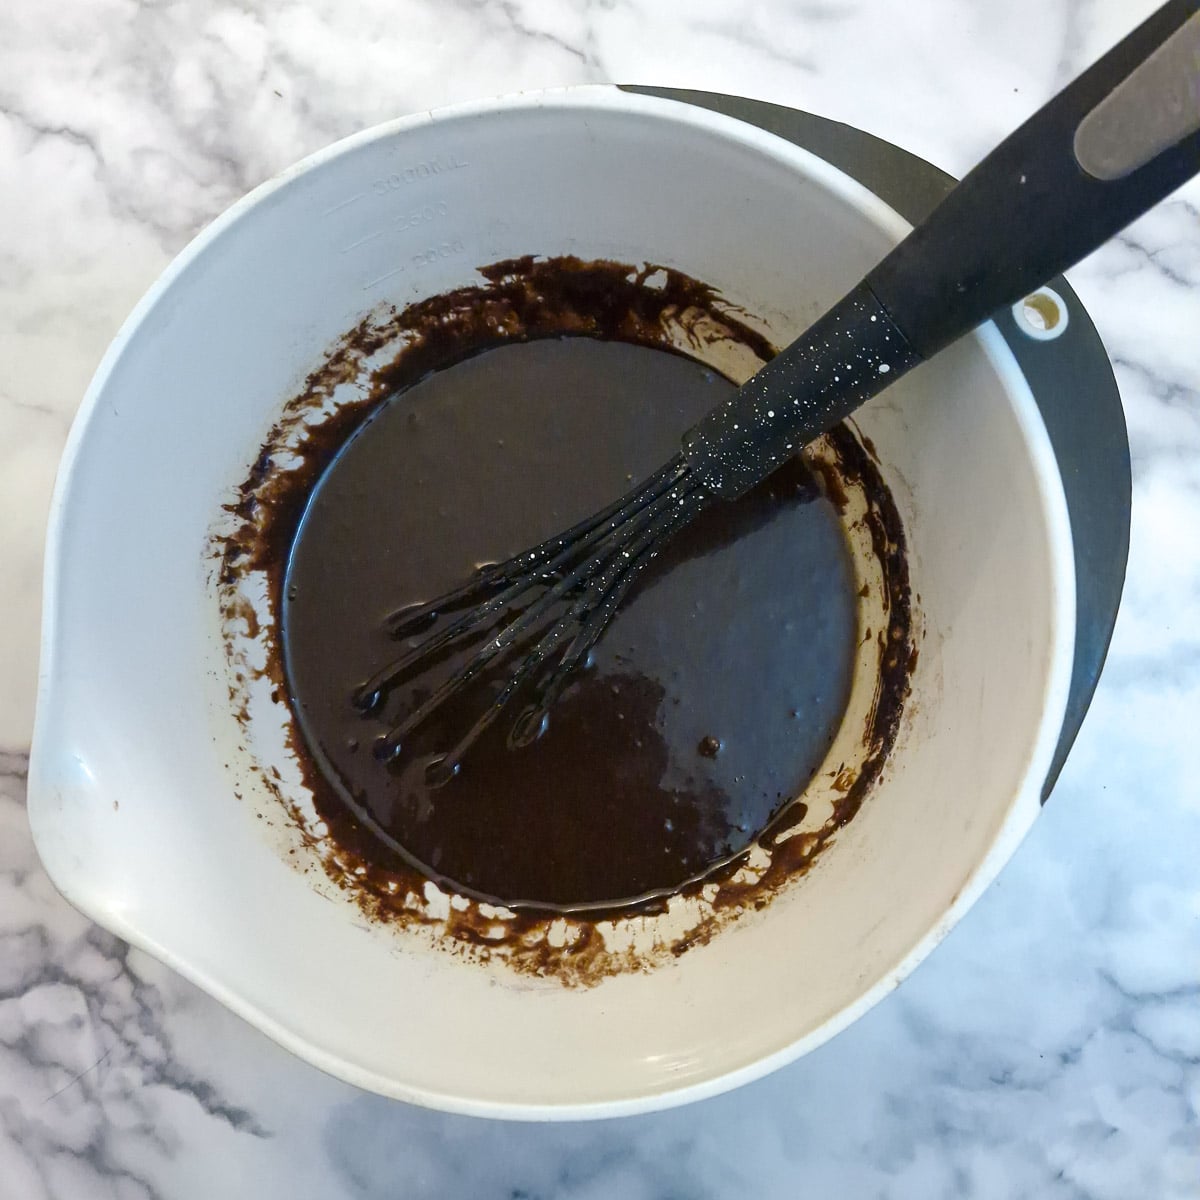
Step 5: Pour the wet ingredients into the dry ingredients and mix well until combined.
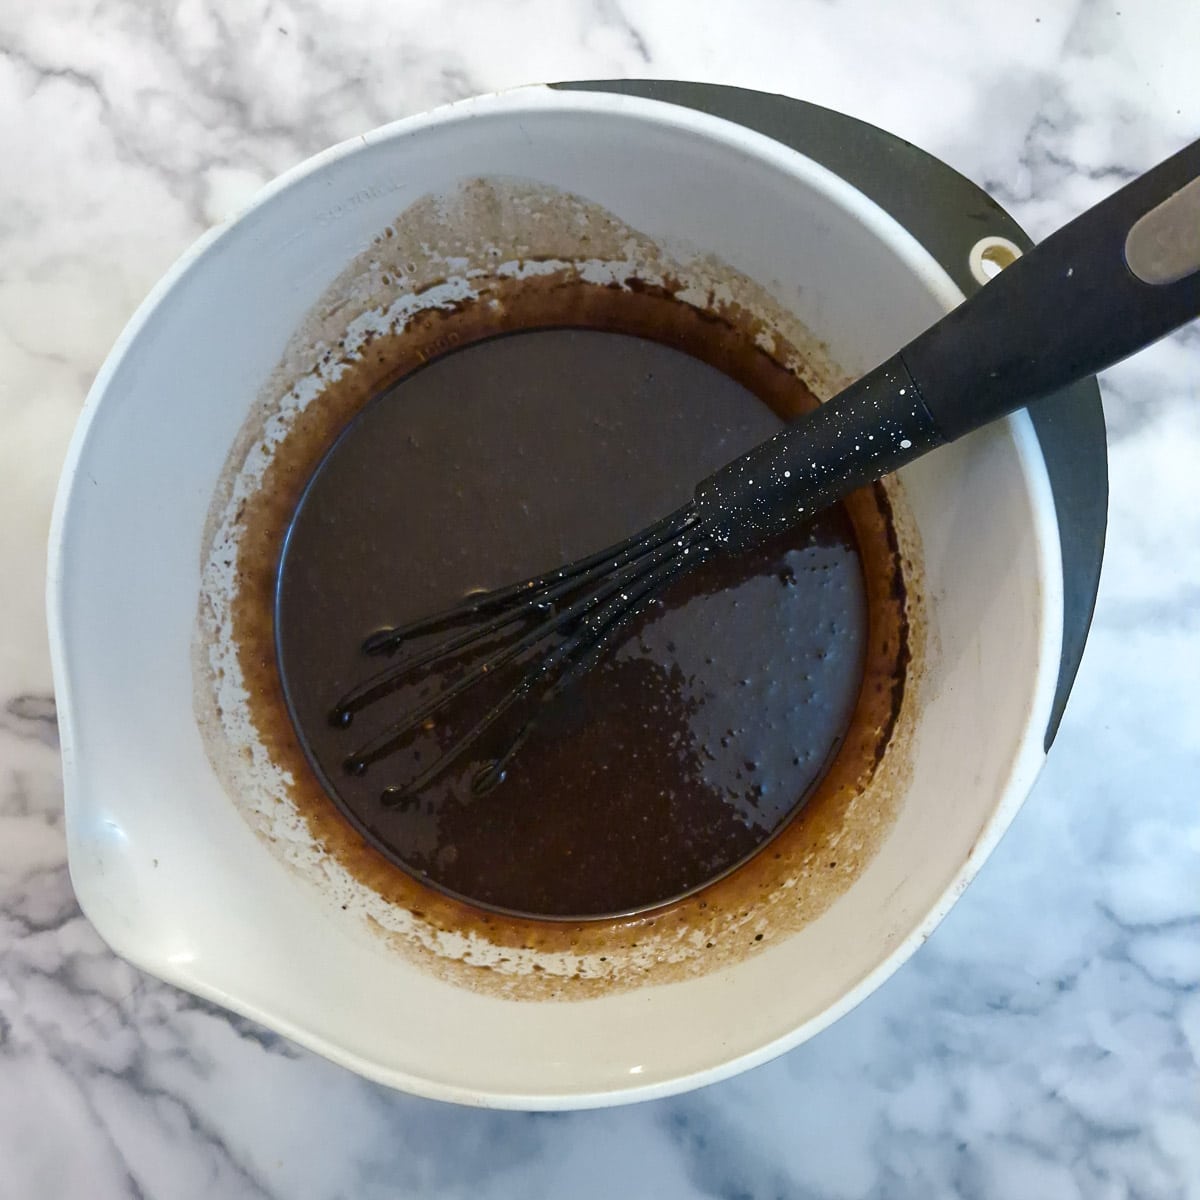
Step 6: Stir in the boiling water. The mixture will be very runny at this stage.

Step 7: Divide the mixture equally between the 2 lined pans.

Step 8: Bake in a preheated oven (165C / 330F for 25 to 30 minutes. Test the cake by inserting a toothpick into the centre - it should come out with no batter sticking to it. Start testing after 22 minutes. Remove from the oven and leave to cool.
Mix the buttercream

Step 9: Beat butter and icing sugar in a mixing bowl until well combined.
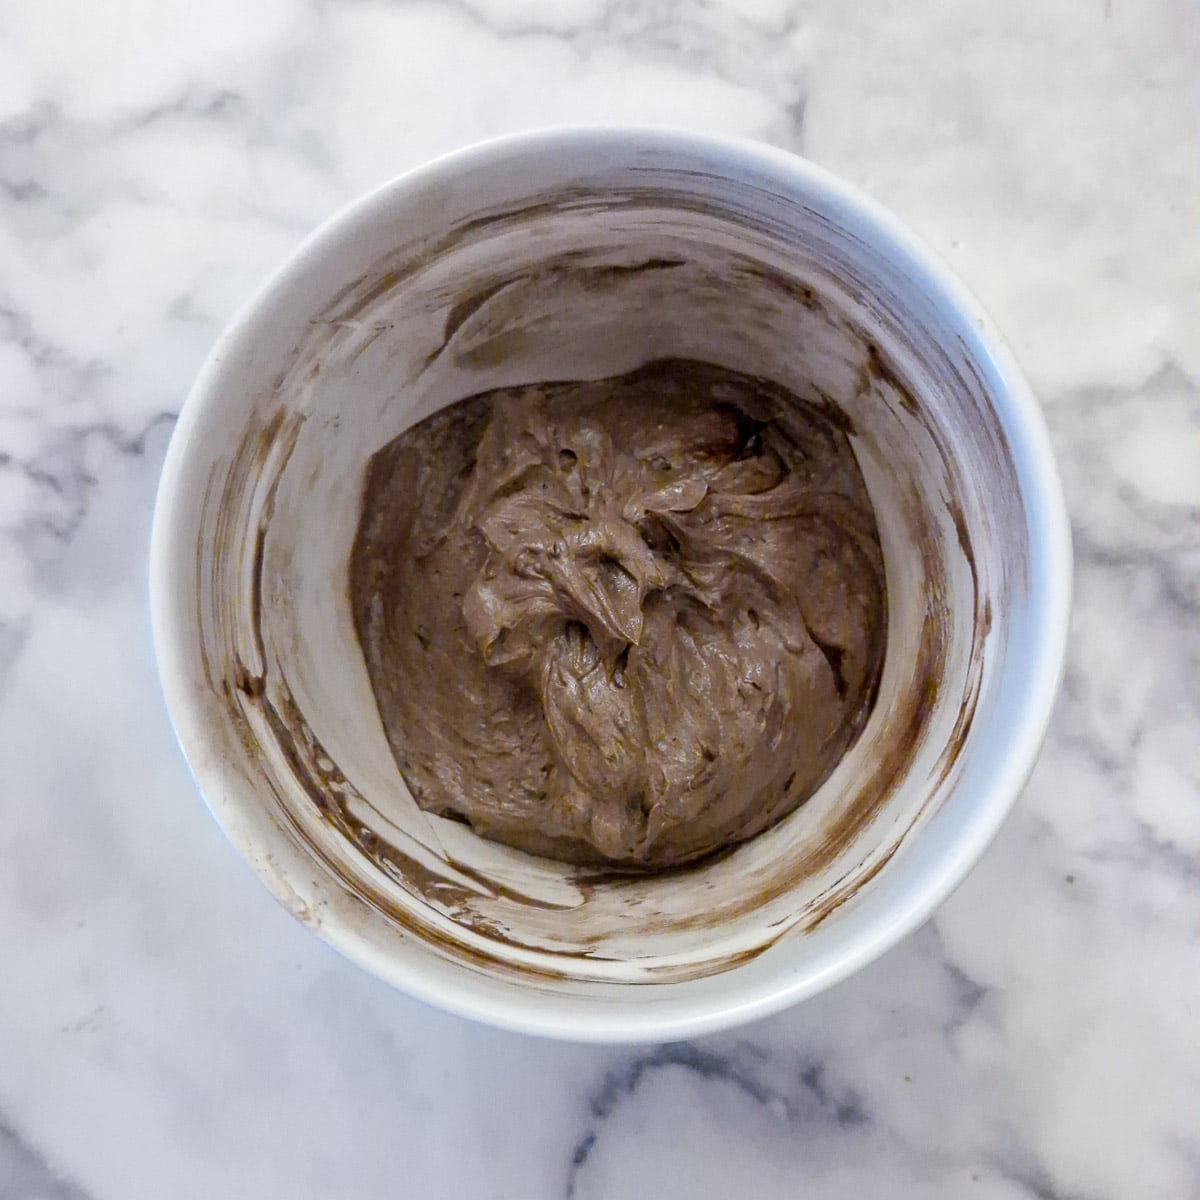
Step 10: Add the cocoa powder and peppermint essence and mix well. Add sufficient cream (or milk) to form a soft spreadable icing.
Ice the cake
Tip the cakes out of the cake pans and peel away the baking parchment.

Step 11: If the cake has risen unevenly, use a sharp knife to level the top of one of the cakes.
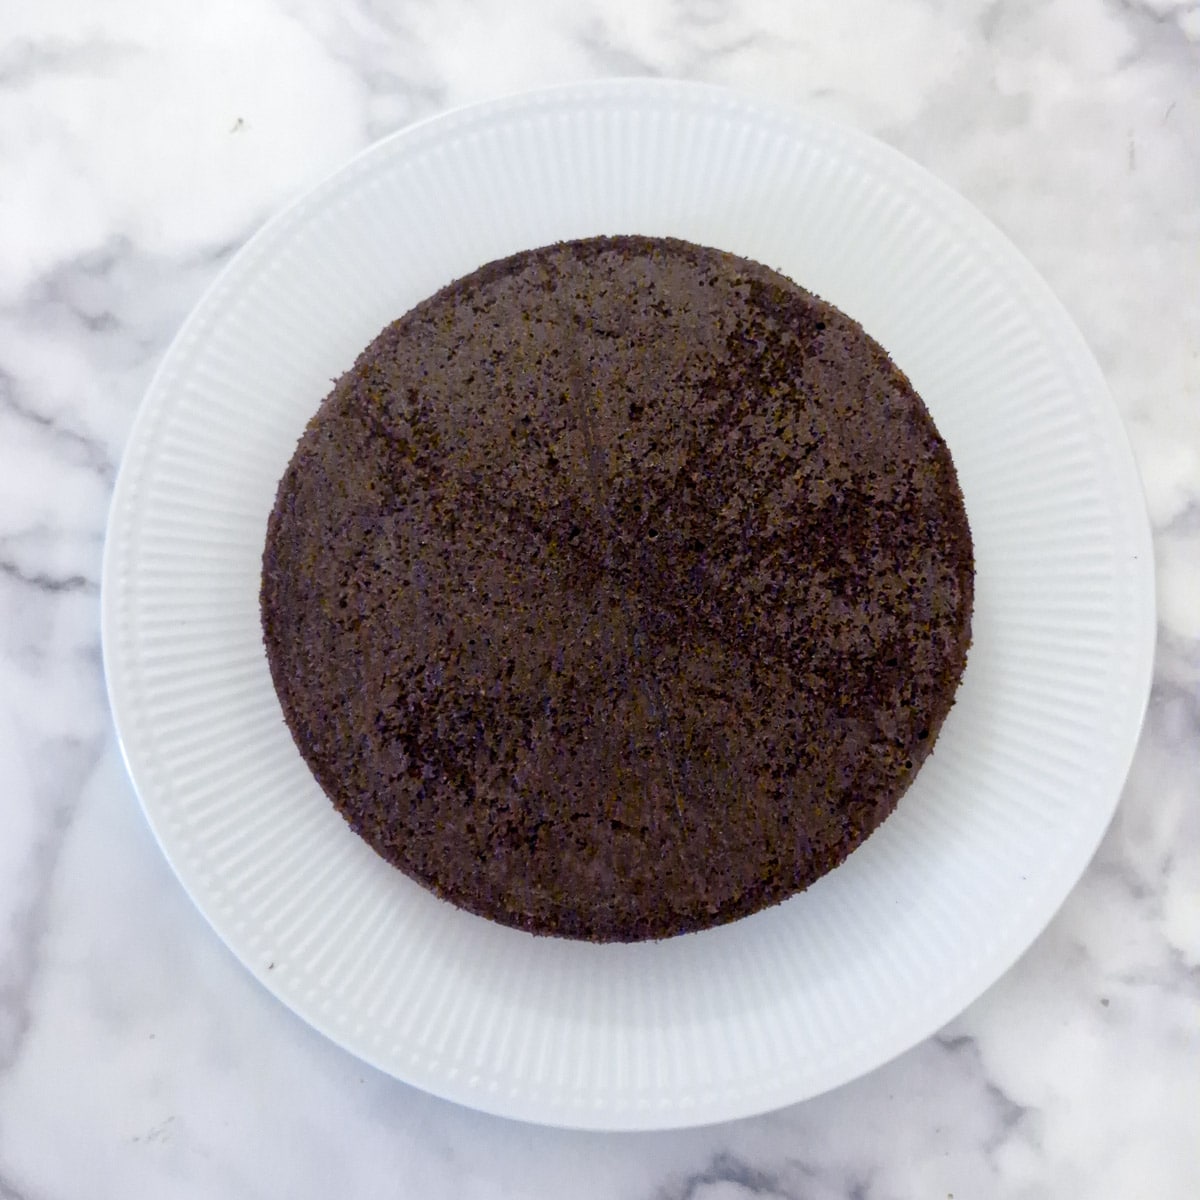
Step 12: Place the cake cut-side-down onto a plate. This will ensure it sits evenly on the plate.
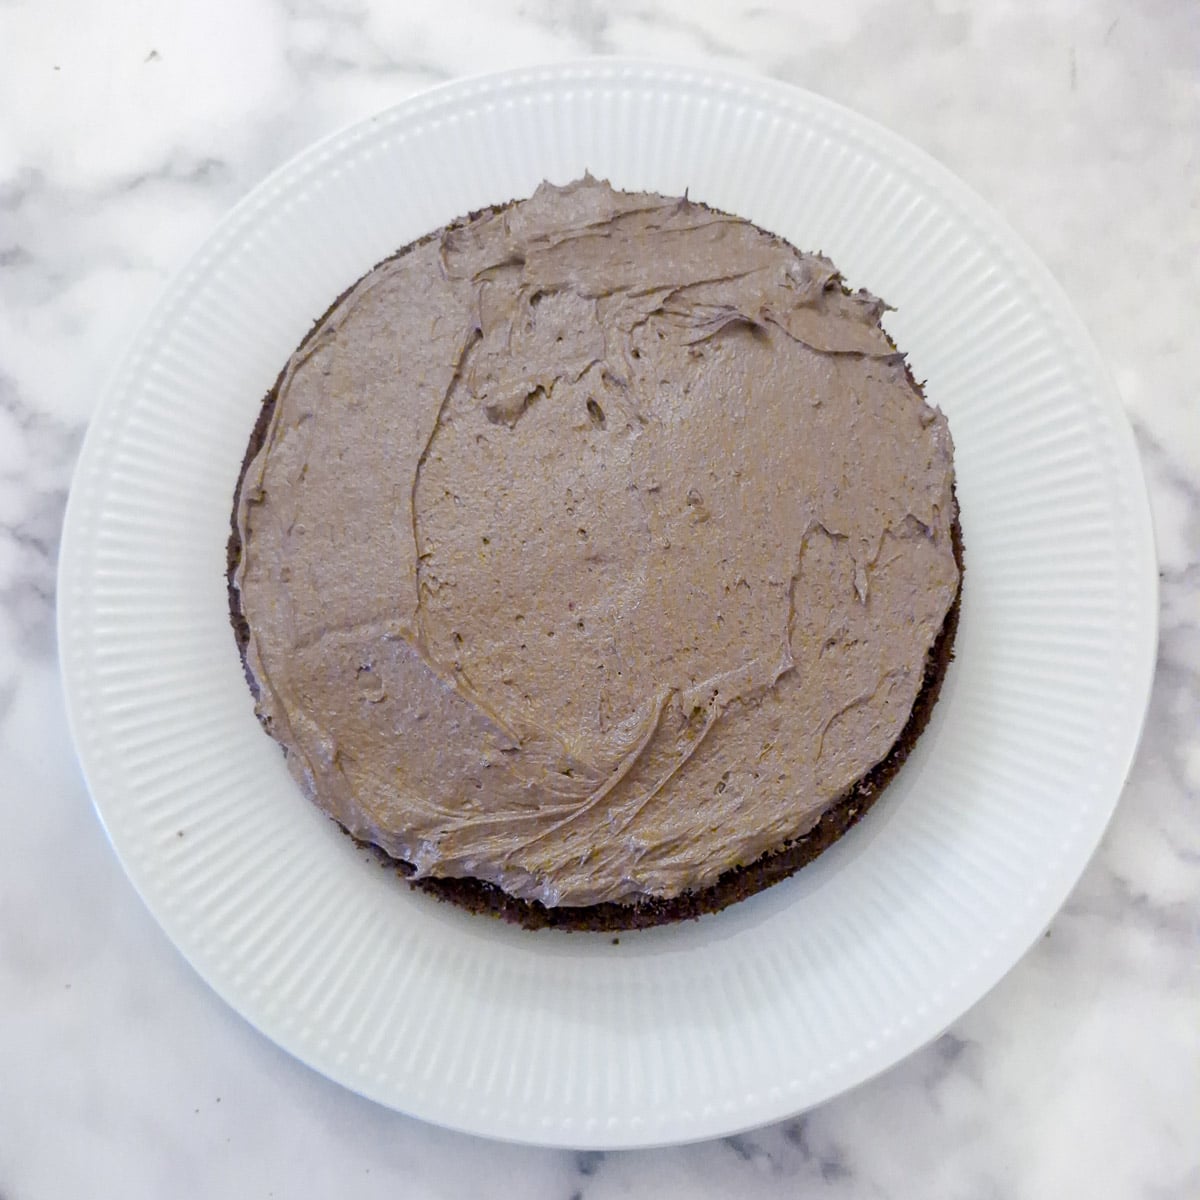
Step 13: Spread one-third of the buttercream evenly over the surface.
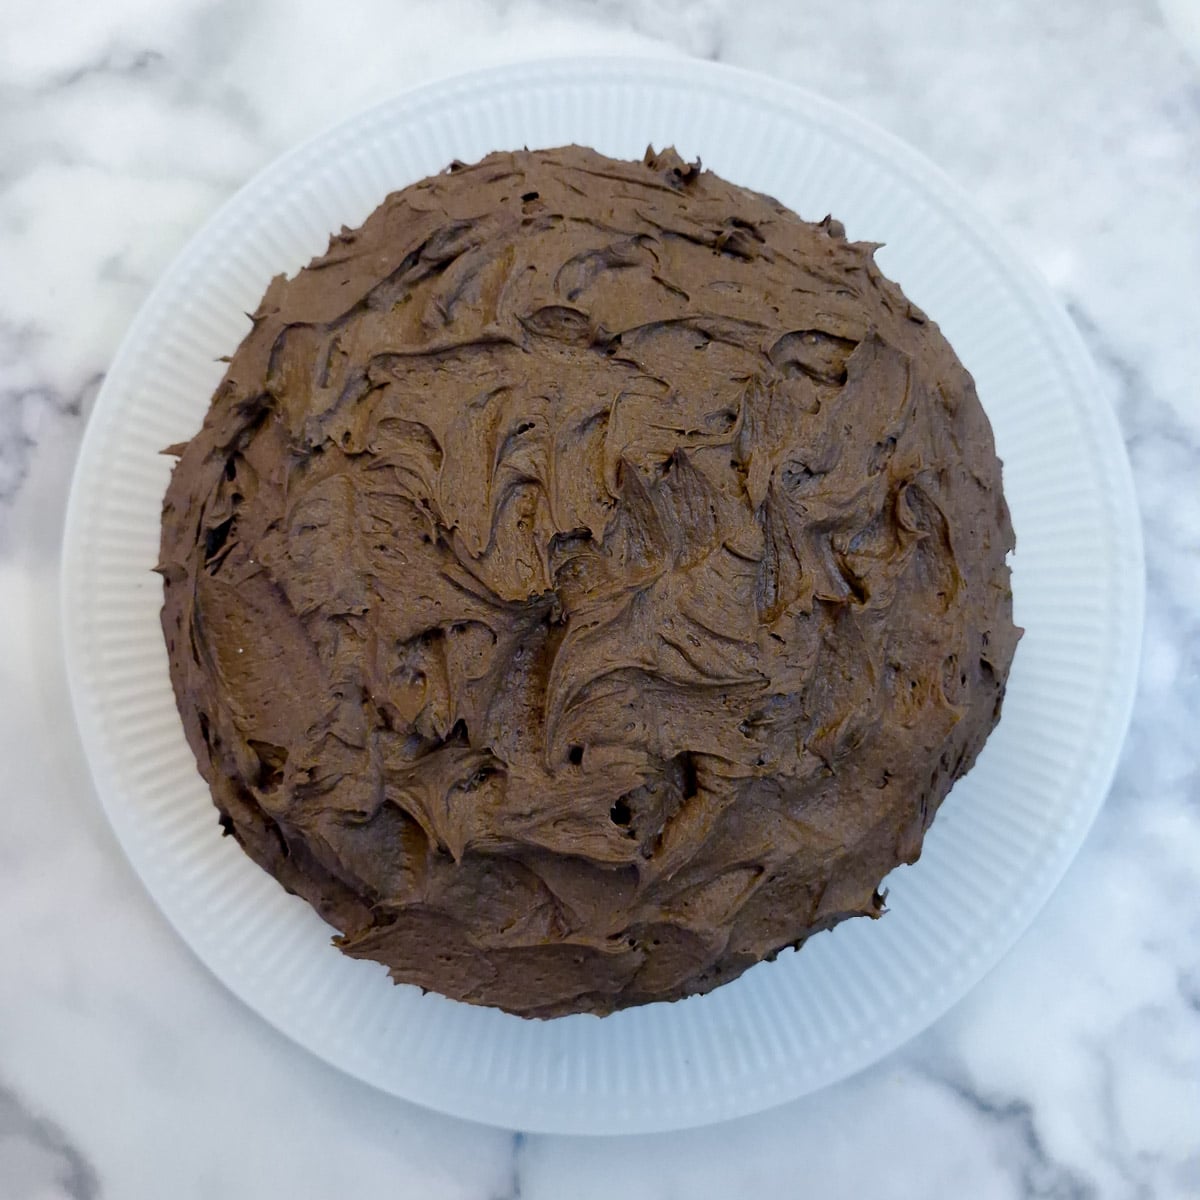
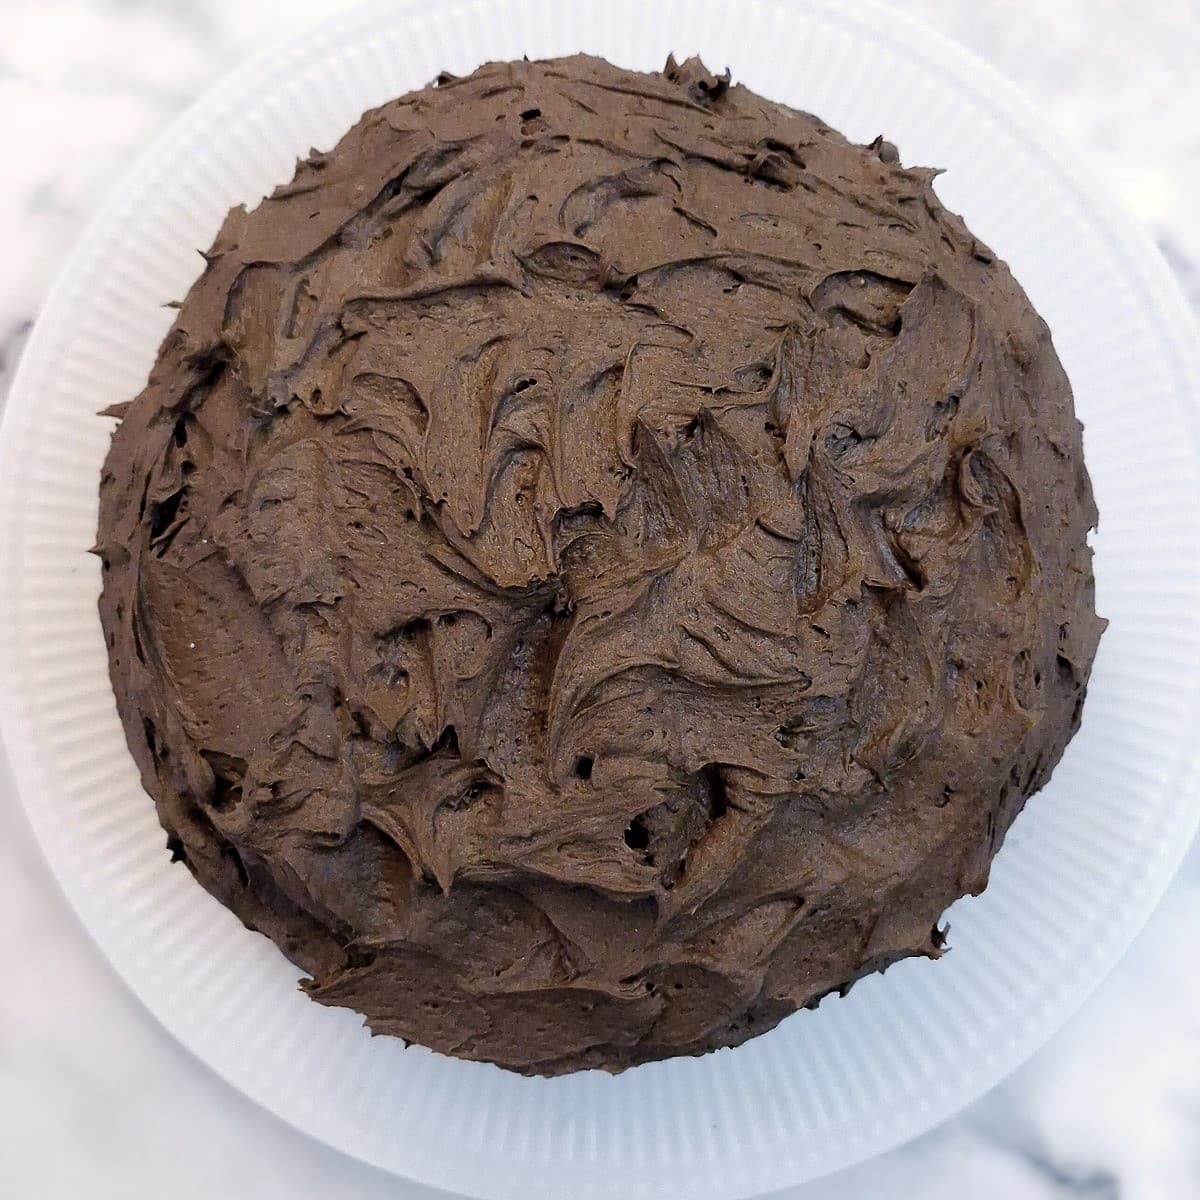
Step 14: Place the second cake on top (right side up this time) and use the remaining buttercream to cover the top and sides of the cake. Use a butter knife or palette knife to swirl the buttercream on top.
Chill in the refrigerator for half an hour to allow the buttercream to harden slightly before slicing.
Tips for a successful outcome
Here are my top tips to ensure your chocolate peppermint cake turns out perfectly every time:
- Don't overmix the batter. Fold the wet and dry ingredients together until they are just combined with no traces of flour showing.
- Boiling water is key. Adding hot water at the end helps the cocoa bloom and keeps the cake moist.
- Check baking times carefully. Overbaking can make the cake dry. 2 round 8-inch cakes will take around 25 minutes to bake, but ovens can vary. Start checking at the 20-minute mark. If you are making a traybake, the batter will be slightly deeper and consequently take longer to bake (around 30 minutes), but start checking after 25 minutes.
- Allow the cake to cool before frosting. Don't add buttercream or ganache to a warm cake - it will just melt and slide off.
- The cake batter is very runny. For this reason, avoid using springform pans, as the batter may leak out.
- Don't add too much liquid to the frosting. You need just sufficient cream or milk to form a soft spreadable mixture. Add the liquid gradually, one tablespoon at a time and mix well after each addition.
How to make chocolate ganache
If you prefer to make a traybake covered with chocolate ganache, rather than a round layer cake with buttercream, this is how to make the ganache.
Ingredients for ganache
You will need roughly equal amounts of cream and chocolate. You can use baking chocolate or a bar of Cadbury's Dairy Milk. The cream MUST be double (or heavy) cream, or the ganache will not set.
- ½ cup (120 ml) double/heavy cream
- 3 ½ ounces (100 grams) of chocolate
- 1 teaspoon peppermint essence (optional)
Instructions
- Chop the chocolate into small pieces - the smaller the better, because smaller pieces of chocolate melt more easily. Place the chocolate into a glass or metal bowl - don't use a plastic bowl.
- Warm the cream in a saucepan until it just starts to simmer (slightly below boiling point).
- Pour the cream over the pieces of chocolate and leave to stand for 2 to 3 minutes to allow the chocolate to soften.
- Stir with a spatula or spoon until the ganache is creamy. Stir in the peppermint essence if you are using it.
- Spread the ganache on top of the peppermint chocolate traybake and leave it in the refrigerator to set.
Don't forget to remove the baking parchment before covering the cake with ganache. You can replace the cake in the tray before pouring over the ganache.
Variations
Personally, I prefer the peppermint chocolate cake just as it is. However, if you do want to vary it a bit, here are a few ideas you might like to try:
- Nutty. Sprinkle chopped walnuts, pistachios or cashews on top of the buttercream or ganache for a tasty crunch.
- Chocolate chips. Fold a handful of chocolate chips into the batter before baking for extra chocolate indulgence.
- Festive topping. If you're making this cake during the festive season (or at any other time really), sprinkle a few crushed candy canes over the top.
Equipment
These are the main items of equipment you will need for making the chocolate peppermint cake:
- 3 mixing bowls. A large one to hold the dry ingredients, and a smaller one to combine the wet ingredients before they are combined with the dry. The third bowl is used to mix the buttercream.
- A balloon whisk for mixing.
- Something to bake the cake in! I used 2 x 8-inch (20 cm) round layer cake tins. This is a very runny batter, so I recommend that you don't use loose-bottomed pans - the mixture will likely leak out of the bottom. You can also bake this cake as a traybake in an 8 x 12-inch (20 x 30 cm) rectangular baking pan.
- A palette knife to help you spread the buttercream over the cake.
Storage
Unfrosted cake. If you make the cake and intend to eat it without a ganache or buttercream frosting, store the cake in an airtight container at room temperature for 3 to 4 days. After that, it will still be perfectly safe to eat, but may be a little stale.
Frosted cake (buttercream or ganache). Refrigerate (either covered with foil or in an airtight container) for up to 5 days. For the best texture, allow it to come to room temperature before serving. You can also store it in an airtight container in your kitchen for 2 days.
Top Tip
Icing sugar can become quite 'clumpy' if it's been standing in your pantry for a while. To make it easier to mix into buttercream, press it through a sieve to remove any lumps.
FAQ
Not at all, a nice substitute would be orange essence, or simply use vanilla.
Cracks are usually caused by the oven being too hot or the cake being placed too high in the oven. Next time, lower the temperature by a few degrees, and bake on the middle shelf for best results.
Underbaking - if the cake isn't fully cooked, it will sink when removed from the oven. Always check with a skewer or toothpick - it should come out clean or with a few moist crumbs - not wet batter.
Too much raising agent - this causes the cake to rise quickly and then collapse because the structure hasn't had time to firm up sufficiently to support it.
Oven temperature too low (or door opened too early) - this is probably the most common cause - don't open the oven door before at least the first ⅔ of baking time.
Save for later
If you would like to try this peppermint chocolate cake, why not save the recipe to one of your Pinterest boards so you can find it easily? Just click on the recipe below.
Alternatively, you can save the recipe by clicking on the floating heart icon on the right-hand side of the screen.
Related recipes
Visit my cake recipes page for other delicious tea-time treats. Here are a few you might enjoy:

📋The recipe
Peppermint chocolate cake
(Click the stars to rate this recipe)
Equipment
- 3 Mixing Bowls
- 2 8" (20 cm) round cake pans OR
- 1 8" x 12" (20 x 30cm) rectangular pan
- Balloon whisk
- Palette knife
Ask a Question
If you have a question about this recipe that has not been answered, please use the box below to ask it.
Use this with care. This is an AI-generated result and may contain errors or inaccuracies. I cannot be held responsible for the information returned.
Ingredients
Peppermint chocolate cake
- 1¼ cups / 175 grams self-raising flour
- 1⅓ cup / 270 grams caster sugar
- ½ cup / 60 grams unsweetened cocoa powder
- 1¼ teaspoons baking powder (only if using plain or all-pupose flour)
- ½ teaspoon salt optional
- ¾ cup / 180 ml milk
- 2 large eggs
- ½ cup / 120 ml sunflower oil
- ⅓ cup / 75 grams unsalted butter melted
- 1 teaspoon peppermint essence
- ¾ cup / 180 ml boiling water
Peppermint buttercream icing
- ½ cup / 113 grams butter at room temperature
- 2 cups icing sugar sifted
- ½ cup cocoa powder
- 1 teaspoon peppermint essence adjust to taste
- 1 - 2 tablespoons milk or cream for spreading consistency
Chocolate ganache (alternative topping for a traybake)
- ½ cup / 120 ml double or heavy cream
- 3½ ounces / 100 grams baking chocolate or Cadbury's Dairy Milk
- 1 teaspoon peppermint essence optional but recommended
Instructions
Peppermint chocolate cake
- Preheat oven to 165°C / 330°F
- Grease and line the bottom of 2 x 8-inch cake pans. Alternatively grease and line an 8" x 12" rectangular pan.
- Place the flour, sugar and cocoa into a mixing bowl. Optionally add salt and baking powder. Str lightly with a balloon whisk to combine.1¼ cups / 175 grams self-raising flour, 1¼ teaspoons baking powder (only if using plain or all-pupose flour), ½ teaspoon salt, 1⅓ cup / 270 grams caster sugar, ½ cup / 60 grams unsweetened cocoa powder
- Combine the milk, eggs, oil, melted butter and peppermint essence in a separate small bowl. Mix well.½ cup / 120 ml sunflower oil, ⅓ cup / 75 grams unsalted butter, 2 large eggs, ¾ cup / 180 ml milk, 1 teaspoon peppermint essence
- Pour the wet ingredients into the dry ingredients and mix well until combined.
- Stir in the boiling water. The mixture will be very runny at this stage.¾ cup / 180 ml boiling water
- Divide the batter evenly between the 2 prepared round cake tins, or pour it all into the rectangular pan.
- Bake in a preheated oven (165C / 330F) for 25 to 30 minutes (round cake) or 30 to 35 minutes (rectangular cake). Test the cake by inserting a toothpick into the centre - it should come out with no batter sticking to it. Start testing after 22 minutes (round cake) or 28 minutes (rectangular cake). Remove from the oven and leave to cool.
Peppermint buttercream icing
- Beat butter and icing sugar in a mixing bowl until well smooth.½ cup / 113 grams butter, 2 cups icing sugar
- Add the cocoa powder and peppermint essence and mix well. Add sufficient cream (or milk) to form a soft spreadable icing.1 teaspoon peppermint essence, 1 - 2 tablespoons milk or cream, ½ cup cocoa powder
- Sandwich the cooled cakes together with a thin layer of buttercream, then use the remainder of the buttercream to cover the top and sides of the cake.
- Chill for 10 to 15 minutes to allow the icing to set before attempting to slice.
Chocolate ganache
- Chop the chocolate into small pieces - the smaller the better, because smaller pieces of chocolate melt more easily. Place the chocolate into a glass or metal bowl - don't use a plastic bowl.3½ ounces / 100 grams baking chocolate
- Warm the cream in a saucepan until it just starts to simmer (slightly below boiling point).½ cup / 120 ml double or heavy cream
- Pour the cream over the pieces of chocolate and leave to stand for 2 to 3 minutes to allow the chocolate to soften.
- Stir with a spatula or spoon until the ganache is creamy. Stir in the peppermint essence if you are using it.1 teaspoon peppermint essence
- Remove the baking parchment before covering the cake with ganache. You can replace the cake in the tray before pouring over the ganache.
- Spread the ganache on top of the peppermint chocolate traybake and leave it in the refrigerator to set.
Notes
- Don't overmix the batter. Fold the wet and dry ingredients together until they are just combined with no traces of flour showing.
- Boiling water is key. Adding hot water at the end helps the cocoa bloom and keeps the cake moist.
- Check baking times carefully. Overbaking can make the cake dry. 2 round 8-inch cakes will take around 25 minutes to bake, but ovens can vary. Start checking at the 20-minute mark. If you are making a traybake, the batter will be slightly deeper and consequently take longer to bake (around 30 minutes), but start checking after 25 minutes.
- Allow the cake to cool before frosting. Don't add buttercream or ganache to a warm cake - it will just melt and slide off.
- The cake batter is very runny. For this reason, avoid using springform pans, as the batter may leak out.
- Don't add too much liquid to the frosting. You need just sufficient cream or milk to form a soft spreadable mixture. Add the liquid gradually, one tablespoon at a time and mix well after each addition.
- Unfrosted cake. If you make the cake and intend to eat it without a ganache or buttercream frosting, store the cake in an airtight container at room temperature for 3 to 4 days. After that, it will still be perfectly safe to eat, but may be a little stale.
- Frosted cake (buttercream or ganache). Refrigerate (either covered with foil or in an airtight container) for up to 5 days. For the best texture, allow it to come to room temperature before serving. You can also store it in an airtight container in your kitchen for 2 days.
Nutrition
I am not a nutritionist. The nutrition information has been calculated using an on-line calculator, and is intended for information and guidance purposes only. If the nutrition information is important to you, you should consider calculating it yourself, using your preferred tool.
If you made this recipe and enjoyed it, I'd love it if you could give me a star rating in the comments below. And if you'd like to get in touch, you can email me at [email protected]. I'd love to hear from you. And don't forget to subscribe to my mailing list so you can grab yourself a copy of my FREE COOKBOOK!
If you'd like to continue browsing, just click on this link to all my recipes.

Did you make this recipe? Let me know!