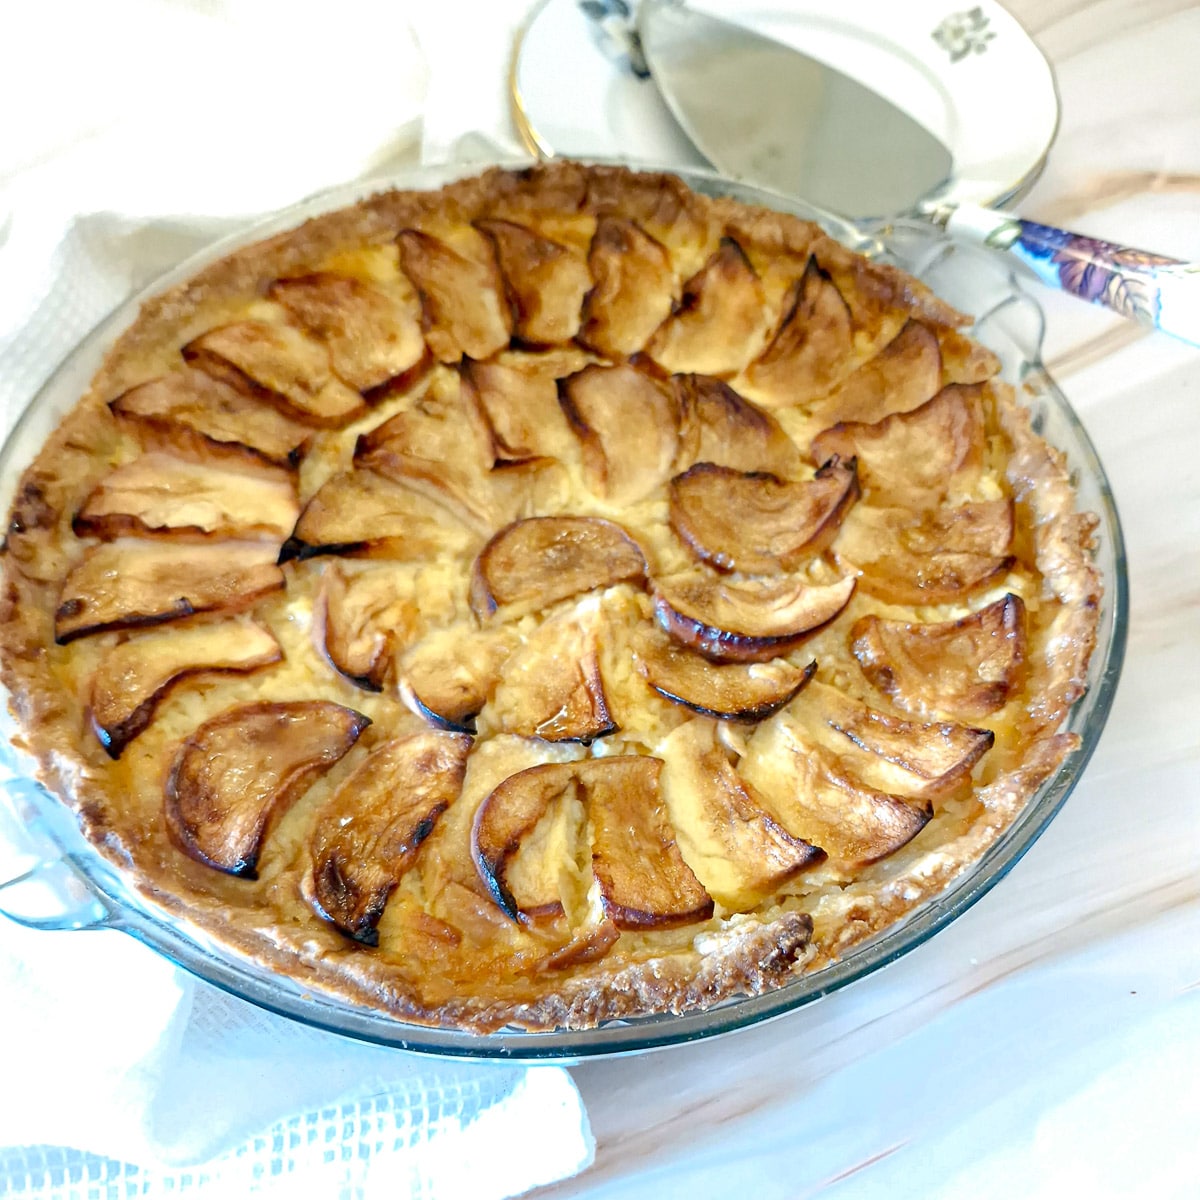
A Canterbury apple tart is a delectable dessert featuring a crispy sweet pastry shell filled with creamy lemon-flavoured custard and tender apples. Topped with neatly arranged apple slices and a sprinkling of demerara sugar, this apple tart has the perfect balance of tangy, creamy and fruity flavours.
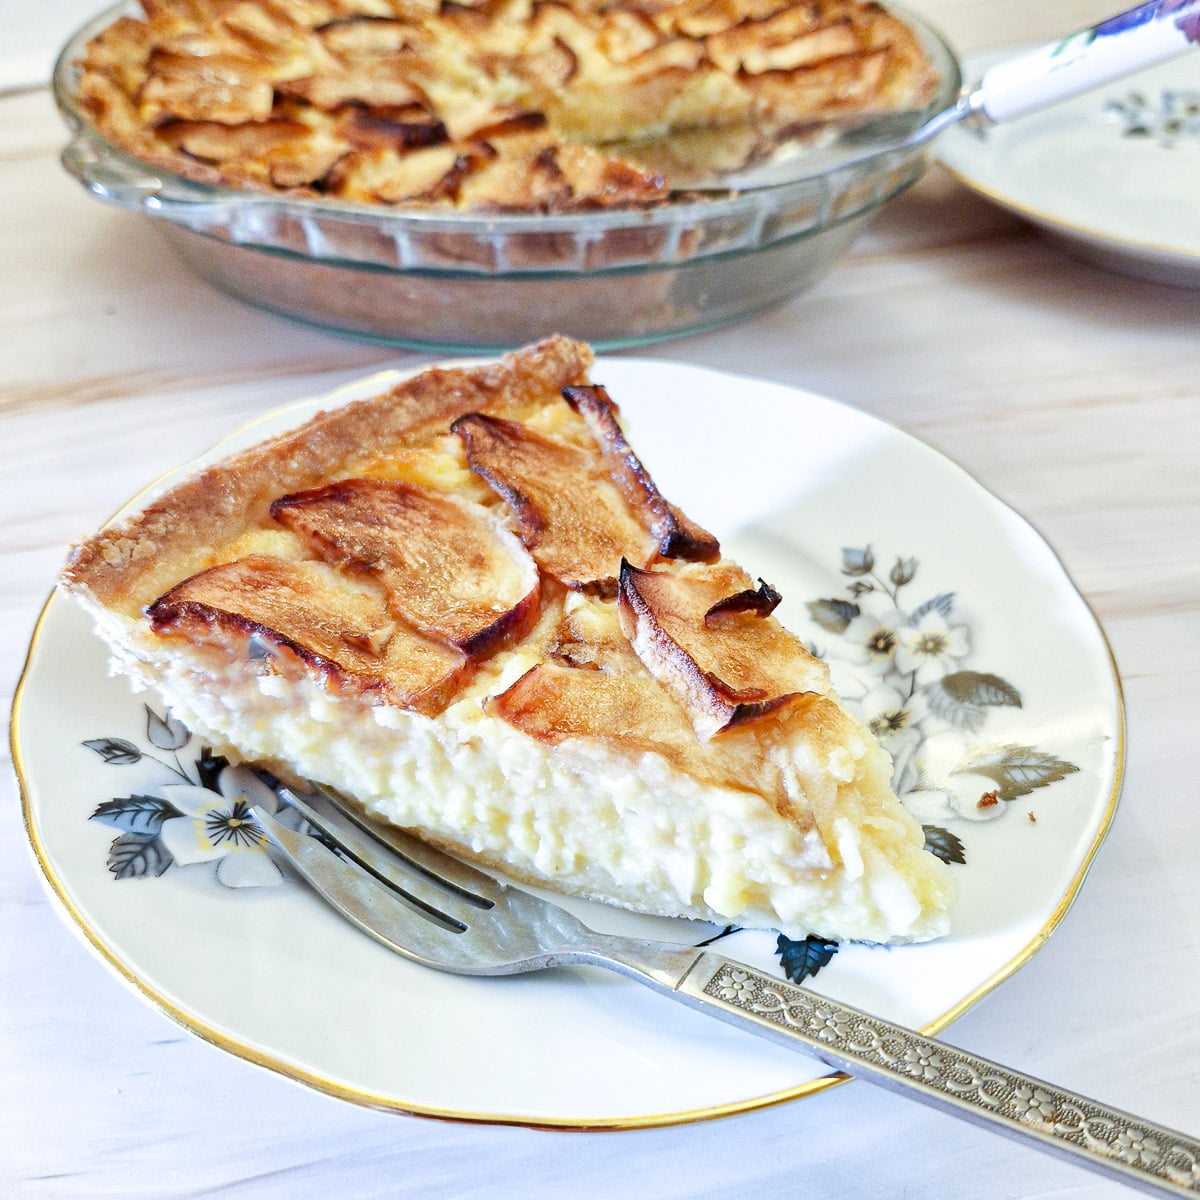
I wish I could tell you that this amazing apple tart was my own creation, but unfortunately, I can't! Legend has it that the original version of Canterbury Tart was inspired by the mention of apple pie that first appeared in Chaucer's Canterbury Tales. Of course, the recipe has evolved somewhat over the last 900 years or so, and I've based my tart on Mary Berry's version which you can find here - Mary Berry's Canterbury apple tart.
This Canterbury tart is absolutely delicious. It's one of those old recipes that have been handed down over the generations. It has a creamy sweet yet tangy taste all at the same time and is perfect for serving as a dessert or simply enjoying as a tea-time treat.
The pastry is light and crispy, with a hint of sweetness thanks to the addition of a small amount of icing sugar.
But I think the filling is the star of the show. It's made with eggs, sugar and butter combined with lemon juice and grated apples, which sets to a soft custardy consistency as the tart bakes.
It's all topped with a layer of sliced apples lightly dusted with demerara sugar which caramelises lightly in the oven, adding an extra depth of taste.
This is a very sweet tart - there is an entire cup of sugar in the filling which will be perfect if you use tart/sour apples. If you are using sweeter apples you may want to cut the sugar down to three-quarters of a cup.
I've made one or two other minor changes to Mary's recipe which I'll mention further down, but overall it stays true to the original. After all - you can't improve on perfection!
Even my dessert-hating husband loves this Canterbury tart - I hope you do too!
Jump to:
Word of warning!
This is a sweet tart, with lots of calories. So if you are on a diet maybe this tart is not for you!
However, sometimes a little indulgence is not a bad thing!
Ingredients
This makes one 10" / 25cm round tart. Mary suggests using an 11" / 28cm dish but I found the 10" size was perfect. This is quite a deep tart so make sure your dish is at least 1.5" / 4cm deep.
Pastry
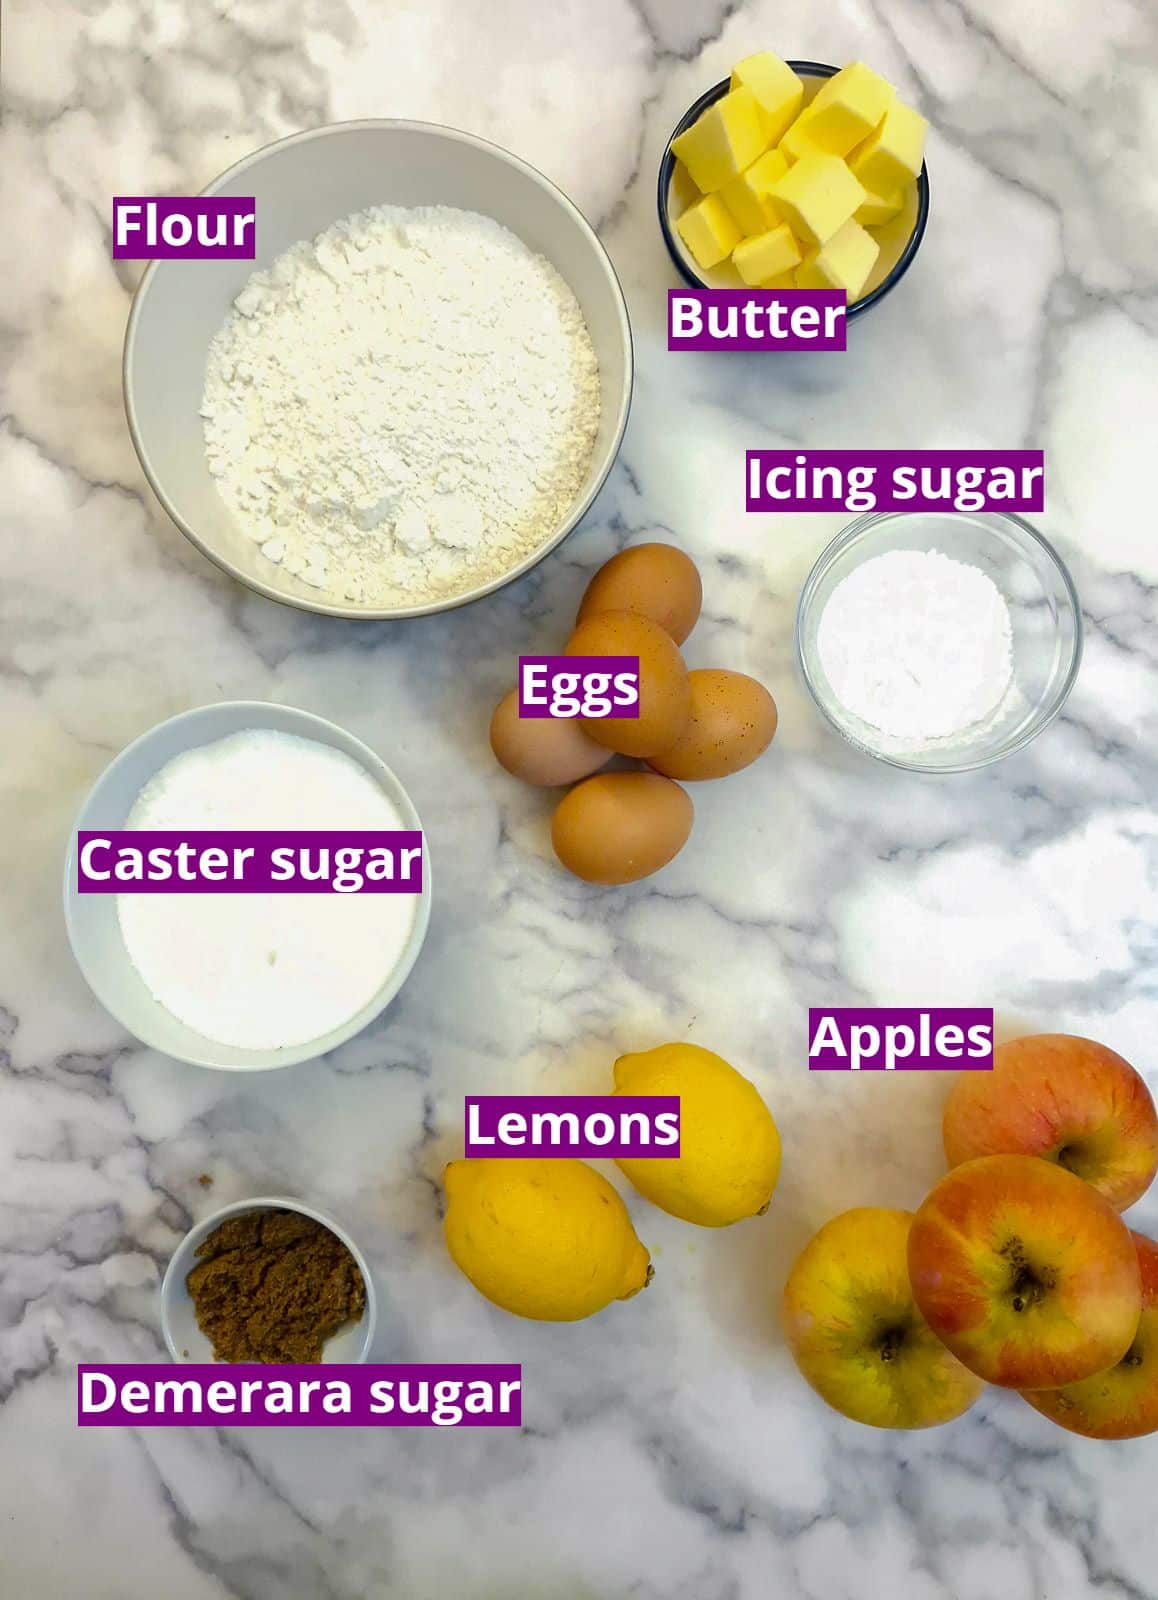
The tart is made with normal shortcrust pastry which has been given a little sweetness by the addition of icing sugar (or powdered sugar). If you don't want to make your own pastry you can use a roll of shop-bought shortcrust pastry. It won't have the sweetness, but it will still be fine.
- Flour - this is plain or all-purpose flour (cake flour to South Africans). Don't use self-raising flour - we don't want the pastry to rise.
- Butter - I tend to use unsalted butter when I'm baking, but there's no additional salt in this pastry so salted will be fine too.
- Icing sugar - you mak know this as powdered sugar - adds a little sweetness.
- Egg - Mary didn't specify the size of the egg. I used a medium-sized egg which weighed 58 grams (or 2 ounces). I found this wasn't enough to bind the pastry so I added 2 tablespoons of cold water in addition.
Filling and topping
- Caster sugar - use caster sugar if possible because this dissolves more easily. You can use granulated sugar but you will have to beat the filling a little longer to dissolve the sugar.
- Eggs - once again, I used medium-sized eggs.
- Butter - unsalted butter if possible. This should be melted.
- Lemons - Mary uses both the zest and the juice. I don't like lemon zest so I left it out. Also, Mary says the juice of 2 lemons so this can vary depending on the size and how juicy your lemons are. You will need one-quarter of a cup (60 ml) of lemon juice.
- Apples - you will need apples both for the filling and for the topping. Mary uses 2 different types of apples - Bramley for the filling and dessert apples for the topping. I only had dessert apples and they were fine. 2 of the apples are grated and mixed with the filling. The other 2 are thinly sliced and arranged on top of the tart. Also, Mary specifies 2 apples for the topping - I found I needed an extra one. I think it depends on the size of your apples and how thickly you slice them.
- Demerara sugar - when I came to make this recipe I realised I'd run out of demerara sugar so I used dark brown sugar and it was fine. You only need a small amount to sprinkle on top of the apples.
**You can find the exact ingredient measurements on the printable recipe card at the end of this post**
Instructions
The pastry
You can make this pastry by hand or in a food processor.
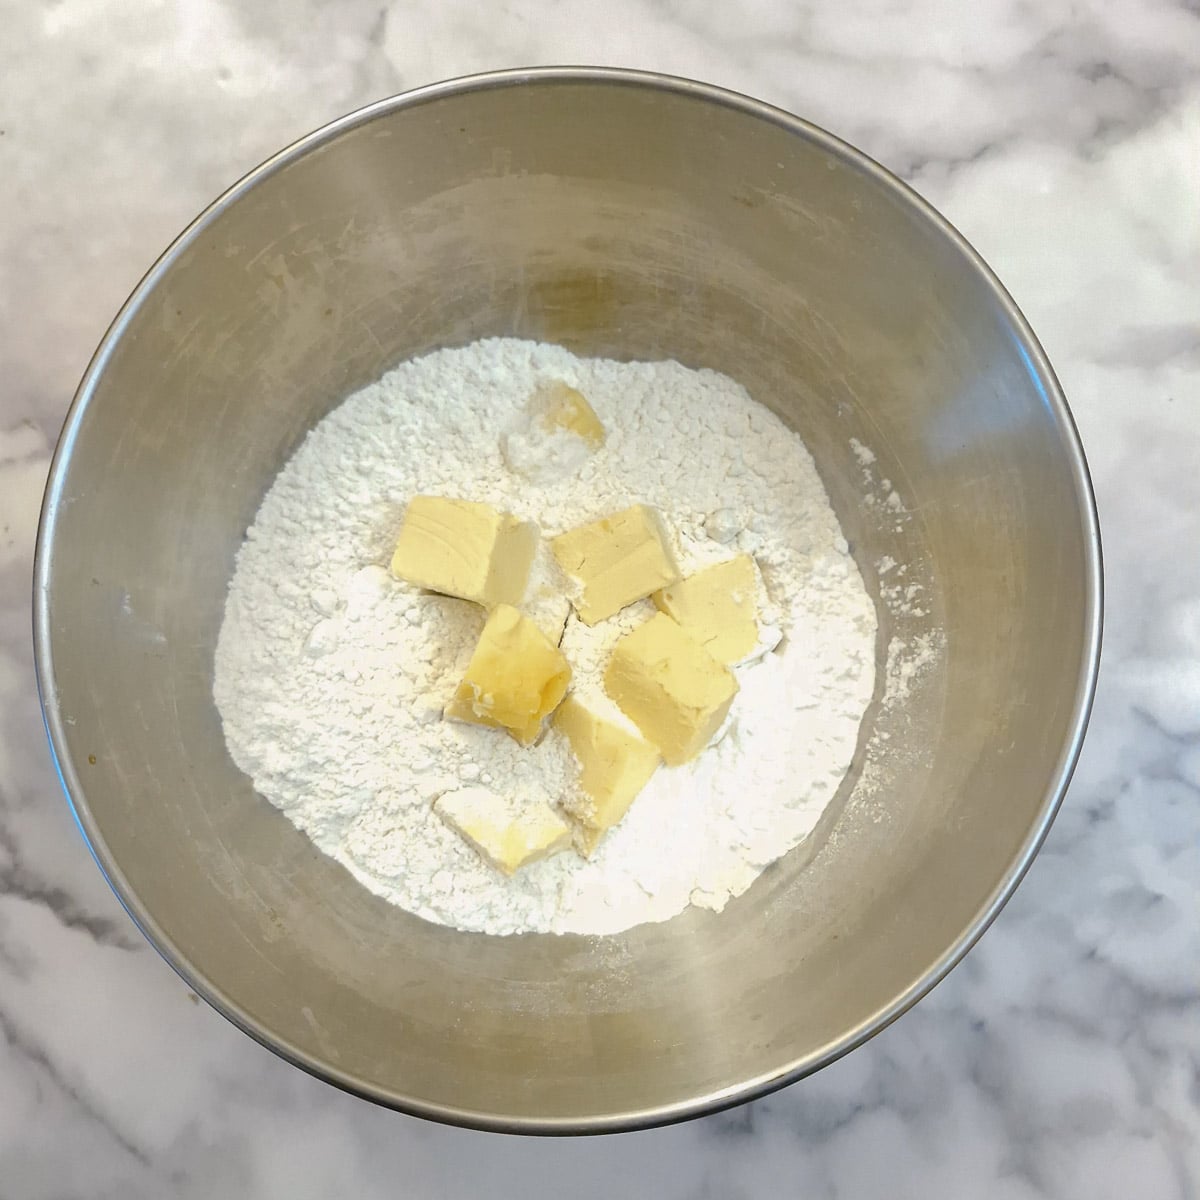
Step 1: Cut the butter into smallish cubes and place it with the flour and icing sugar into a mixing bowl.

Step 2: Rub the butter into the flour until it resembles fine breadcrumbs, then add the egg.
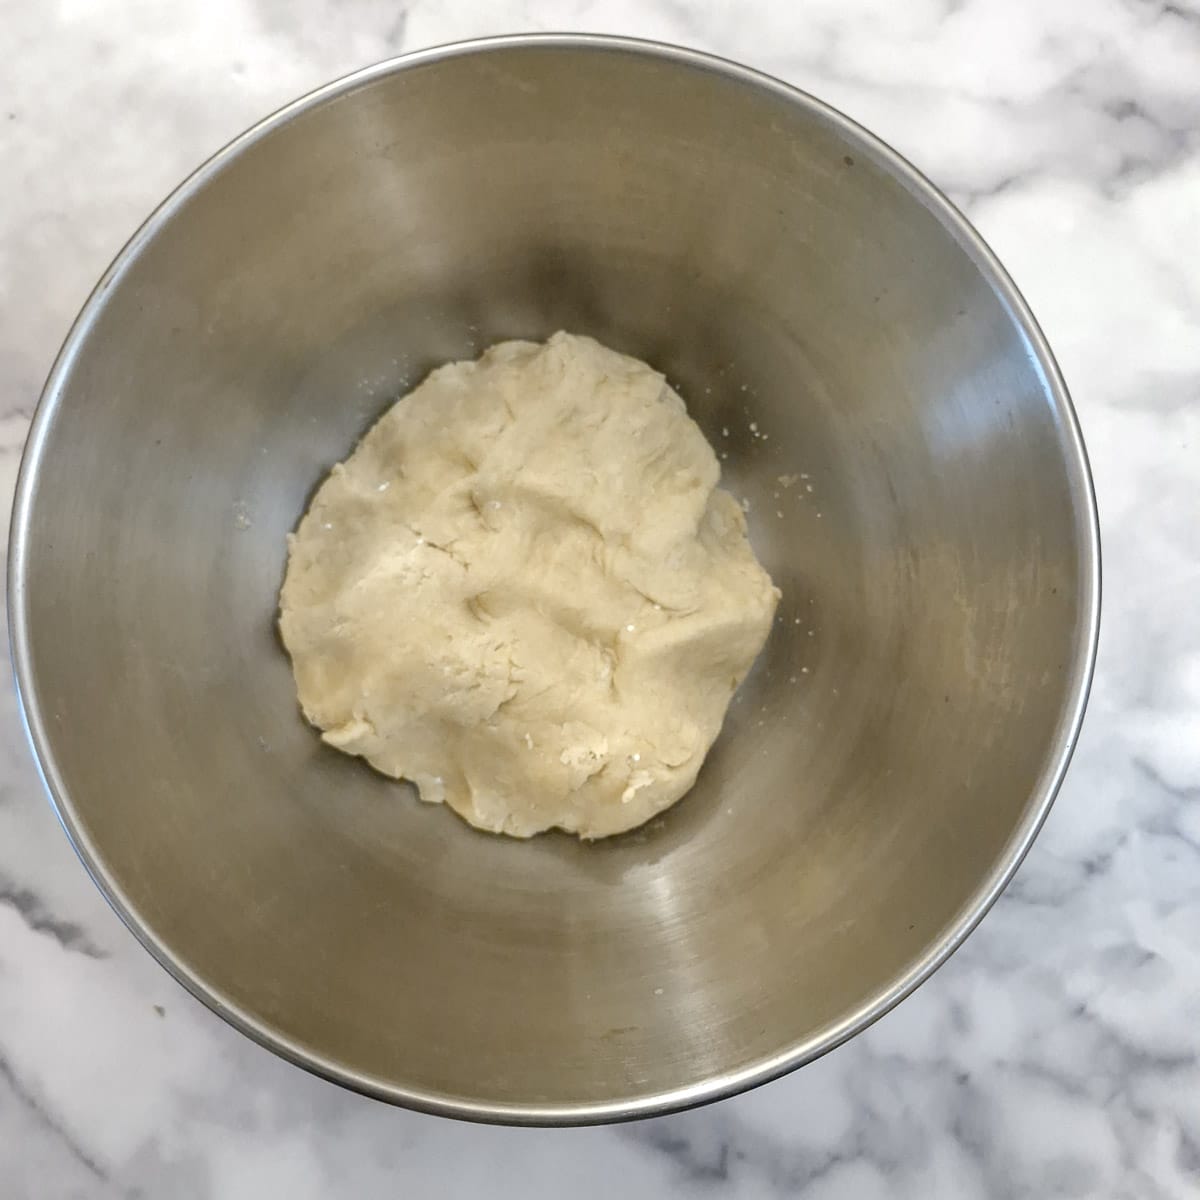
Step 3: Mix the egg into the flour/butter mixture until it comes together in a soft ball. Add water one tablespoon at a time if the pastry seems too dry. Cover the pastry with plastic wrap and leave it in the refrigerator for 30 minutes to rest.
The filling
For mixing the filling you will need either an electric hand blender or a balloon whisk.
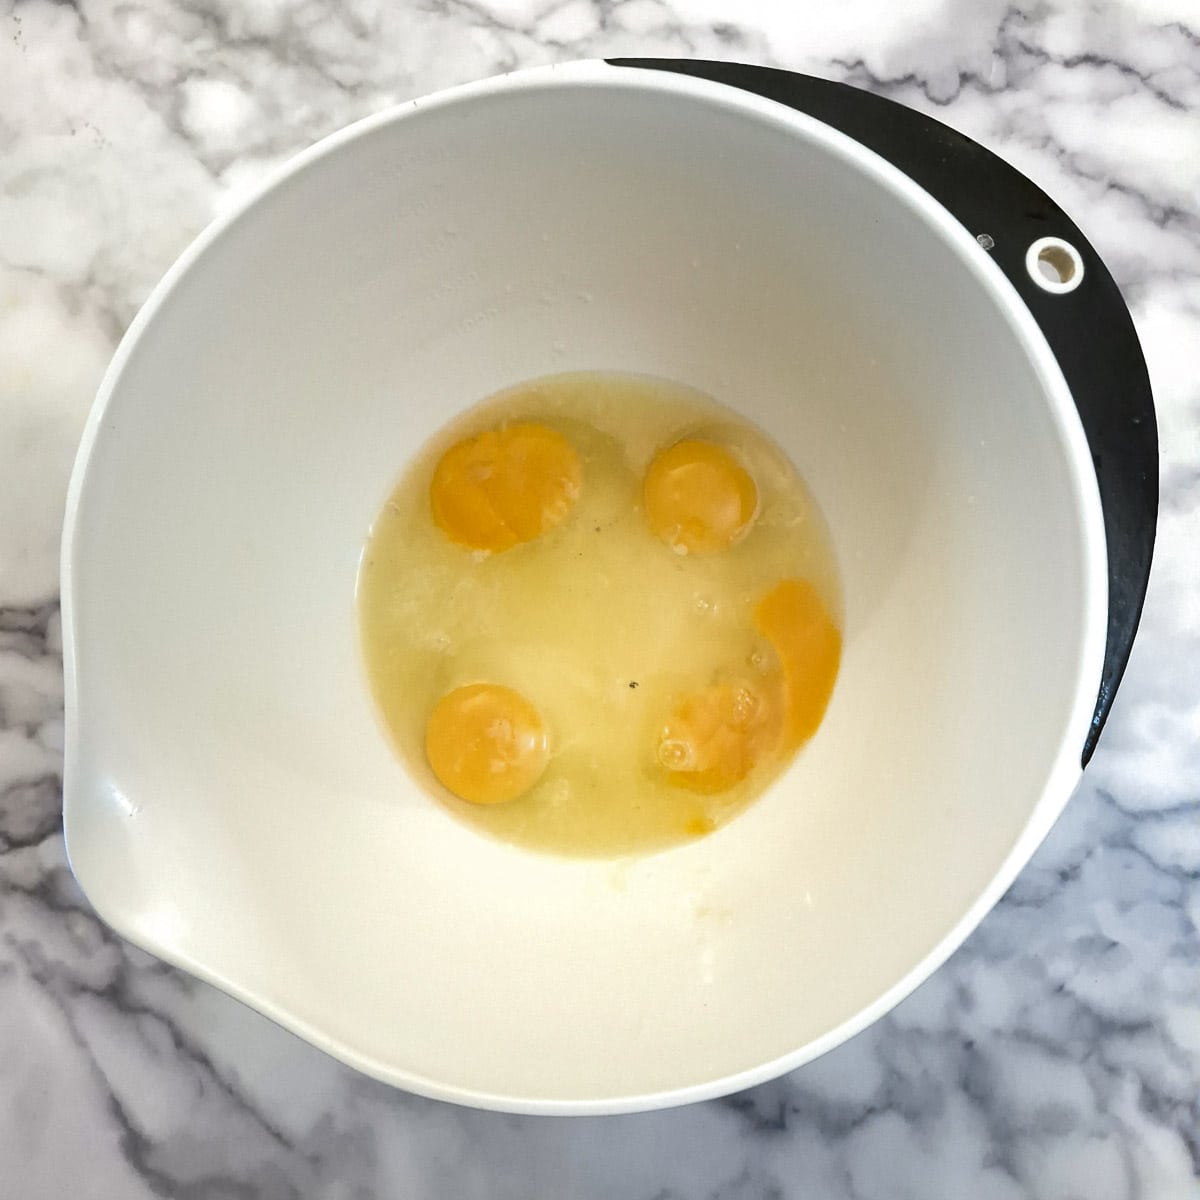
Step 4: Place the caster sugar, lemon juice and eggs into a mixing bowl.
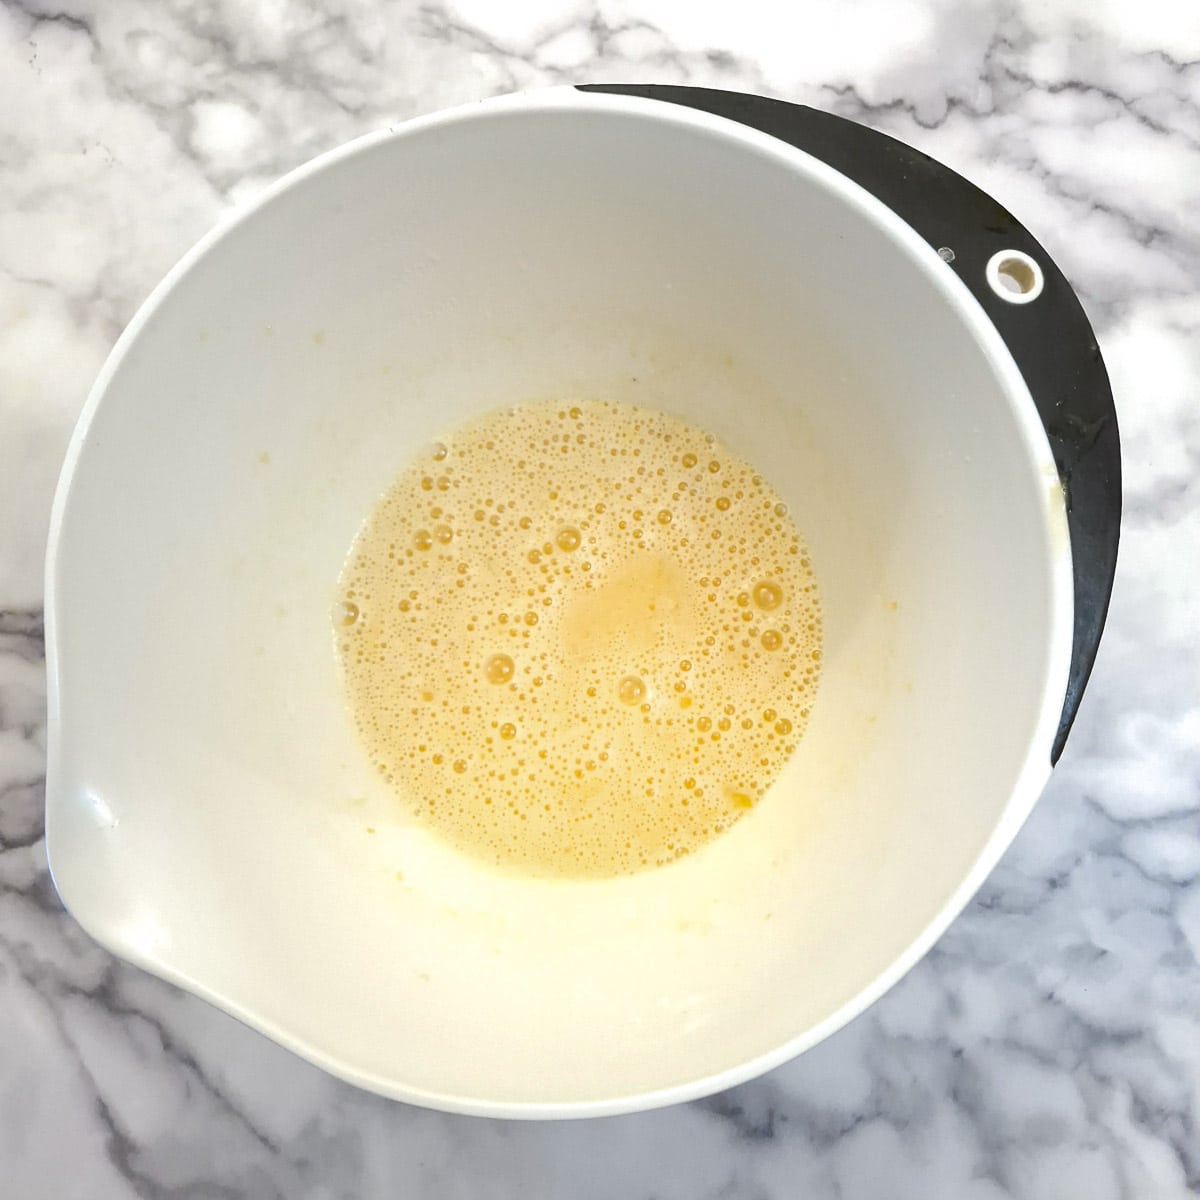
Step 5: Beat the mixture until the sugar has dissolved.
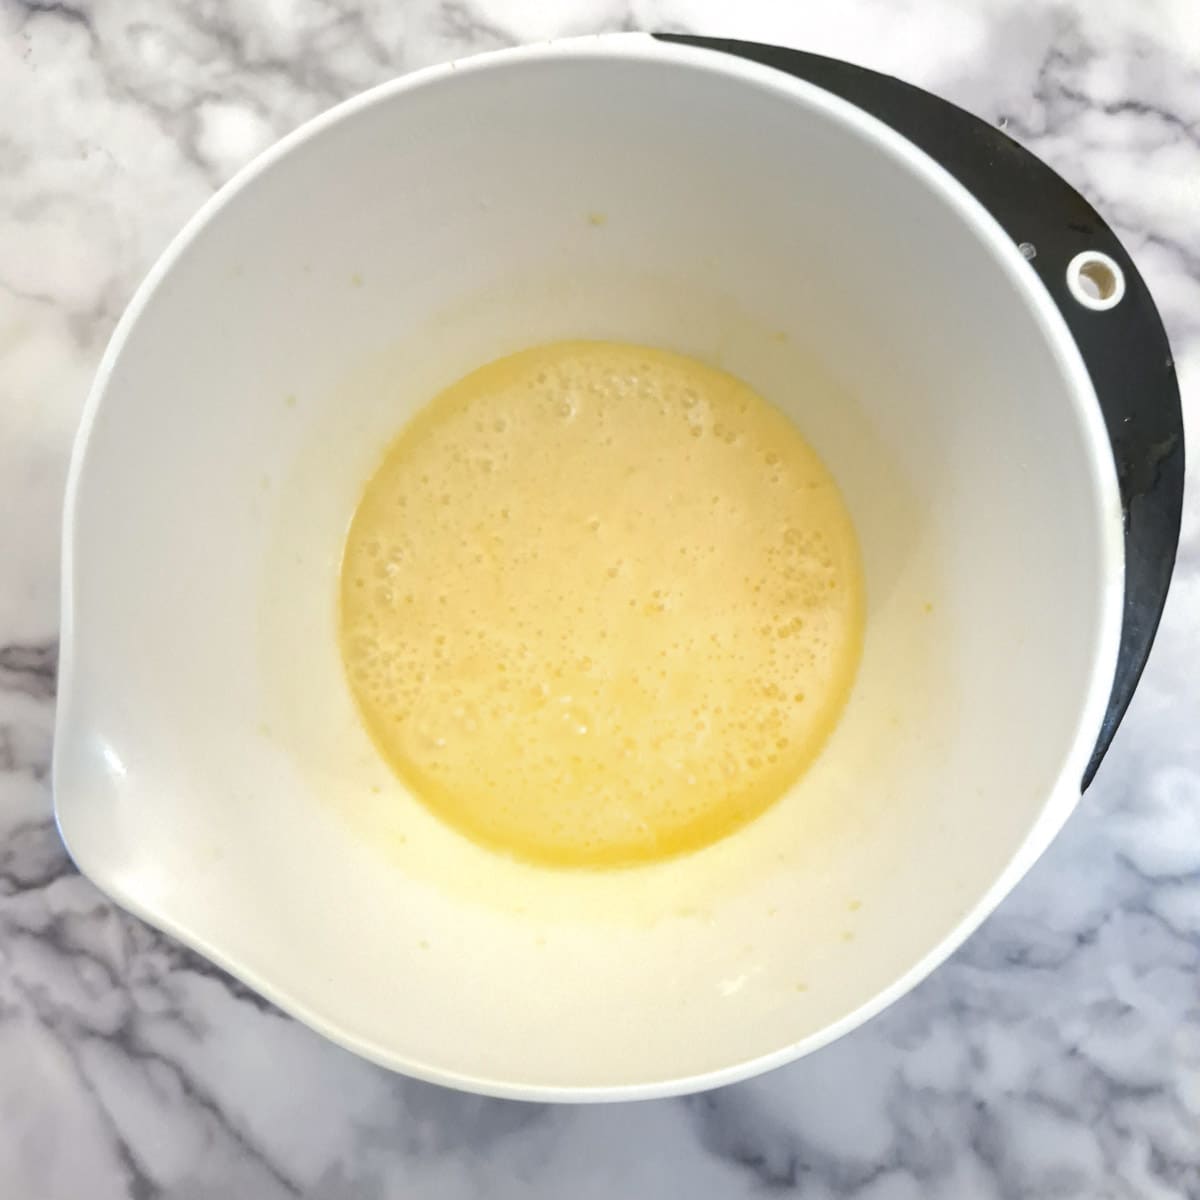
Step 6: Stir in the melted butter.
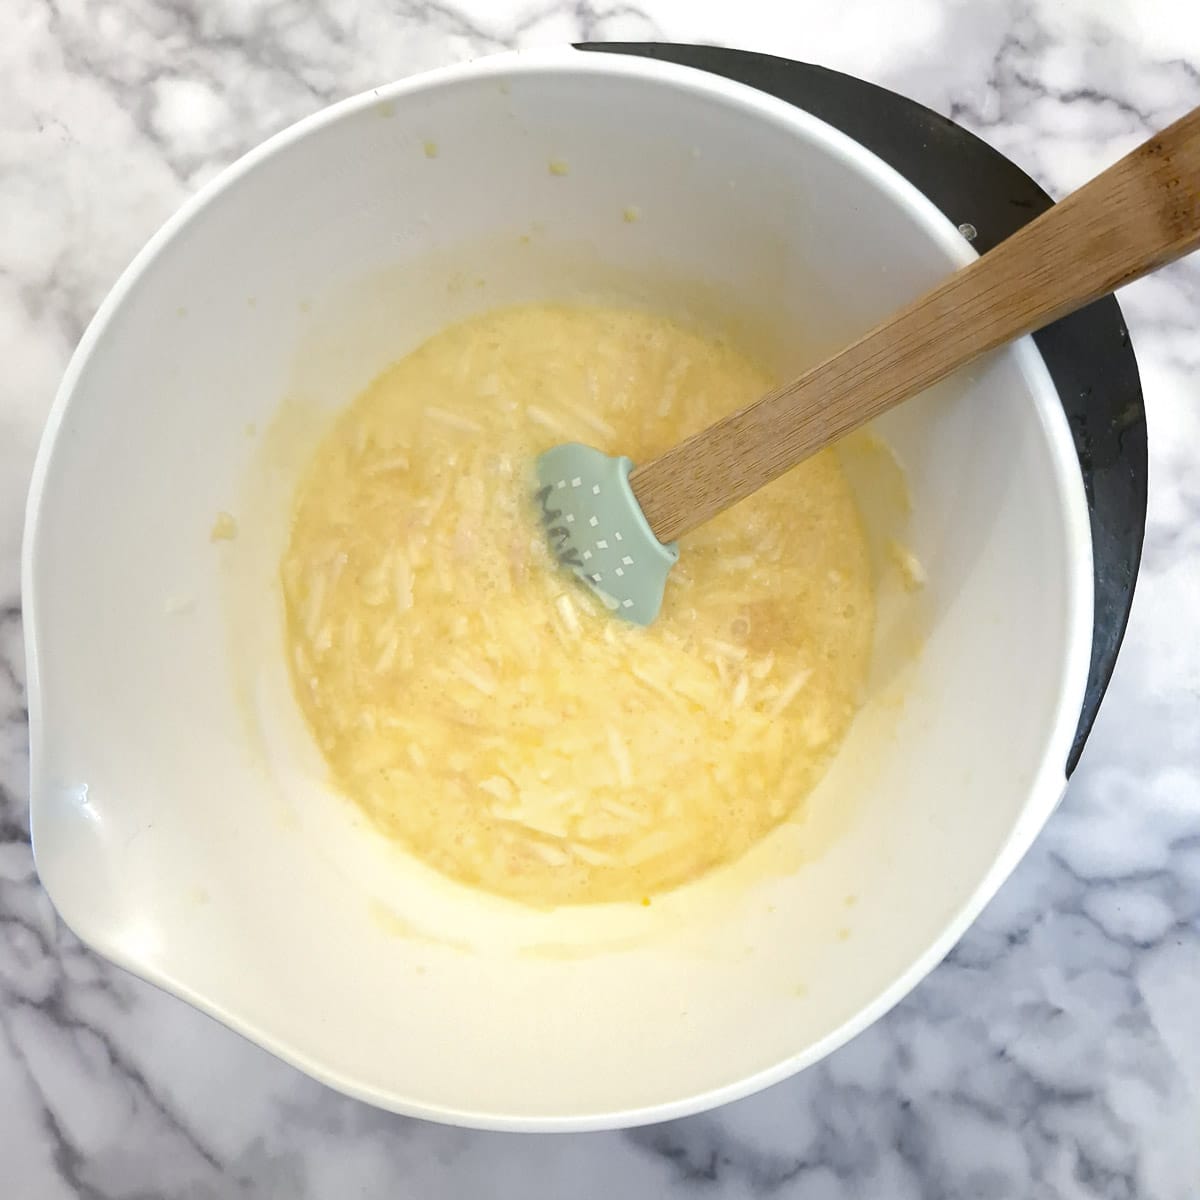
Step 7: Grate 2 of the apples directly into the mixture and stir well to combine.
Assemble and bake
Continue with these steps once the pastry has rested. Mary Berry lines her baking dish with pastry before chilling it then rests it for half an hour; I prefer to rest the pastry and then line the dish. It's up to you which way you do it - either way, the pastry should rest for 30 minutes.
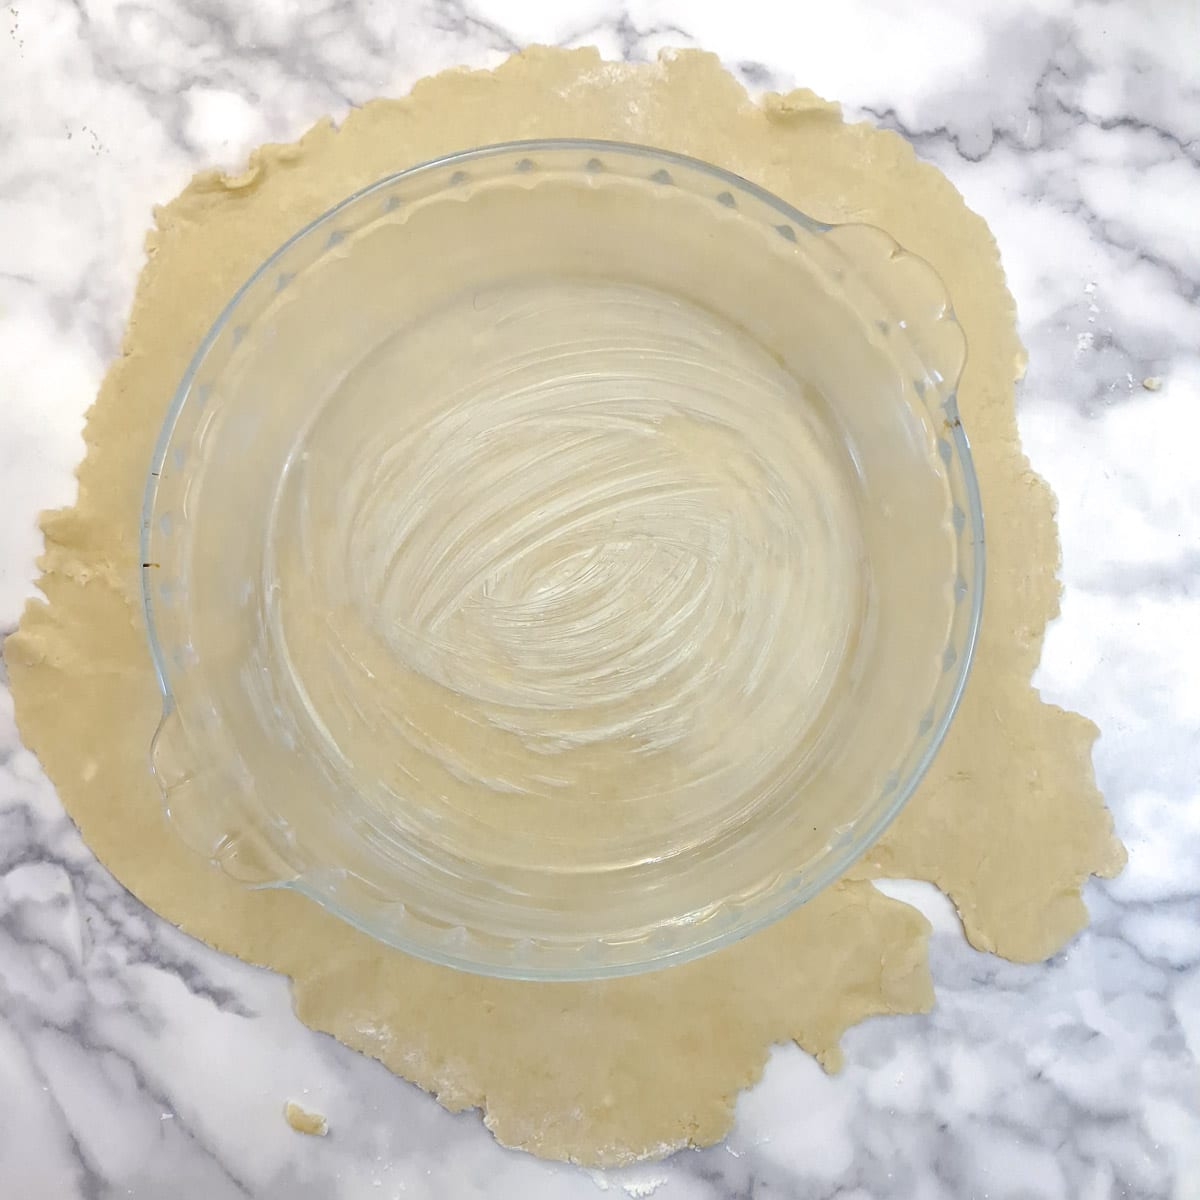
Step 8: Sprinkle your worktop with a little flour then roll the pastry out into a circle large enough to line your pie dish.
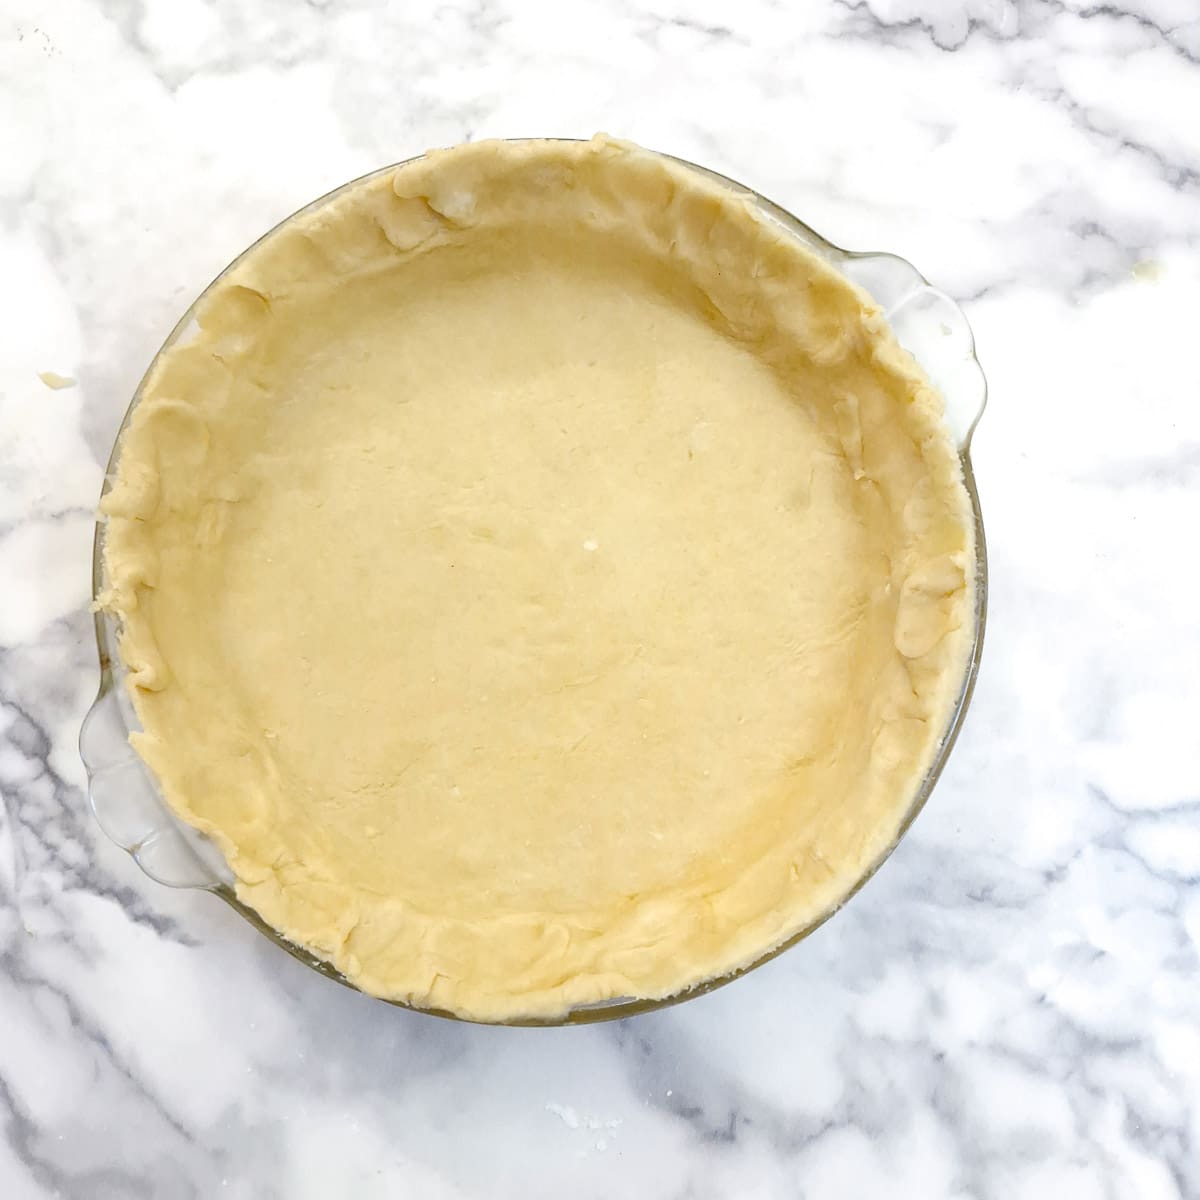
Step 9: Grease your pie dish lightly with butter then line it with the rolled pastry. Flute the edges of the pastry and trim away any excess.
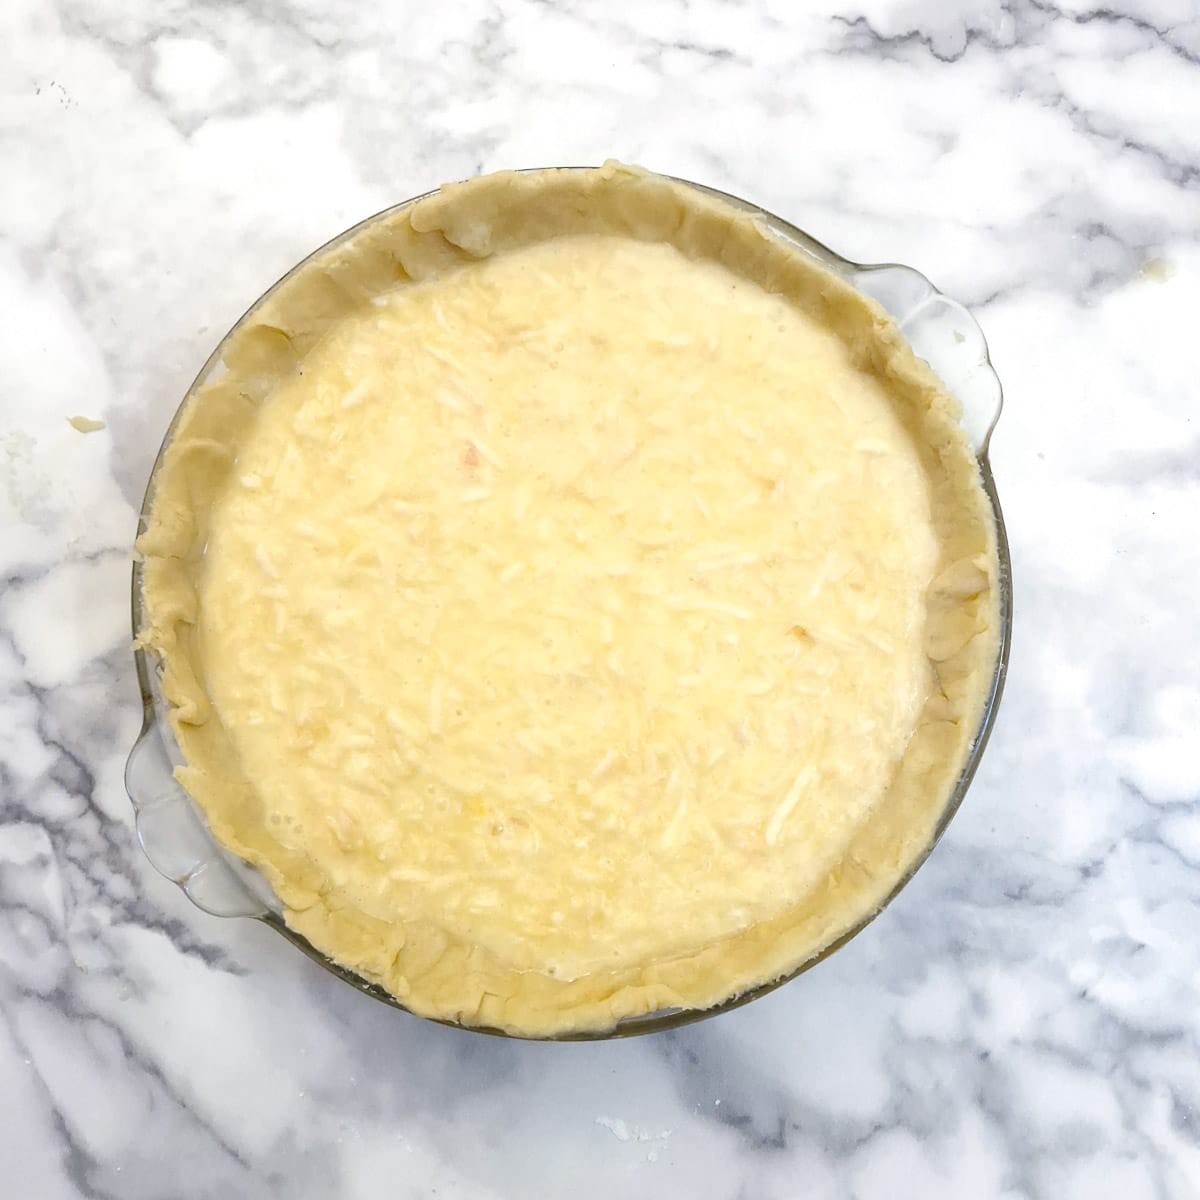
Step 10: Pour the apple and lemon filling into the pastry case.
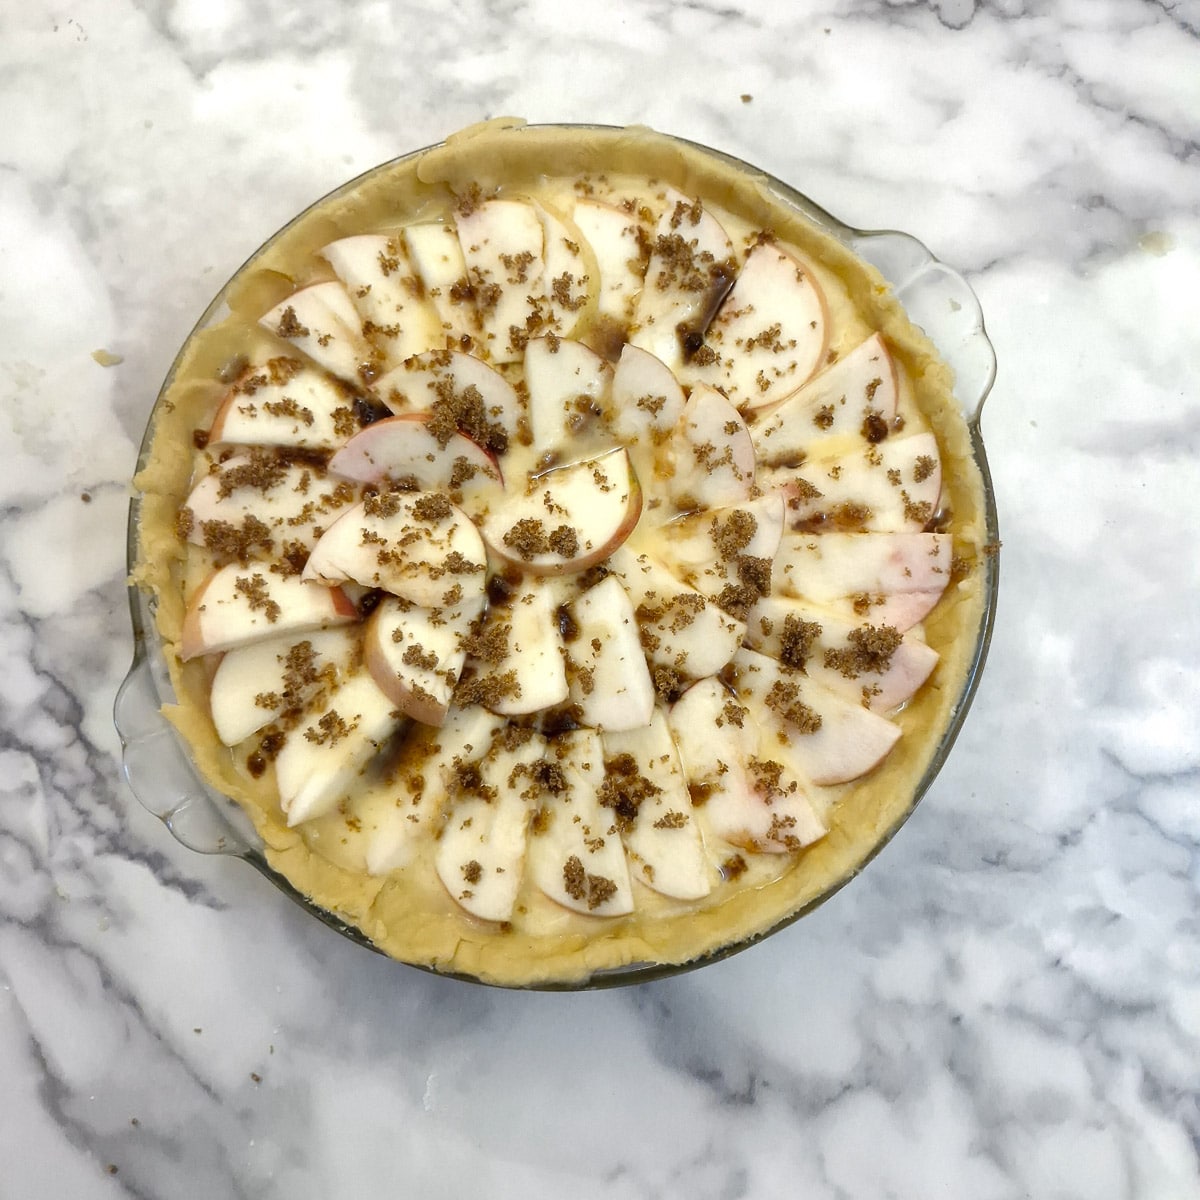
Step 11: Slice the remaining apples thinly and arrange them on top of the filling, overlapping them slightly. Sprinkle with demerara or brown sugar.
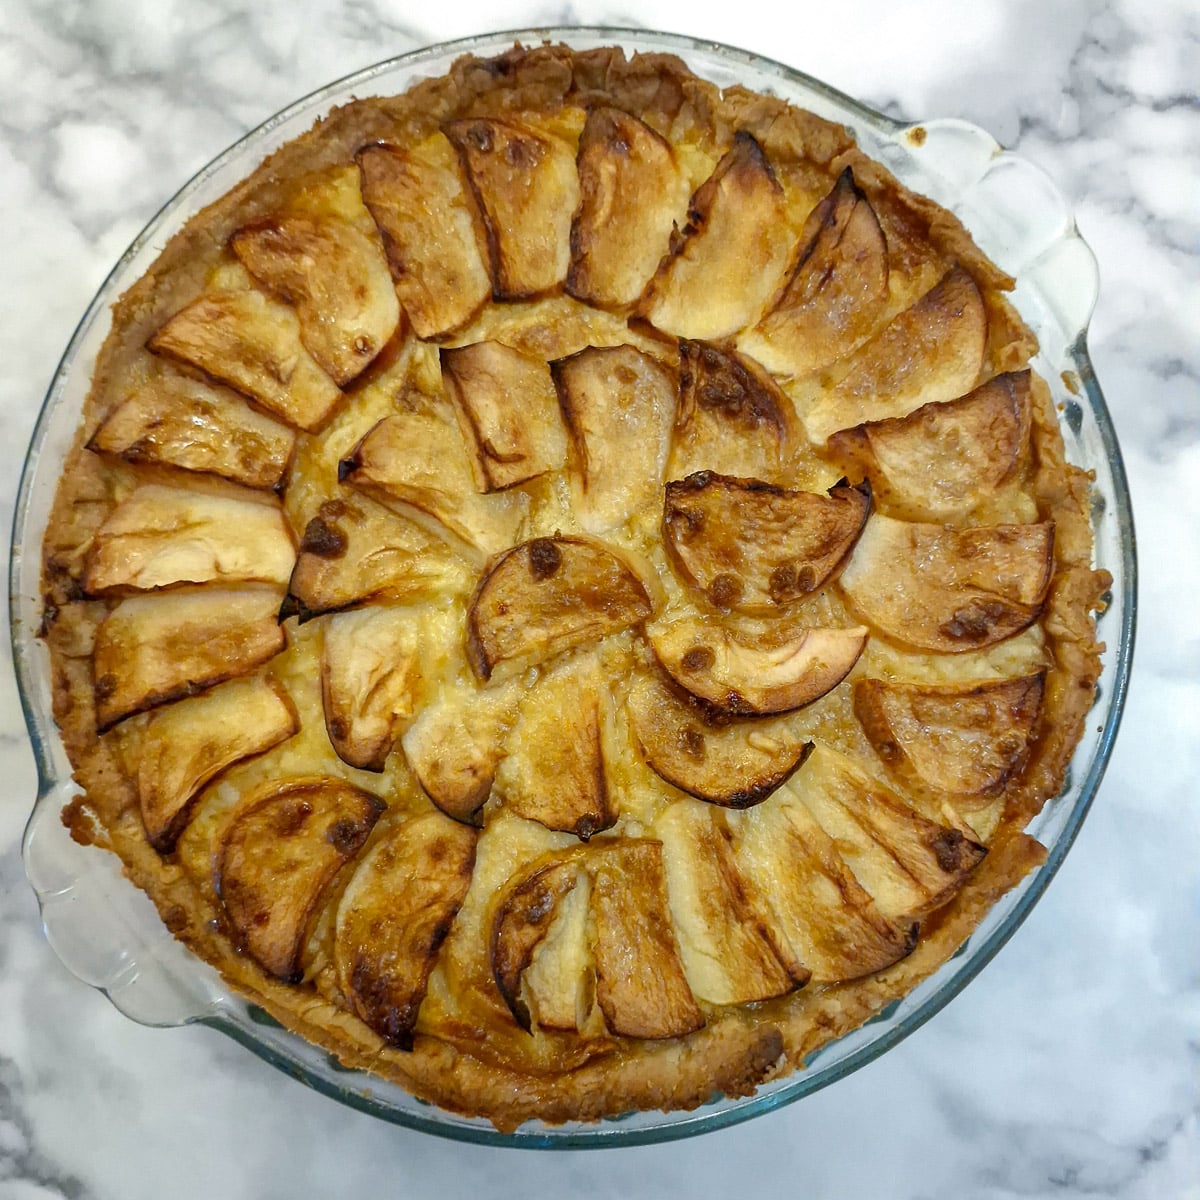
Step 12: Bake in a preheated oven (180C / 355F) for 40 to 50 minutes until the filling is set and the edges of the pastry are golden.
The filling will be very soft, but it will set as the tart cools. Allow the tart to cool completely before slicing.
Tips for a successful result
Here are my top tips to ensure your Canterbury apple tart turns out perfectly:
- When making the pastry ensure your ingredients are as cold as possible.
- If your egg isn't sufficient to bind the pastry add cold water one tablespoon at a time. You should be able to press the pastry together in a soft ball.
- Don't knead the pastry or it will become hard rather than crispy once it bakes.
- When making the filling, beat the eggs and sugar until the sugar is completely dissolved.
- There is no need to blind-bake the pastry. The filling can be poured directly into the unbaked pastry case. However, once the tart is assembled you should get it straight into the oven - don't let it stand for any length of time or you risk your tart getting the dreaded 'soggy bottom'.
- If you have nice red apples for the topping there is no need to peel them - the peel will add an attractive look to the tart.
- The tart will be cooked when it no longer 'jiggles' if you shake the dish gently. It's fine if the filling feels soft while the tart is still hot; it will set and firm up as the tart cools down.
- Mary Berry bakes her tart at 200C/400F. I find that is too hot for the length of time the tart will be in the oven (40 to 50 minutes). I prefer to turn the temperature to 180C/355F.
- If you find the tart is browning too quickly lay a sheet of tinfoil loosely over the top of the pie dish.

Serving suggestions
I think the apple tart tastes great without any additions. However, you may like to serve it with one of the following:
- Custard
- Icecream
- Whipped double cream or heavy cream
If you intend to serve this tart as a dinner party dessert, why not consider using the recipe to make individual tarts using small flan tins as I've done in this recipe for chocolate orange tarts? If you do this, remember there's no need to blind-bake the pastry cases first.
Canterbury tart can be served either warmed or at room temperature. I prefer serving it at room temperature or chilled as the slices tend to hold their shape when the tart is cold.
Equipment
This tart is made in a 10-inch round pie dish which should be about 1 and a half inches deep. (That's 25 cm round and 4 cm deep).
You will also need a couple of mixing bowls - one for the pastry and one for the filling.
If you have an electric hand mixer, this will make short work of mixing the filling, otherwise you can use a balloon whisk.
Storage
I cover the cooked tart with tin foil and store it in the refrigerator. It will stay fresh for about 5 days - after that, the filling will start to weep.
The complete Canterbury tart is not suitable for freezing.
The pastry can be frozen in a plastic bag for up to months. Allow it to defrost in the refrigerator and then let it come to room temperature before rolling.
Top Tip
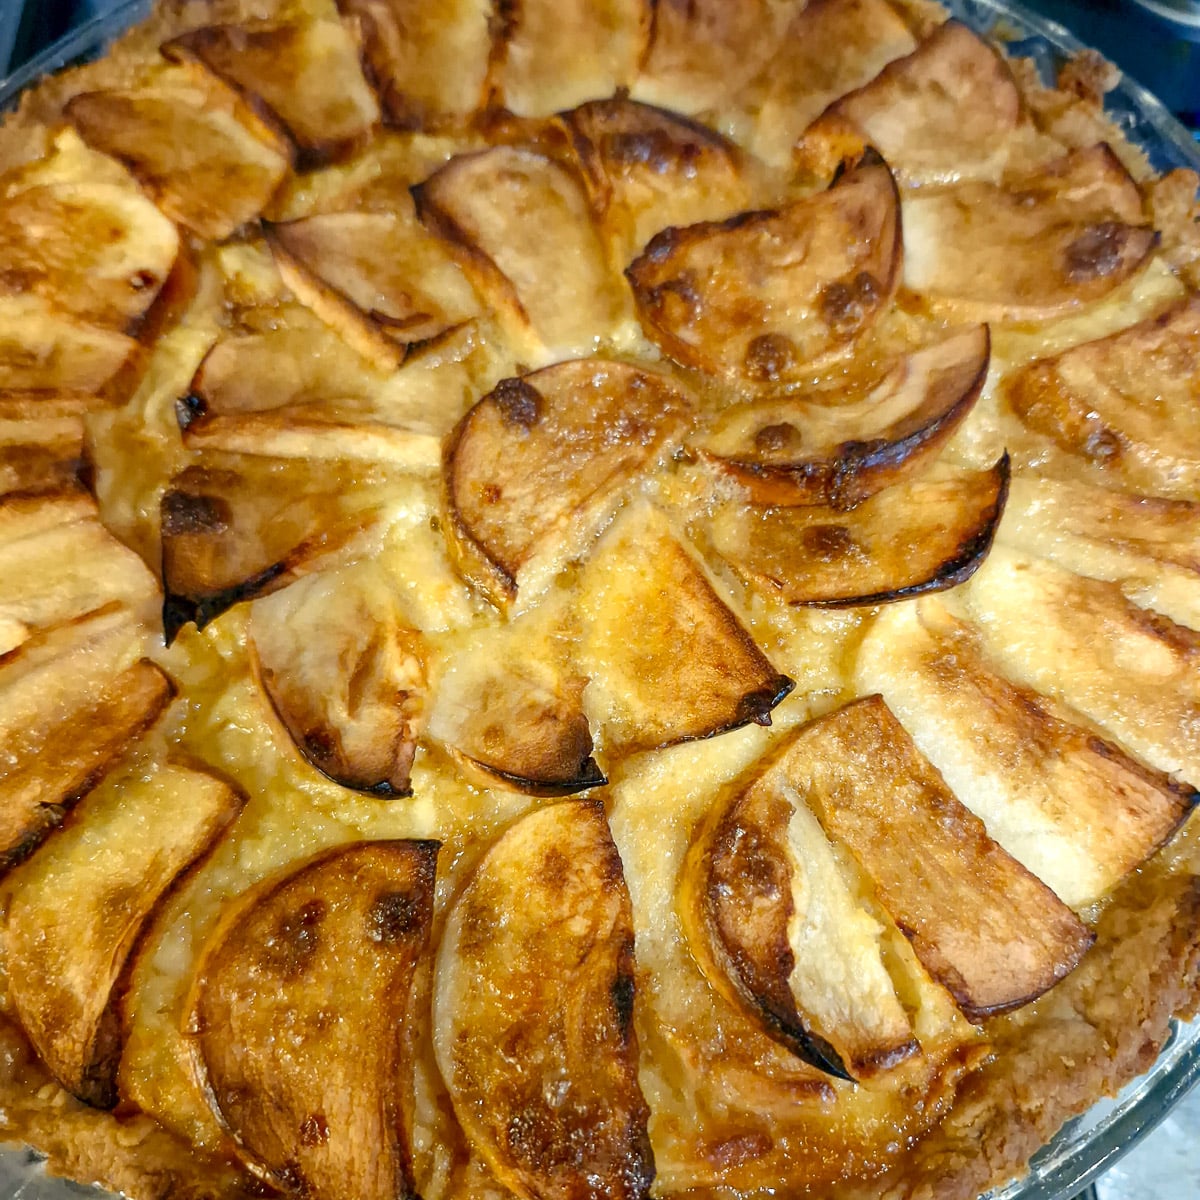
If you prefer an even sweeter dessert, sprinkle the top of the tart with icing sugar just before serving.
Save for later
If you would like to try this Canterbury tart why not save the recipe to one of your Pinterest boards so you can find it easily? Just click the image below.
Alternatively, you can save the recipe by clicking on the floating heart icon on the right-hand side of the screen.
Related recipes
Visit my cake, biscuit and dessert recipes page for more delicious ideas. Here a a few recipes using apples that you might enjoy:
📋The recipe
Canterbury apple tart
(Click the stars to rate this recipe)
Equipment
- Round baking dish 10-inches diameter / 1½-inches deep or 25-cm diameter/4-cm deep
- 2 Mixing Bowls
- Electric hand mixer OR
- Balloon whisk
Ingredients
Pastry
- 4 ounces / 113 grams unsalted butter
- 1.5 cups / 210 grams plain or all-purpose flour
- ¼ cup / 30 grams icing sugar or powdered sugar
- 1 medium egg
- 2 tablespoons cold water or as needed
Filling and topping
- 4 medium eggs
- 1 cup /200 grams caster sugar
- ¼ cup / 60 ml lemon juice or juice of 2 lemons
- 4 ounces / 113 grams unsalted butter melted
- 2 apples (peeled and grated) for filling
- 2 - 3 apples (thinly sliced) for topping
- 1 tablespoon demerara or brown sugar for sprinkling over the apples
Instructions
Pastry
- Cut the butter into smallish cubes and place it with the flour and icing sugar into a mixing bowl.4 ounces / 113 grams unsalted butter, 1.5 cups / 210 grams plain or all-purpose flour, ¼ cup / 30 grams icing sugar
- Rub the butter into the flour until it resembles fine breadcrumbs, then add the egg.1 medium egg
- Mix the egg into the flour/butter mixture until it comes together in a soft ball. Add water one tablespoon at a time if the pastry seems too dry.2 tablespoons cold water
- Cover the pastry with plastic wrap and leave it in the refrigerator for 30 minutes to rest.
Filling
- Place the caster sugar, lemon juice and eggs into a mixing bowl.4 medium eggs, 1 cup /200 grams caster sugar, ¼ cup / 60 ml lemon juice
- Beat the mixture until the sugar has dissolved.
- Stir in the melted butter.4 ounces / 113 grams unsalted butter
- Grate 2 of the apples directly into the mixture and stir well to combine.2 apples (peeled and grated)
Assemble and bake
- Preheat the oven to 180C/355F
- Sprinkle your worktop with a little flour then roll the pastry out into a circle large enough to line your pie dish.
- Grease your pie dish lightly with butter then line it with the rolled pastry. Flute the edges of the pastry and trim away any excess.
- Pour the apple and lemon filling into the pastry case.
- Slice the remaining apples thinly and arrange them on top of the filling, overlapping them slightly. Sprinkle with demerara or brown sugar.2 - 3 apples (thinly sliced), 1 tablespoon demerara or brown sugar
- Bake in a preheated oven (180C / 355F) for 40 to 50 minutes until the filling is set and the edges of the pastry are golden.The filling will be very soft, but it will set as the tart cools. Allow the tart to cool completely before slicing.
Notes
- When making the pastry ensure your ingredients are as cold as possible.
- If your egg isn't sufficient to bind the pastry add cold water one tablespoon at a time. You should be able to press the pastry together in a soft ball.
- Don't knead the pastry or it will become hard rather than crispy once it bakes.
- When making the filling, beat the eggs and sugar until the sugar is completely dissolved.
- There is no need to blind-bake the pastry. The filling can be poured directly into the unbaked pastry case. However, once the tart is assembled you should get it straight into the oven - don't let it stand for any length of time or you risk your tart getting the dreaded 'soggy bottom'.
- If you have nice red apples for the topping there is no need to peel them - the peel will add an attractive look to the tart.
- The tart will be cooked when it no longer 'jiggles' if you shake the dish gently. It's fine if the filling feels soft while the tart is still hot; it will set and firm up as the tart cools down.
- Mary Berry bakes her tart at 200C/400F. I find that is too hot for the length of time the tart will be in the oven (40 to 50 minutes). I prefer to turn the temperature to 180C/355F.
- If you find the tart is browning too quickly lay a sheet of tinfoil loosely over the top of the pie dish.
Nutrition
I am not a nutritionist. The nutrition information has been calculated using an on-line calculator, and is intended for information and guidance purposes only. If the nutrition information is important to you, you should consider calculating it yourself, using your preferred tool.
If you made this recipe and enjoyed it, I'd love it if you could give me a star rating in the comments below. And if you'd like to get in touch, you can email me at [email protected]. I'd love to hear from you. And don't forget to subscribe to my mailing list so you can grab yourself a copy of my FREE COOKBOOK!
If you'd like to continue browsing, just click on this link to all my recipes.




VJ
This is a sweet dessert, but so yummy! It's absolutely worth trying at least once.