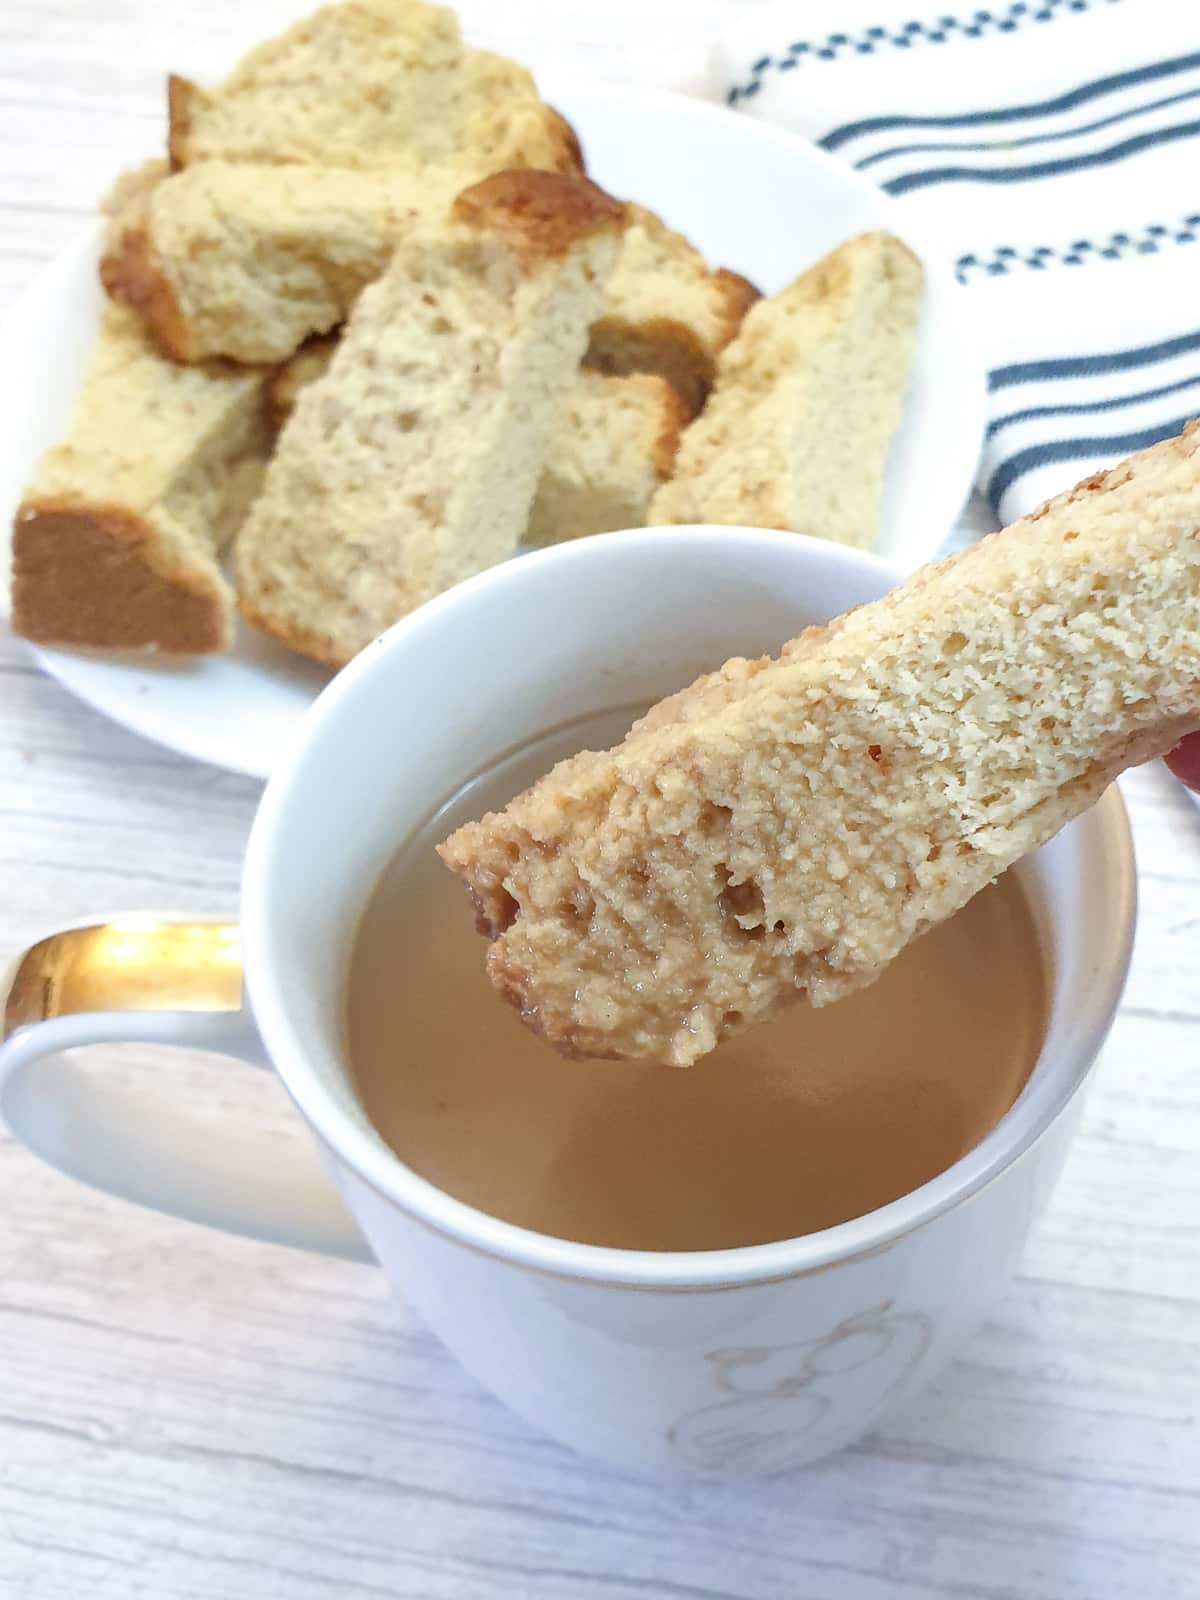
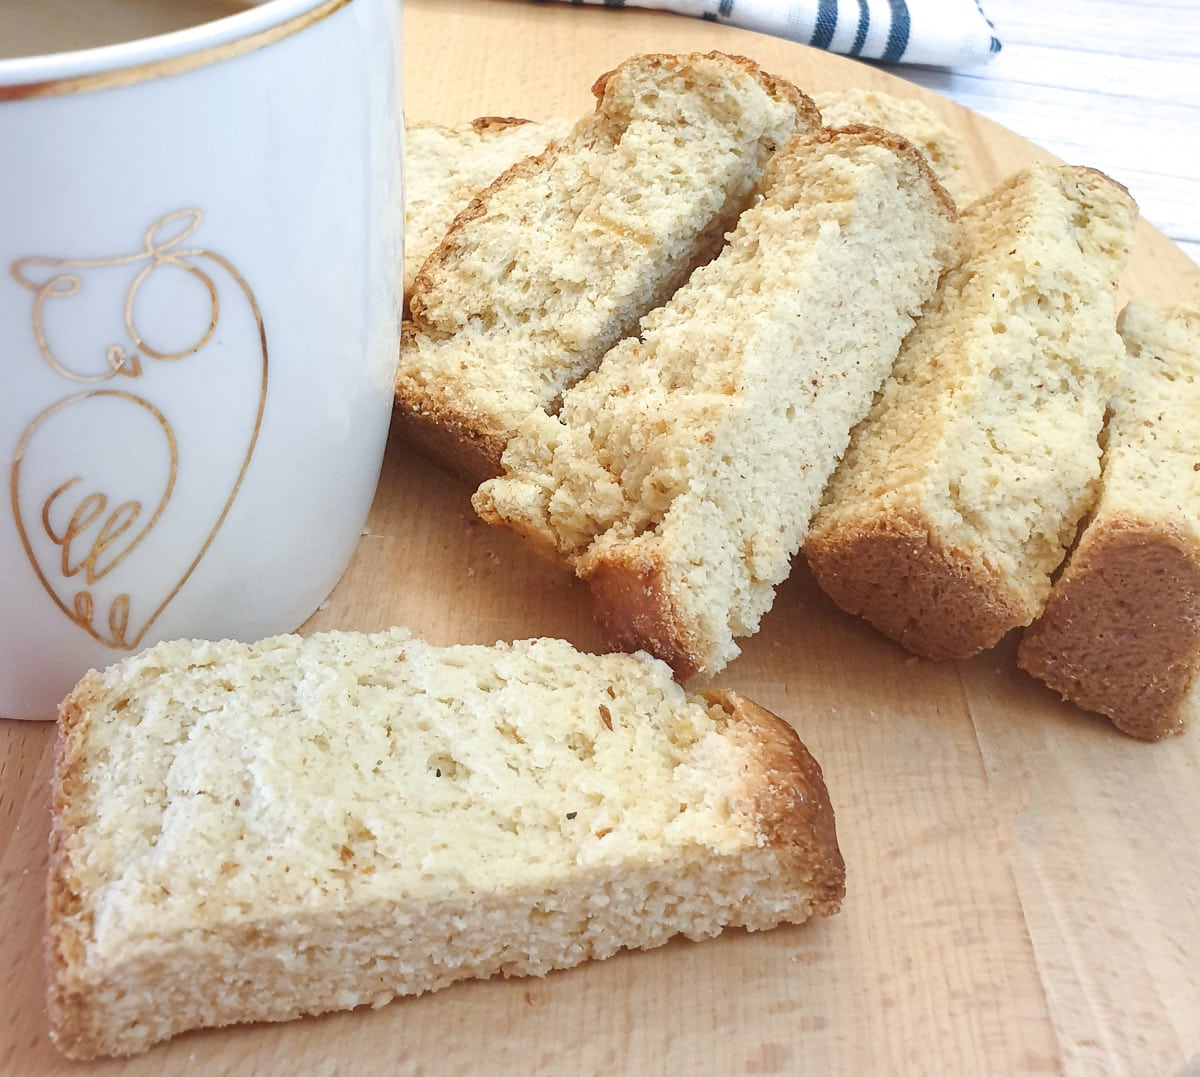
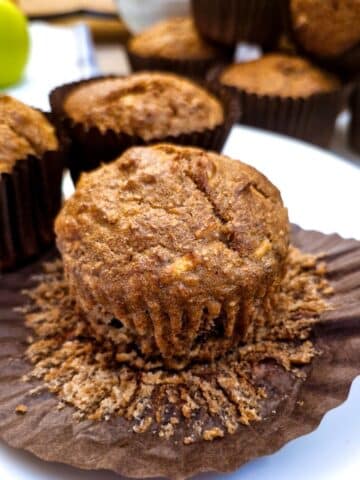
These traditional South African buttermilk rusks are perfect for dunking in your morning cup of tea or coffee. They have a light, buttery taste, and even after having been dunked they still retain their crispness.
Jump to:
What are buttermilk rusks?
Buttermilk rusks are a traditional South African treat, which are twice-baked to form a crispy biscuit-like rusk which is traditionally eaten dunked in tea or coffee.
After the first baking, the rusks have a soft cake-like texture and can be sliced and spread with butter, similar to the way in which we would eat a scone. It is the second baking (or drying-out process) that transforms the soft cake into a hard-crunchy rusk which is best eaten dunked in either tea or coffee.
Buttermilk rusks made in this way and kept in an air-tight container have a shelf-life of up to a month. In fact, when the Dutch settlers started to colonise South Africa in the early 1600s, this was how they ensured that they would have a supply of bread during their long periods of travelling.
These buttermilk rusks are made from a mixture of flour, sugar, butter and buttermilk and they rely on cream of tartar and bicarbonate of soda to enable them to rise. This is similar to the way in which Irish soda bread is made.
If you are looking for a rusk recipe that is made with yeast, you may like to try my mosbolletjie recipe made with yeast and sweetened with condensed milk. Or perhaps you might like to try an Italian version of rusks instead. These Italian almond biscotti are absolutely delicious.
Back in the day in South Africa, when food was difficult to come by, nothing was wasted. I like to think that these rusks evolved from the settlers making their own butter and using the resultant buttermilk to turn into these yummy rusks.
If you would like to make your own buttermilk rusks, this is how you do it.
What you will need
Equipment
You will need a large mixing bowl.
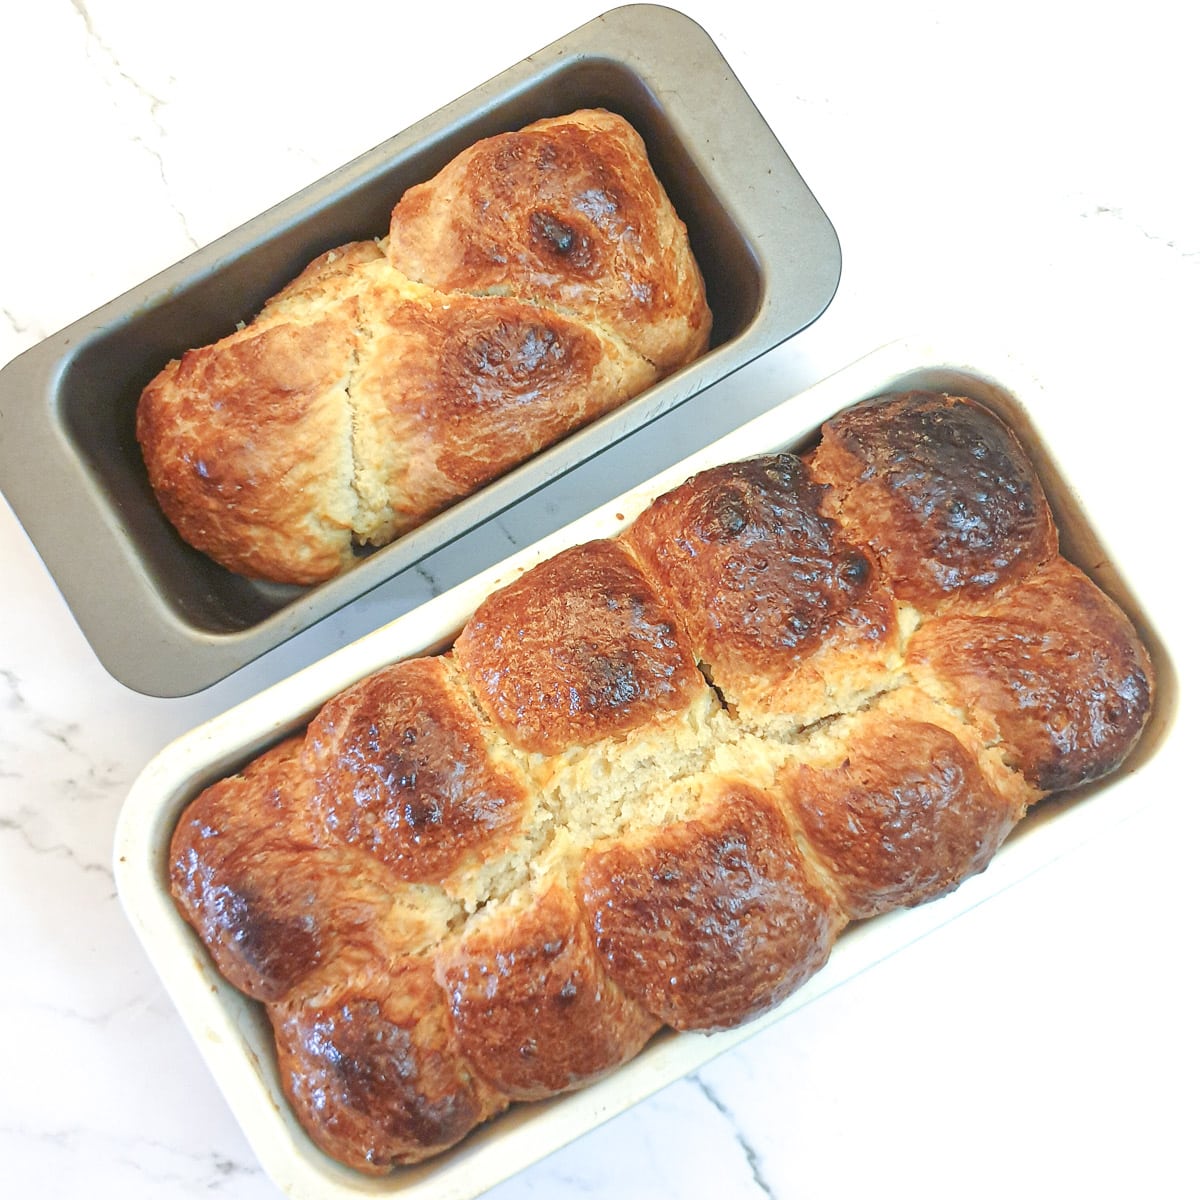
You will also need some baking pans or loaf tins to bake the rusks in. The one I used was 5" x 10" in size, and the dough didn't quite all fit so I used a smaller loaf tin to bake the excess. (See photos below).
Ingredients
This recipe will make approximately 4 dozen rusks. You can halve the recipe to make a smaller batch if you prefer.
**You can find the complete list of ingredients and full instructions for making these buttermilk rusks on the printable recipe card at the end of this post**
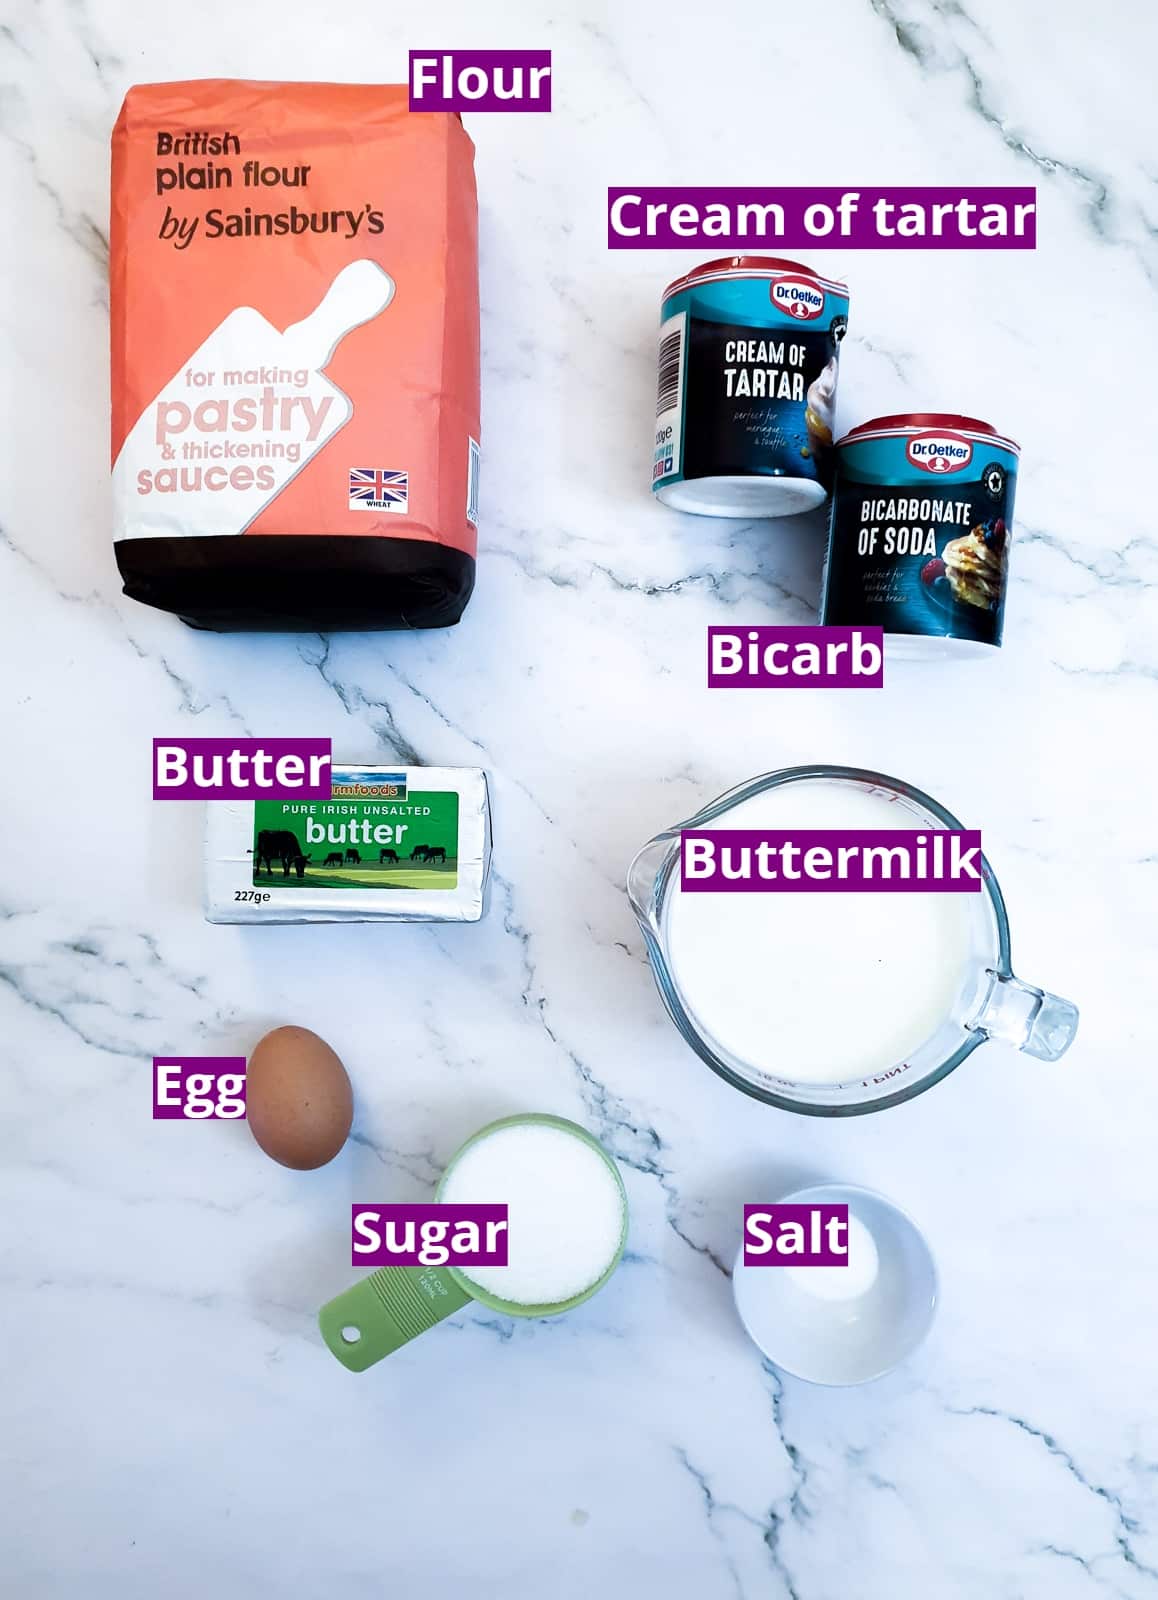
Flour - plain all-purpose flour. You could substitute with self-raising flour but then you should omit the cream of tartar and halve the bicarbonate of soda. Word of warning - if you do use self-raising flour you may find that the rusks don't rise quite as much.
Bicarbonate of soda and cream of tartar - this is what causes the rusks to rise.
Butter - I always use unsalted butter when I'm baking so that I can control the amount of salt that I add.
Buttermilk - if you don't have buttermilk you can substitute it with milk mixed with one tablespoon of lemon juice or vinegar per cup of milk. Let this stand for 10 minutes to thicken before using.
Egg - there is only one egg in the image and this gets added to the dough. You will need another egg to egg-wash the top of the rusks before baking them.
Sugar - this adds sweetness to the rusks. If you prefer a sweeter rusk you can add an extra quarter-cup of sugar to the amount stated in the recipe.
Salt - this is to your own taste, but half a teaspoon of salt does enhance the flavour.
What to do
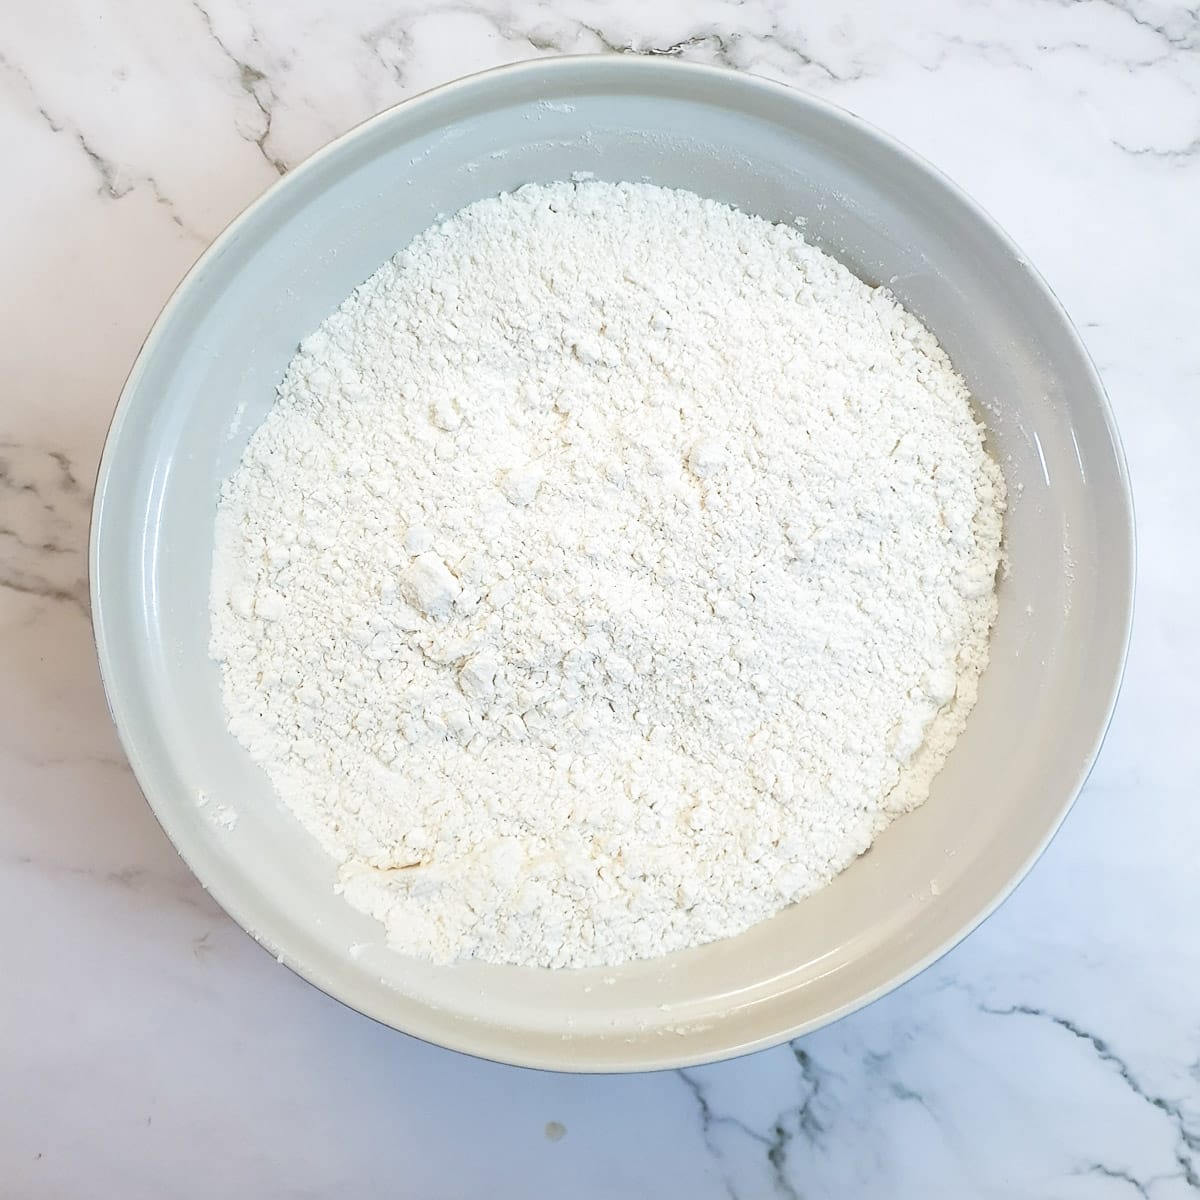
Tip all the dry ingredients into a large mixing bowl and stir to combine.

Cut the butter into small pieces, add it to the flour and then rub it into the flour with your fingertips until the flour resembles fine breadcrumbs.
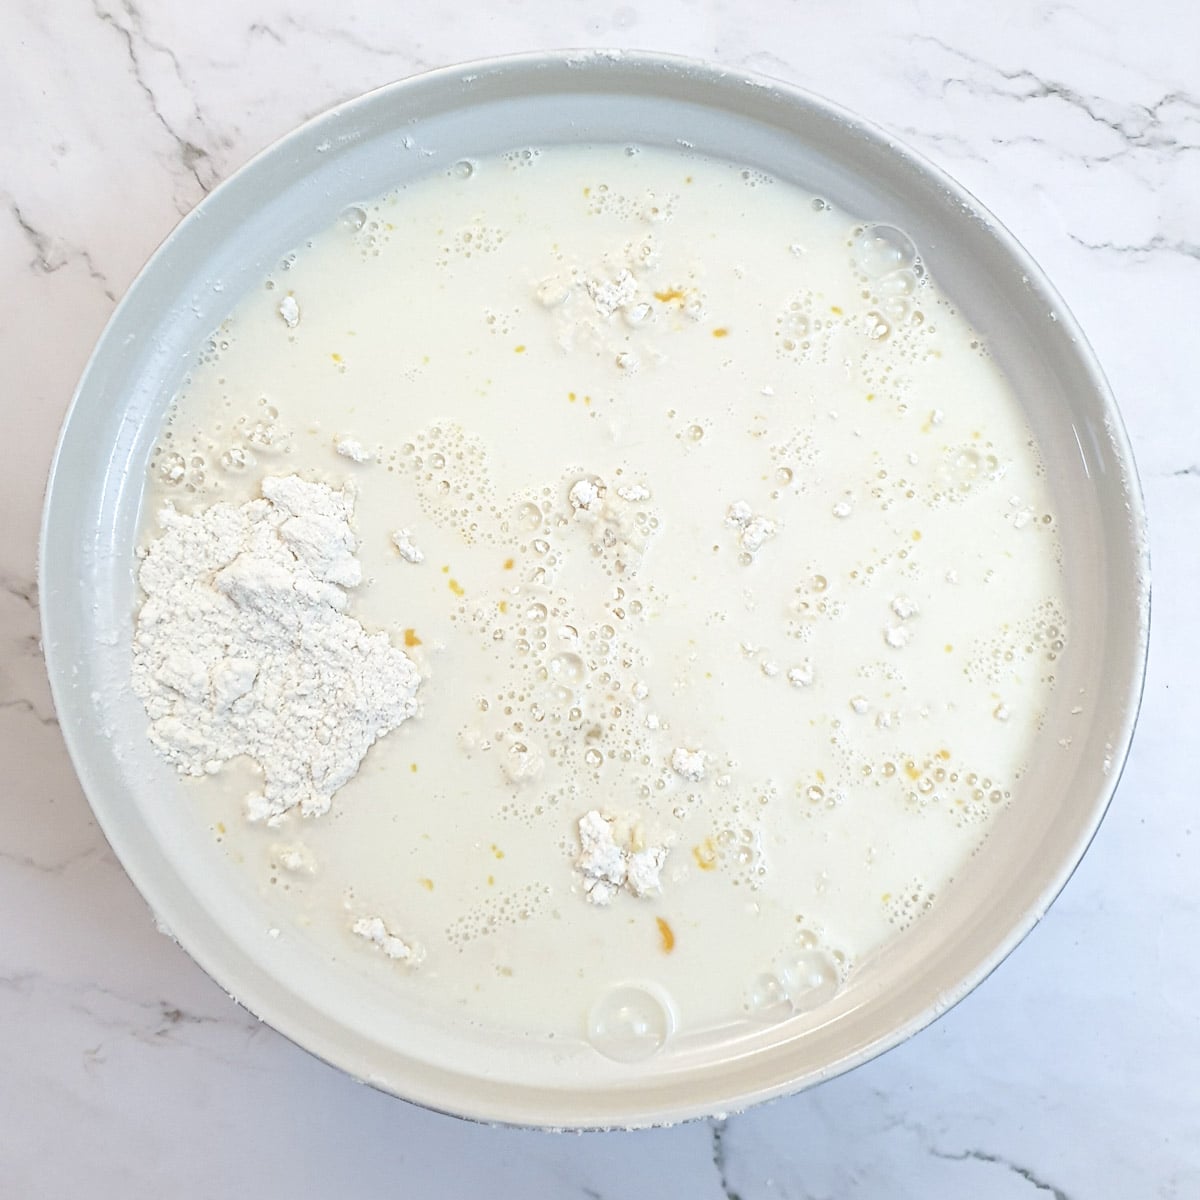
Mix the egg into the buttermilk and add it to the flour.
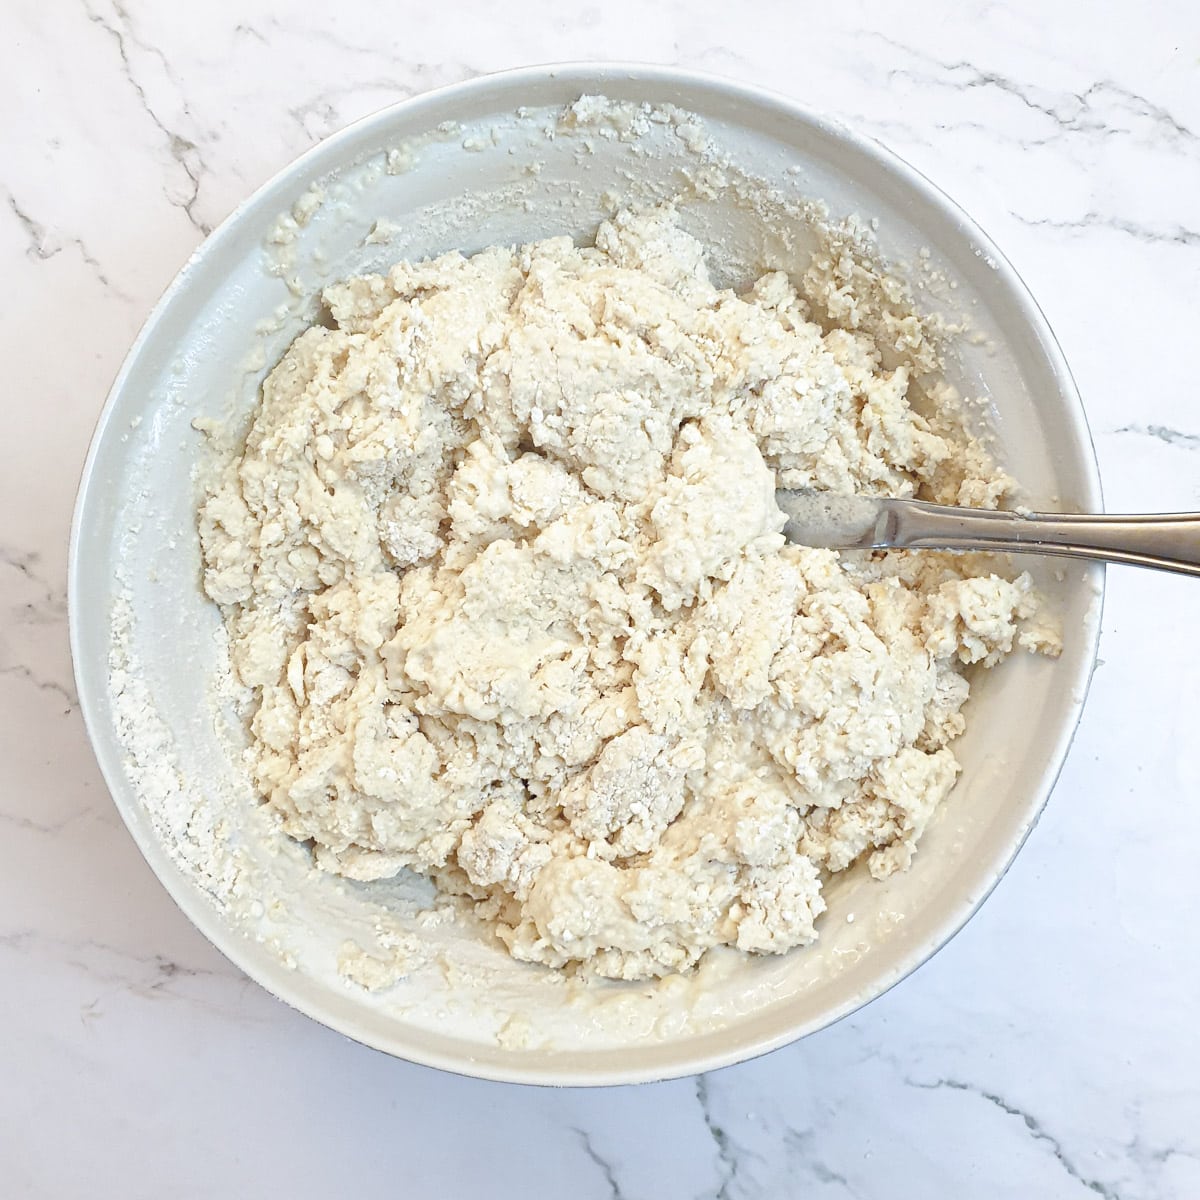
Stir the mixture with a flat-bladed knife until it turns into a shaggy dough.
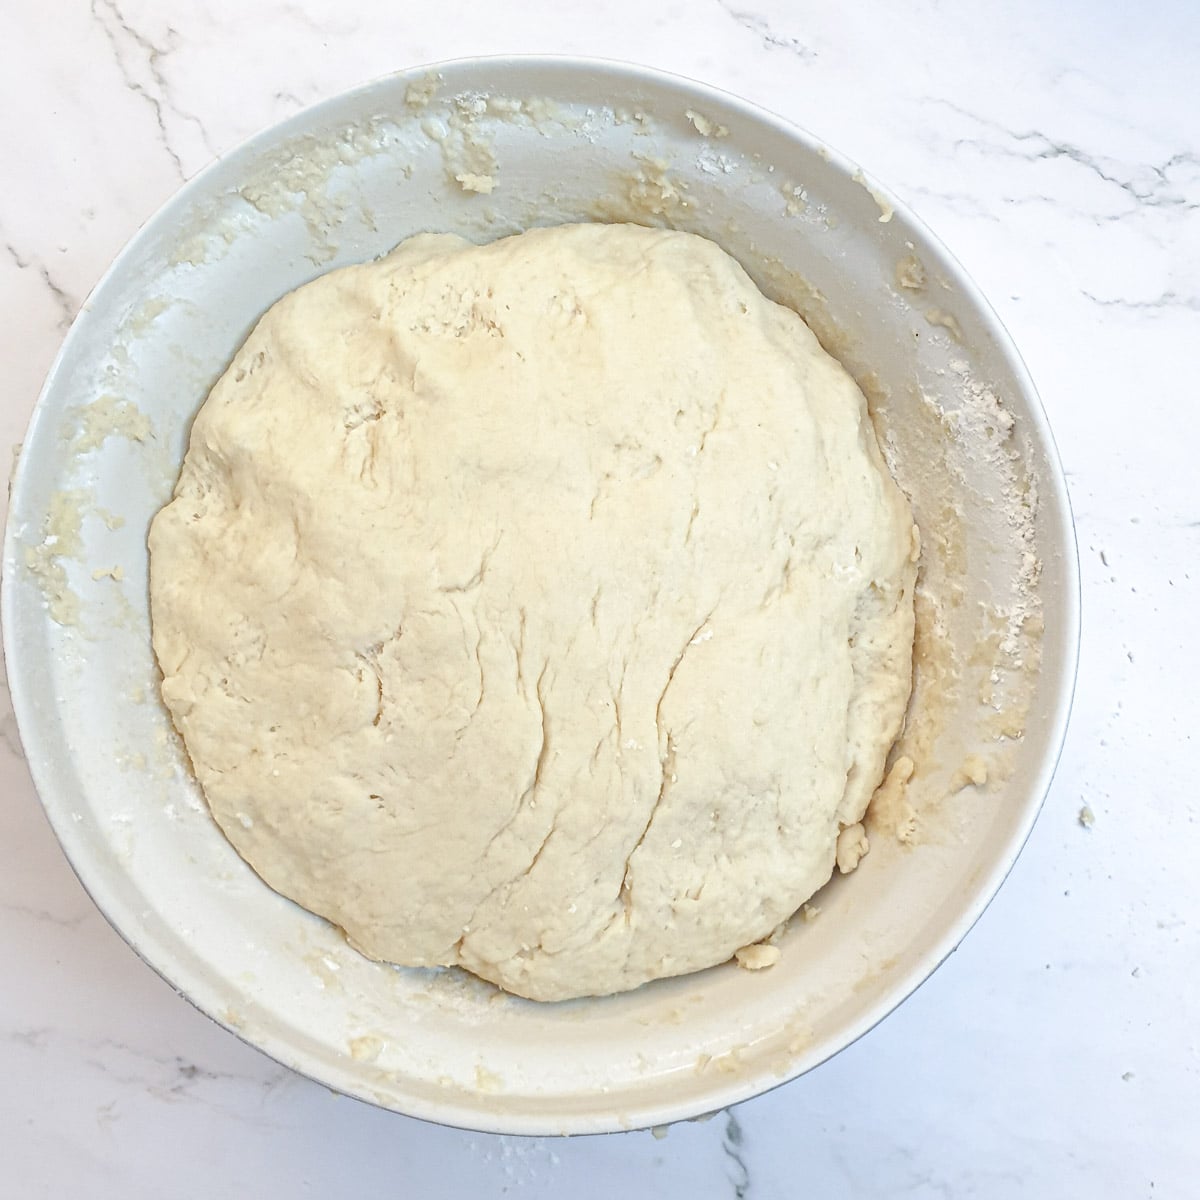
Knead the dough lightly with your hands until it comes together in a smooth ball.
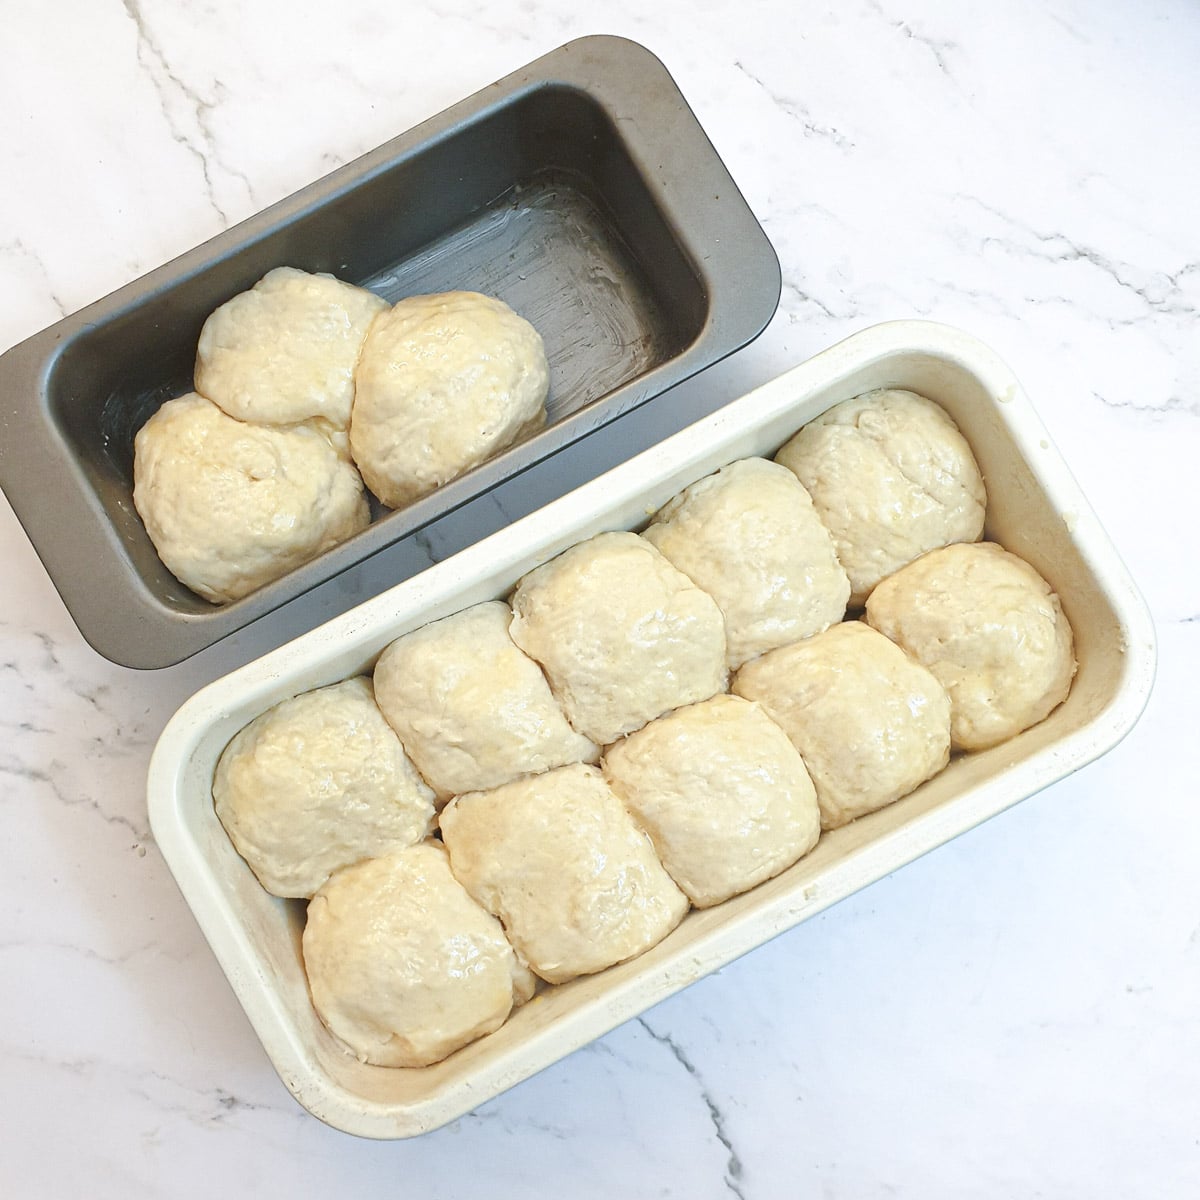
Break off pieces of dough, slightly smaller than a tennis ball, and place them into a lightly greased baking pan. If they don't all fit, use another smaller pan to hold the excess.
Brush the top of the rusks with lightly beaten egg to encourage them to brown.
Bake for 40 to 45 minutes at 180C/360F until the rusks are golden and a wooden skewer inserted into the rusks comes out cleanly.
You may find that the rusks in the smaller pan are done before the rusks in the larger pan, so you can take them out earlier.
If the rusks start to brown too much, cover them with a sheet of tin foil.
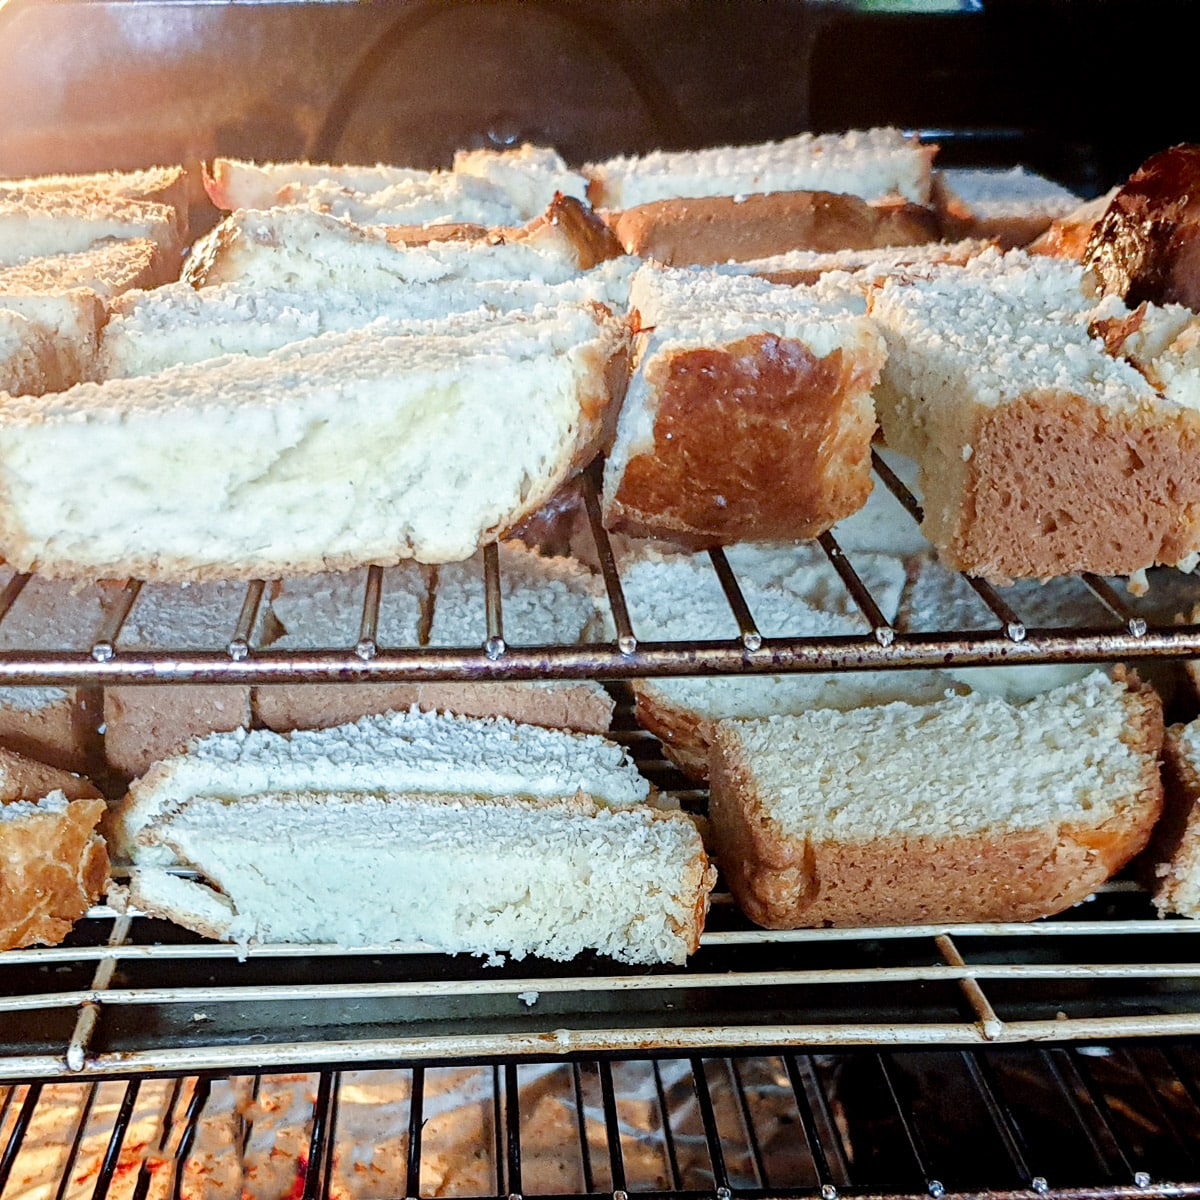
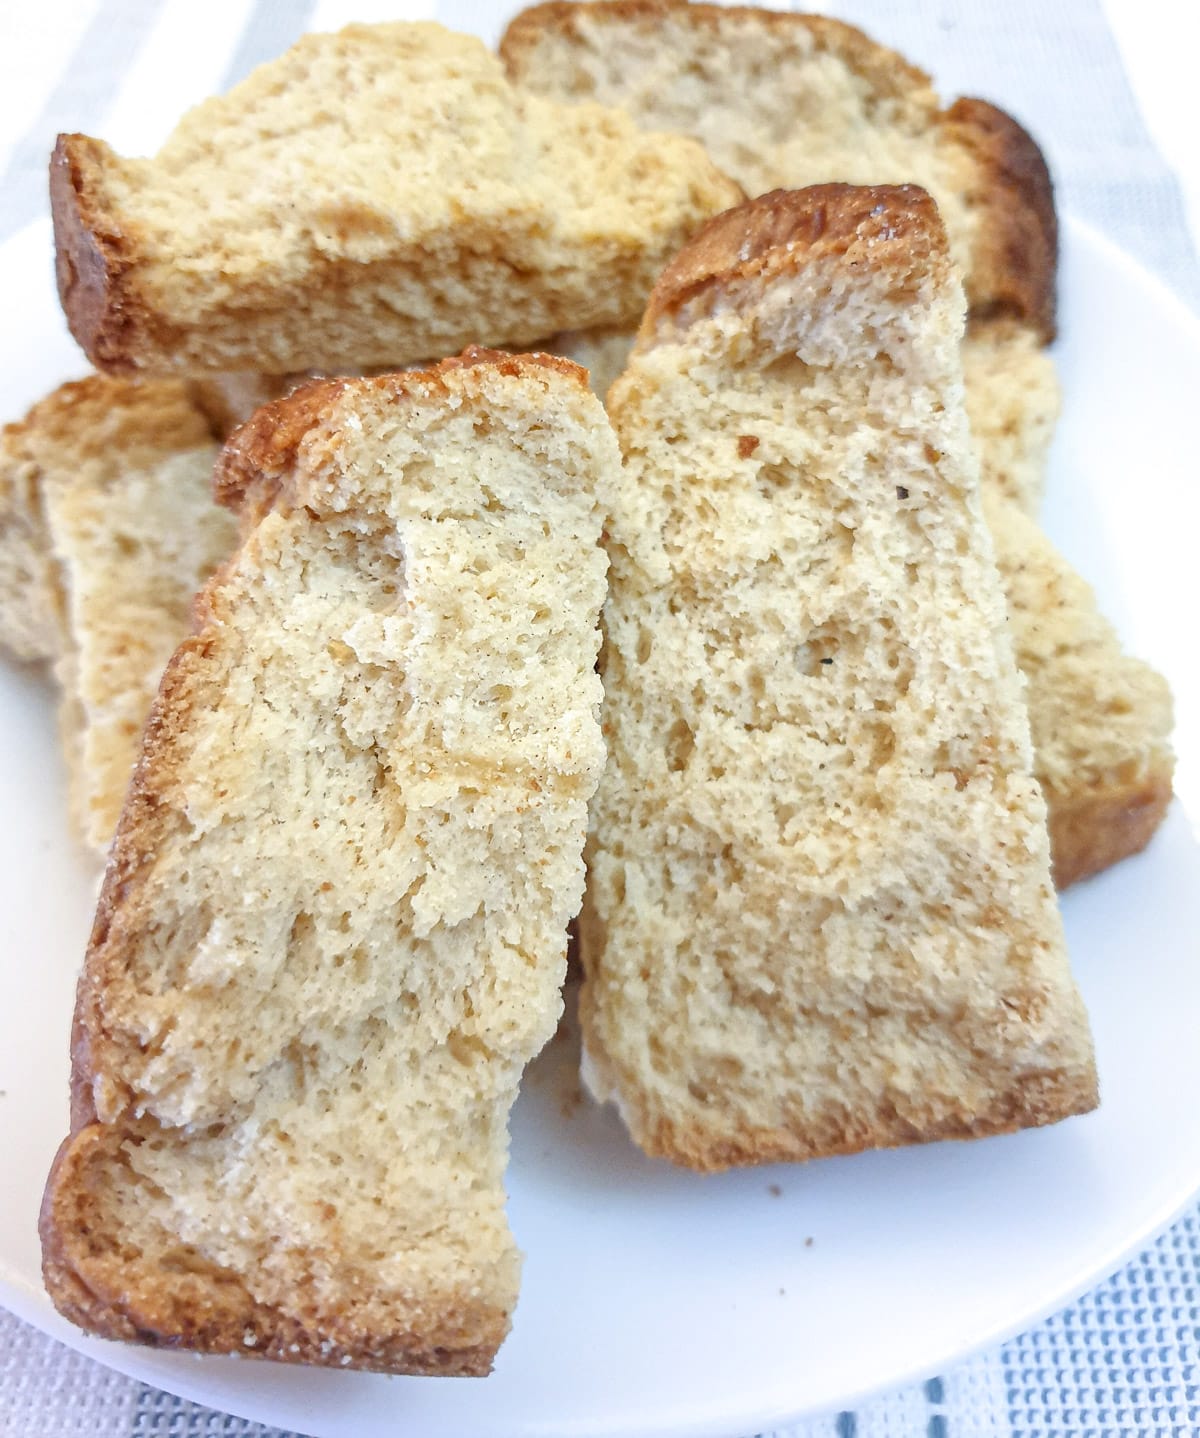
Allow the rusks to cool then cut them into 2 to 3 cm (approximately one-inch) thick slices and place them on oven racks. Let them dry in a cool oven (65C / 150F) for about 4 hours until they are completely dried out. The time it takes for the rusks to dry will be determined by how thickly you cut the slices.
Tip - place a baking tray underneath the lowest shelf to catch any crumbs.
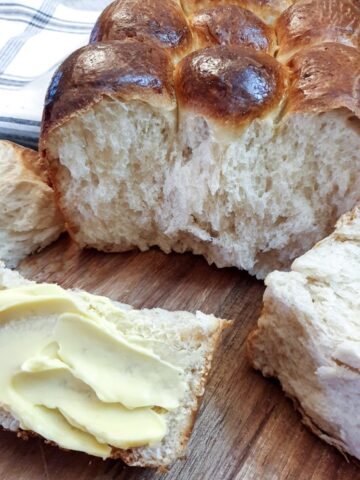
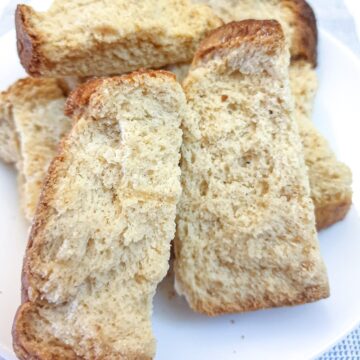
This is what the rusks look like once they have been sliced (before drying).
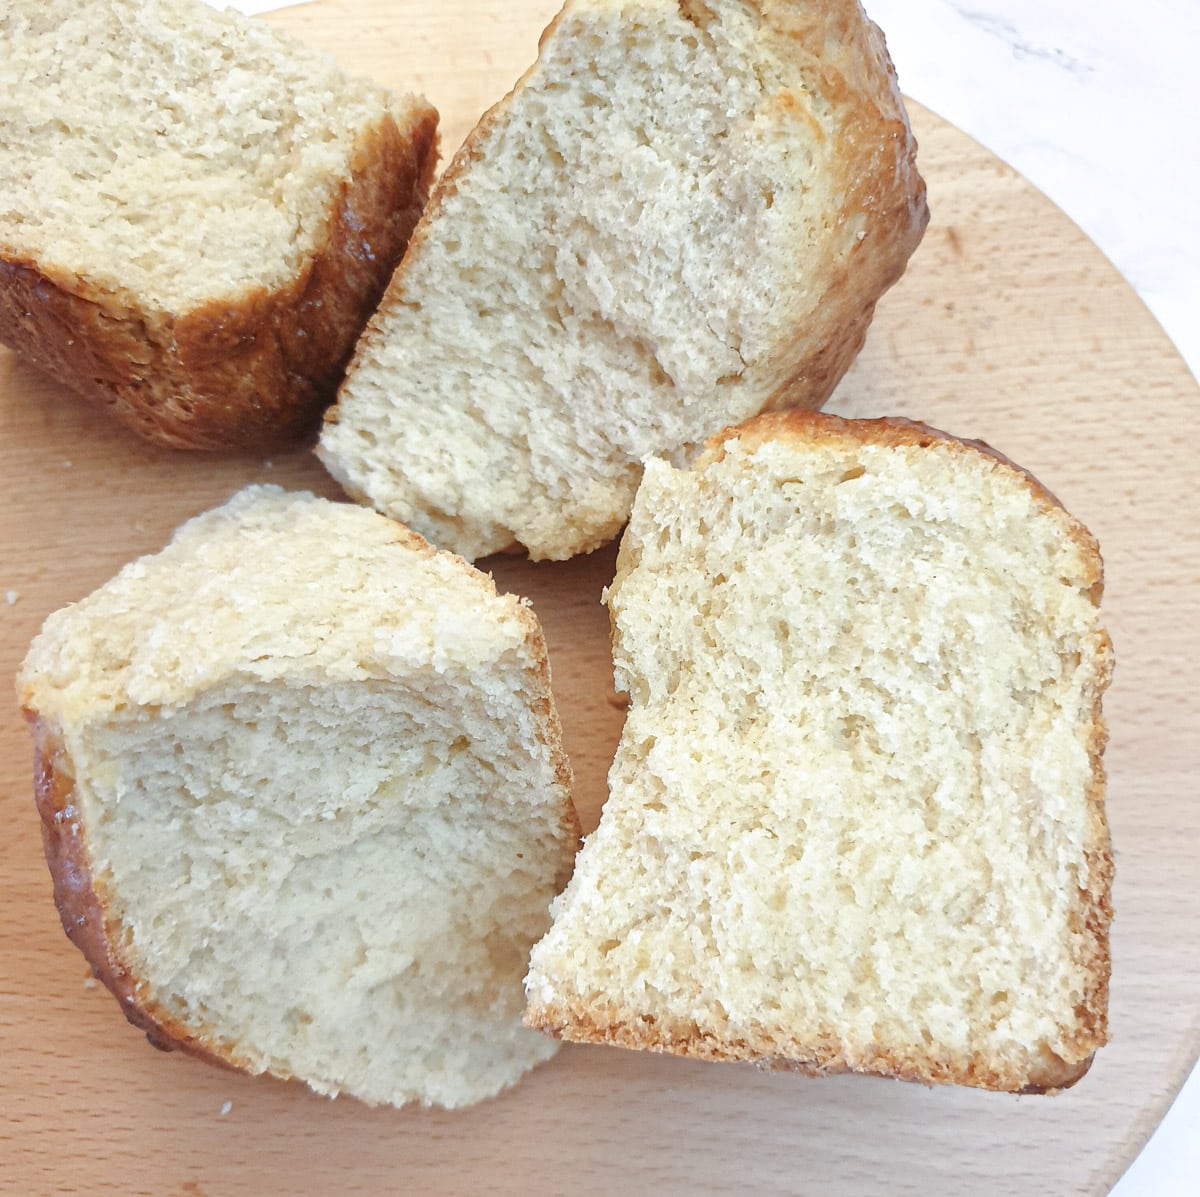
They have a soft, scone-like texture before they have been dried.
If you'd like to be notified of new recipes, why not subscribe to my newsletter? To say thank you, you will receive a free recipe e-book containing some of my most popular cakes and desserts.
Buttermilk rusks FAQ
Like all baked goods, these buttermilk rusks will freeze well in a plastic bag or other air-tight container. You can freeze them for up to 6 months. Let them defrost on the counter and then store them in an air-tight container on your counter.
Yes, there are many variations of rusks in many countries across the globe. Italians have their biscotti (or almond biscuits), Germans and most of northern Europe have zweiback (which means twice-baked) and India has cake rusks which are similarly dunked in a hot drink.
In South Africa, the most popular buttermilk rusk is branded as Ouma rusks, although there are other flavours available under this name. These rusks are available (at a price) in any country that has a South African shop. You can also buy them on Amazon, where they are packaged as Karringmelk beskuit - 'karringmelk' being the Afrikaans word for buttermilk.
To test that the rusks are cooked, insert a wooden skewer or toothpick into the middle of the pan of the rusks, between two of the balls. If it comes out cleanly, the rusks are done.
If you knock on the underside of the baking pan (with the rusks still in it) you should hear a hollow sound, although this is difficult to do with a hot baking pan.
The baking time also depends on how tightly the balls of dough are packed into the baking pan. I had a small pan containing only 3 balls of dough, which gave them plenty of room to expand. These were fully cooked at least 15 minutes before my larger pan of tightly packed rolls.
This is a matter of preference. Some people like a very chunky rusk, whereas others (myself included) prefer a slightly thinner one. Go with what feels best for you.
Yes, if you have a dehydrator you can certainly use this to dry the rusks.
Save for later
If you would like to make these buttermilk rusks, why not save the recipe to one of your Pinterest boards so you can find it easily? Just click on the image below.
Alternatively, you can save the recipe by clicking on the floating heart on the right hand side of the screen.
Related recipes
If you enjoy this recipe you may want to try some of these easy recipes too:
You can find these and many more recipes on my South African recipes page.
📋The recipe
Buttermilk rusks
(Click the stars to rate this recipe)
Equipment
- Bread pan large enough to hold all the dough balls (or 2 smaller pans)
- Earthenware mixing bowl
Ask a Question
If you have a question about this recipe that has not been answered, please use the box below to ask it.
Use this with care. This is an AI-generated result and may contain errors or inaccuracies. I cannot be held responsible for the information returned.
Ingredients
- 7¼ cups 1 kg plain all-purpose flour
- ¾ cup / 150 grams sugar adjust to taste
- 1½ teaspoons / 15 grams bicarbonate of soda
- 5 teaspoons / 25 grams cream of tartar
- 1 teaspoon salt
- 8¾ ounces / 250 grams unsalted butter
- 1 medium egg for rusks
- 1 small egg beaten (for egg washing)
- 1½ cups / 360 ml buttermilk
Instructions
- Preheat the oven to 200°C / 400°F
- Place all the dry ingredients into a LARGE mixing bowl and mix lightly to combine.7¼ cups 1 kg plain all-purpose flour, ¾ cup / 150 grams sugar, 1½ teaspoons / 15 grams bicarbonate of soda, 5 teaspoons / 25 grams cream of tartar, 1 teaspoon salt
- Cut the butter into cubes, add to the flour mixture and then using your fingertips, rub the butter into the flour until it resembles fine breadcrumbs.8¾ ounces / 250 grams unsalted butter
- Mix the egg with the buttermilk and pour it into the flour/butter mixture.1 medium egg, 1½ cups / 360 ml buttermilk
- Use a flat-bladed knife to mix the buttermilk into the flour until it comes together in a shaggy ball.
- Now use your hands to knead lightly until the dough forms a smooth ball. This shouldn't take longer than 2 minutes. If the dough sticks to your hands (it shouldn't) add a tablespoon or so of extra flour.
- Form the mixture into balls, just smaller than a tennis ball, and arrange them in a lightly greased bread pan.
- Brush the top of the dough balls with lightly beaten egg to encourage them to brown.1 small egg
- Bake in the preheated oven for 40 to 45 minutes until well risen and golden.
- Remove the rusks from the oven and allow them to cool, then break apart and cut each rusk into slices.
- Dry the rusks in an airfryer (using the dehydrator function), or in a cool oven (65°C / 150°F).
- Store the rusks in an airtight container in a cool place.
Notes
Nutrition
I am not a nutritionist. The nutrition information has been calculated using an on-line calculator, and is intended for information and guidance purposes only. If the nutrition information is important to you, you should consider calculating it yourself, using your preferred tool.
If you made this recipe and enjoyed it, I'd love it if you could give me a star rating in the comments below. And if you'd like to get in touch, you can email me at [email protected]. I'd love to hear from you. And don't forget to subscribe to my mailing list so you can grab yourself a copy of my FREE COOKBOOK!
If you'd like to continue browsing, just click on this link to all my recipes.
Shirley says
I made the rusks and it turned out very nice will make it again.
VJ says
Glad you enjoyed them. Thank you for letting me know.