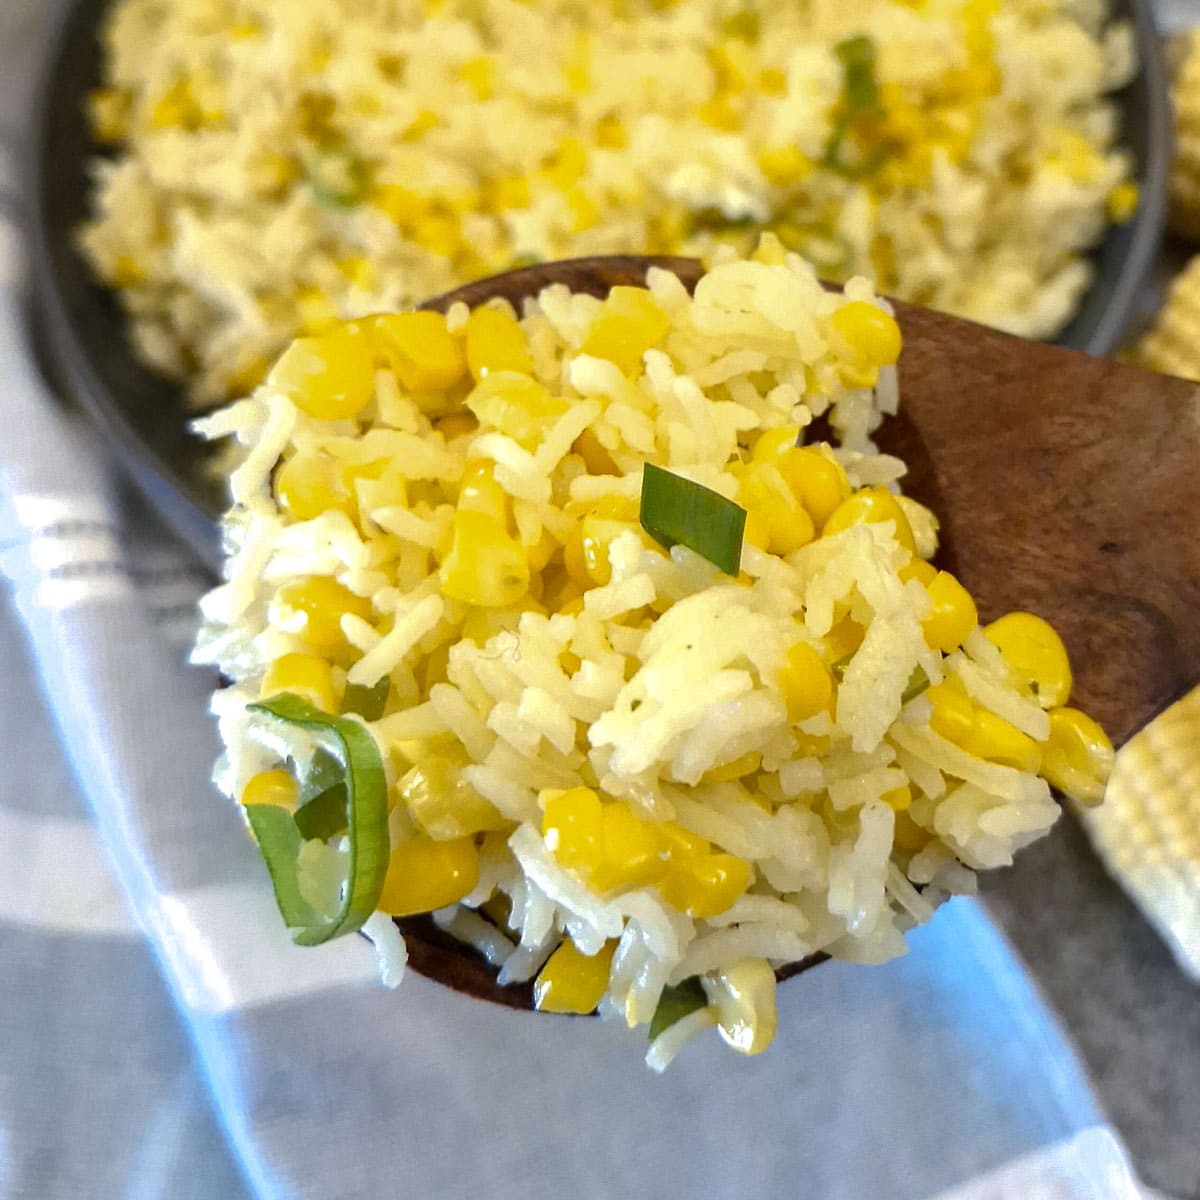
If you saute tender corn kernels lightly in butter, mix in some basmati rice and simmer in chicken stock for 12 minutes you end up with this delicious dish of fresh buttered corn and rice! Served hot, it makes a great accompaniment to a roast dinner, it goes perfectly with fish and you could even serve it cold as a salad with a barbeque!
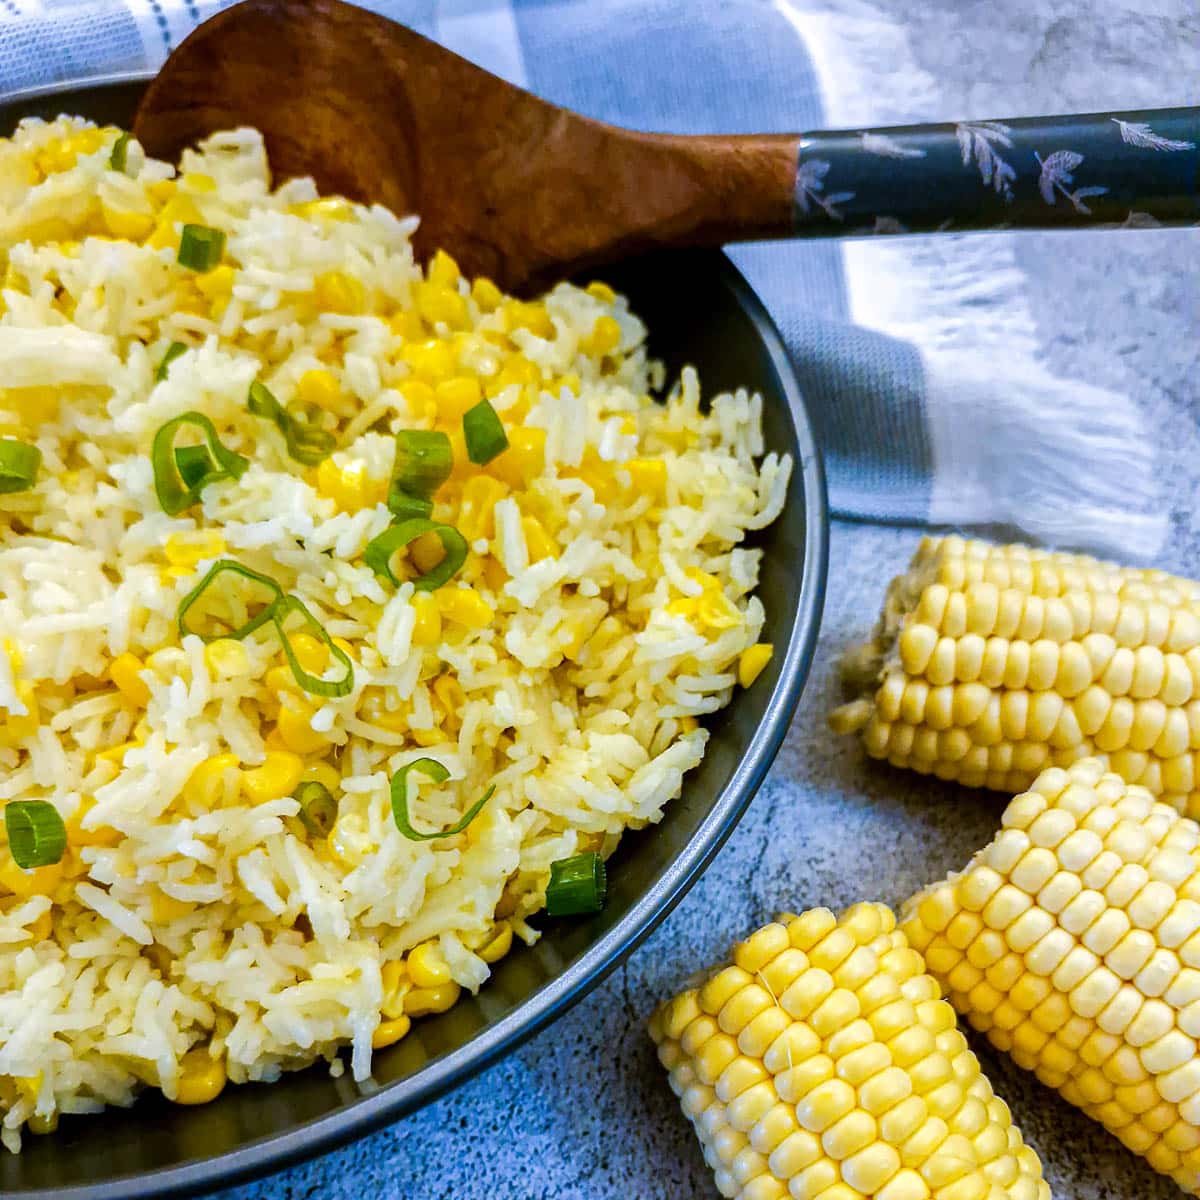
With the abundance of fresh corn cobs in the shops at the moment, this is the perfect recipe to make full use of the bounty. This buttered corn and rice dish is something we ate a lot of in South Africa during the summer months. Maize, after all, is the staple food of 90% of the African population.
This is a super simple recipe to make - and you will only need 4 main ingredients. If you can cook a pan of rice, you can make this recipe - and the best part is, it only takes 12 minutes to cook. And other than cutting the kernels off the corn cobs there's no other preparation involved!
The chicken stock imparts a delicious savoury element into the rice, and coupled with the buttery freshness of the corn elevates a mundane dish of rice into something really special.
As I mentioned, I've been making this dish for years, and I'd quite forgotten about it until I saw that Nagi from RecipeTinEats website had made her version of hot buttered corn and rice, using frozen corn. So I've resurrected my version using fresh corn for you to try.
I hope you enjoy it!
Jump to:
Ingredients
This will make sufficient for 4 people as a side dish.
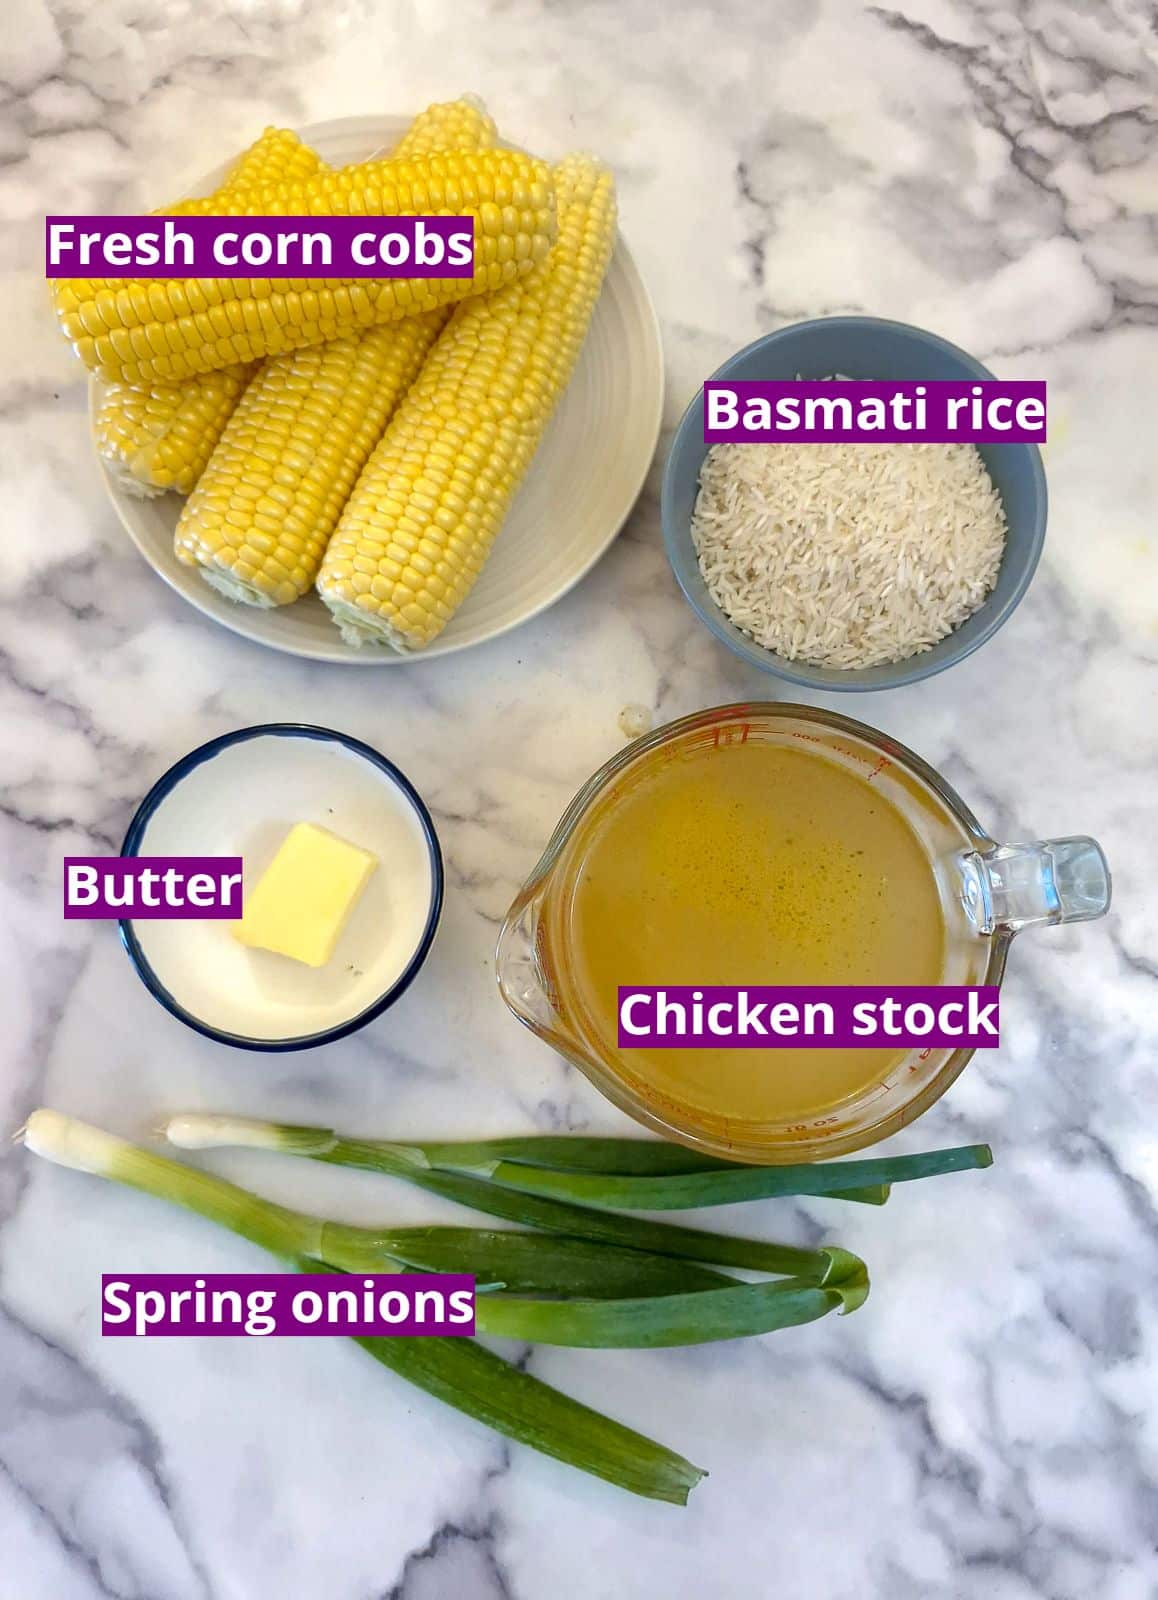
- Fresh corn cobs - these are fresh uncooked corn cobs, and the kernels will be sliced off the cob. You could use frozen corn if you prefer or even canned (drained) corn, but in my opinion, fresh corn has gives a superior taste.
- Rice - I like to use basmati, but you could use any long-grain rice that will cook in around 12 minutes. Don't use brown rice - it take longer to cook. And don't use sushi or 'pudding' rice - you'll end up with a stodgy mess.
- Butter - you can use salted or unsalted butter. It is used to saute the fresh corn kernels before they are cooked in the stock.
- Chicken stock - if you have fresh chicken stock you can use that, otherwise just make up the stock using a couple of chicken stock cubes. You could substitute with vegetable stock if you prefer.
- Spring onion - this is optional, and you will only need the green part which should be finely sliced. I like to stir it through the rice just before serving - it adds additional flavour and a nice green contrast to the dish.
- Salt - you may need a small amount of salt for seasoning, but this depends on how salty your chicken stock is.
**You can find the exact ingredient quantities on the printable recipe card at the end of this post**
Instructions
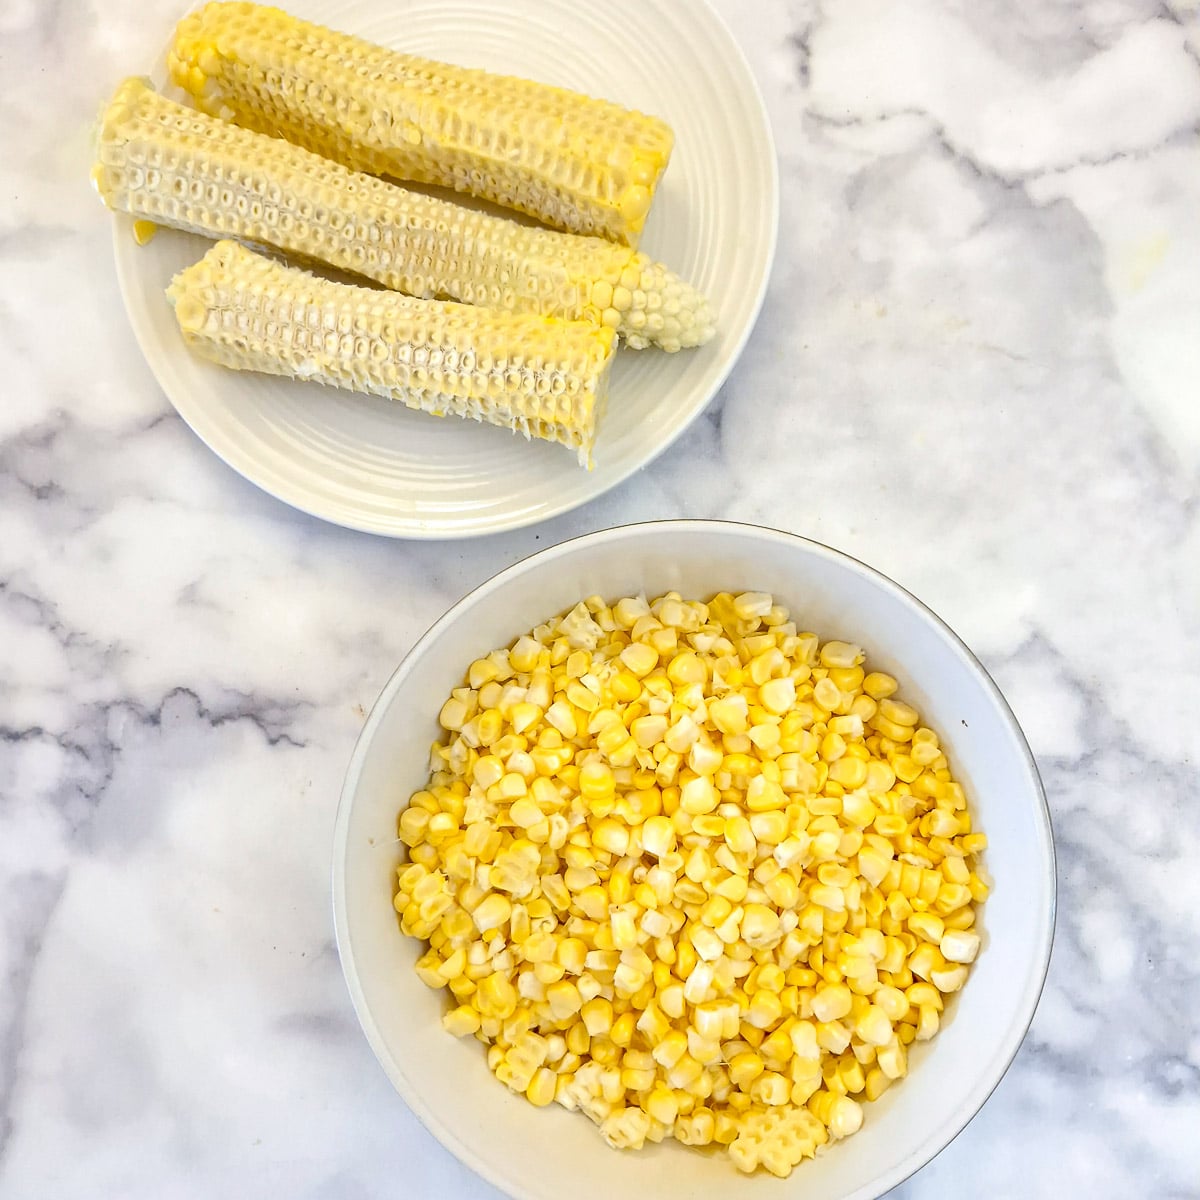
Step 1: Using a sharp knife, slice the corn kernels off the cob.
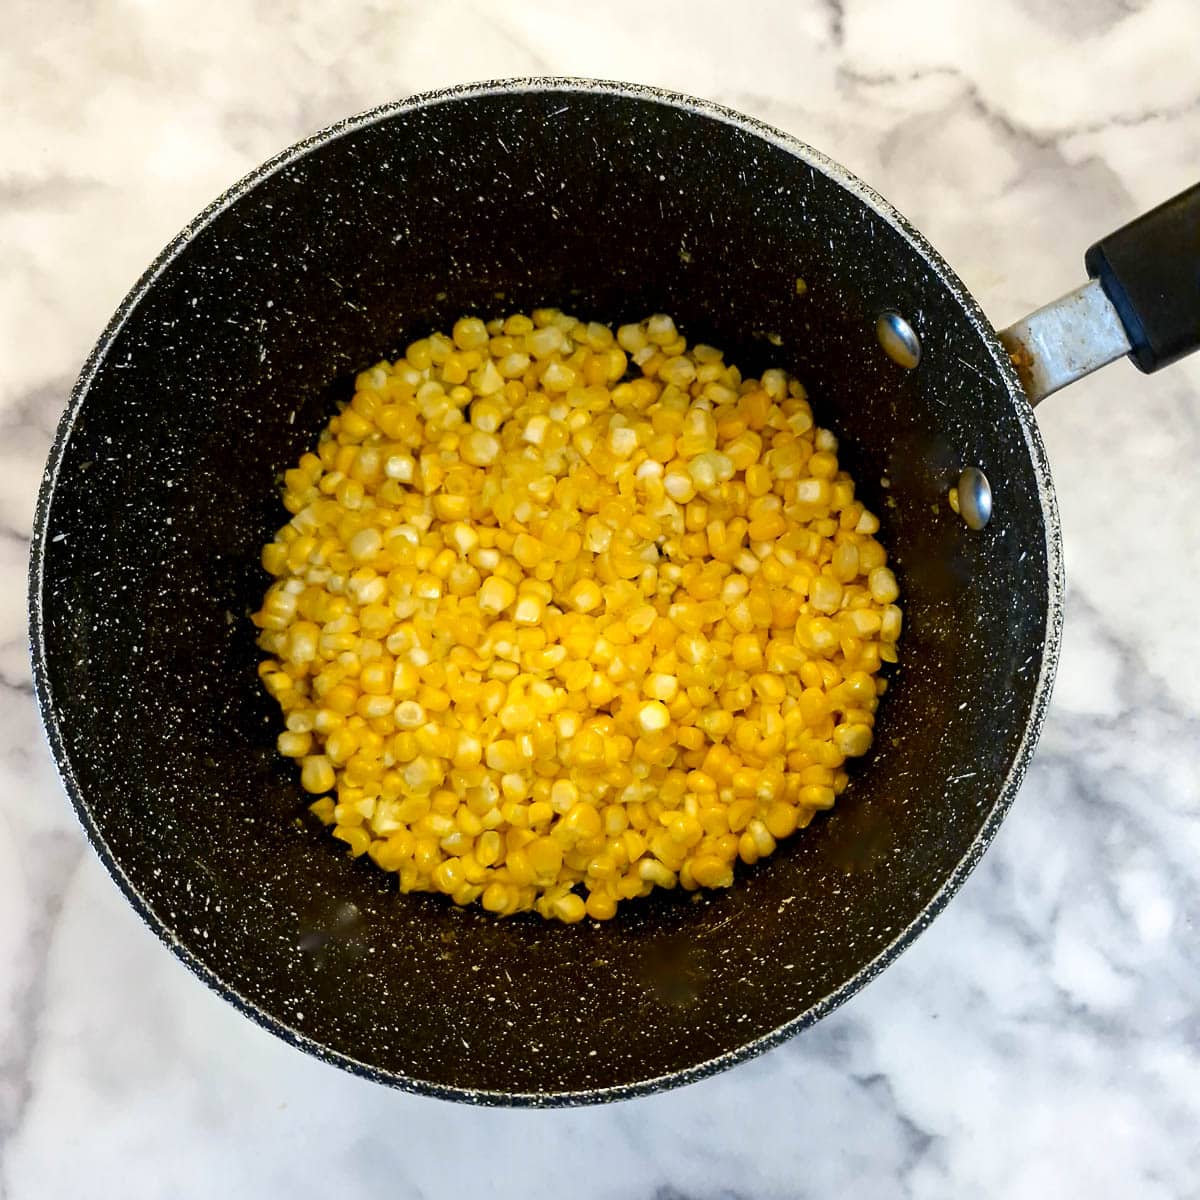
Step 2: Melt the butter in a saucepan and saute the corn for 1 to 2 minutes on medium heat.
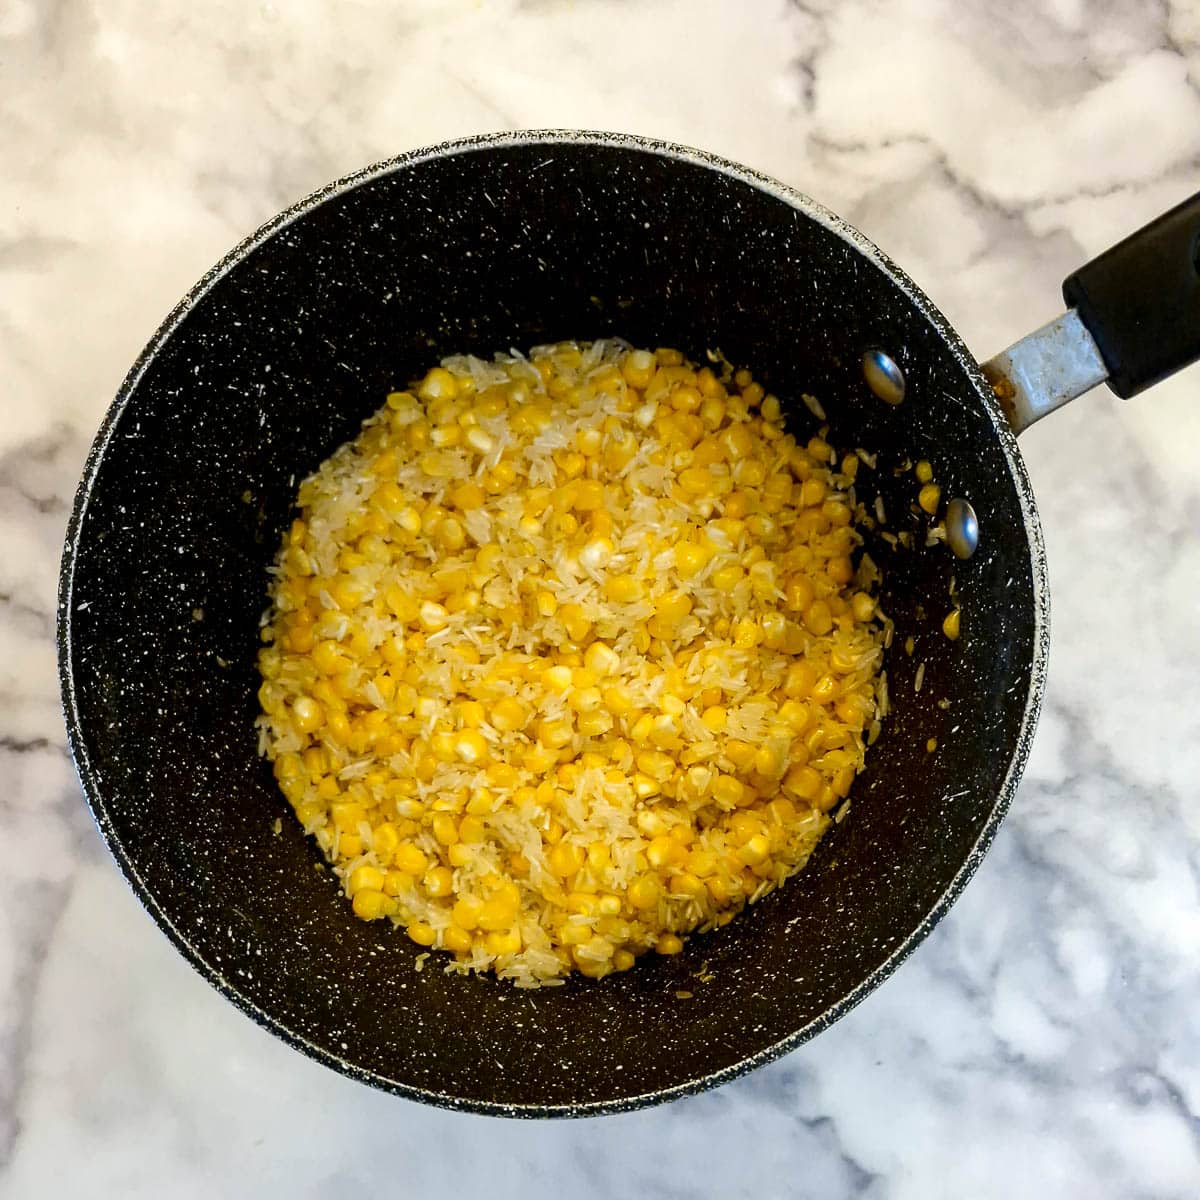
Step 3: Add the rice to the pan and stir to ensure each grain gets coated with the buttery mixture.
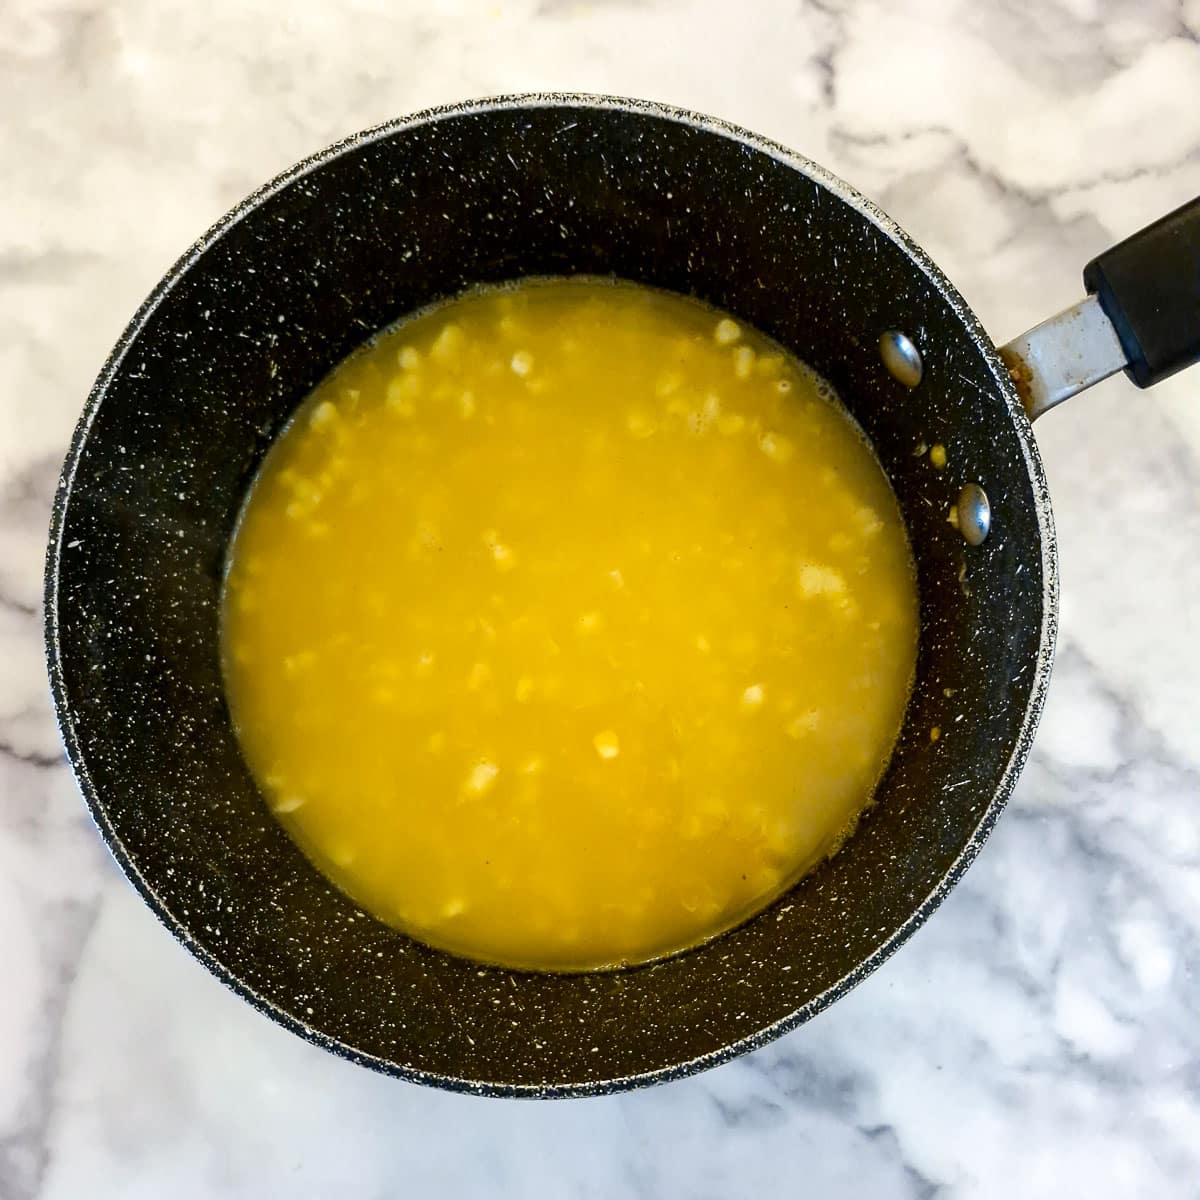
Step 4: Add the stock (and salt if using), stir, then turn up the heat and bring to a boil.
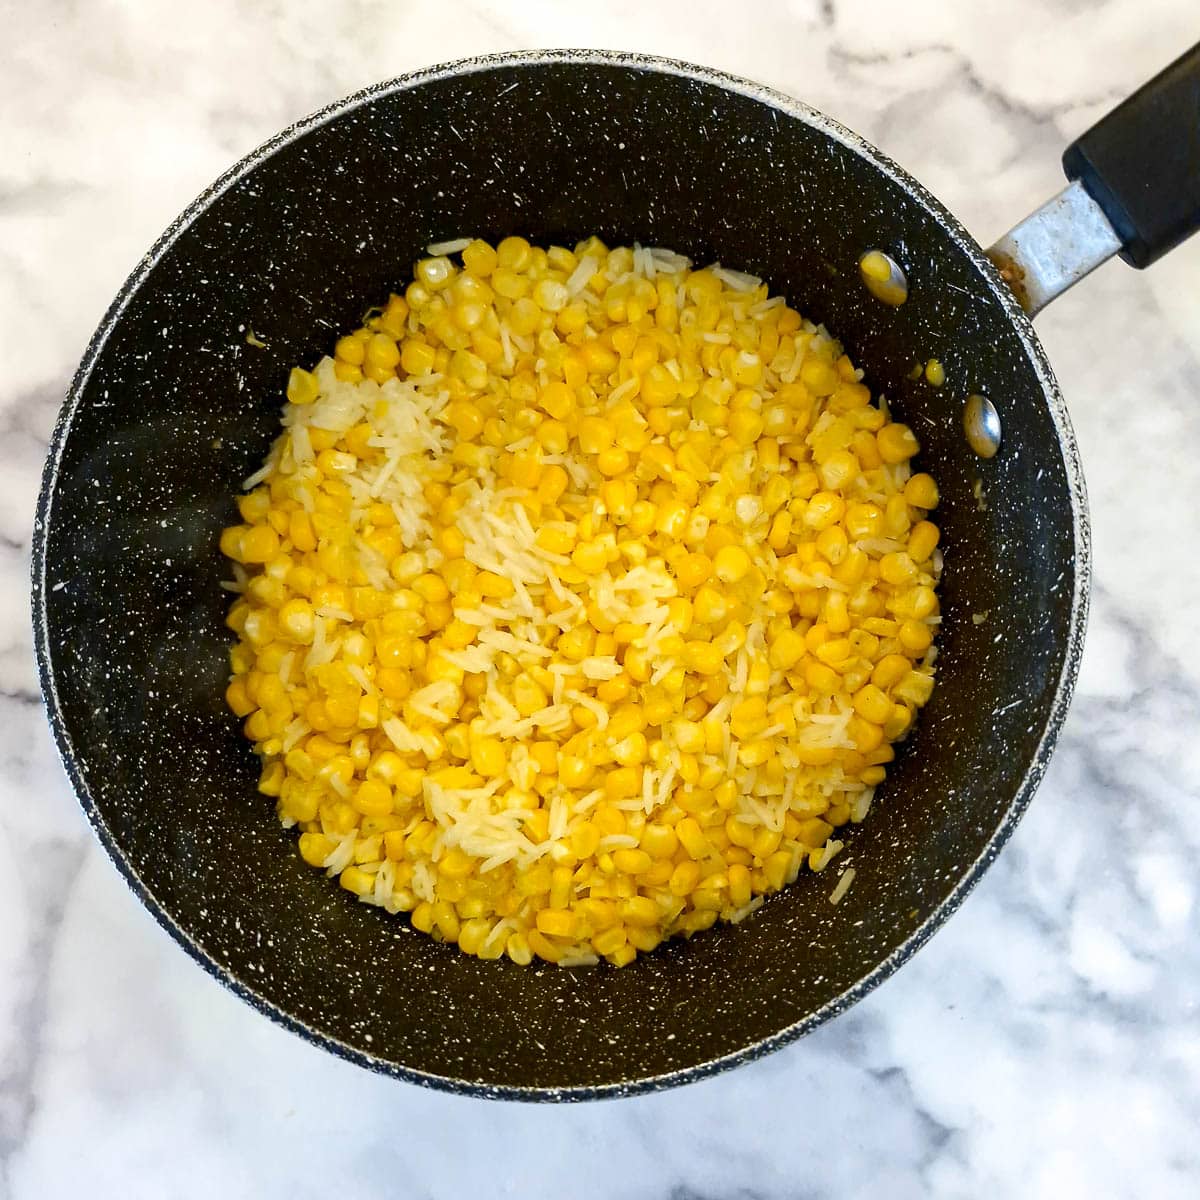
Step 5: Turn the heat to simmer, cover the pan with a tightly-fitting lid and leave to simmer for 12 minutes.
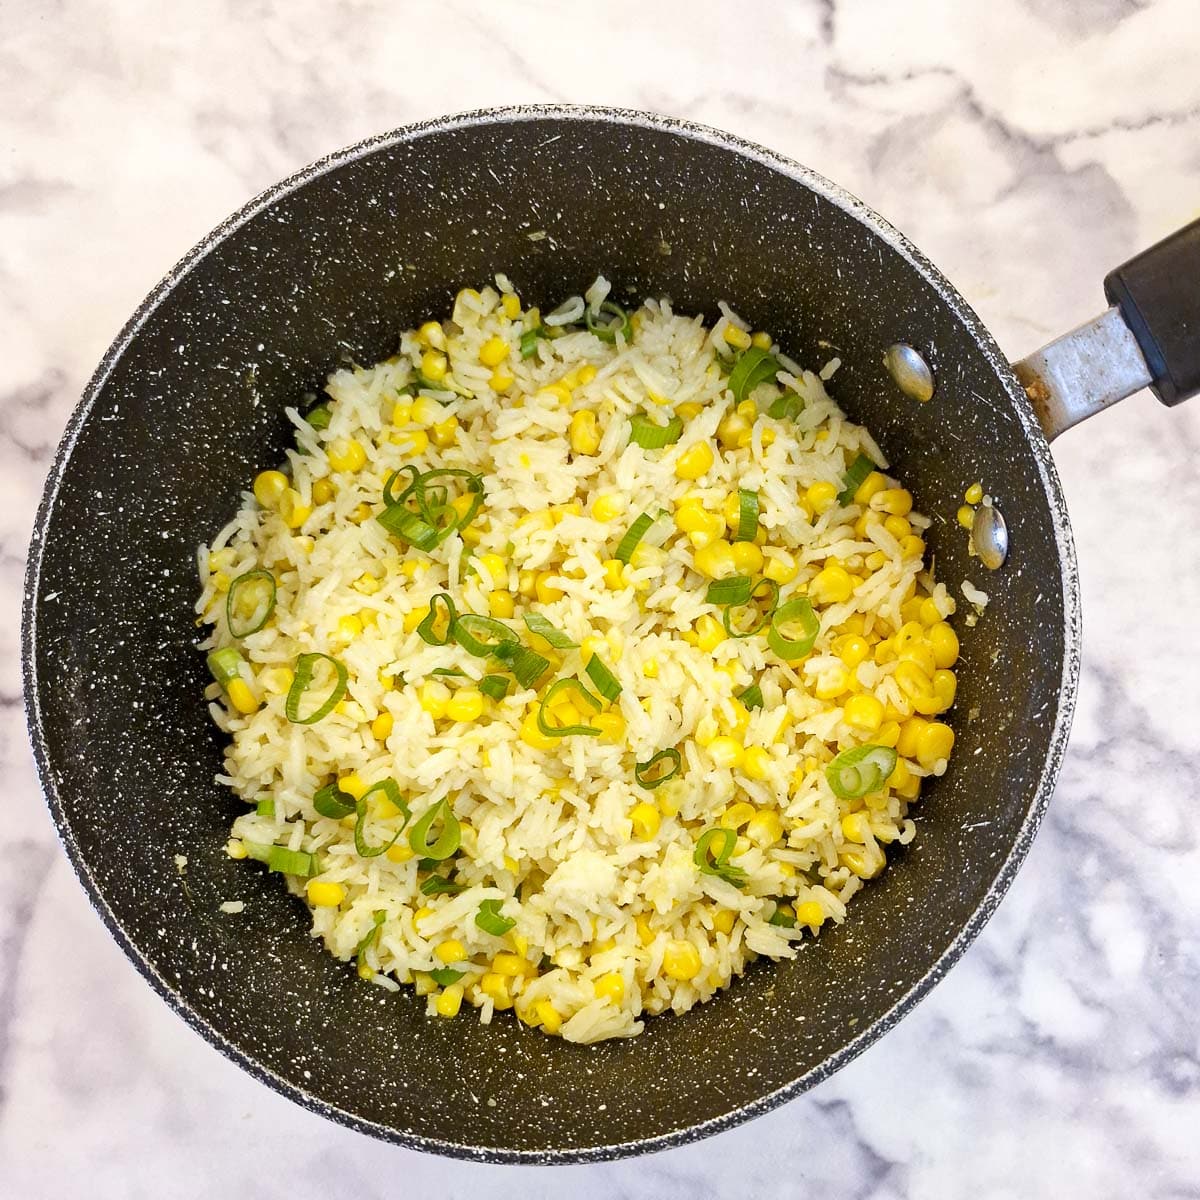
Step 6: Remove the pan from the heat and leave to stand, still covered, for 10 minutes so any residual liquid can be absorbed into the rice. Stir in the chopped green onions and serve immediately.
Tips for a successful outcome
Here are my top tips to ensure your buttered corn and rice always turns out perfectly:
- When cutting the kernels from the corn cobs, use a sharp knife and slice from top to bottom, angling the knife slightly so the blade slices as close to the cob as possible.
- I like to add salt to my rice when I'm cooking it, but instead of a teaspoon, I cut the amount down to half a teaspoon to allow for the saltiness of the stock. Use your own judgment on how much salt to add.
- Allow the chicken stock to come to a strong boil before turning the heat down to a simmer.
- Make sure your pan has a tightly-fitting lid to keep evaporation to a minimum - you don't want the rice to dry out.
- When simmering the rice, the liquid should be barely bubbling.
- After 12 minutes remove the lid and check that all (or most) of the liquid has been absorbed. If there is still a lot of liquid in the pan (there shouldn't be) allow it to simmer for a few minutes longer.
- Once you've checked the rice, return the lid to the pan and let the pan stand (off the heat) for 10 minutes. This will allow any residual liquid to be absorbed into the rice.
- Fluff the rice and corn mixture with a fork and stir in the green onions before serving.
What to serve with buttered corn and rice
This dish can be served with most dishes that you would normally serve with plain rice.
- as a side dish with a roast or perhaps with this chutney and mayonnaise chicken bake.
- with a stew - it goes really well with this green bean and lamb bredie.
- serve it with a pie - the sweetness of the corn would pair beautifully with this Moroccan lamb pie.
- and as I mentioned earlier, served cold this corn and rice makes a delightful addition to your barbeque spread.
Variations
This is just the basic recipe. There are plenty of ways to modify it:
- Garlic - depending on what you intend to serve with this dish you may like to add some garlic. Saute one or two cloves of finely chopped garlic for one minute in the butter before adding the corn.
- Extra vegetables - you can add other vegetables and turn it into a dish of buttered vegetables and rice.
- Stir a cup of defrosted frozen peas into the rice once it has finished cooking - before you leave it to stand for 10 minutes.
- Saute a finely diced carrot in the butter with the corn.
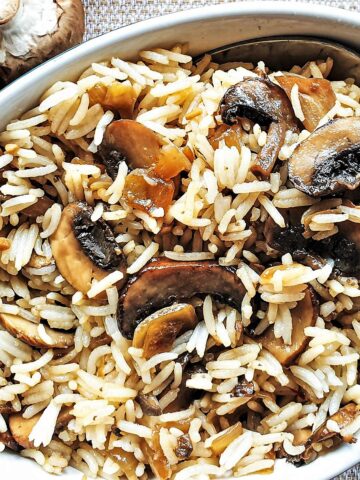
- Mushroom rice - swap out the corn for an equivalent amount of chopped mushrooms and make buttered mushroom rice!
- Add protein - for a complete meal-in-one, fry some seasoned chicken strips or prawns and stir into the rice before serving.
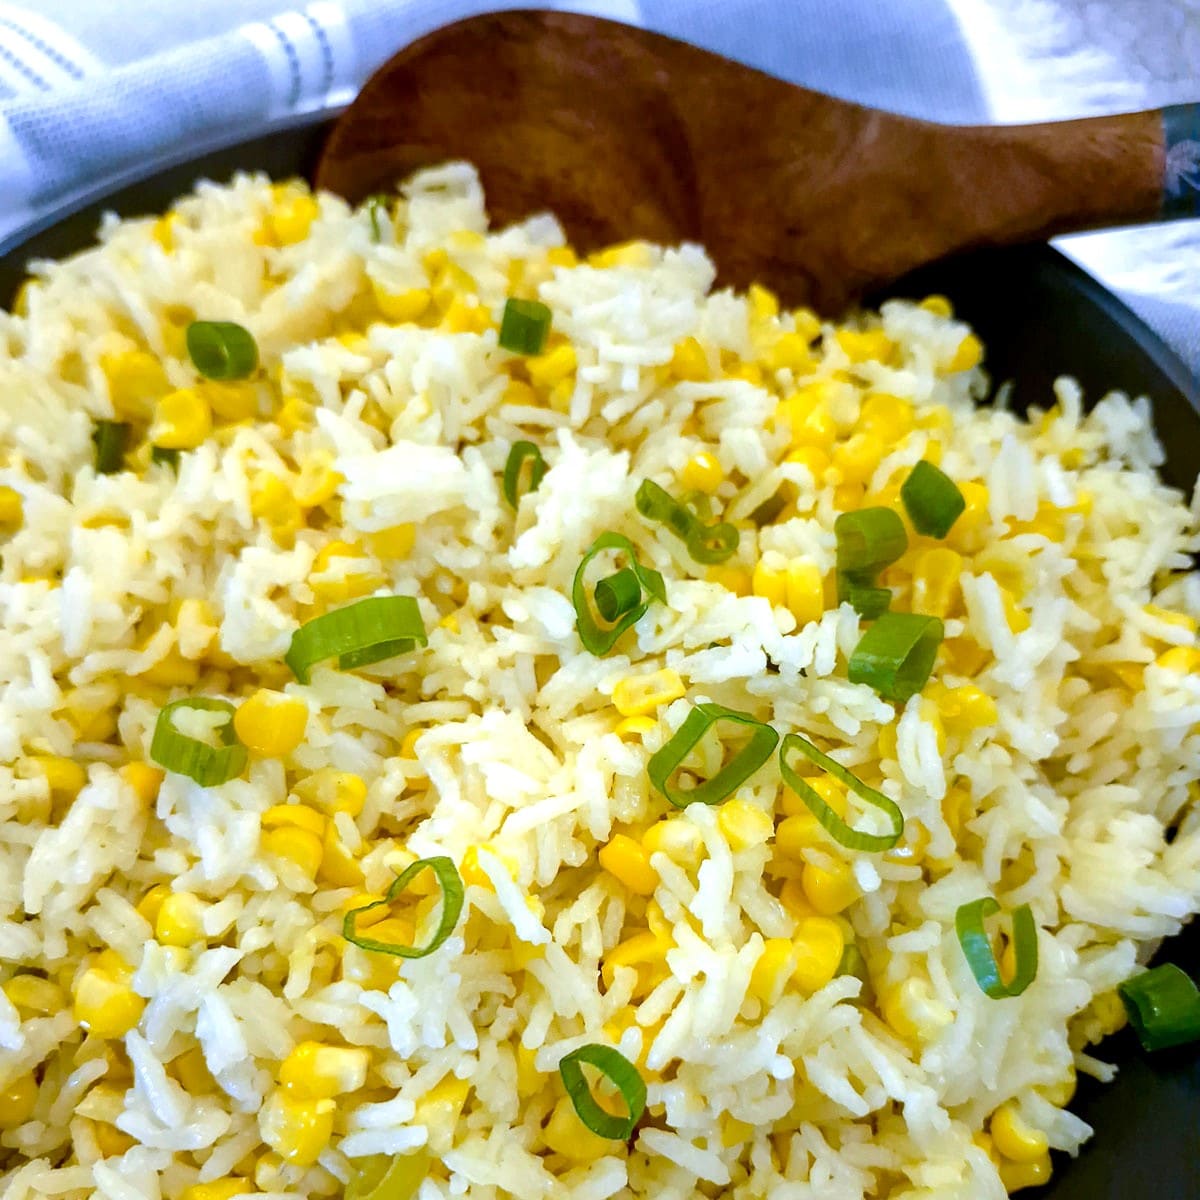
Equipment
To cut the corn from the cob, make sure you use a sharp knife.
For the rice, you will need a saucepan with a tightly-fitting lid. It should be large enough to hold the rice, corn and stock and allow for the expansion of the rice.
Storage
The cooked rice and corn freezes well and can be frozen in meal-sized containers for up to 4 months. Allow it to defrost in the refrigerator and reheat in the microwave or on the stove.
Leftovers can be kept in the refrigerator for up to 4 days.
Save for later
If you would like to make this buttered corn and rice why not save the recipe to one of your Pinterest boards so you can find it easily? Just click the image below.
Alternatively, you can save the recipe by clicking on the floating heart icon on the right-hand side of the screen.
Related recipes
Visit my sides and salad recipes page for other side dishes. Here are a few other rice side dishes you might enjoy:
📋The recipe

Fresh buttered corn and rice
(Click the stars to rate this recipe)
Equipment
- Medium-sized saucepan with tightly-fitting lid
- Sharp Knife
Ingredients
- 9¾ ounces / 275 grams fresh corn kernels roughly 3 cups
- 1 cup / 200 grams uncooked basmati rice
- 2 cups / 480 ml chicken stock you can make it with stock cubes
- 1 ounce / 30 grams butter
- 1 - 2 spring onions or green onions green part only (optional)
- ½ teaspoon salt (optional) or to taste
Instructions
- Using a sharp knife, slice the corn kernels off the cob.9¾ ounces / 275 grams fresh corn kernels
- Melt the butter in a saucepan and saute the corn for 1 to 2 minutes on medium heat.1 ounce / 30 grams butter
- Add the rice to the pan and stir to ensure each grain gets coated with the buttery mixture.1 cup / 200 grams uncooked basmati rice
- Add the stock (and salt if using), stir, then turn up the heat and bring to a boil.2 cups / 480 ml chicken stock, ½ teaspoon salt (optional)
- Turn the heat to simmer, cover the pan with a tightly-fitting lid and leave to simmer for 12 minutes.
- Remove the pan from the heat and leave to stand, still covered, for 10 minutes so any residual liquid can be absorbed into the rice. Stir in the chopped green onions and serve immediately.
Notes
- When cutting the kernels from the corn cobs, use a sharp knife and slice from top to bottom, angling the knife slightly so the blade slices as close to the cob as possible.
- I like to add salt to my rice when I'm cooking it, but instead of a teaspoon, I cut the amount down to half a teaspoon to allow for the saltiness of the stock. Use your own judgment on how much salt to add.
- Allow the chicken stock to come to a strong boil before turning the heat down to a simmer.
- Make sure your pan has a tightly-fitting lid to keep evaporation to a minimum - you don't want the rice to dry out.
- When simmering the rice, the liquid should be barely bubbling.
- After 12 minutes remove the lid and check that all (or most) of the liquid has been absorbed. If there is still a lot of liquid in the pan (there shouldn't be) allow it to simmer for a few minutes longer.
- Once you've checked the rice, return the lid to the pan and let the pan stand (off the heat) for 10 minutes. This will allow any residual liquid to be absorbed into the rice.
- Fluff the rice and corn mixture with a fork and stir in the green onions before serving.
- Garlic - depending on what you intend to serve with this dish you may like to add some garlic. Saute one or two cloves of finely chopped garlic for one minute in the butter before adding the corn.
- Extra vegetables - you can add other vegetables and turn it into a dish of buttered vegetables and rice.
- Stir a cup of defrosted frozen peas into the rice once it has finished cooking - before you leave it to stand for 10 minutes.
- Saute a finely diced carrot in the butter with the corn.
- Mushroom rice - swap out the corn for an equivalent amount of chopped mushrooms and make buttered mushroom rice!
- Add protein - for a complete meal-in-one, fry some seasoned chicken strips or prawns and stir into the rice before serving.
Nutrition
I am not a nutritionist. The nutrition information has been calculated using an on-line calculator, and is intended for information and guidance purposes only. If the nutrition information is important to you, you should consider calculating it yourself, using your preferred tool.
If you made this recipe and enjoyed it, I'd love it if you could give me a star rating in the comments below. And if you'd like to get in touch, you can email me at [email protected]. I'd love to hear from you. And don't forget to subscribe to my mailing list so you can grab yourself a copy of my FREE COOKBOOK!
If you'd like to continue browsing, just click on this link to all my recipes.












VJ
I really recommend you try serving this dish cold with your next barbeque - it goes amazingly well with grilled meat!