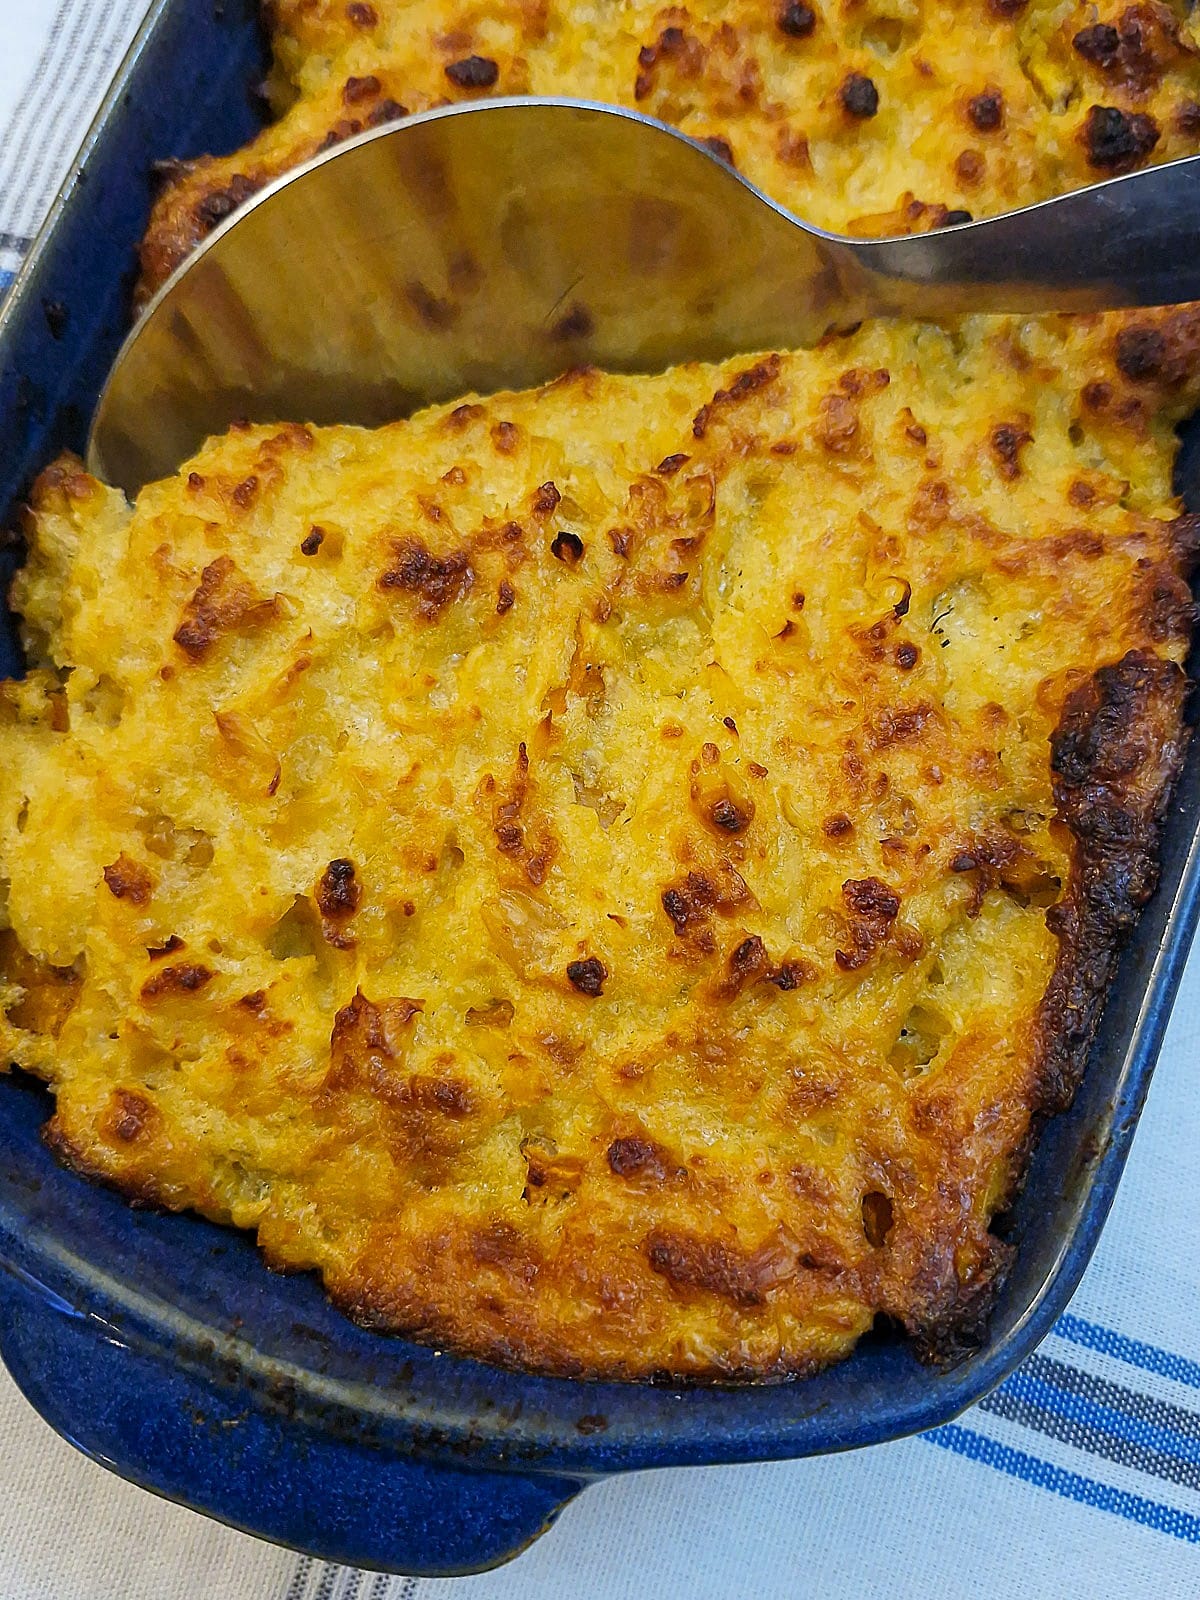
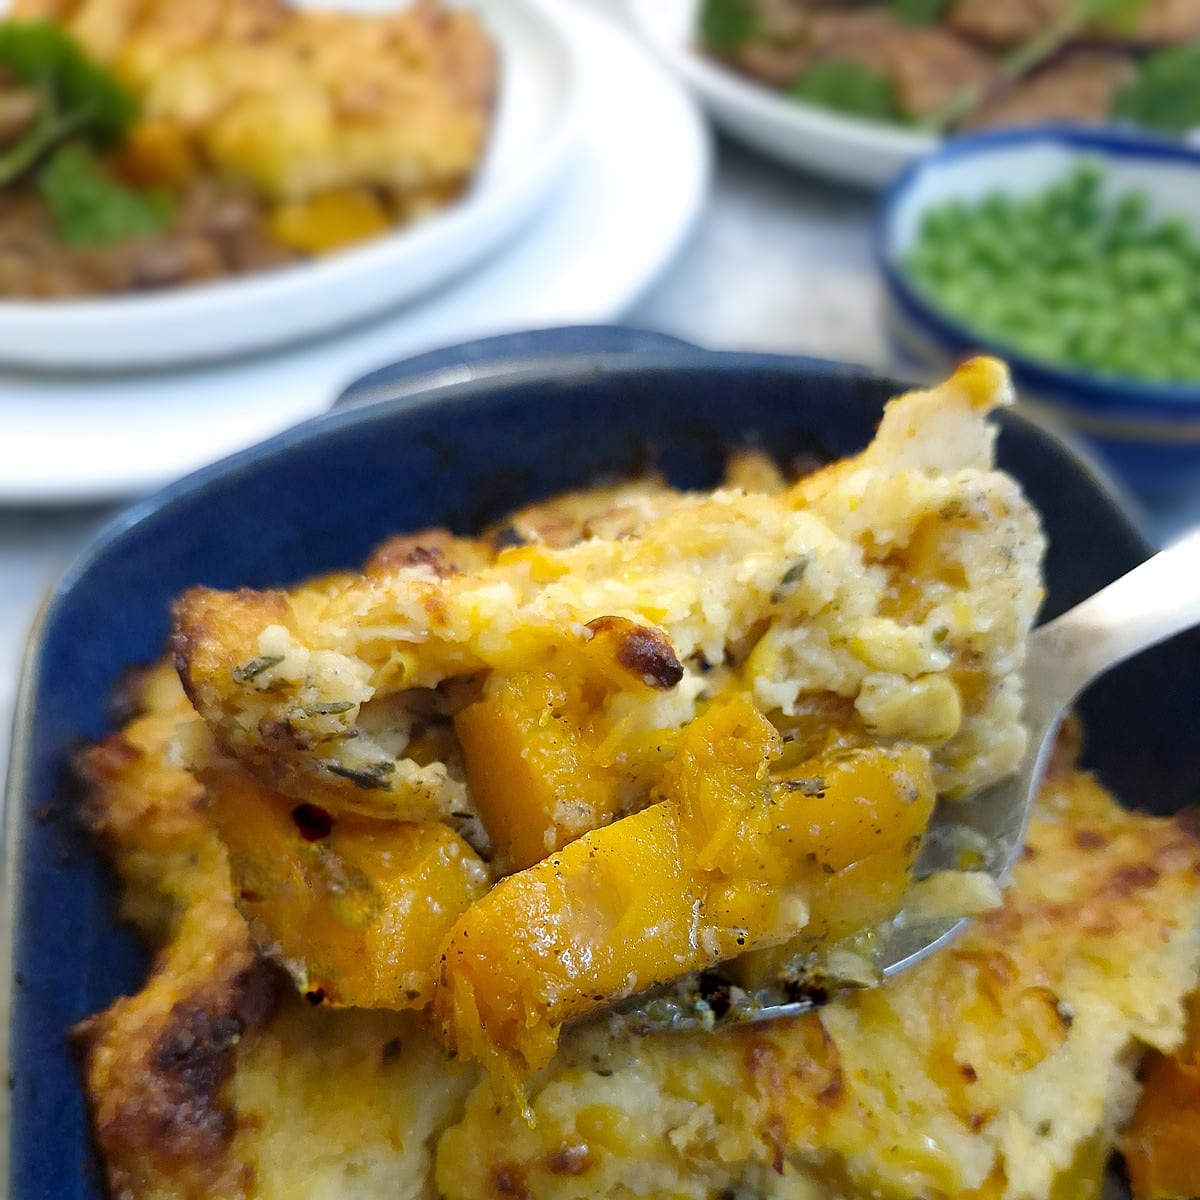
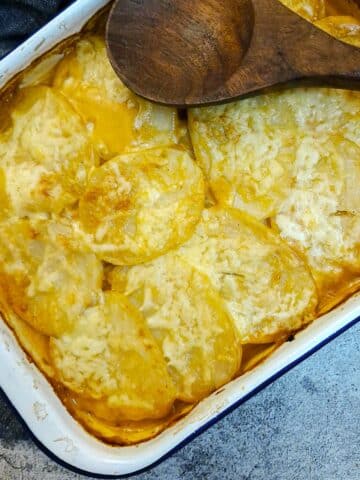
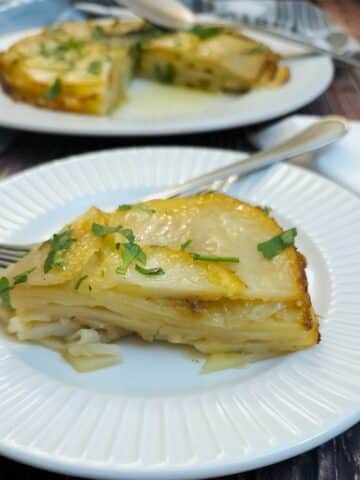
This easy butternut squash bake with a corn topping combines tender cubes of butternut squash with a golden topping of creamed corn, cheese, egg and breadcrumbs. It's oven-baked until crisp and lightly browned and is equally delicious served as a side alongside a roast or enjoyed as a simple vegetarian main.

This butternut squash bake is the sort of easy, homely dish that's perfect when you want a tasty side without too much effort. The squash becomes beautifully soft and sweet as it cooks, while the cheesy corn topping adds plenty of savoury flavour with a delicious golden crunch. It's simple comfort food made with everyday ingredients, but special enough to earn a regular place on the dinner table.
It's a lovely, versatile recipe too. Serve it as a vegetable side with a roast dinner, or as I've done here, with peri-peri chicken, or enjoy a generous helping on its own for a simple vegetarian supper. With its creamy, cheesy topping and naturally sweet squash, this is a vegetable recipe with a difference that's bound to become a family favourite.
This recipe was actually inspired by 2 of my other recipes. The corn and butternut combination came from this butternut stuffed with cheese and corn recipe, and the golden cheesy corn topping came from this chilli con carne pasta bake!
Jump to:
Butternut bake at a glance
- Quick overview of how to make a corn and butternut bake: Arrange cubed butternut in a casserole dish and season lightly. Top with the cheesy corn mixture and bake until golden.
- Main ingredients: Butternut, corn, cheese, breadcrumbs, egg
- Prep time: 20 minutes, most of which is taken up with cleaning the butternut. If you've got chunks of ready-chopped butternut in the fridge, you can easily get this into the oven in 5 minutes.
- Cooking time: 30 - 35 minutes, depending on the size of the butternut chunks.
- Yield: Serves 4 to 6 people
- Difficulty: Easy
Why I think you'll love this butternut casserole
- Easy butternut squash recipe, made with simple, everyday ingredients and minimal prep work. Perfect for serving with roast dinners, chicken or weeknight meals.
- A comforting vegetarian bake that's both filling and full of flavour.
- A great oven-baked vegetable recipe that requires very little hands-on cooking time.
- It saves on electricity, too, because if you're using the oven for a roast, you can just pop the butternut casserole into the oven alongside your meat roasting dish.
- Family-friendly vegetable bake recipe that even picky eaters tend to enjoy.
- Versatile enough to serve as a vegetarian main or a hearty side dish.
- A different way to serve butternut squash!
Simple ingredients for butternut squash bake
**This is just an overview to explain why I used a particular ingredient. The exact ingredient measurements are on the printable recipe card at the end of this post.**
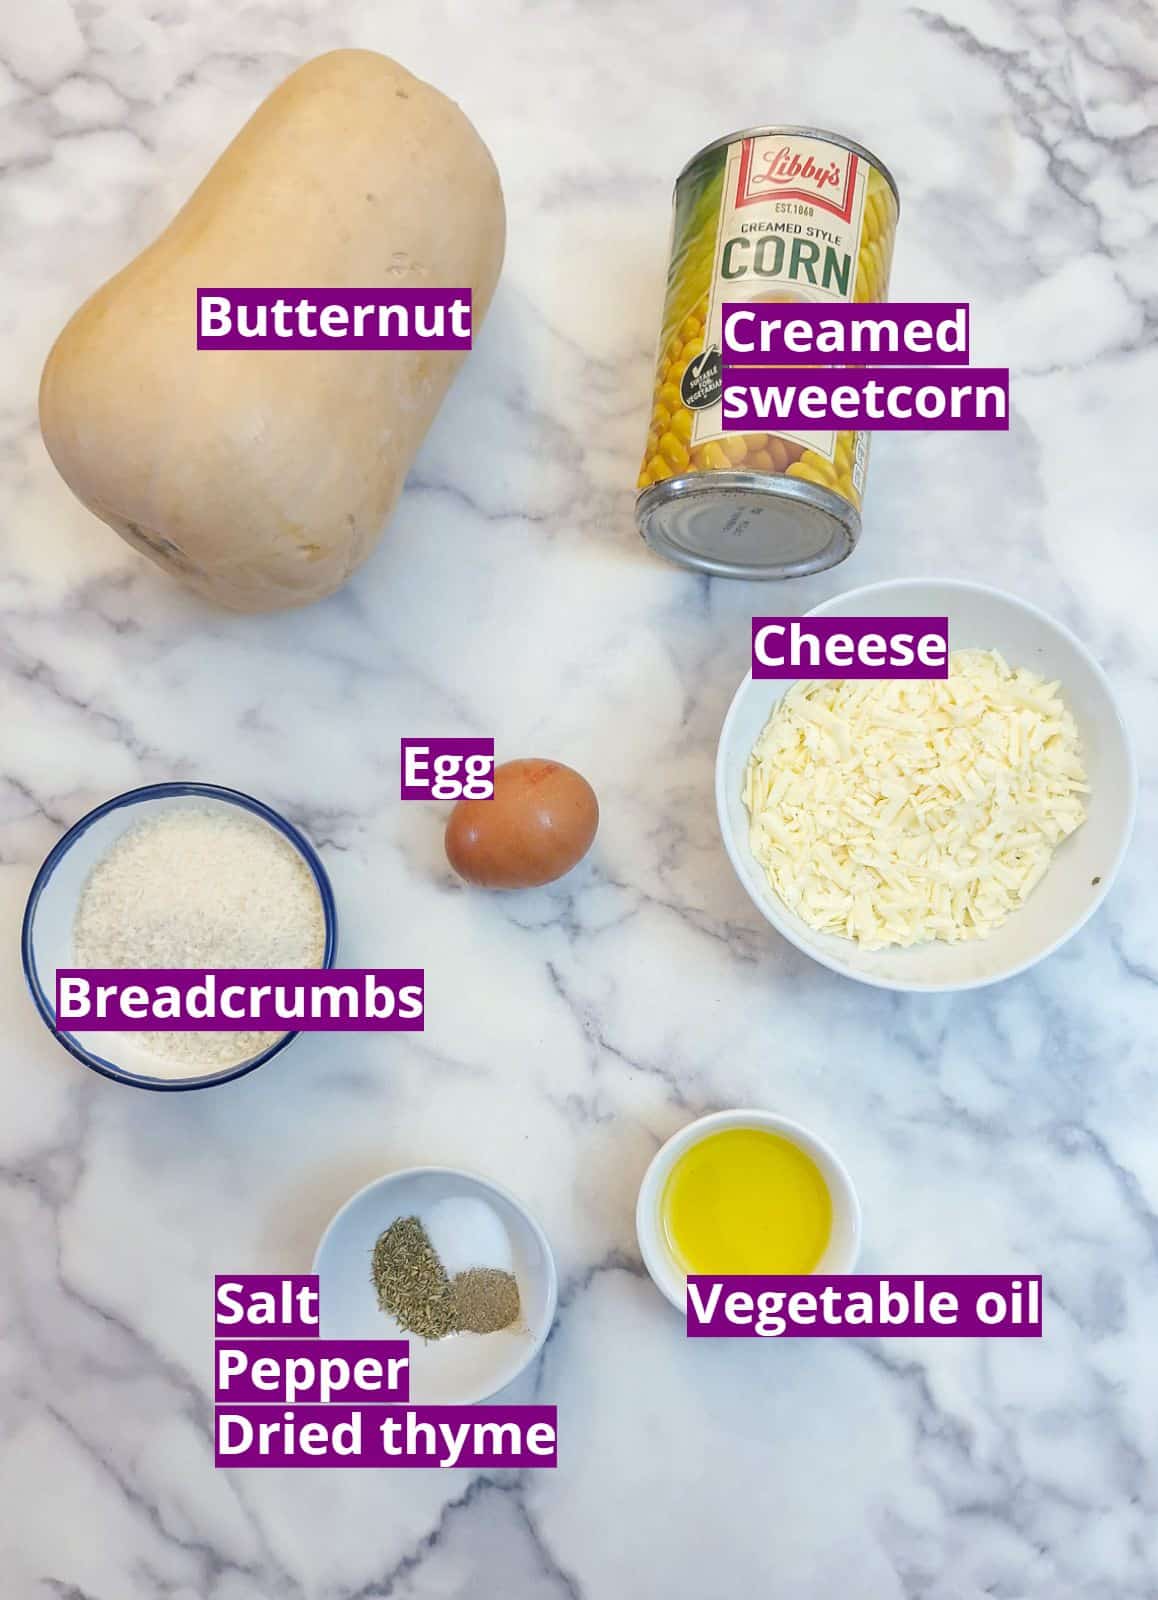
- Butternut squash. When choosing a butternut squash, go for one that's fairly even in shape from top to bottom. The long-necked, bulb-heavy ones tend to have more seeds and less usable flesh. For 4 people,1 you will probably need a medium-sized butternut, which weighs about 800 grams or 1.75 pounds.
- Creamed sweetcorn. If you can buy cream-style sweetcorn, then this is the one to go for. I find it difficult to source in my part of the UK, so I tend to buy whole kernel corn, drain it and blitz it briefly in a food processor (add a tablespoon or two of cream for a more luxurious blend). For this recipe, I was lucky. I managed to find some cream-style corn in one of my local shops.
- Egg. This is added to the topping to provide a little extra moisture, but more importantly, to ensure the topping binds and sticks together once cooked.
- Breadcrumbs. Combined with the cheese, this helps create a crispy result. I use Panko breadcrumbs because they are so crispy, but you could use grated day-old bread instead.
- Grated cheese. Good old British cheddar! Use whatever cheese you have that grates and melts easily. A mixture of cheddar and mozzarella would be good. I often combine grated cheddar and grated mozzarella and freeze it in a Ziploc bag. It lasts forever in the freezer, doesn't stick together, and I can just grab a handful when I need grated cheese for sauces (or this topping)!
- Vegetable oil. Just a drizzle to encourage the butternut squash to soften.
- Salt, black pepper and dried thyme. This is my choice of seasoning and spices to add to the butternut.
How to make this easy butternut squash bake
Just a few simple steps:
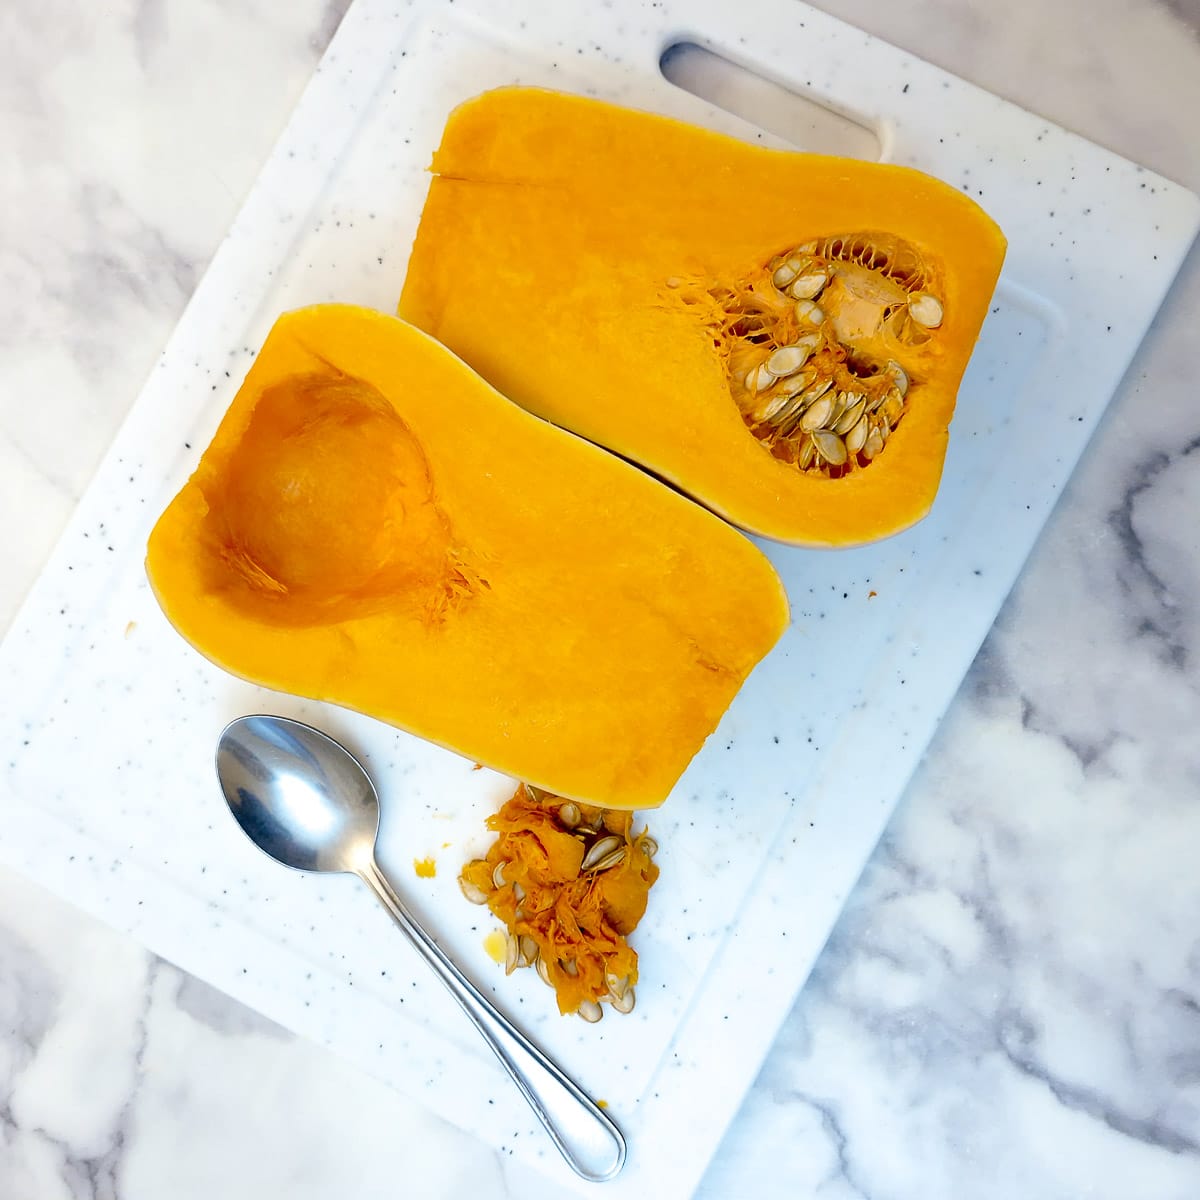
Step 1: Cut the butternut in half, from top to bottom and use a tablespoon to scoop out the seeds. Discard the seeds.
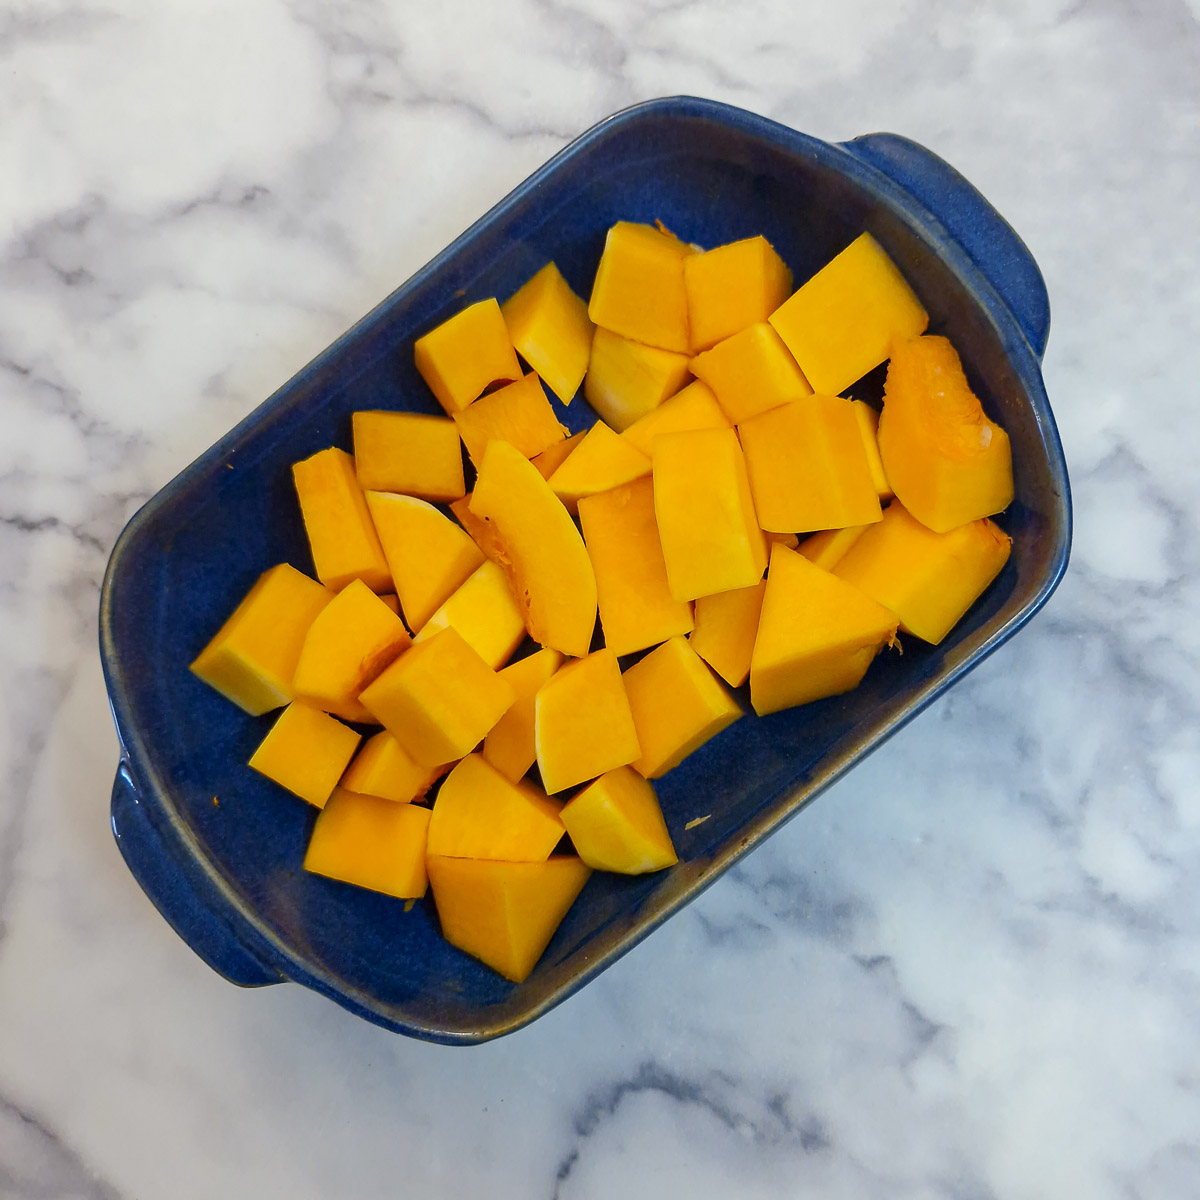
Step 2: Peel the butternut (use a vegetable peeler or sharp knife - whichever feels easier for you) and cut the peeled butternut into chunks. Place the chunks in a baking dish.
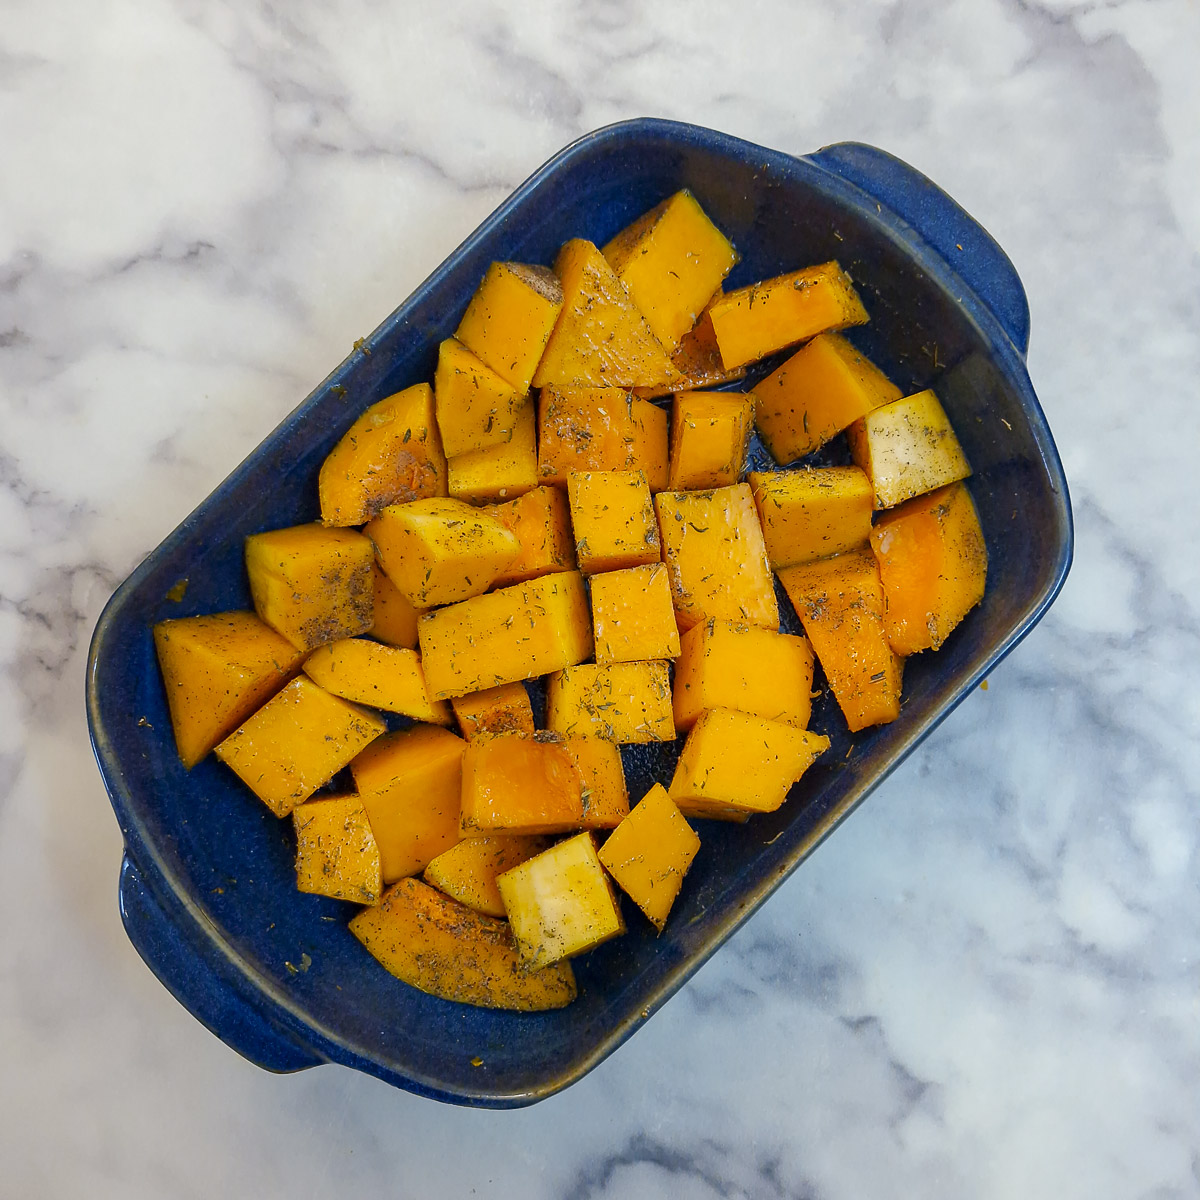
Step 3: Combine the vegetable oil with the salt, pepper and thyme and drizzle it over the butternut. Use your hands to mix it evenly and ensure that the butternut is completely coated.
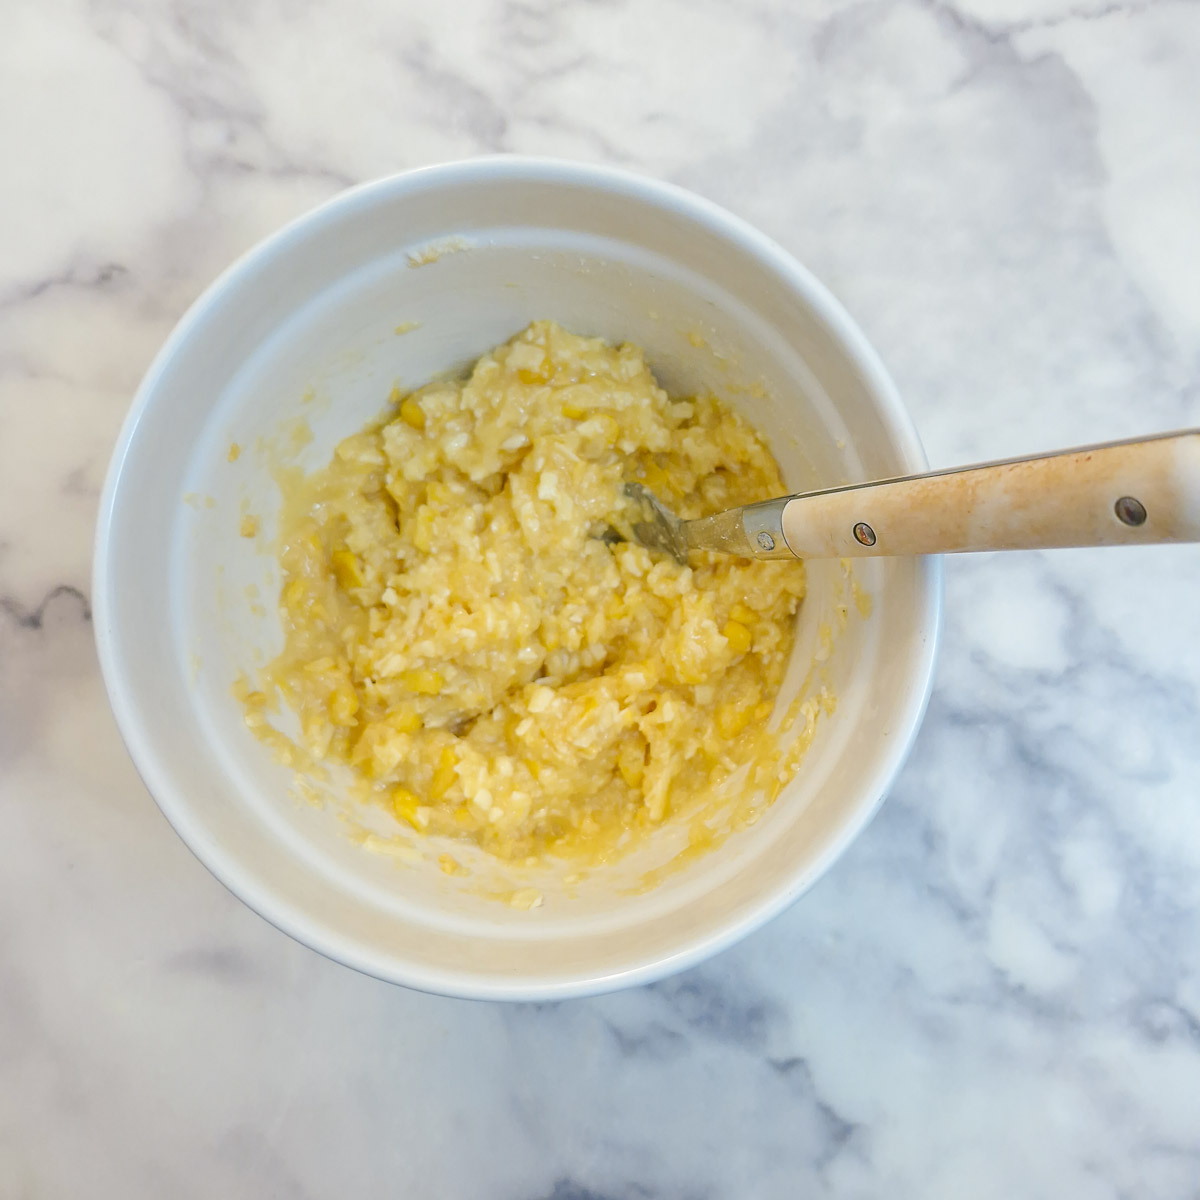
Step 4: Combine the cheese, breadcrumbs, creamed sweetcorn and egg in a bowl.
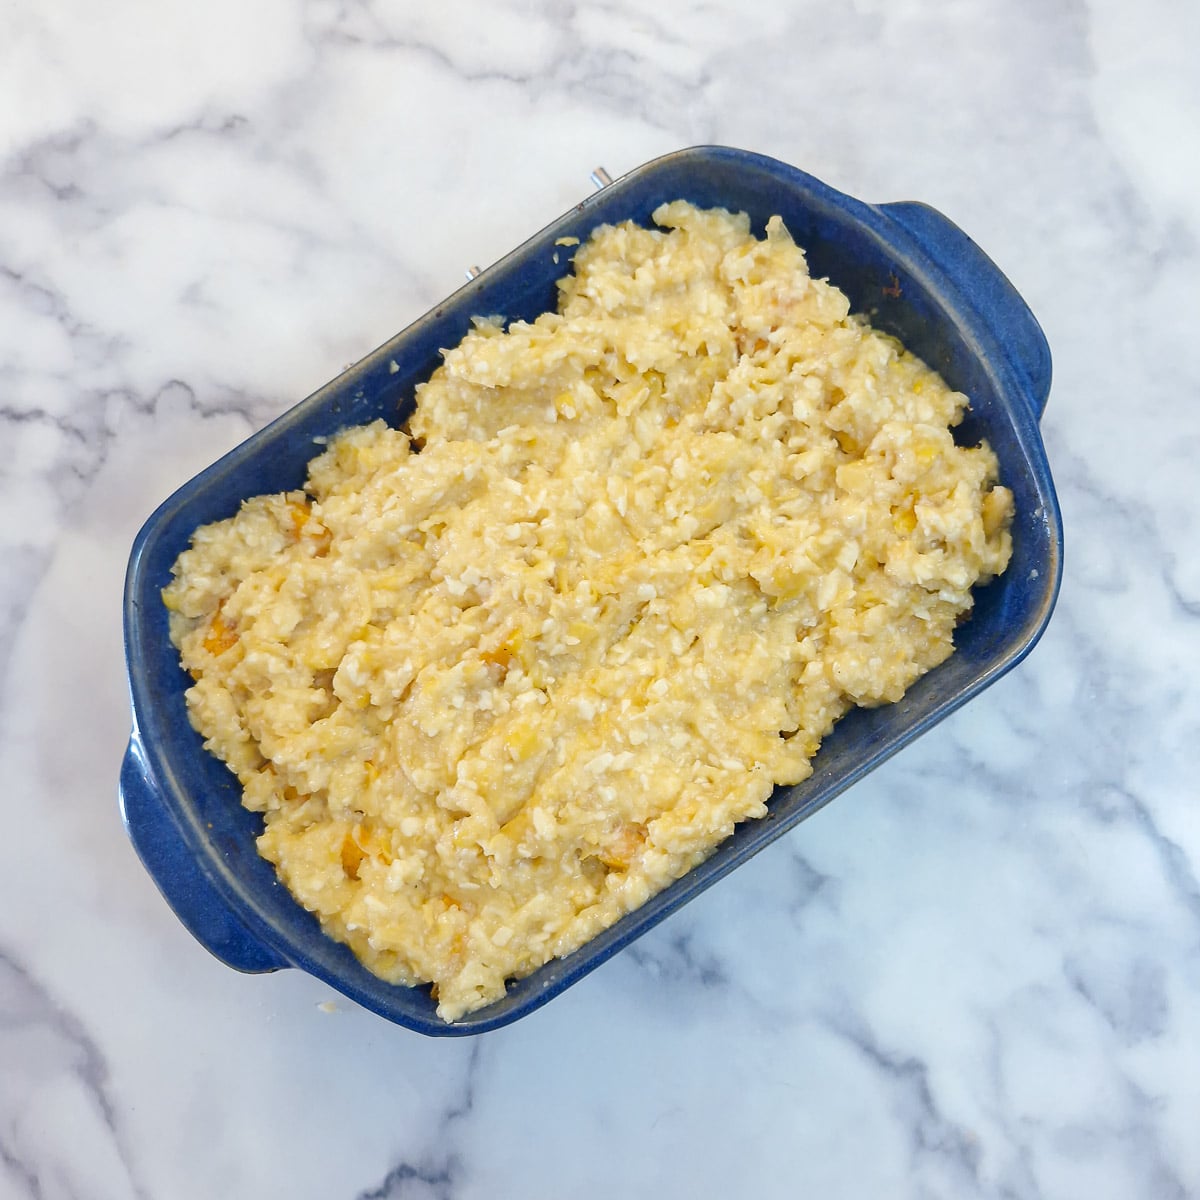
Step 5: Spread the corn mixture evenly over the butternut. Tip - place spoonfuls of the mixture on top of the butternut and use a fork to spread it evenly.
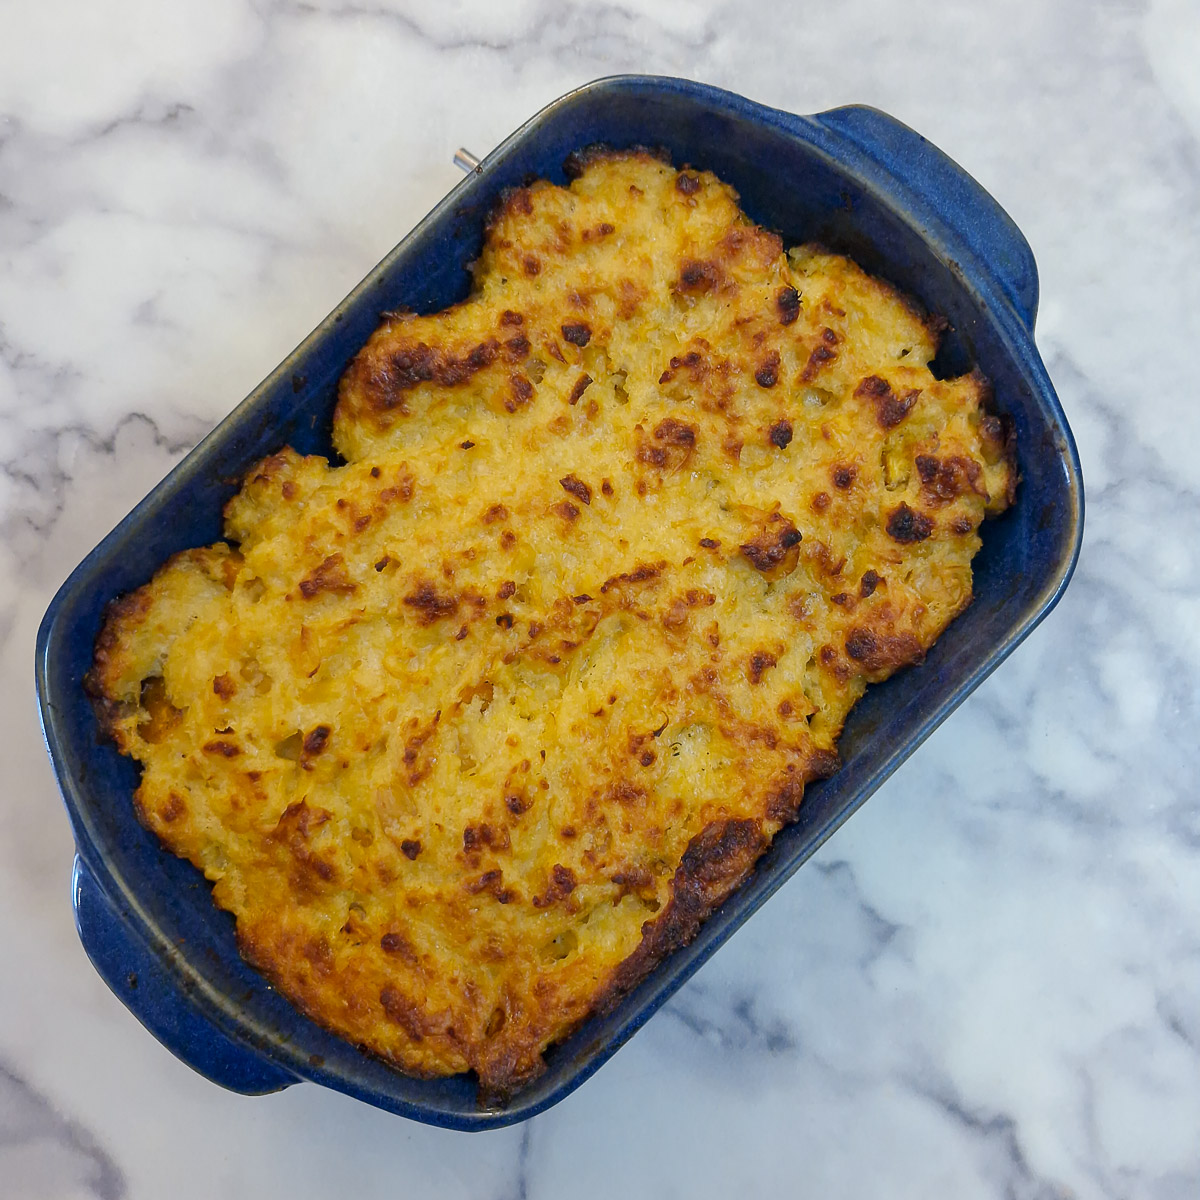
Step 6: Bake in a preheated oven ( 200°C /180°C fan) or 400°F /355°F fan)) for 30 to 35 minutes until the squash is tender and the corn topping is crispy and golden.
Tips for a successful outcome
Here's how to ensure this easy vegetable bake always turns out perfectly:
- There are many ways to peel a butternut squash. I find the easiest way to do it is to cut it in half from top to bottom and scoop out the seeds. If the skin is quite soft (ie a young butternut), it's easiest to peel it with a vegetable peeler; for an older butternut (with a tougher skin), it might be easier to cut it into slices, across the width, and peel each piece with a sharp knife.
- Cut the butternut into pieces as evenly-sized as possible so they all cook at the same time.
- When placing the corn topping over the butternut, try to flatten the butternut pieces to give you an even surface to work on, then place spoonfuls of the corn mixture on top. Use a fork to gently spread the corn mixture so it covers the butternut evenly.
- Do remember to preheat the oven first. If you put the butternut casserole bake into a cold oven, you may have to add a few extra minutes to the cooking time to ensure the butternut softens properly.
Serving suggestions
This is a side dish - you can serve it anywhere you would add a vegetable side.
- It goes particularly well with roast chicken.
- Try serving it with roast pork or sausages with a little apple sauce and onion gravy.
- Pair it with roast lamb and rosemary potatoes for a more traditional plate.
- It's also great with a piece of grilled salmon, where the sweetness of the squash complements the richness of the fish.
Variations
- Swap the butternut for sweet potato (or yams) or use a mixture of the two.
- Stir a little crispy fried bacon or pancetta into the corn topping.
- Add a pinch of dried chilli flakes to the seasoning and thyme that is used to coat the butternut.
Equipment
These are the main items of equipment I used:
- A ceramic baking dish, but you could use a metal dish too. It needs to be large enough to hold all the butternut pieces.
- A small mixing bowl to combine the corn topping.
- Other than those, you will need a sharp knife to cut the butternut in half, a tablespoon to scoop out the seeds, and, optionally, a vegetable peeler to remove the skin.
Storage
- Refrigerator. Leftovers can be stored in an airtight container in the refrigerator for up to three days.
- Reheating. Reheat in a saucepan on the stove, or if you have refrigerated the leftovers in the dish the butternut was cooked in, you could place it in the oven at 150°C / 300°F for 15 minutes or until piping hot.
- Freezing. Leftovers (both butternut and corn topping) can be frozen together for up to 3 months. Allow them to defrost in the refrigerator and then reheat as above.
FAQ
Yes, you can prepare this dish a few hours in advance and keep it covered in the refrigerator. When you are ready, simply bake as directed and add a few minutes to the cooking time if it's going into the oven while still chilled.
Yes. For this recipe, it's best to peel the squash as it doesn't soften enough in the oven to give a pleasant texture.
You can, but fresh works best. If using frozen, make sure it's fully thawed and well drained to avoid adding excess moisture to the dish.
Yes, just use gluten-free breadcrumbs or leave them out altogether. The topping will still set nicely thanks to the egg and cheese, although it may not be quite as crispy.
Save for later
If you would like to try this recipe, why not save it to one of your Pinterest boards so you can find it easily? Just click the image below.
Alternatively, you can save the recipe by clicking on the floating heart icon on the right-hand side of the screen.

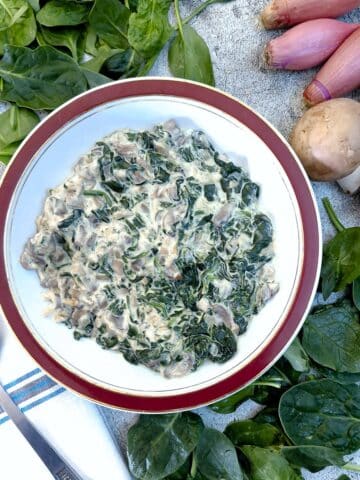
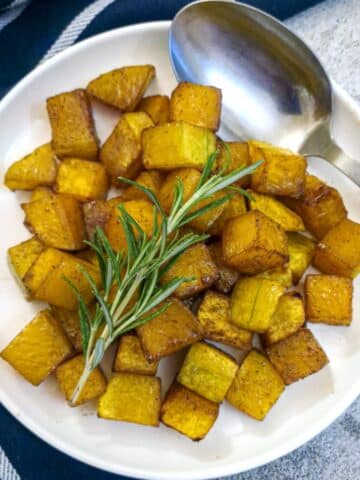
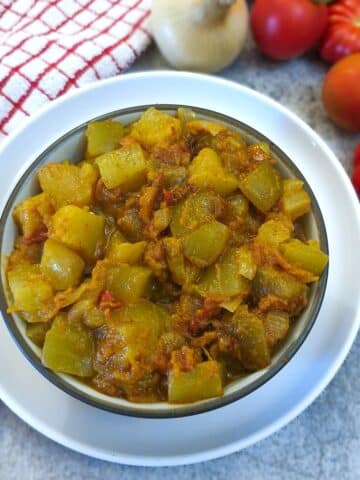
Related recipes
Visit my sides and salad recipes page for more tasty side ideas. Here are a few you might enjoy:

📋The recipe

Easy butternut squash bake with cheesy corn topping
(Click the stars to rate this recipe)
Equipment
- Baking dish large enough to hold the butternut
- Small mixing bowl for the topping
- Sharp Knife
- Vegetable peeler optional to peel the squash (use the knife instead)
Ask a Question
If you have a question about this recipe that has not been answered, please use the box below to ask it.
Use this with care. This is an AI-generated result and may contain errors or inaccuracies. I cannot be held responsible for the information returned.
Ingredients
- 1¾ pounds / 800 grams butternut or 1 medium-sized butternut
- 14 ounces / 390 grams can creamed sweetcorn
- 1 large egg
- ⅓ cup / 33 grams Panko breadcrumbs
- ¾ cup / 90 grams grated cheddar cheese
- 1 teaspoon dried thyme
- ½ teaspoon salt
- ¼ teaspoon black pepper
- 1 tablespoon vegetable oil
Instructions
- Cut the butternut in half, from top to bottom and use a tablespoon to scoop out the seeds. Discard the seeds.1¾ pounds / 800 grams butternut
- Peel the butternut (use a vegetable peeler or sharp knife - whichever feels easier for you) and cut the peeled butternut into chunks. Place the chunks in a baking dish.
- Combine the vegetable oil with the salt, pepper and thyme and drizzle it over the butternut. Use your hands to mix it evenly and ensure that the butternut is completely coated.1 teaspoon dried thyme, ½ teaspoon salt, ¼ teaspoon black pepper, 1 tablespoon vegetable oil
- Combine the cheese, breadcrumbs, creamed sweetcorn and egg in a bowl.14 ounces / 390 grams can creamed sweetcorn, ⅓ cup / 33 grams Panko breadcrumbs, ¾ cup / 90 grams grated cheddar cheese, 1 large egg
- Spread the corn mixture evenly over the butternut. Tip - place spoonfuls of the mixture on top of the butternut and use a fork to spread it evenly.
- Bake in a preheated oven (200°C /180°C (fan) or 400°F /355°F fan)) for 30 to 35 minutes until the squash is tender and the corn topping is crispy and golden.
- Serve as a side dish with a roast dinner, or as a simple vegetarian main.
Notes
- There are many ways to peel a butternut squash. I find the easiest way to do it is to cut it in half from top to bottom and scoop out the seeds. If the skin is quite soft (ie a young butternut), it's easiest to peel it with a vegetable peeler; for an older butternut (with a tougher skin), it might be easier to cut it into slices, across the width, and peel each piece with a sharp knife.
- Cut the butternut into pieces as evenly-sized as possible so they all cook at the same time.
- When placing the corn topping over the butternut, try to flatten the butternut pieces to give you an even surface to work on, then place spoonfuls of the corn mixture on top. Use a fork to gently spread the corn mixture so it covers the butternut evenly.
- Do remember to preheat the oven first. If you put the butternut casserole bake into a cold oven, you may have to add a few extra minutes to the cooking time to ensure the butternut softens properly.
- Refrigerator. Leftovers can be stored in an airtight container in the refrigerator for up to three days.
- Reheating. Reheat in a saucepan on the stove, or if you have refrigerated the leftovers in the dish the butternut was cooked in, you could place it in the oven at 150°C / 300°F for 15 minutes or until piping hot.
- Freezing. Leftovers (both butternut and corn topping) can be frozen together for up to 3 months. Allow them to defrost in the refrigerator and then reheat as above.
Nutrition
I am not a nutritionist. The nutrition information has been calculated using an on-line calculator, and is intended for information and guidance purposes only. If the nutrition information is important to you, you should consider calculating it yourself, using your preferred tool.
If you made this recipe and enjoyed it, I'd love it if you could give me a star rating in the comments below. And if you'd like to get in touch, you can email me at [email protected]. I'd love to hear from you. And don't forget to subscribe to my mailing list so you can grab yourself a copy of my FREE COOKBOOK!
If you'd like to continue browsing, just click on this link to all my recipes.

Did you make this recipe? Let me know!