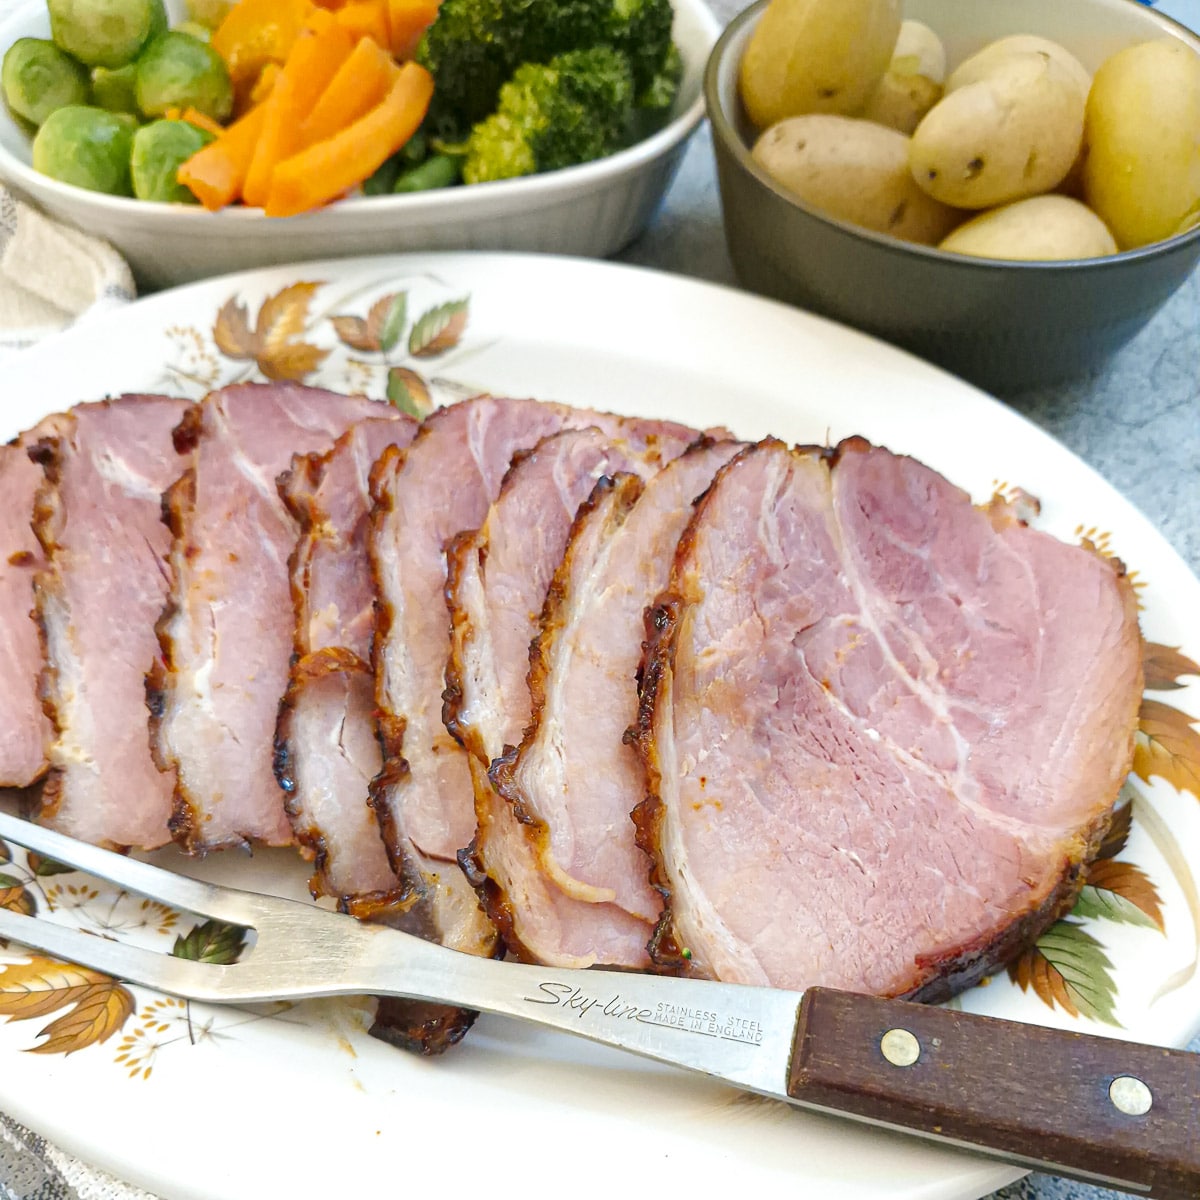
This recipe for honey-glazed smoked ham is, to my mind, the best way to cook a boneless, smoked gammon joint. The meat turns out so tender you could practically cut it with a spoon, and the flavours are amazing! It's perfect served with either vegetables or salads as a main meal, and leftovers are great on sandwiches.
Jump to:
- Honey-glazed smoked ham at a glance
- Easy honey-glazed gammon
- Why you should make this honey-glazed ham
- Ingredients for honey-glazed gammon
- How to cook and glaze a smoked ham
- Tips for a successful outcome
- What to do with the simmering liquid
- What to do with leftover ham
- Variations
- Equipment
- Storage and Freezing
- FAQ
- Save for later
- Side dishes to serve with ham
- 📋The recipe
Honey-glazed smoked ham at a glance
- How this honey-glazed ham is made: Boil the ham for 30 minutes with aromatics, then remove the skin and score the fat. Bake in the oven for 25 minutes per 450 grams (or per pound) and glaze during the final 20 minutes.
- Main ingredients: Smoked gammon joint, honey, dark soy sauce.
- Prep time: 10 minutes - most of this prep time is removing the skin once the gammon has boiled.
- Cooking time: 25 to 30 minutes per 450 grams (or 1 pound). Actual cooking time will depend on the size of the gammon.
- Yield: my 1.2 kg (2.5 pound) gammon joint provided 4 generous servings with plenty left over for sandwiches. It will feed at least 6 people without leftovers.
Easy honey-glazed gammon
I absolutely love the gammon joints you can buy in UK supermarkets (not so sure whether these are available elsewhere). The smaller (unsmoked) ones, I simply bake in the oven like this oven-baked gammon or even this honey-mustard glazed gammon. But just sometimes, I buy a larger smoked gammon, and the cooking method involves an extra step, so I make my honey-glazed ham instead.
To be honest, a honey-glazed ham doesn't involve much more effort. A smoked piece of gammon can be quite salty, so I like to boil it first with a few aromatics to tone down the smoky, salty taste.
Once that's done, I simply remove the outer skin (if it has one) and bake the ham joint in the oven, brushing it with a tasty honey glaze during the final 20 minutes.
The ham turns out tender and succulent and makes the perfect meal served either hot with steamed vegetables or cold with salads. The sweetness from the honey and soy glaze just adds to the deliciousness!
Disclaimer - if you are expecting one of those fancy glazed hams that you can find at Christmas, with a beautiful diamond pattern in the fat, and studded with cherries and cloves, you are going to be disappointed. This is a no-fuss family roast that provides a delicious meal, a few leftovers for sandwiches, and minimal effort on your part! Plus, it tastes exactly the same as the fancy hams, but you don't have to spend ages decorating it!
Why you should make this honey-glazed ham
- Easy to cook. Three simple steps - boil, bake and glaze. That's all there is to it!
- Economical. A gammon is normally boneless, so you can eat everything. There's no paying for a bone that gets thrown away - or given to the dogs (which isn't really a waste).
- Versatile. Gammon can be served either hot or cold, and leftovers are great for sandwiches.
Ingredients for honey-glazed gammon
**Find the exact ingredient measurements for making this honey-glazed ham on the printable recipe card at the end of this post.**
You don't need very many ingredients at all - just a few aromatics to boil with the gammon and a handful of pantry staples for the glaze.

- Uncooked smoked gammon joint. My joint weighed 1.2 kg (that's just over 2.5 pounds). It had a thin coating of fat, covered by a layer of skin which was removed once the gammon had been boiled with the aromatics.
- Aromatics. These are put into the pan with the gammon as it boils. I've used the standard mixture of carrots, onions, celery and black pepper.
- Glaze. The glaze is a mixture of honey, dark soy sauce, ginger paste, garlic paste and chilli paste. It is brushed onto the gammon during the last 30 minutes of cooking time.
How to cook and glaze a smoked ham
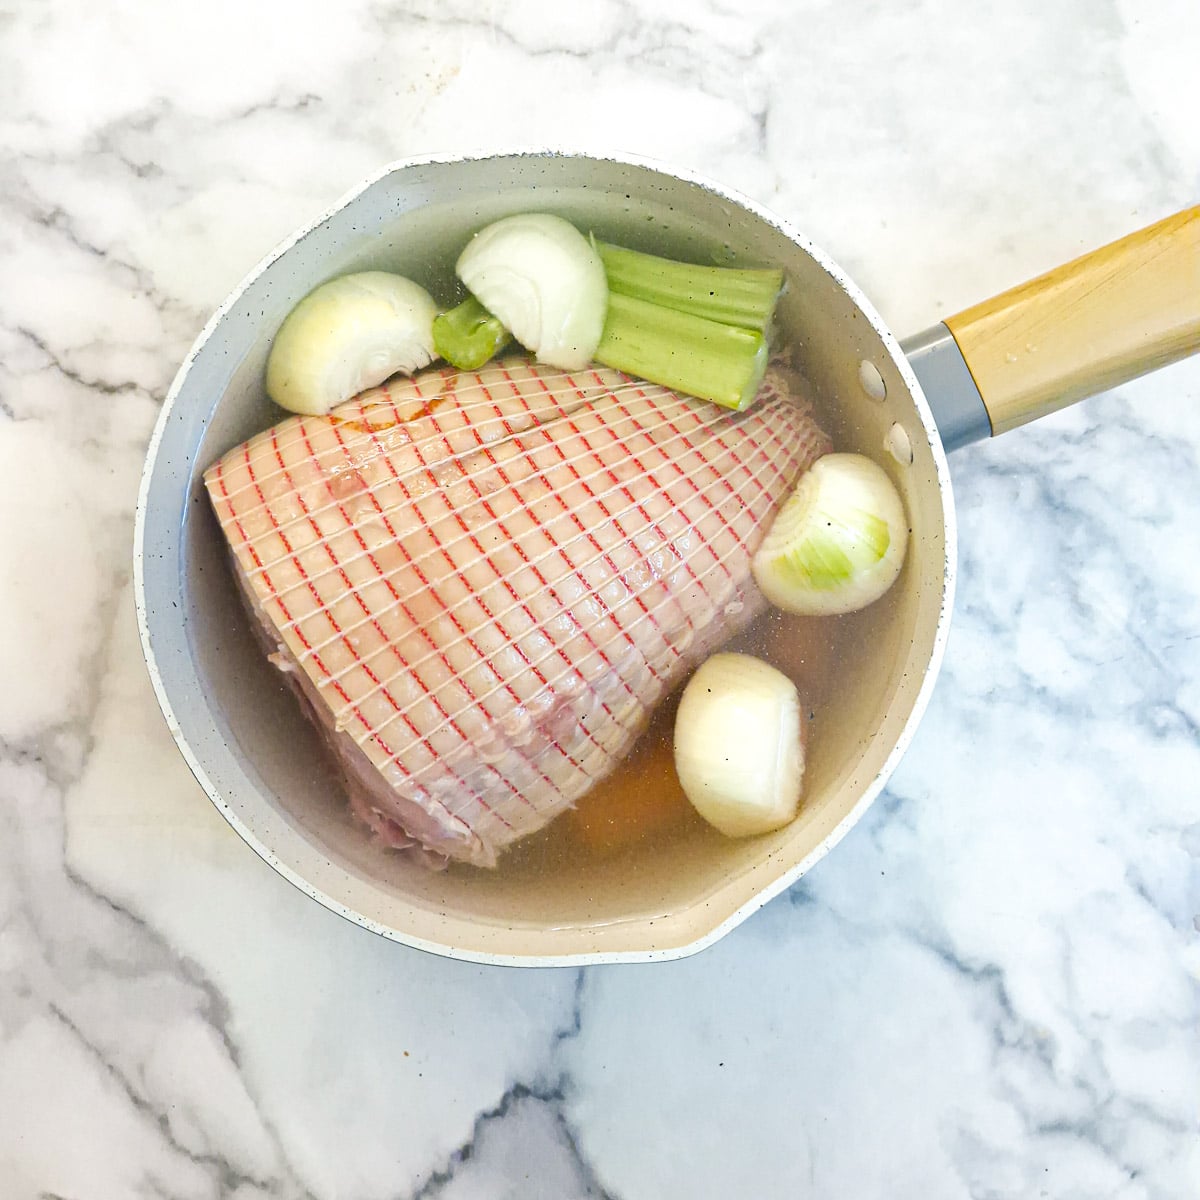
Step 1: Place the gammon joint in a saucepan and cover it with water. Add the carrots, onions, celery and black pepper. Bring to a boil, then turn down the heat to a simmer, cover the pan with a lid and cook for 30 minutes.

Step 2: While the gammon is cooking, combine the ingredients for the glaze into a small bowl and set aside.
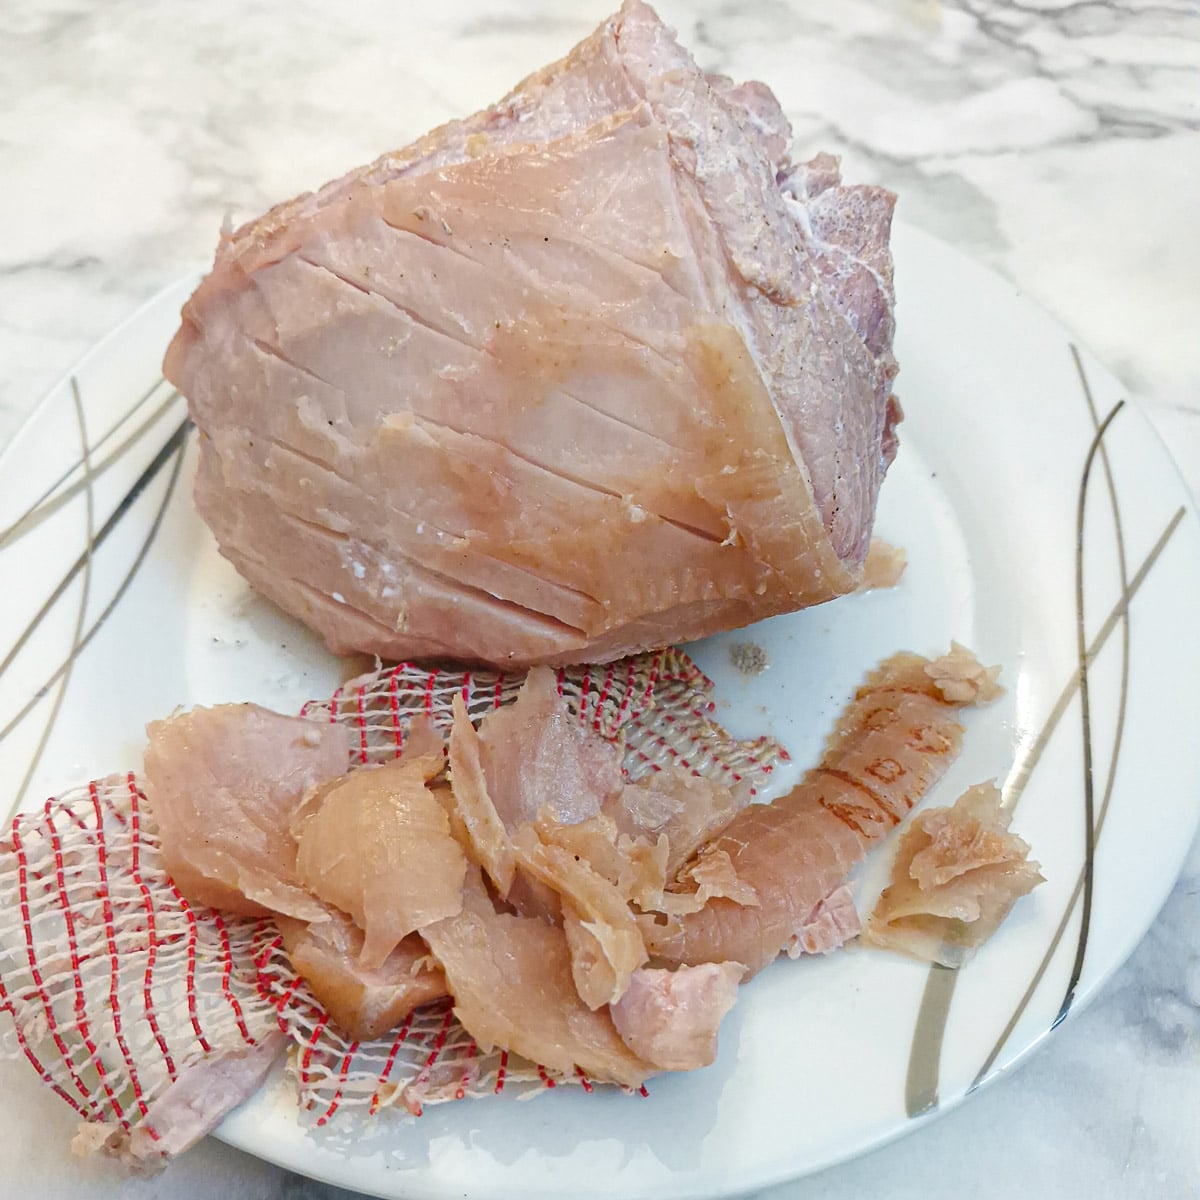
Step 3: After 30 minutes, remove the gammon from the pan and place it on a plate to cool. Once cool enough to handle, remove the net and slice off the rind (or skin). Don't remove the layer of fat.
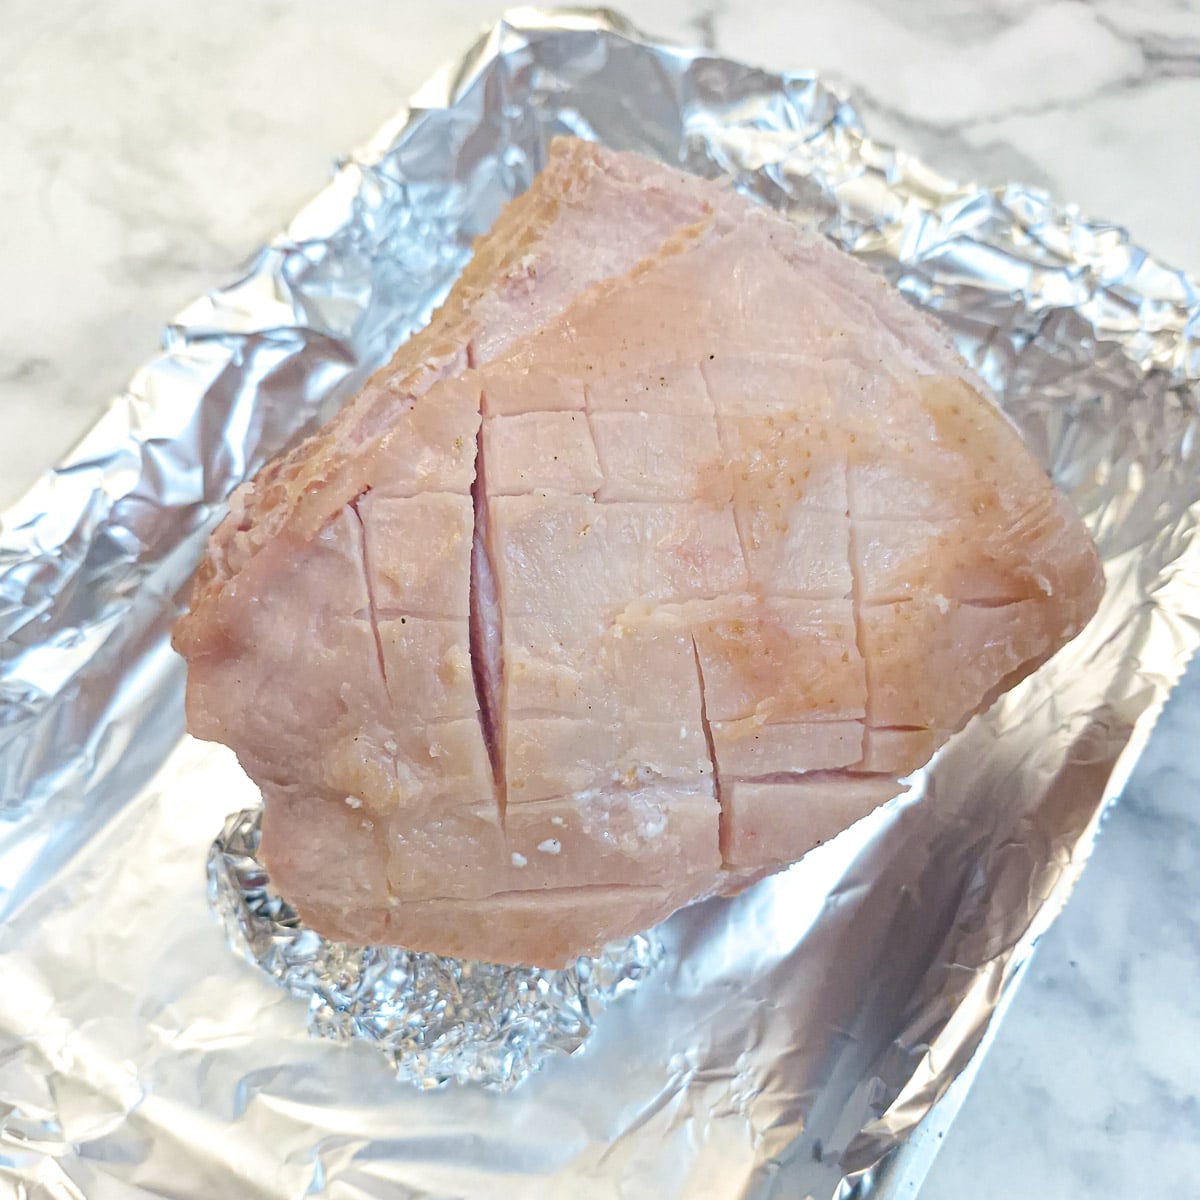
Step 4: Score the fat into a diamond shape and place the gammon joint in a baking dish lined with foil. If the gammon doesn't sit straight, use a couple of balls of scrunched-up tin foil to prop it up.
Step 5: Bake the gammon uncovered at 190C / 375F for 25 - 30 minutes per pound (450 grams). For a 1.2 kg (2.5 pounds) gammon, you should bake it for around 1 hour and 15 minutes.
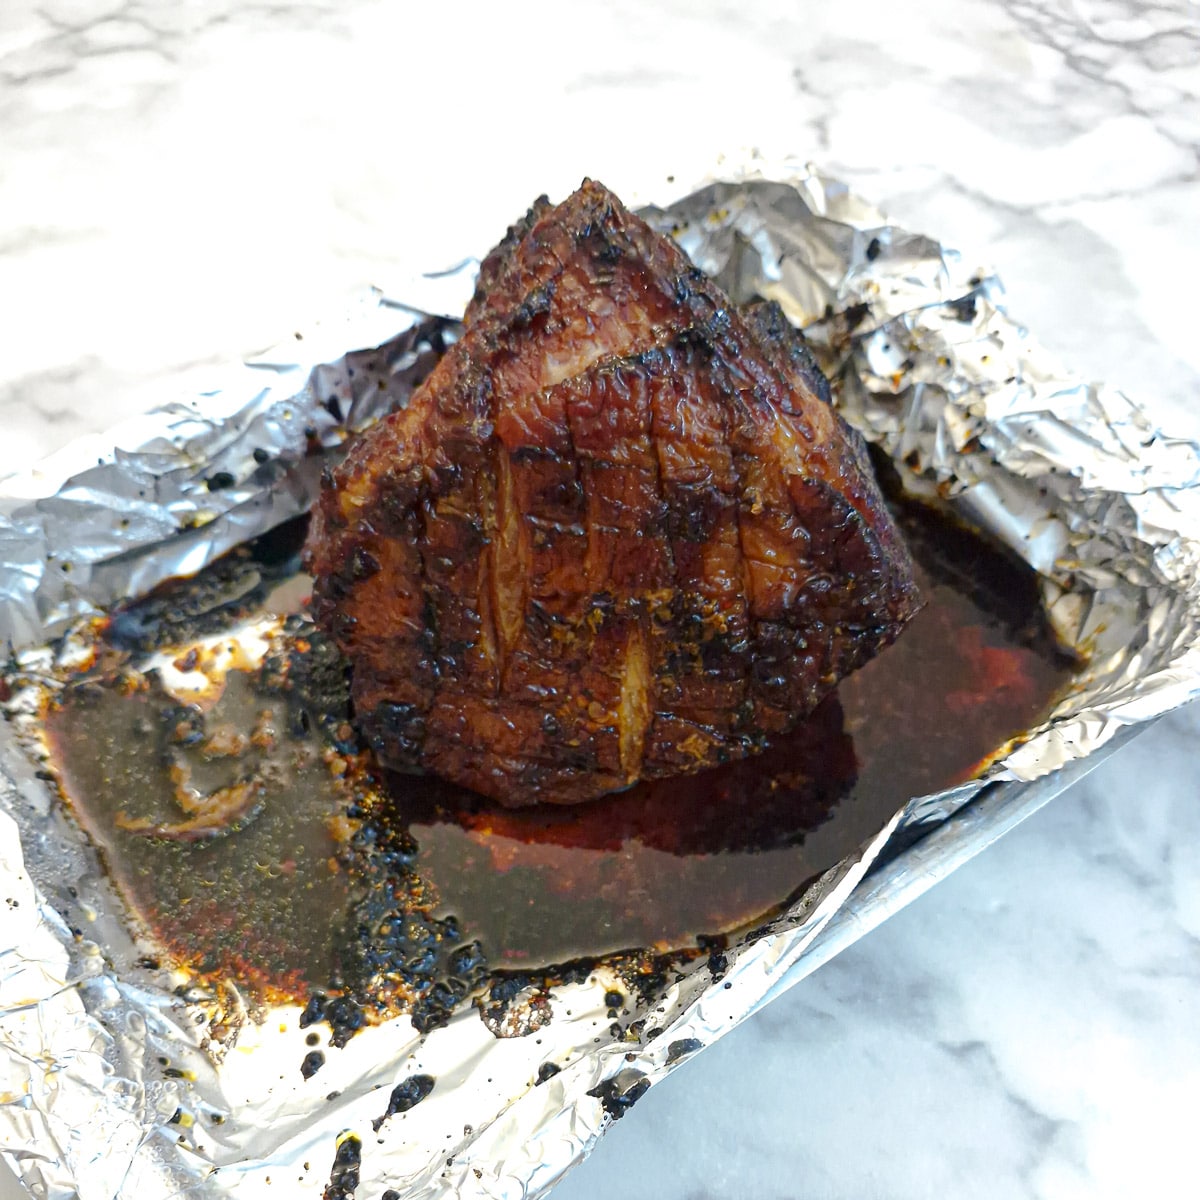
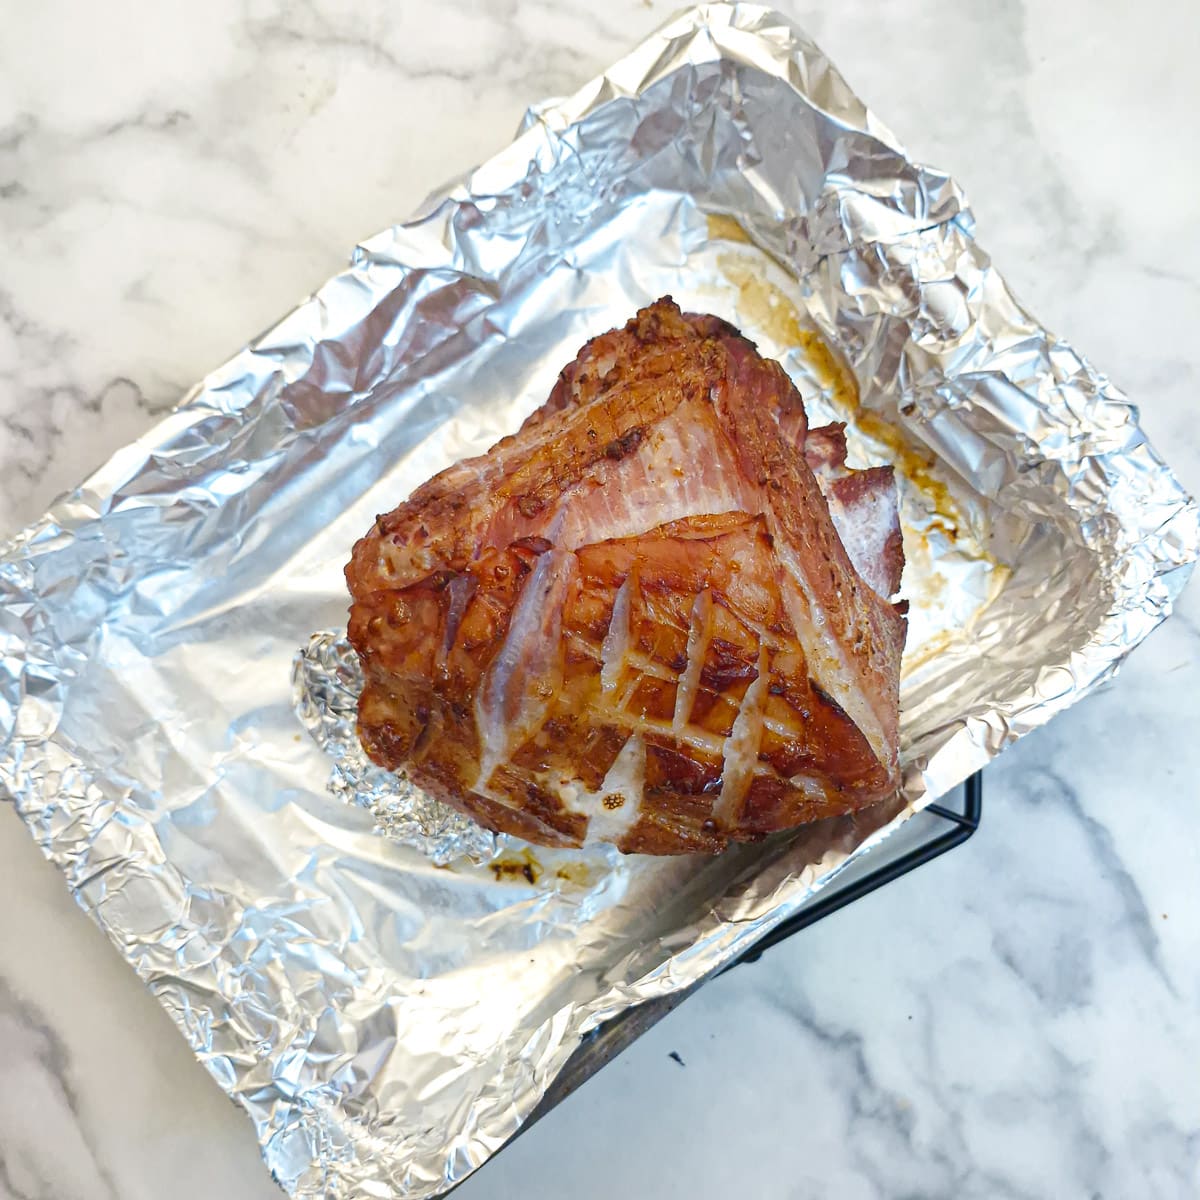
Step 6: 20 minutes before the end of cooking time, brush the gammon liberally with the prepared glaze. Repeat with the remaining glaze 10 minutes later.
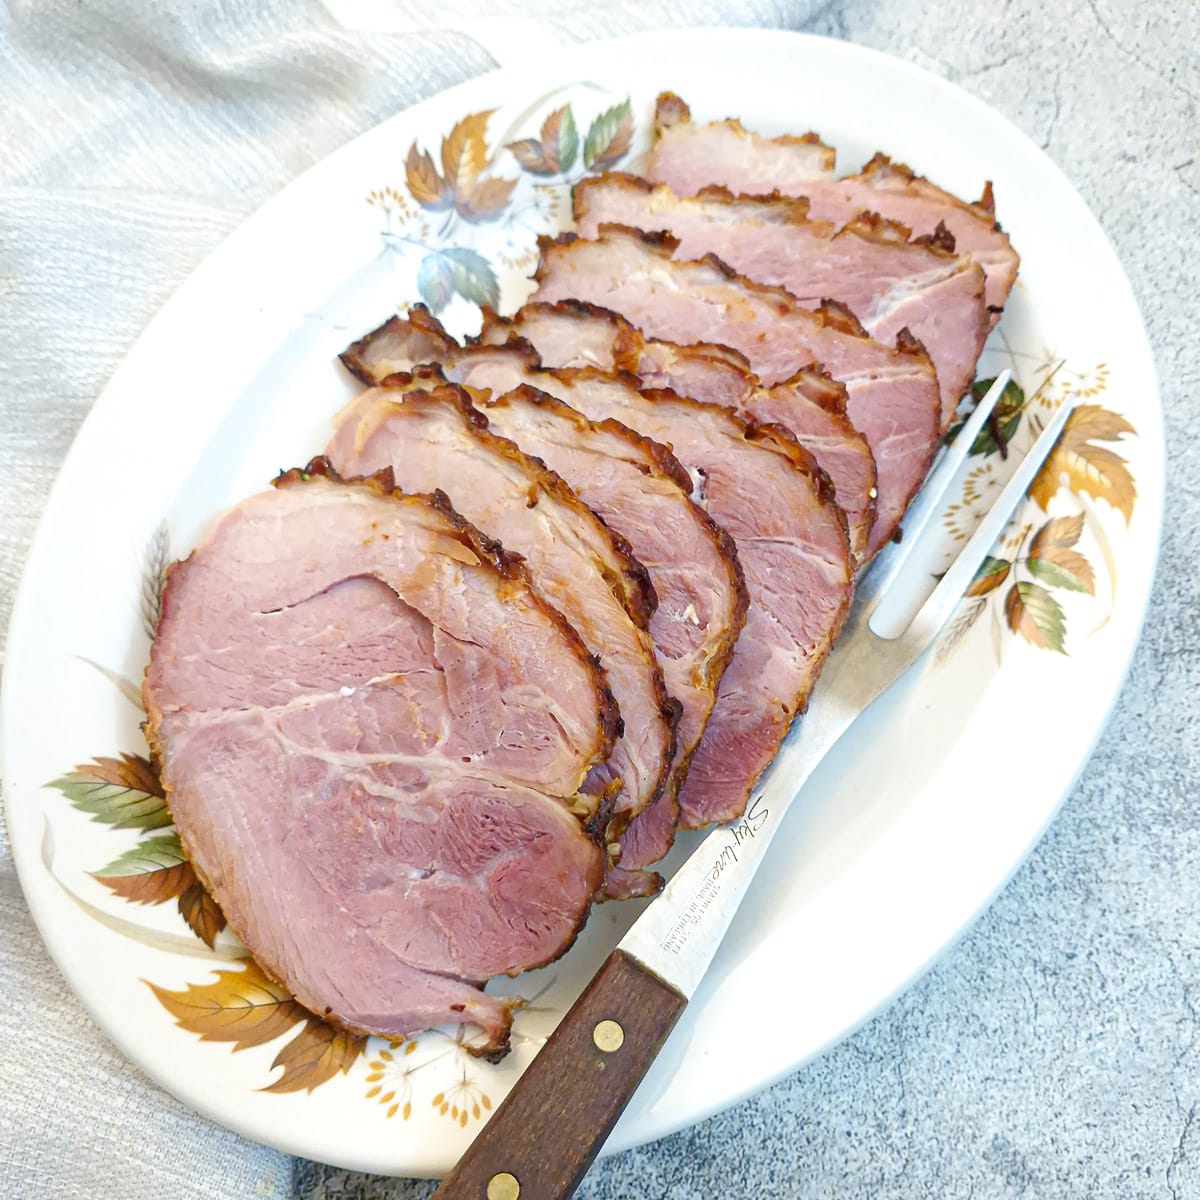
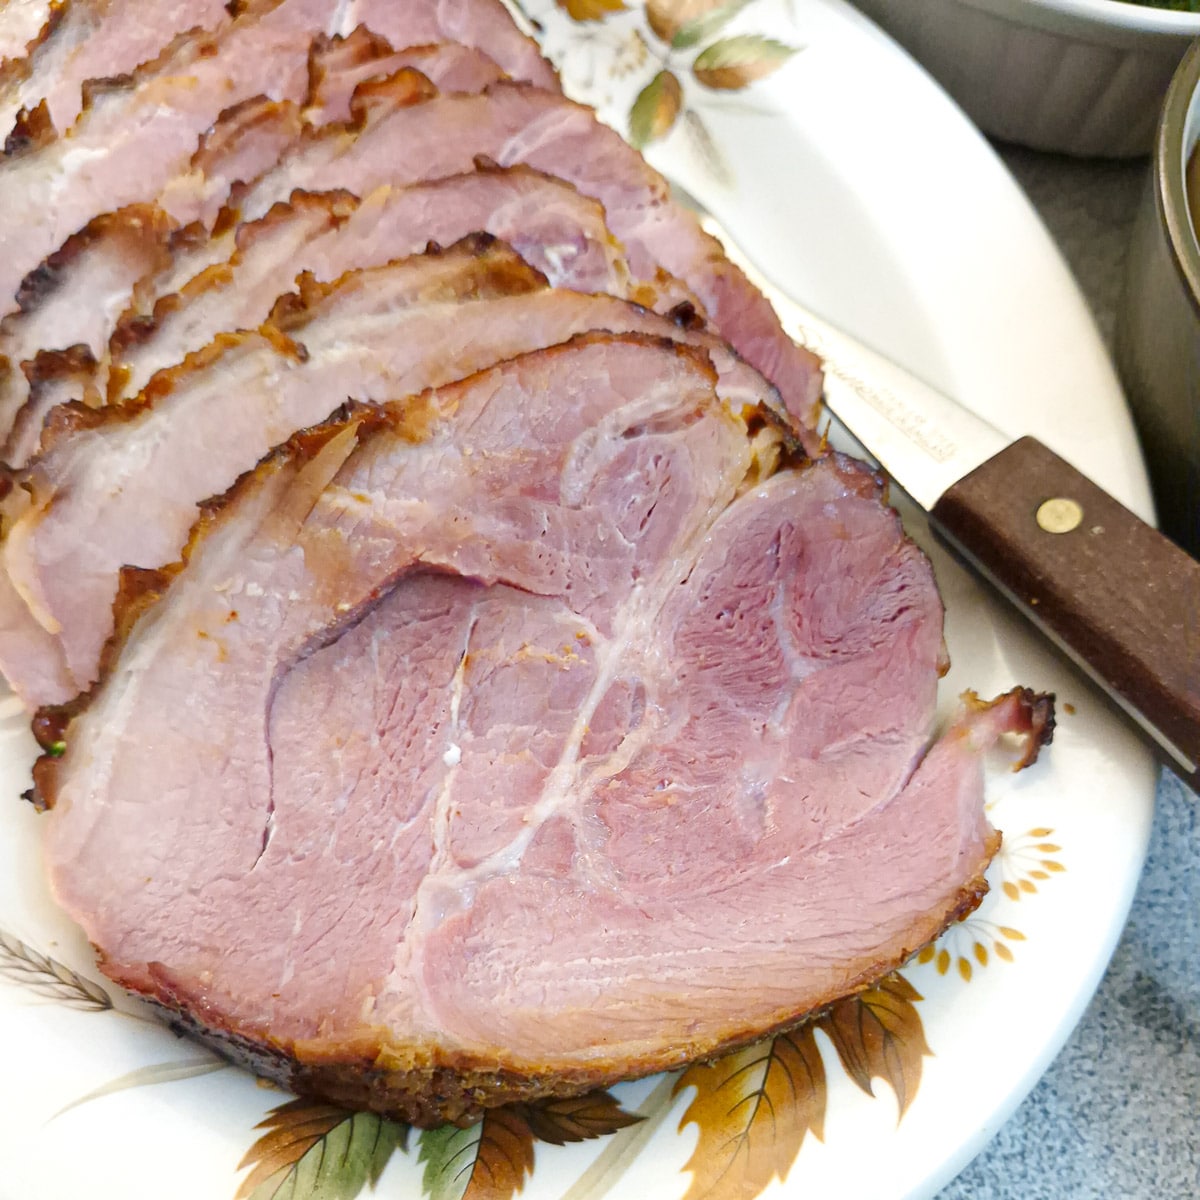
Step 7: Let the gammon rest for 15 minutes, then slice it thinly and serve.
Tips for a successful outcome
Here are my top tips to ensure your honey-glazed gammon always turns out perfectly:
- Don't remove the net before boiling the gammon. The gammon should be boiled in the net as this helps the gammon hold its shape.
- Take care when removing the rind or skin from the gammon. Look for a gap in the rind that you can slide your knife into. Slide the knife between the rind and the fat. Pull the rind away with your fingers while gently gliding the knife under the rind. The knife should stay flat so you leave as much fat as possible on the meat.
- Don't score the fat too deeply. When scoring the fat, take care not to cut through into the meat.
- Don't glaze the gammon too soon. If you glaze the gammon too early, the sugar in the glaze will burn, and you might end up with a bitter taste. If you're worried that your oven runs a little hot, turn the heat down by 10 degrees C or 20 degrees F when you start to glaze.
- Allow the gammon to rest before carving. Allowing the meat to rest gives the juices time to redistribute throughout the meat, which means they stay in the meat and do not leak out all over the plate when you carve.
What to do with the simmering liquid
Don't discard the liquid used to boil the gammon. It's basically a light ham stock and can be used in several ways. Here are a few ideas:
Make a simple gravy
- Strain the liquid to remove the vegetables (you can discard those) and place about 2 cups of the liquid into a saucepan.
- Bring to a boil and thicken by stirring in either a roux, made with a teaspoon of butter combined with a teaspoon of flour, or a slurry of 1 teaspoon of cornflour (or cornstarch) mixed with a tablespoon of cold water.
- Taste before seasoning - the liquid might have absorbed sufficient salt from the gammon.
- Nice additions for extra flavour would be a teaspoon of wholegrain mustard, a splash of apple juice or cider, or a teaspoon of honey.
- If you have an immersion blender, you could skip straining the stock and simply blend the vegetables into the liquid with your blender. Thicken as above.
Use the liquid for cooking vegetables
If you intend to serve a side of vegetables with the gammon, consider cooking them in the pork stock. Potatoes, carrots, cabbage and leeks can all be boiled in this liquid; they will absorb the ham flavour beautifully.
Use the liquid to make soup
The stock freezes well, and can be used to make pea and ham soup (save some of your gammon to add to the soup), lentil soup or bean soup.
What to do with leftover ham
If I've got some leftover ham in my freezer, then I'm a happy camper! There is so much you can do with it. Here are a few ideas:
- Leftover chicken and ham pie with mushrooms. This recipe uses both leftover ham AND leftover chicken!
- Ham and mushroom tagliatelle with black pepper sauce. Sometimes I'll cook a small gammon joint just to have some leftover ham to make this yummy pasta dish!
- Crustless ham and cheese quiche with sweetcorn. This easy quiche is perfect for packing into lunchboxes - and because there's no pastry involved, it's super quick to make.
Variations
This is a recipe for honey-glazed pork, and the glaze is delicious as it is. However, you can easily tweak it with a few of these ideas:
- Citrus - Add a teaspoon of orange or clementine zest and a splash of juice to the honey glaze; citrus pairs beautifully with pork.
- Honey mustard version - stir 1 or 2 teaspoons of wholegrain or Dijon mustard into the glaze (or try this recipe for honey-mustard glazed gammon).
- Extra spice - add a pinch of ground cloves, nutmeg or allspice to the glaze, or give it an Asian twist by adding a pinch of 5-spice powder.
Equipment
These are the main items of equipment you will need for the honey-glazed ham:
- a saucepan - large enough to hold the ham and the vegetables, with sufficient room to cover the ham with water. Err on the larger side to prevent overflow from boiling water.
- a small bowl - to mix the glaze, and a silicone brush to spread the glaze over the gammon.
- baking tray - large enough to hold the gammon. I like to line my tray with tin foil for easier clean-up afterwards. I also think a metal baking dish conducts the heat better than a glass or ceramic dish. If you use anything other than a metal dish, you may find you need to cook the gammon for an extra few minutes.
Storage and Freezing
- Refrigerator. Leftover ham can be stored in the refrigerator and used for sandwiches for 3 to 4 days.
- Freezing. The cooked ham freezes beautifully. I often cut leftover ham into small cubes and freeze it in a Ziploc bag for up to 3 months. The leftovers are perfect for mixing into pasta for this ham and mushroom tagliatelle with black pepper sauce, or turning into a quick crustless ham and cheese quiche.
- Defrosting. Allow the ham to thaw in the refrigerator for a few hours before using it in recipes.
- Reheating. If you've got slices of ham that you want to reheat and serve with vegetables and gravy, I would suggest the best way to reheat them is in the microwave for a minute or 2.
FAQ
Pork contains no gluten! However, some processed or packaged gammon joints can contain small amounts of gluten if they are cured with things like malt extract, wheat-based flavourings or hydrolysed wheat protein. The safest way is to check the ingredients on the label.
Also, check the labels on your soy sauce and chilli flakes to ensure they are gluten-free. Soy sauce normally includes wheat - to be on the safe side, substitute it with tamari.
Absolutely. Gammon can be roasted straight in the oven, according to the instructions on the packet. Simmering it first helps reduce saltiness and keeps the meat moist.
The answer is to simmer the gammon for 20 to 30 minutes in boiling water before roasting. This removes some of the excess salt from the curing process
Brush the glaze onto the gammon during the last 20 to 30 minutes of cooking time. This allows the sugars in the honey to caramelise without burning.
Gammon should reach an internal temperature of 68 to 70C or 154 to 158F.
Gammon and ham both come from the hind leg of pork. The main difference is that gammon is sold raw and must be cooked, while ham has already been cooked and is ready to eat. Once gammon has been cooked, it is called ham.
The internal temperature should register 68 to 75°C or 155 to 165°F at its thickest point.
Save for later
If you would like to make this honey-glazed ham, why not save the recipe to one of your Pinterest boards so you can find it easily? Just click the image below.
Alternatively, you can save the recipe by clicking on the floating heart icon on the right-hand side of the screen.
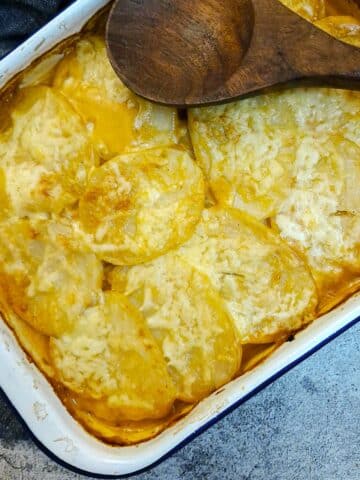
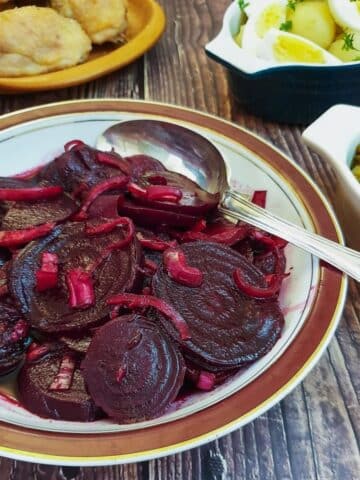
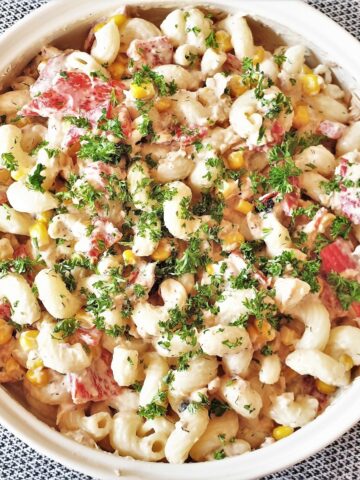
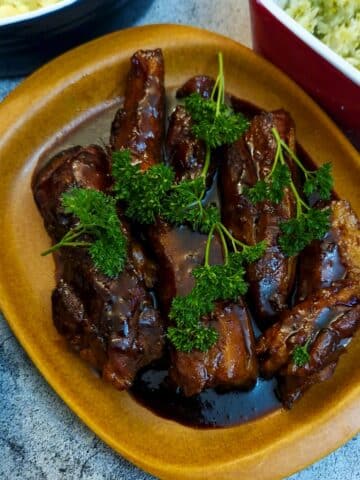
Side dishes to serve with ham
Ham lends itself to being served both hot and cold. If I'm serving it hot, I normally add a few vegetable sides and a jug of gravy; if I serve it cold, I'll normally made a few salads to go along with it.
Here are some of my favourite side dishes that you might enjoy:

📋The recipe

Honey-glazed ham
(Click the stars to rate this recipe)
Equipment
- Large saucepan for boiling the gammon
- Small bowl to mix the glaze
- Silicone basting brush to coat the ham with the glaze
- Baking tray large enough to hold the gammon
Ask a Question
If you have a question about this recipe that has not been answered, please use the box below to ask it.
Use this with care. This is an AI-generated result and may contain errors or inaccuracies. I cannot be held responsible for the information returned.
Ingredients
- 2½ pounds / 1.2 kg uncooked smoked gammon joint
- I small onion
- 1 small carrot
- 1 stick celery
- ½ tespoon ground black pepper or 6 whole black peppercorns
- 2 tablespoons honey
- 2 tablespoons dark soy sauce
- 1 teaspoon garlic paste
- ½ teaspoon ginger paste
- 1 teaspoon chilli paste more or less to your own taste
Instructions
- Place the gammon joint in a saucepan and cover it with water. Add the carrots, onions, celery and black pepper. Bring to a boil, then turn down the heat to a simmer, cover the pan with a lid and cook for 30 minutes.2½ pounds / 1.2 kg uncooked smoked gammon joint, I small onion, 1 small carrot, 1 stick celery, ½ tespoon ground black pepper
- While the gammon is cooking, combine the ingredients for the glaze into a small bowl and set aside.2 tablespoons honey, 2 tablespoons dark soy sauce, 1 teaspoon garlic paste, ½ teaspoon ginger paste, 1 teaspoon chilli paste
- After 30 minutes, remove the gammon from the pan and place it on a plate to cool. Once cool enough to handle, remove the net and slice off the rind (or skin). Don't remove the layer of fat.
- Score the fat into a diamond shape and place the gammon joint in a baking dish lined with foil. If the gammon doesn't sit straight, use a couple of balls of scrunched-up tin foil to prop it up.
- Bake the gammon uncovered at 190°C / 375°F for 25 - 30 minutes per pound (450 grams). A 1.2 kg (2.5 pounds) gammon needs around 1 hour and 15 minutes.The internal temperature should register 68 to 75°C or 155 to 165°F at its thickest point.
- 20 minutes before the end of cooking time, brush the gammon liberally with the prepared glaze. Repeat with the remaining glaze 10 minutes later.
- Remove the gammon from the oven, cover it loosely with tin foil and let it rest for 15 minutes, then slice it thinly and serve.
Notes
- Don't remove the net before boiling the gammon. The gammon should be boiled in the net, as this helps the gammon hold its shape.
- Take care when removing the rind or skin from the gammon. Look for a gap in the rind that you can slide your knife into. Slide the knife between the rind and the fat. Pull the rind away with your fingers while gently gliding the knife under the rind. The knife should stay flat so you leave as much fat as possible on the meat.
- Don't score the fat too deeply. When scoring the fat, take care not to cut through into the meat.
- Don't glaze the gammon too soon. If you glaze the gammon too early, the sugar in the glaze will burn, and you might end up with a bitter taste. If you're worried that your oven runs a little hot, turn the heat down by 10 degrees C or 20 degrees F when you start to glaze.
- Allow the gammon to rest before carving. Allowing the meat to rest gives the juices time to redistribute throughout the meat, which means they stay in the meat and do not leak out all over the plate when you carve.
- Refrigerator. Leftover ham can be stored in the refrigerator and used for sandwiches for 3 to 4 days.
- Freezing. The cooked ham freezes beautifully. I often cut leftover ham into small cubes and freeze it in a Ziploc bag for up to 3 months. The leftovers are perfect for mixing into pasta for this ham and mushroom tagliatelle with black pepper sauce, or turning into a quick crustless ham and cheese quiche.
- Defrosting. Allow the ham to thaw in the refrigerator for a few hours before using it in recipes.
- Reheating. If you've got slices of ham that you want to reheat and serve with vegetables and gravy, I would suggest the best way to reheat them is in the microwave for a minute or 2.
Nutrition
I am not a nutritionist. The nutrition information has been calculated using an on-line calculator, and is intended for information and guidance purposes only. If the nutrition information is important to you, you should consider calculating it yourself, using your preferred tool.
If you made this recipe and enjoyed it, I'd love it if you could give me a star rating in the comments below. And if you'd like to get in touch, you can email me at [email protected]. I'd love to hear from you. And don't forget to subscribe to my mailing list so you can grab yourself a copy of my FREE COOKBOOK!
If you'd like to continue browsing, just click on this link to all my recipes.


Did you make this recipe? Let me know!